
Live Chat Integration

Brief Overview
Use your Live Chat Integration to funnel your users through WalkMe before enabling them to start a chat.
WalkMe's Live Chat Integration is available with the following applications: Habla, Intercom, LiveAgent, LiveChat, Olark, PureChat, Snap Engage, Tawk, ZenDesk, Zopim, and more.
Live Chat is an increasingly popular way for online businesses to improve their customer-care by providing fast and simple customer service access. WalkMe's Live Chat Integration allows you to integrate your current Live Chat provider with your WalkMe solution.
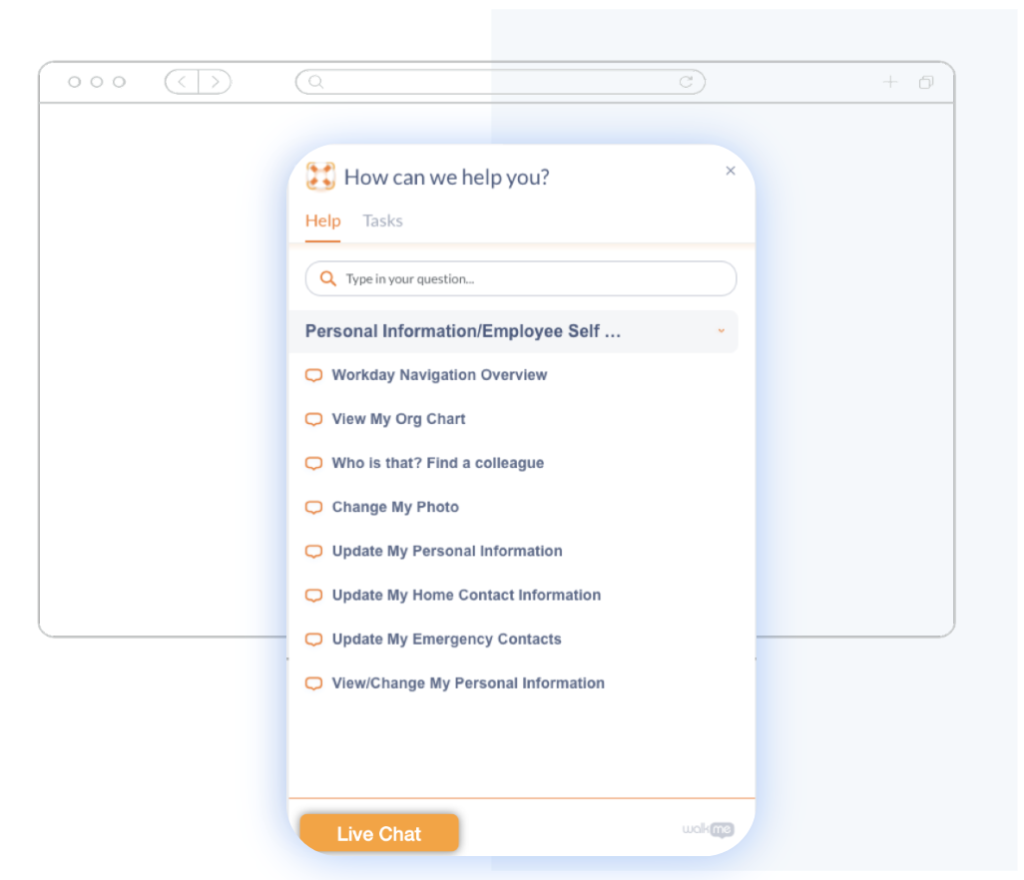
Your Live Chat integration can be configured to funnel your users through the Player Menu before enabling them to start a chat. By exposing users to your existing WalkMe guidance solution first, they are more likely to elect to self-help, letting your chat reps engage with only those users who truly need live, one-on-one assistance.
Use Cases
WalkMe's Live Chat use cases include the following:
- Shorten live chat sessions and reduce the time agents spend with a client.
- Increase first contact resolution rates and reduce customers' hold time.
- Encourage self-service and reduce support representative costs.
- Facilitate self-service for your users by exposing them to existing WalkMe guidance before enabling live chat.
- Free up your chat reps by ensuring they only engage with uses who truly need live, one-on-one assistance.
- Reduce customer hold time, and live chat sessions while increasing number of assists per rep.
Steps For Enabling Live Chat
- Sign into your WalkMe Editor account.
- Click the WalkMe apps dropdown triangle and select the Live Chat app:

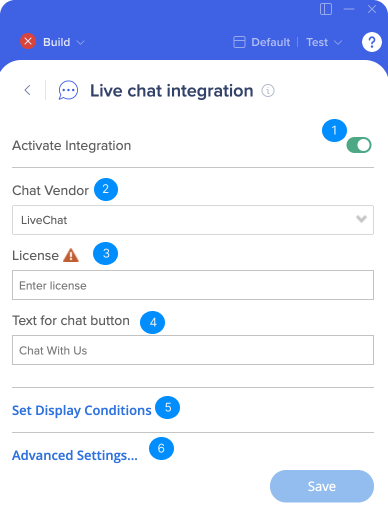
- On the Live Chat settings screen:
- Toggle Live Chat on.
- Select one of the chat vendors.
- Enter License – this will appear for some vendors that require additional arguments.
- Write text for the Chat button.
- Update Display Conditions – set for which users or processes the chat button is visible. For example, only to IE users.
- Open Advanced Settings for more configurations.
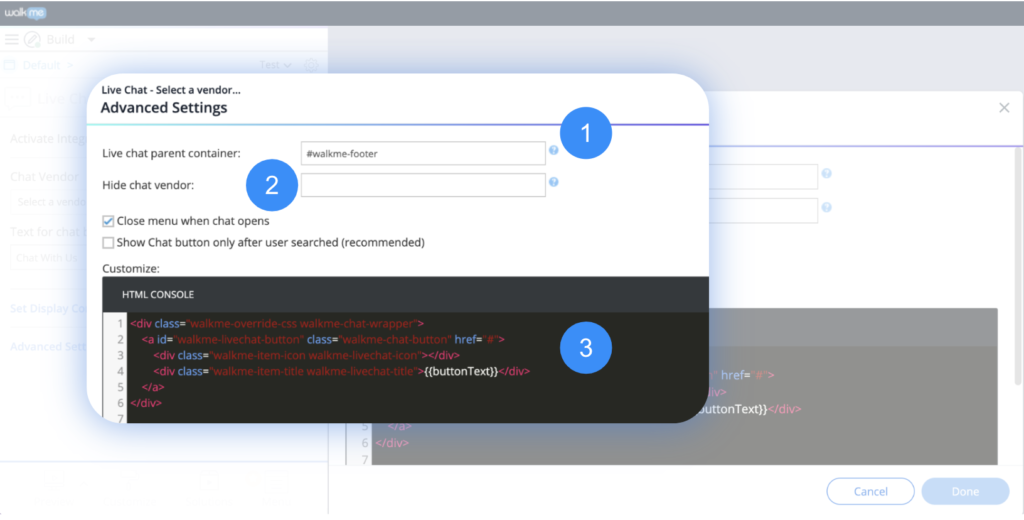
Advanced Settings
- Live Chat Parent Container - HTML Selector: Where in WalkMe's widget to show the chat button.
- Hide chat vendor - HTML Selector of the original chat vendor button if provided - the original button will not be visible and chat could be accessed through WalkMe.
- Customize the look and feel of your chat button to fit your brand.
That's it, you've set up your Live Chat integration! A button will appear in the WalkMe Player Menu that will launch a chat window when clicked:
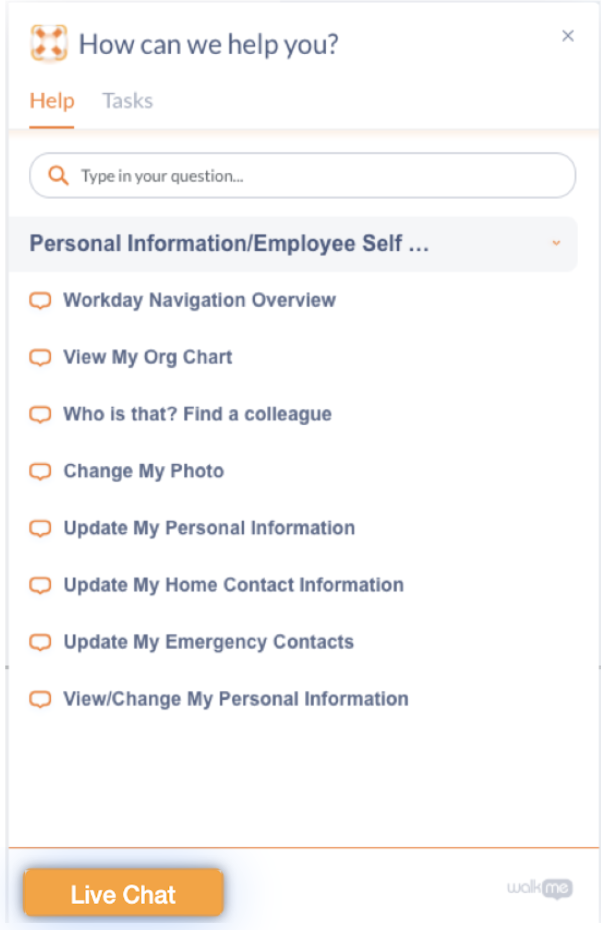
Note: You must assign a person or people to address user requests in real time to support your Live Chat implementation.
Supported Providers
Live Chat currently supports the following vendors:
- Zopim
- Snap Engage
- LiveChatInc
- Intercom
- Olark
- LiveAgent
- HelpOnClick
- PureChat
- Habla
- Zendesk
- Tawk
Advanced Features
- If required, you can segment the Live Chat button based on URLs or variables.
- You can set a Live Chat button to appear only after a user searches for solutions in the Player Menu and gets no results.