
Segmentation

Brief Overview
Segmentation allows you to decide when to display your WalkMe content to your users using different "use cases". You can push items to specific users, or remove items from a user's view according to the segmentation rules you define.
Purposeful segmentation is an important part of your builds. If WalkMe items aren't relevant to certain users or under certain conditions, they can be hidden using segmentation. This will allow your users to focus on the available tasks and reduce clutter on the screen and in the WalkMe Menu.
How It Works
WalkMe offers two types of segmentation. The first method involves modifying the display conditions of a particular WalkMe item, which only impacts that specific item. The second method involves creating a segment and assigning multiple WalkMe items to it. All the items assigned to the segment will automatically display based on the conditions defined.
Before any of the items that have been segmented using display conditions or a segment appear in the menu or on the screen, WalkMe will evaluate and check if the associated rule is true.
Display conditions and segment rules can be created with any of the available conditions from the rule engine. For example, you can create a segment to organize and filter your WalkMe items by variable, date, on-screen element, or even by URL.
Most apps in the editor can be segmented to appear for target audiences: Smart Walk-Thrus, Launchers, resources, shuttles, surveys, SmartTip sets, and ShoutOuts.
Creating Segments
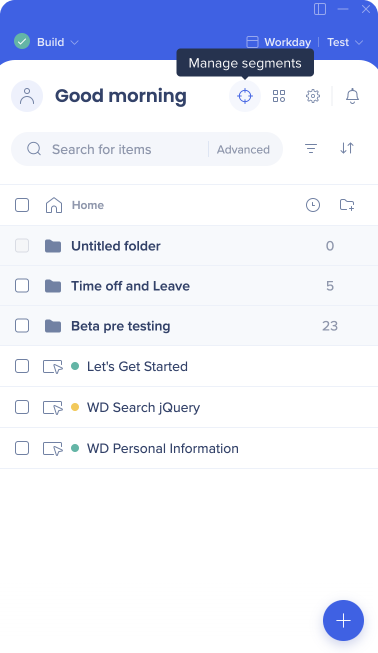
To begin, click the Manage segments target icon.
You can create as many segments as you would like, and assign as many WalkMe items to those segments as needed.
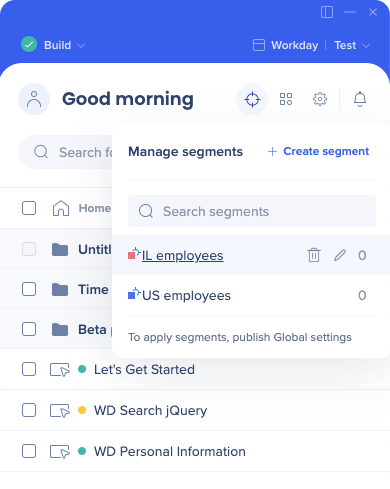
Your segments will be listed here automatically in alphabetical order.
Defining New Segments
Segments can be created in the Manage segments menu, and afterwards relevant items can be added to that segment.
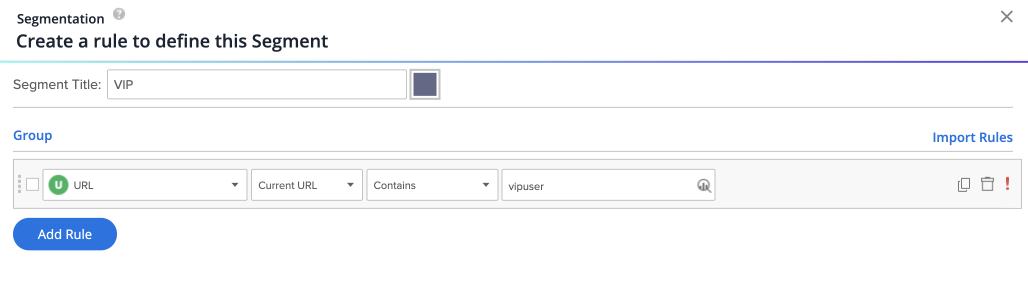
Once a segment is created you can add a rule to define the use case by clicking on the target icon.
Any rule type can be used to define a segment.
Save as a Segment
Click the Save as a Segment button, to save a rule you created as a segment for later use.
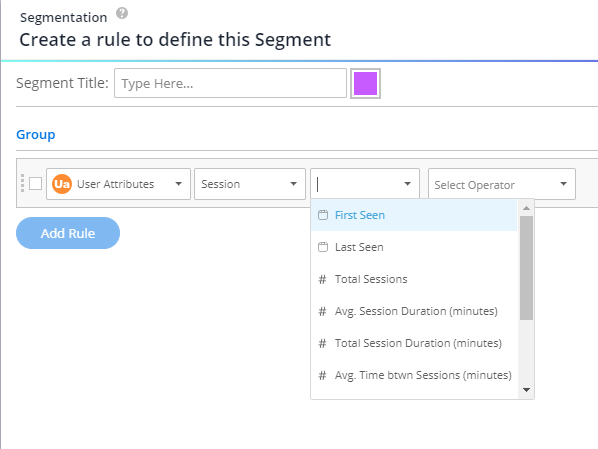
Creating a Segment Based on User Activity Data
In order to create a segment based on user activity data, choose the "User Attributes/Session" category.
These are the rules that will be available:
- First seen
- Last seen
- Number of total sessions
- Average total session duration in minutes
- Average time between sessions in minutes
Segmenting WalkMe Items
There are four ways you can add WalkMe items to a segment.
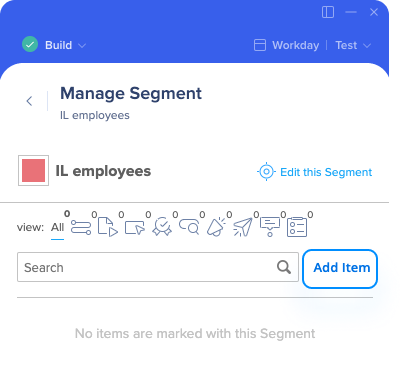
1. Segment Management menu
- Click on your segment
- Hover over the list of items
- Click Add Item
- Continue adding all your WalkMe items to the segment and click Done to view the segment and all the items added to it
2. Editor list
- Click the Assign segments square icon next to the item name
- A menu will open containing all available segments
- Check the segments you want to assign
- Click Done
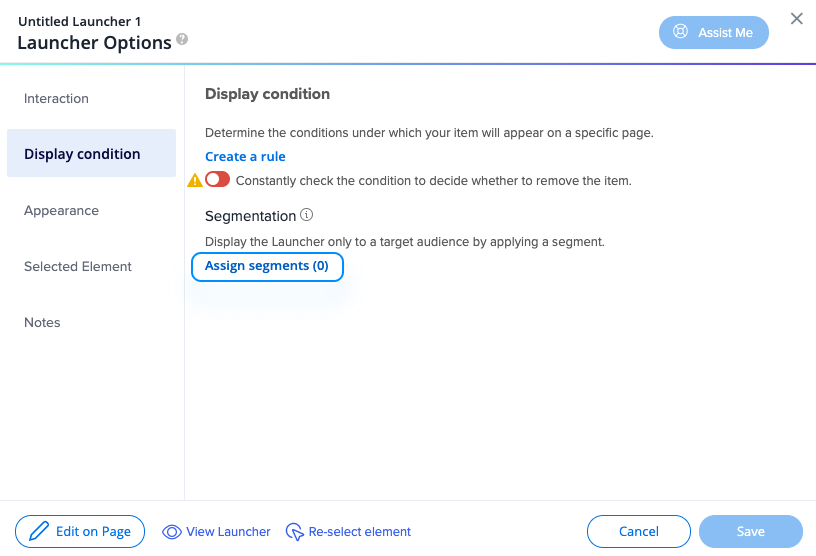
3. Item settings
- Click the Assign Segments button in the Display condition tab of the item settings
- A menu will appear containing all available segments
- Select the segments you want to assign
- Click Done
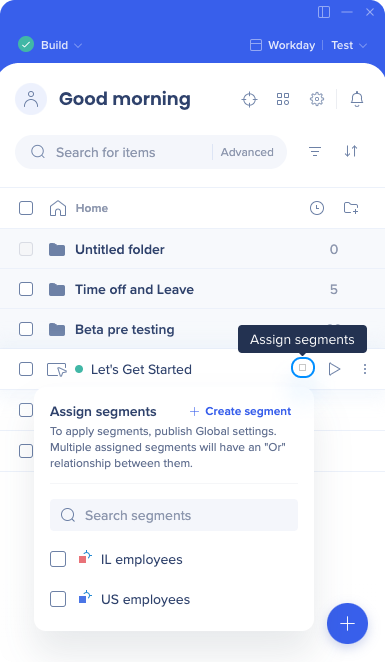
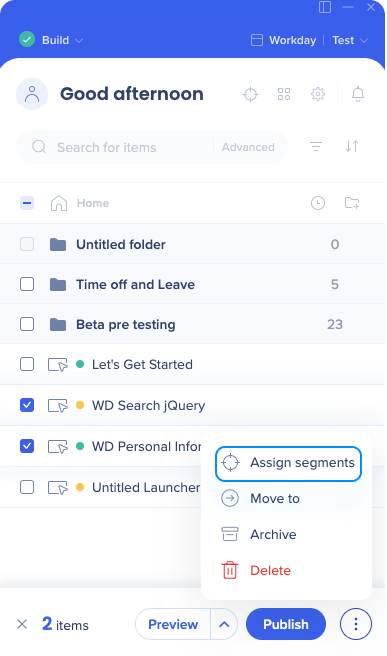
4. Bulk Segmentation
- Click the square icon next to the item name in the editor
- Select all the items you want to segment
- Click on the 3 dot options menu in the bottom right of the editor
- Click Assign segments
- A menu will appear containing all available segments
- Check the segments you want to assign
- Click Done
Editing Existing Segments
The name and color of a segment can be changed by clicking the pencil icon within the Manage segments menu. You can also edit a segment's rule anytime by clicking the target icon. Items can be removed from a segment by hovering over the item and clicking Remove.
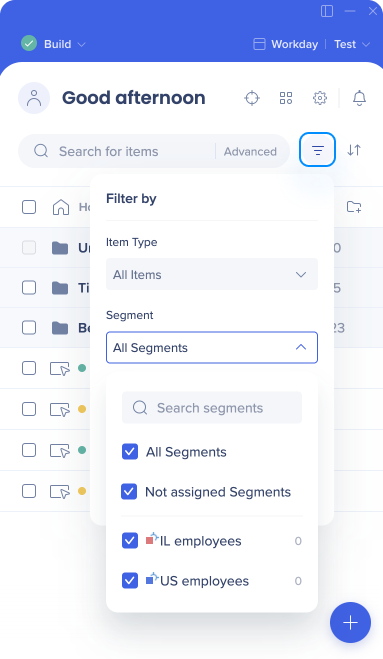
Filtering Based on Segments
After creating your segments, you can filter existing items in the editor by clicking the Filter icon and checking the segments you want to view.
Display Condition Segmentation
The second form of segmentation that can be applied to your WalkMe items is by adjusting the display condition of a specific WalkMe item, such as a Launcher, SmartTip, or Smart Walk-Thru.
This should be used when only ONE specific item has certain conditions under which it should appear. Display conditions can be found in the in the Display Condition tab of an individual items settings.
Advanced Segmentation
Using Grouping and Multiple Rule Statements
Grouping statements together and using multiple rule statements relies on understanding the rule engine engine.
URL
Rules that are based on URLs are ideal for identifying specific pages on which a WalkMe item should appear.

User Variables
User Variables are the most widely used and versatile rule type when creating segments. Depending on its configuration, a variable can store information about a user's role, access level, and even time within the organization. Variable names and values must be configured within your environment and can then be read by WalkMe to segment items.