Brief Overview
Account settings is your central hub in WalkMe Learning Arc for updating your personal profile, managing account admins, and seeing every workspace and portal in your account. This article covers each of the four tabs: Profile, Account, Workspaces, and Portals.
Access
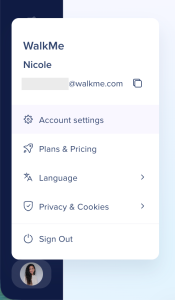
To open Account settings, select your profile icon in the left sidebar, then select Account settings.
Profile Tab
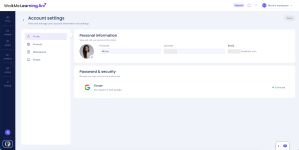
The Profile tab has two sections: Personal information and Password & security.
- Upload or update your profile photo
- View or edit your display name and email address
Password & security
- View your current password status, including the date it was last changed
- Select Change password to update your password
Account Tab
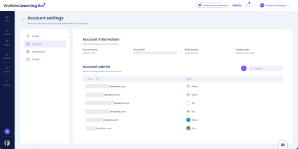
The Account tab shows organization-level information and lets account admins manage other account admins.
This section displays read-only details about your account:
- Account name: For example, walkme.com
- Account ID: A unique numeric identifier for the account
- Email domain: For example, @walkme.com
- Created: The date the account was created
Account admin
The Account admin section shows a searchable table of all current account admins.
Add an account admin
Only account admins can add other account admins:
- Select + Add
- Type a name, email address, or system group in the search field
- Select Invite
The person you invite gets account admin access.
Workspaces Tab
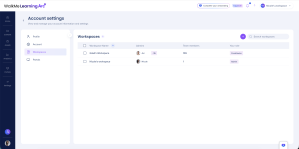
The Workspaces tab lists the workspaces you have a role in and lets you create new ones. Account admins see every workspace in the account. Each row shows:
- Workspace name
- Admins
- Team members
- Your role
Manage team members in a workspace
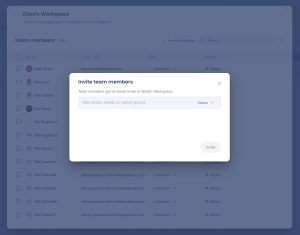
To view and manage the members of a specific workspace, select the workspace name. The panel that opens shows:
- The total member count
- The Invite members button
- A search field to find members
- A table with each member's Name, Email, Role, and Status
Delete a workspace
- On the Workspaces tab, find the workspace you want to delete
- Select Delete
- In the confirmation popup, select Delete
Note
To delete a workspace, first remove all of its members
Portals Tab
You manage portals separately from workspaces. Each portal has its own settings and its own sharing and access controls, which you manage from the Portals tab and the Portals page.
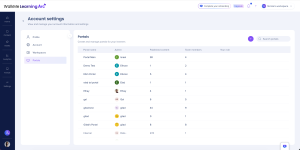
The Portals tab lists every portal in your account, including the ones you don't have access to. Portals you can't open show a Request Access button. Selecting it notifies that portal's admins, who can approve or deny the request. Until they respond, your request shows as Pending request.
Each row shows:
- Portal name
- Admin
- Published content
- Team members
- Your role
Manage team members in a portal
To view and manage the members of a specific portal, select the portal name. The panel that opens shows:
- The + Invite members button
- A search field to find members
- A table with each member's Name, Email, and Status
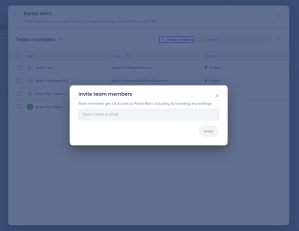
Invite team members to a portal
- Select + Invite members
- Type a name or email address
- Select Invite
After you invite members, they can publish content, change branding, and edit the portal's URL.