Brief Overview
You can use AI to generate a course outline and content automatically. AI creation helps you get started faster by creating a structured draft that you can refine. This article walks through the full creation flow using AI, from generating a course outline to reviewing the content and publishing it for learners.
AI-created courses can include interactive elements, such as accordions, flash cards, and summary cards, along with two-column rows, AI images, and infographics.
Get Started
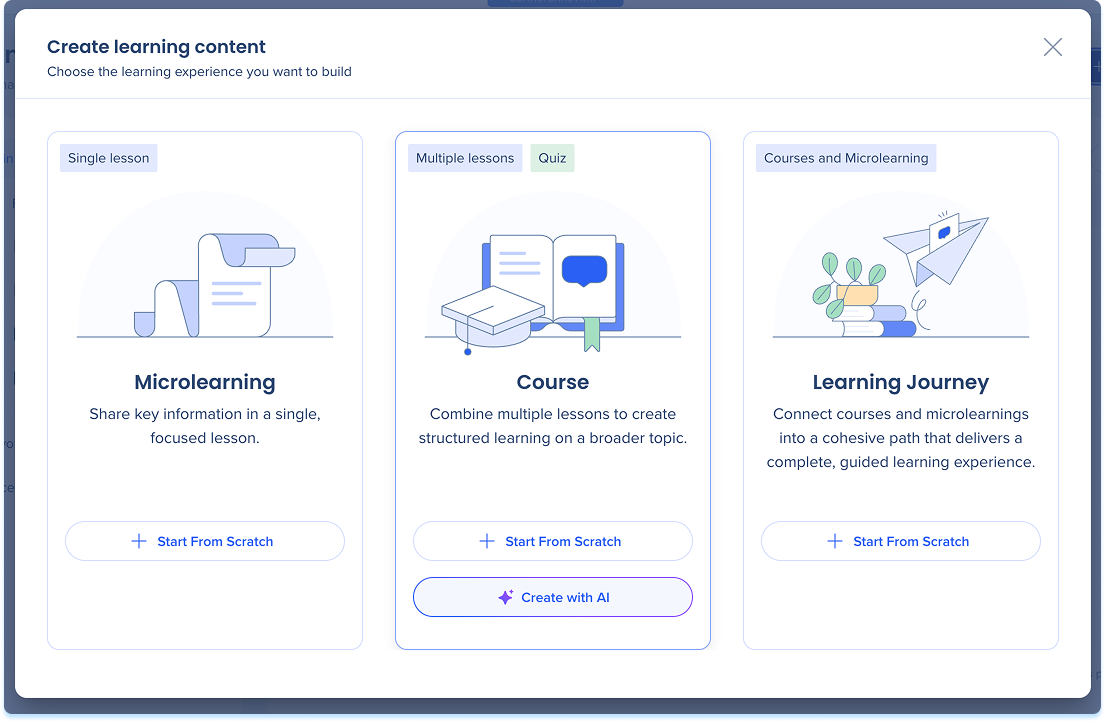
- Go to the Learning Content page
- Select + Learning Content
- Select Create with AI on the Course card
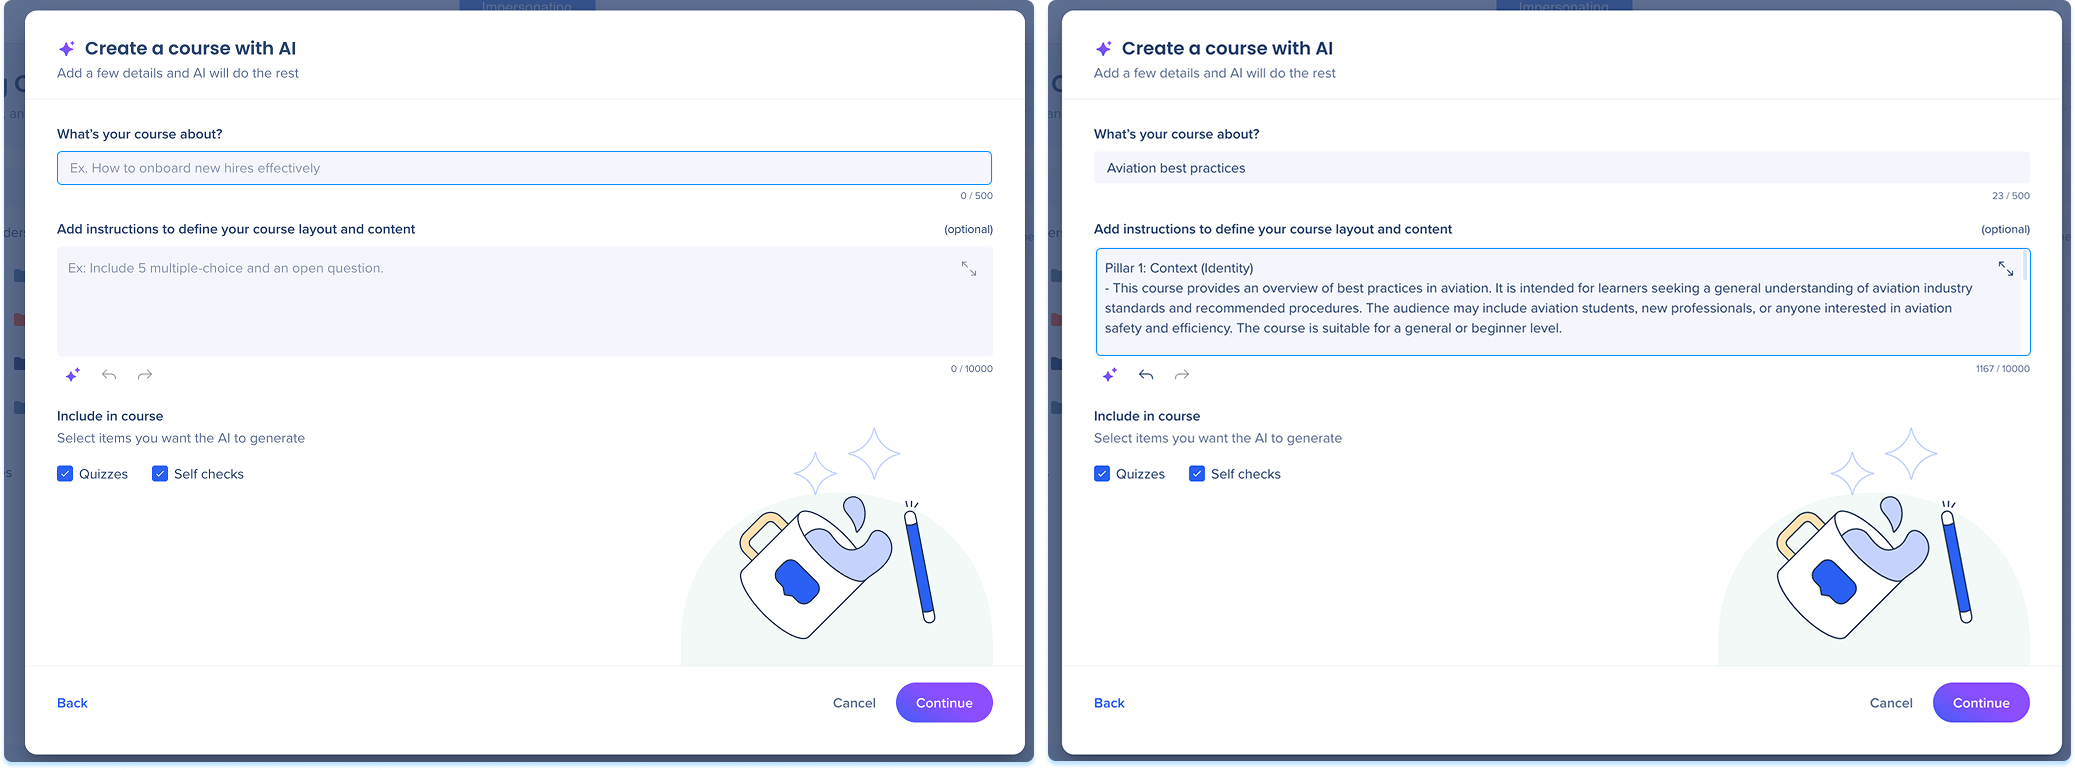
The Create a course with AI popup opens.
Course Details
What's your course about?
- Fill in a short summary of the course topic
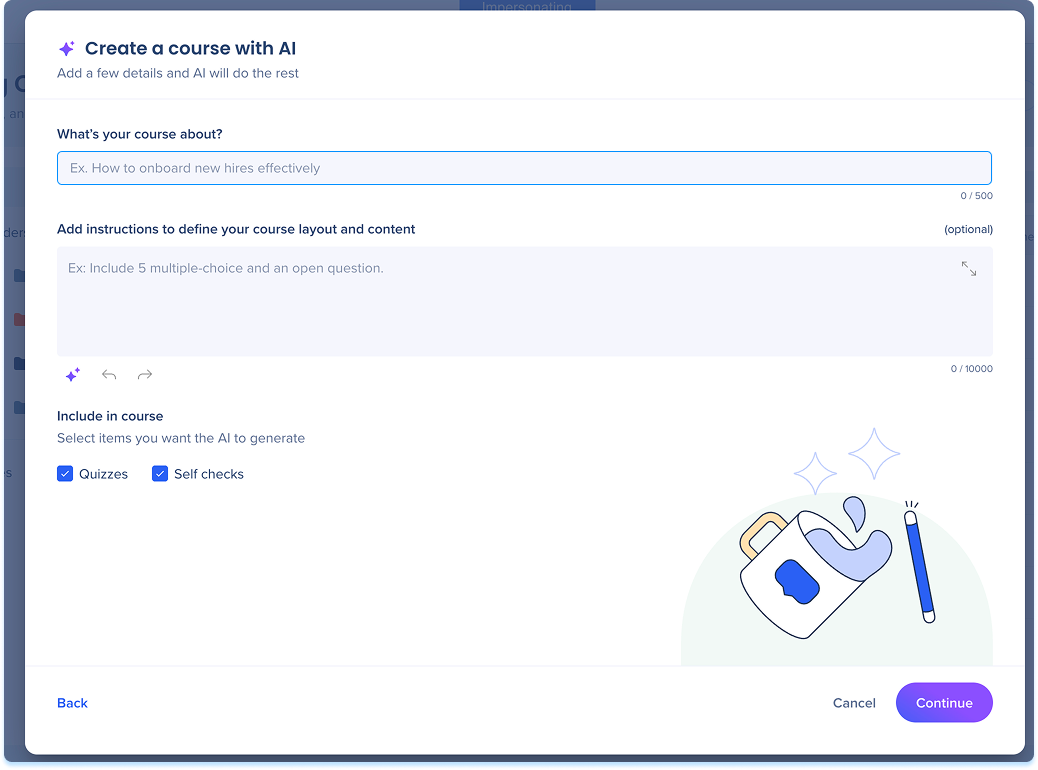
Add instructions to define your course layout and content
- Describe what you want the course to cover (optional)
- Select the Improve with AI icon to rewrite and expand your instructions (optional)
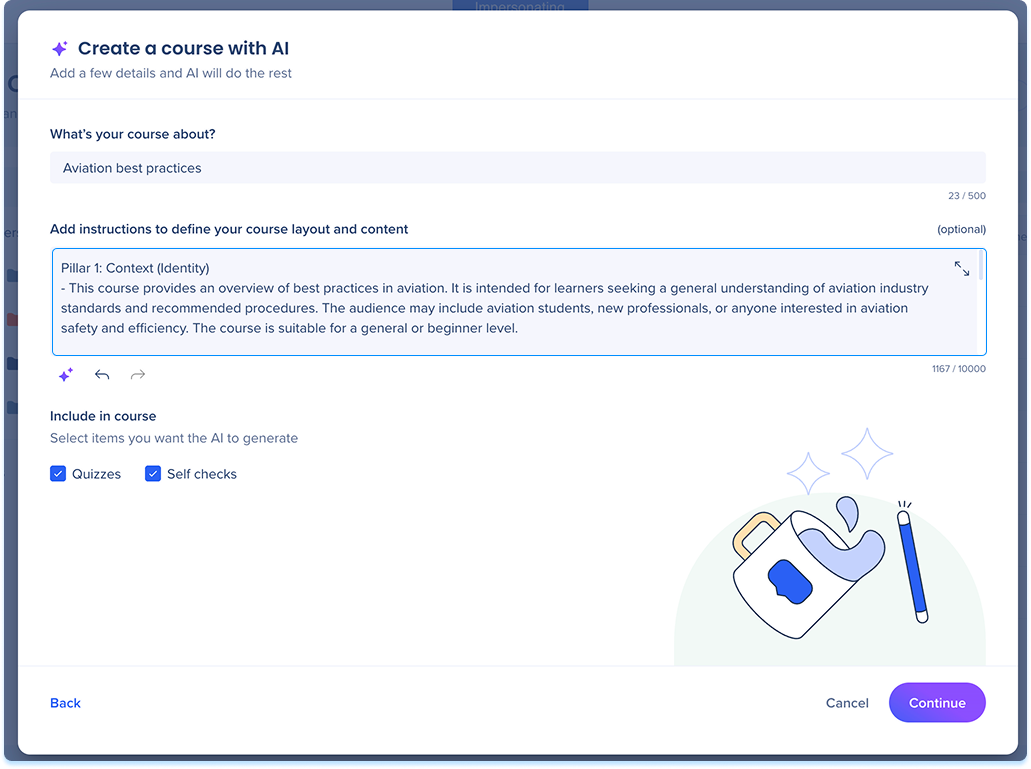
The Improve with AI icon refines your instructions using four areas:
- Context: Who the course is for and what they should learn
- Structure: How many lessons you want and how content should flow
- Rules: Tone, constraints, or topics to avoid
- Reference: How the AI should use any files you upload
Note
The AI will prioritize the selected assets over these suggestions.
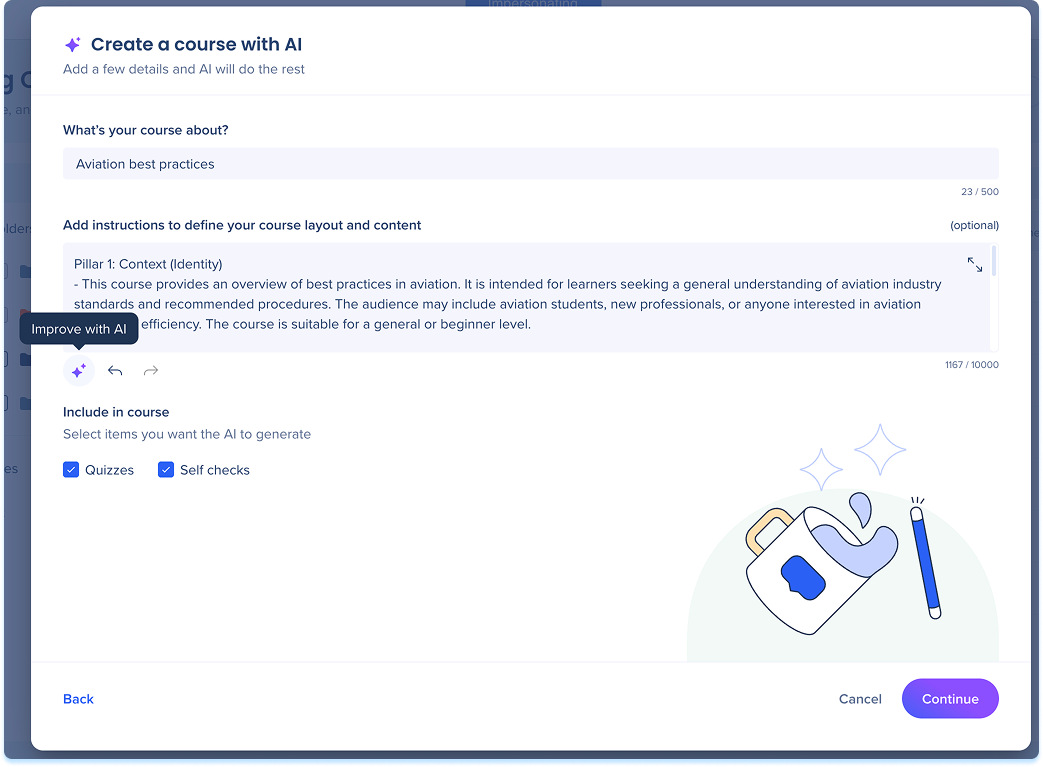
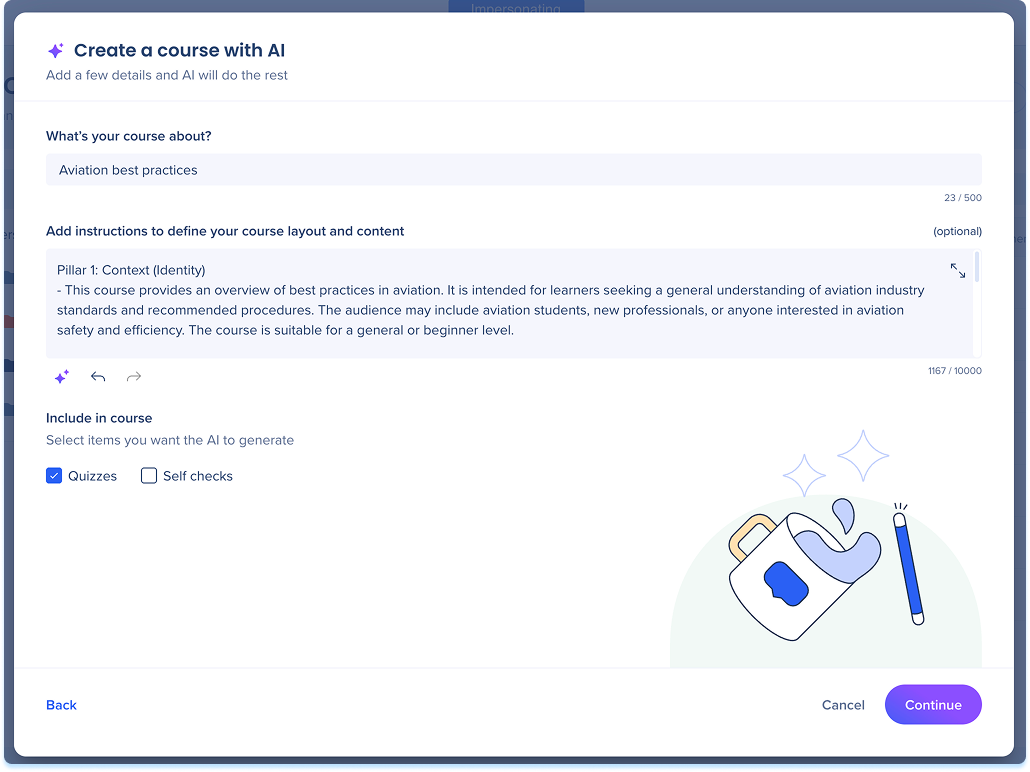
Include in course
- Under Include in course, select what you want the AI to generate:
- Quizzes: Assess learner knowledge at the end of a lesson
- Self checks: Add short knowledge checks within lessons
-
Images: Add AI images and infographics to lessons. Selected by default
-
Pre-assessment: Add a pre-assessment that checks what learners already know
- Select Continue to move to the next step
Upload Files
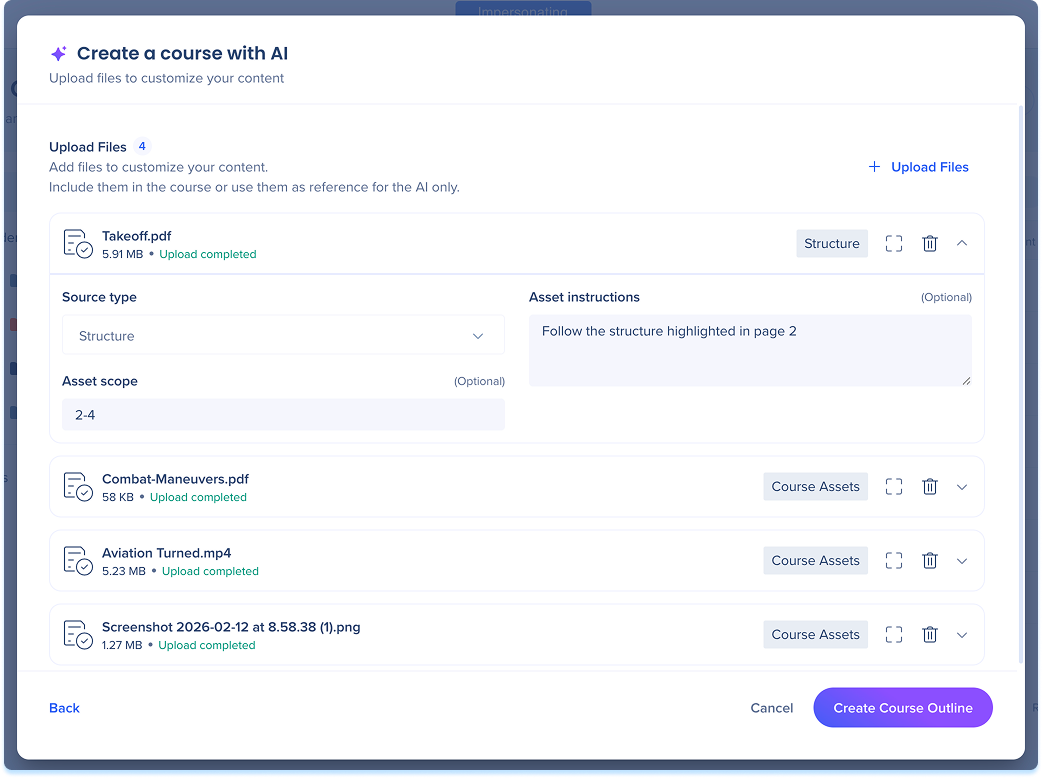
You can upload files to shape how the AI builds your course. Files can serve as source material for the AI, or you can include them directly in the course so learners can access them.
- Select Insert from Assets or Upload from Device
- Add one or more files
Supported formats: JPG, PNG, MP4, WebM, AVI, PDF, DOCX, PPTX, MD, and TXT.
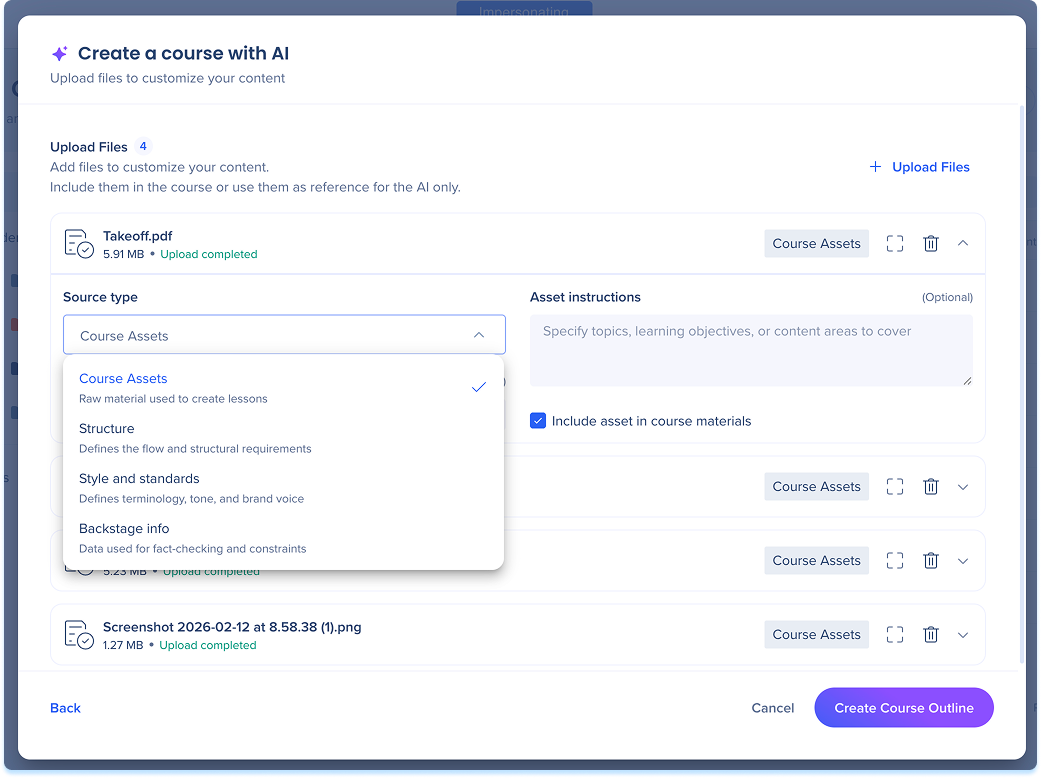
Once a file uploads, expand it to configure how the AI uses it.
- Under Source type, choose how the AI should treat the file:
- Course assets: Raw material used to create lesson content (default). Images in PDF, Word, and PowerPoint files can be placed inside the interactive elements the AI creates, such as accordions and cards.
- Structure: Defines the flow and structural requirements of the course
- Style and standards: Sets the terminology, tone, and brand voice
- Backstage info: Background data used for fact-checking or constraints
- Under Asset scope, fill in a page or time range if you only want the AI to use part of the file (optional)
- Under Asset instructions, add guidance on how the AI should apply the asset (optional)
- Turn on Include asset in course materials if you want learners to access the file in the published course
- Select Create Course Outline
Generate Course
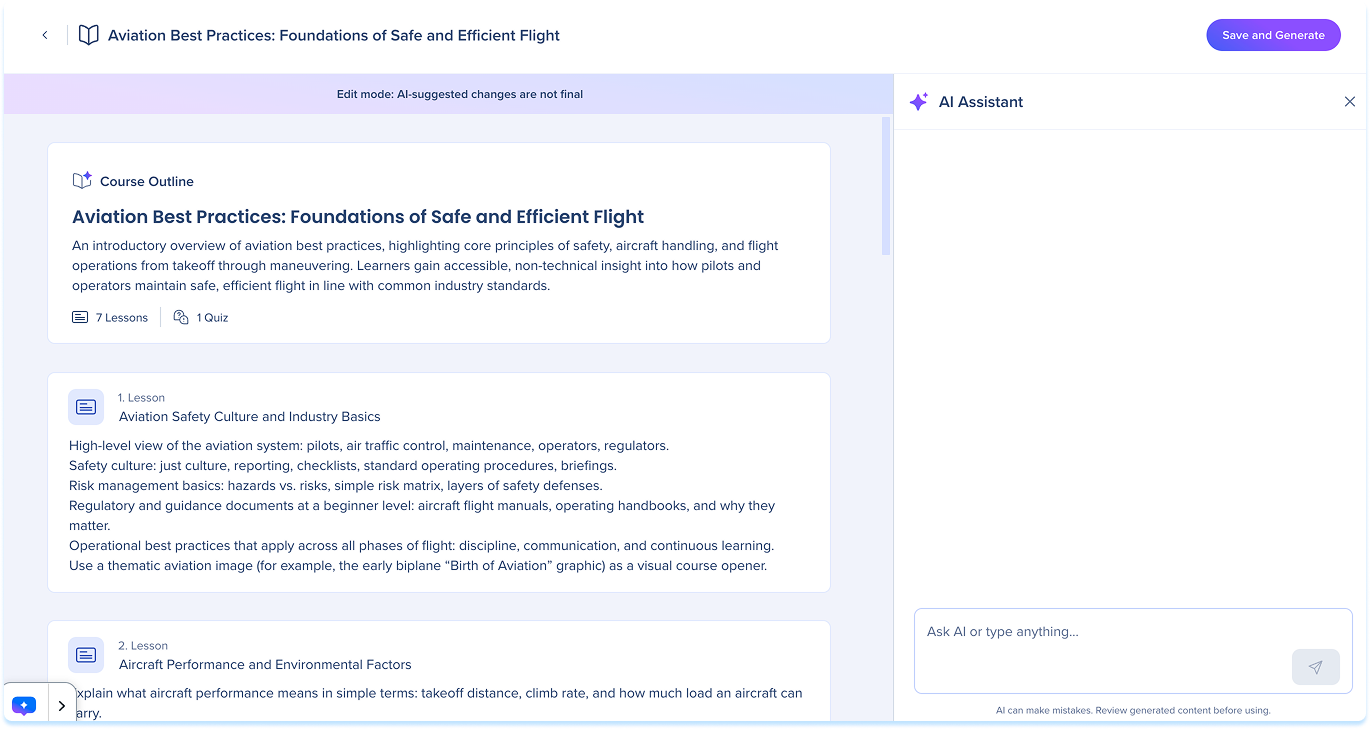
When the outline is ready, you'll get a notification. The generated lessons and course structure appear for you to review.
- Select Save and Generate to create the course
You can edit, rearrange, or remove anything after this step.
Edit a Course with AI
Notes
- When the AI generates your course, it also creates images and infographics for the elements it adds, including accordion panels, cards, and two-column rows, and for the course cover. Accordion images are sized to fit the panel. After the course is created, you can review, replace, or regenerate any image.
- Content is generated in the course source language, even when the files you upload are in another language, unless your instructions ask for another language, for example Write this course in Spanish.
- If your instructions say not to create images, for example Do not create any AI images. Use only the uploaded material., the AI creates none.
- If image generation is turned off for your account, the AI doesn't create images.
What the AI Adds to Your Course
Each lesson the AI creates mixes text and self checks with these elements:
- Accordion: Expandable panels, each with an image
- Flash cards: Cards learners flip
- Summary cards: Cards that sum up the key points, with images
- Two-column rows: A heading and an image on one side, text on the other
- Images and infographics: AI images, or images from the files you upload
Images from your uploaded files are used first, inside interactive elements where they fit. The AI creates new images for the rest.
Technical Notes
- File uploads support files up to 200 MB
- Video file uploads support files up to 500 MB and up to 60 minutes
- TXT files support files up to 1 MB
- SVG and MP3 files are not supported
Content limit for AI course creation
The AI creation wizard can process about 100,000 words of text per course. This limit applies to all the files you add to the wizard combined, not to the finished course. As a guide, each of the following uses the full limit on its own:
- About 1,000 pages of text documents, like PDF or Word files (slides count as pages)
- About 450 pages of documents with a picture or screenshot on most pages
- About 8 hours of video (length counts, not file size)
To estimate how much a document adds, go by page count and number of pictures rather than file size.
Models
- Currently, WalkMe uses Google and OpenAI models for AI features in WalkMe Learning Arc. However, WalkMe reserves the right to change the LLM vendor in the future to enhance the performance and quality of the service.