Welcome to the
WalkMe Help Center
Please log in to continue

Please log in to continue

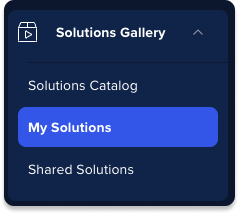
This article is a guide to creating a solution in the Content Manager, which will appear in the My Solutions tab in the console Solutions Gallery.

Click the Options Menu in the item line
Select Create Solution from the menu
A popup will appear with steps for:
Settings
This will be the title displayed in the templates tile in the my solutions page
Enter a Description for your solution
This will be the description displayed in the template tile in the my solutions page
Adjust solution settings by enabling or disabling these specific preferences:
Set as private solution: This solution can only be accessed in My Solutions and not the Shared Solution catalog.
Enable copyright protection: This restricts downloaded items from being used in new templates.
Exclude screenshots & URLs: Screenshots and URLs won't be included in the solution during the building process.
Include Multi-language: Allow the solution to support multiple languages.
Include segments: To reach the right audience, include segments that control when and where your solution appears.
Click Next

Content
Optional: Upload visuals to your solution:
Drag and drop files into the folder
Click Upload and select from the dropdown:
My computer
Assets library: A repository of digital assets to enhance content in digital solutions

Enter additional details to help explain your solution in the How it Works field

