Brief Overview
Desktop recording lets you capture real workflows in desktop applications and convert them into reusable simulations. Unlike browser-tab recording, desktop recording supports full application windows, cross-application flows, and legacy systems-so simulations reflect how work actually happens. Desktop recording extends the Simulation element in WalkMe Learning Arc and is designed to turn real desktop work into scalable learning and practice assets.

Prerequisites
- To use this new capability, make sure the latest WalkMe Menu for desktop is installed
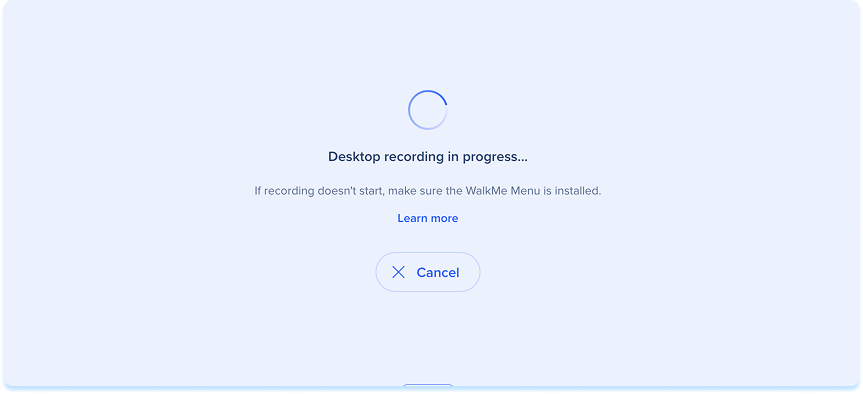
- If WalkMe Menu for desktop isn't installed, you'll be prompted to install it during the recording flow
How It Works
Record a desktop simulation
- In the Learning Content page, select the learning content you want to edit
- Add a simulation element to your lesson
- Select Record
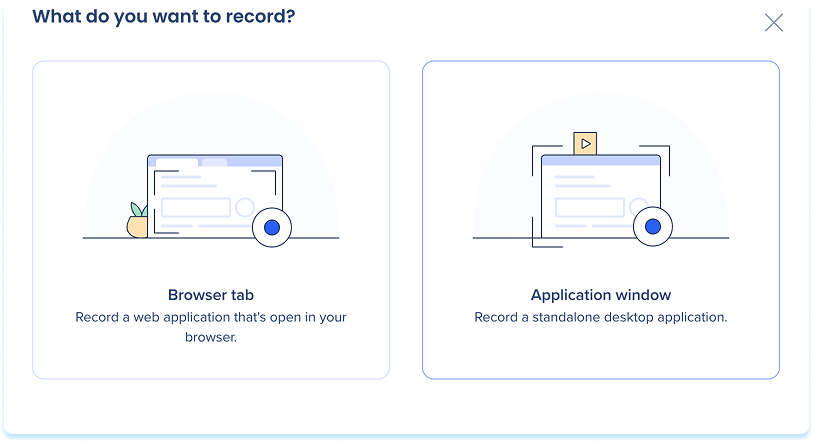
- In the What do you want to record? popup, select Application window
Note
The first time you record a desktop simulation on macOS, you'll be prompted to grant screen recording permissions. Follow the on-screen instructions to allow access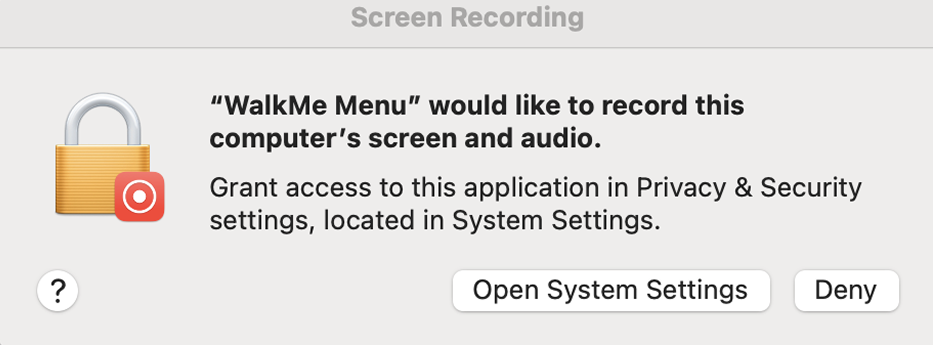
-
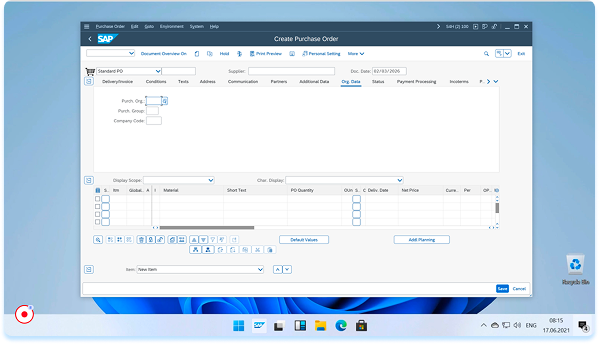
Complete the workflow you want learners to practice
-
Select Stop Recording when you're done
-
The simulation is automatically added to your lesson and is ready to edit, publish, and reuse
If WalkMe Menu for desktop isn't installed:
- Select Learn more in the process state
- In the popup that appears, review the installation information
- Follow the on-screen instructions to to install WalkMe Menu for desktop
- Restart the recording
Technical Notes
- Supported platforms: Windows 10, Windows 11, macOS Sonoma 14 or later
-
Canceling a recording in Learning Arc does not cancel it in WalkMe Menu, and vice versa
-
Desktop recordings support click events only
-
The Blur feature is not currently supported within the controller


