Brief Overview
Ready to set up your mobile menu App?
You've reached the right place! Getting started with the mobile menu can be quick and easy when you follow these simple steps.
Step 1: Create a Desktop/Mobile System
Create a new WalkMe system-type Desktop/Mobile. You can do it using a step-by-step wizard or through the Admin systems page.
If you are accessing the Menu console app without having an existing desktop/mobile system under your account, you will be presented with the Get Started Wizard which enables you to create one and start working with it within minutes.
By the end of this process, you'll have a working menu ready to be tested and deployed.
If you already have an account with the menu and you need another desktop/menu system, go to the Systems page in WalkMe Admin and follow the Create System wizard.
Step 2: Set Up Sign-In Method
After creating a new desktop/mobile system, the Get-started wizard shows a form for configuring how users should be able to sign in into their menu.
- If you want to login using their IDP, “Connect your IDP” button will lead you to the right place in the Admin Center for updating its configuration and enabling it on your newly created desktop/mobile menu.
- The Admin Center is expected to open in a new tab, and the wizard will be in standby mode where it will look for updated configuration every 10 seconds. Once it finds an IDP provider that is enabled for the desktop/mobile menu, it will automatically advance to the next step.
- If G-suite or other social connector is being used to log in and you would like to use those until IDP is configured, you can insert your company domain as it appears on users emails in the domain input field.
- The domain should match the same path the employees emails have after the @ , so if we log-in using John.doe@walkme.com walkme.com will be the value to use in that field.
- The domain value is also used in cases where you did not deploy your settings file that indicates which system the desktop/mobile menu should load when it is launched. In those cases, a default login page will be presented to all users, and based on the domain part of the email they use to login the desktop/mobile menu will load the appropriate system.
Step 3: Download & Install
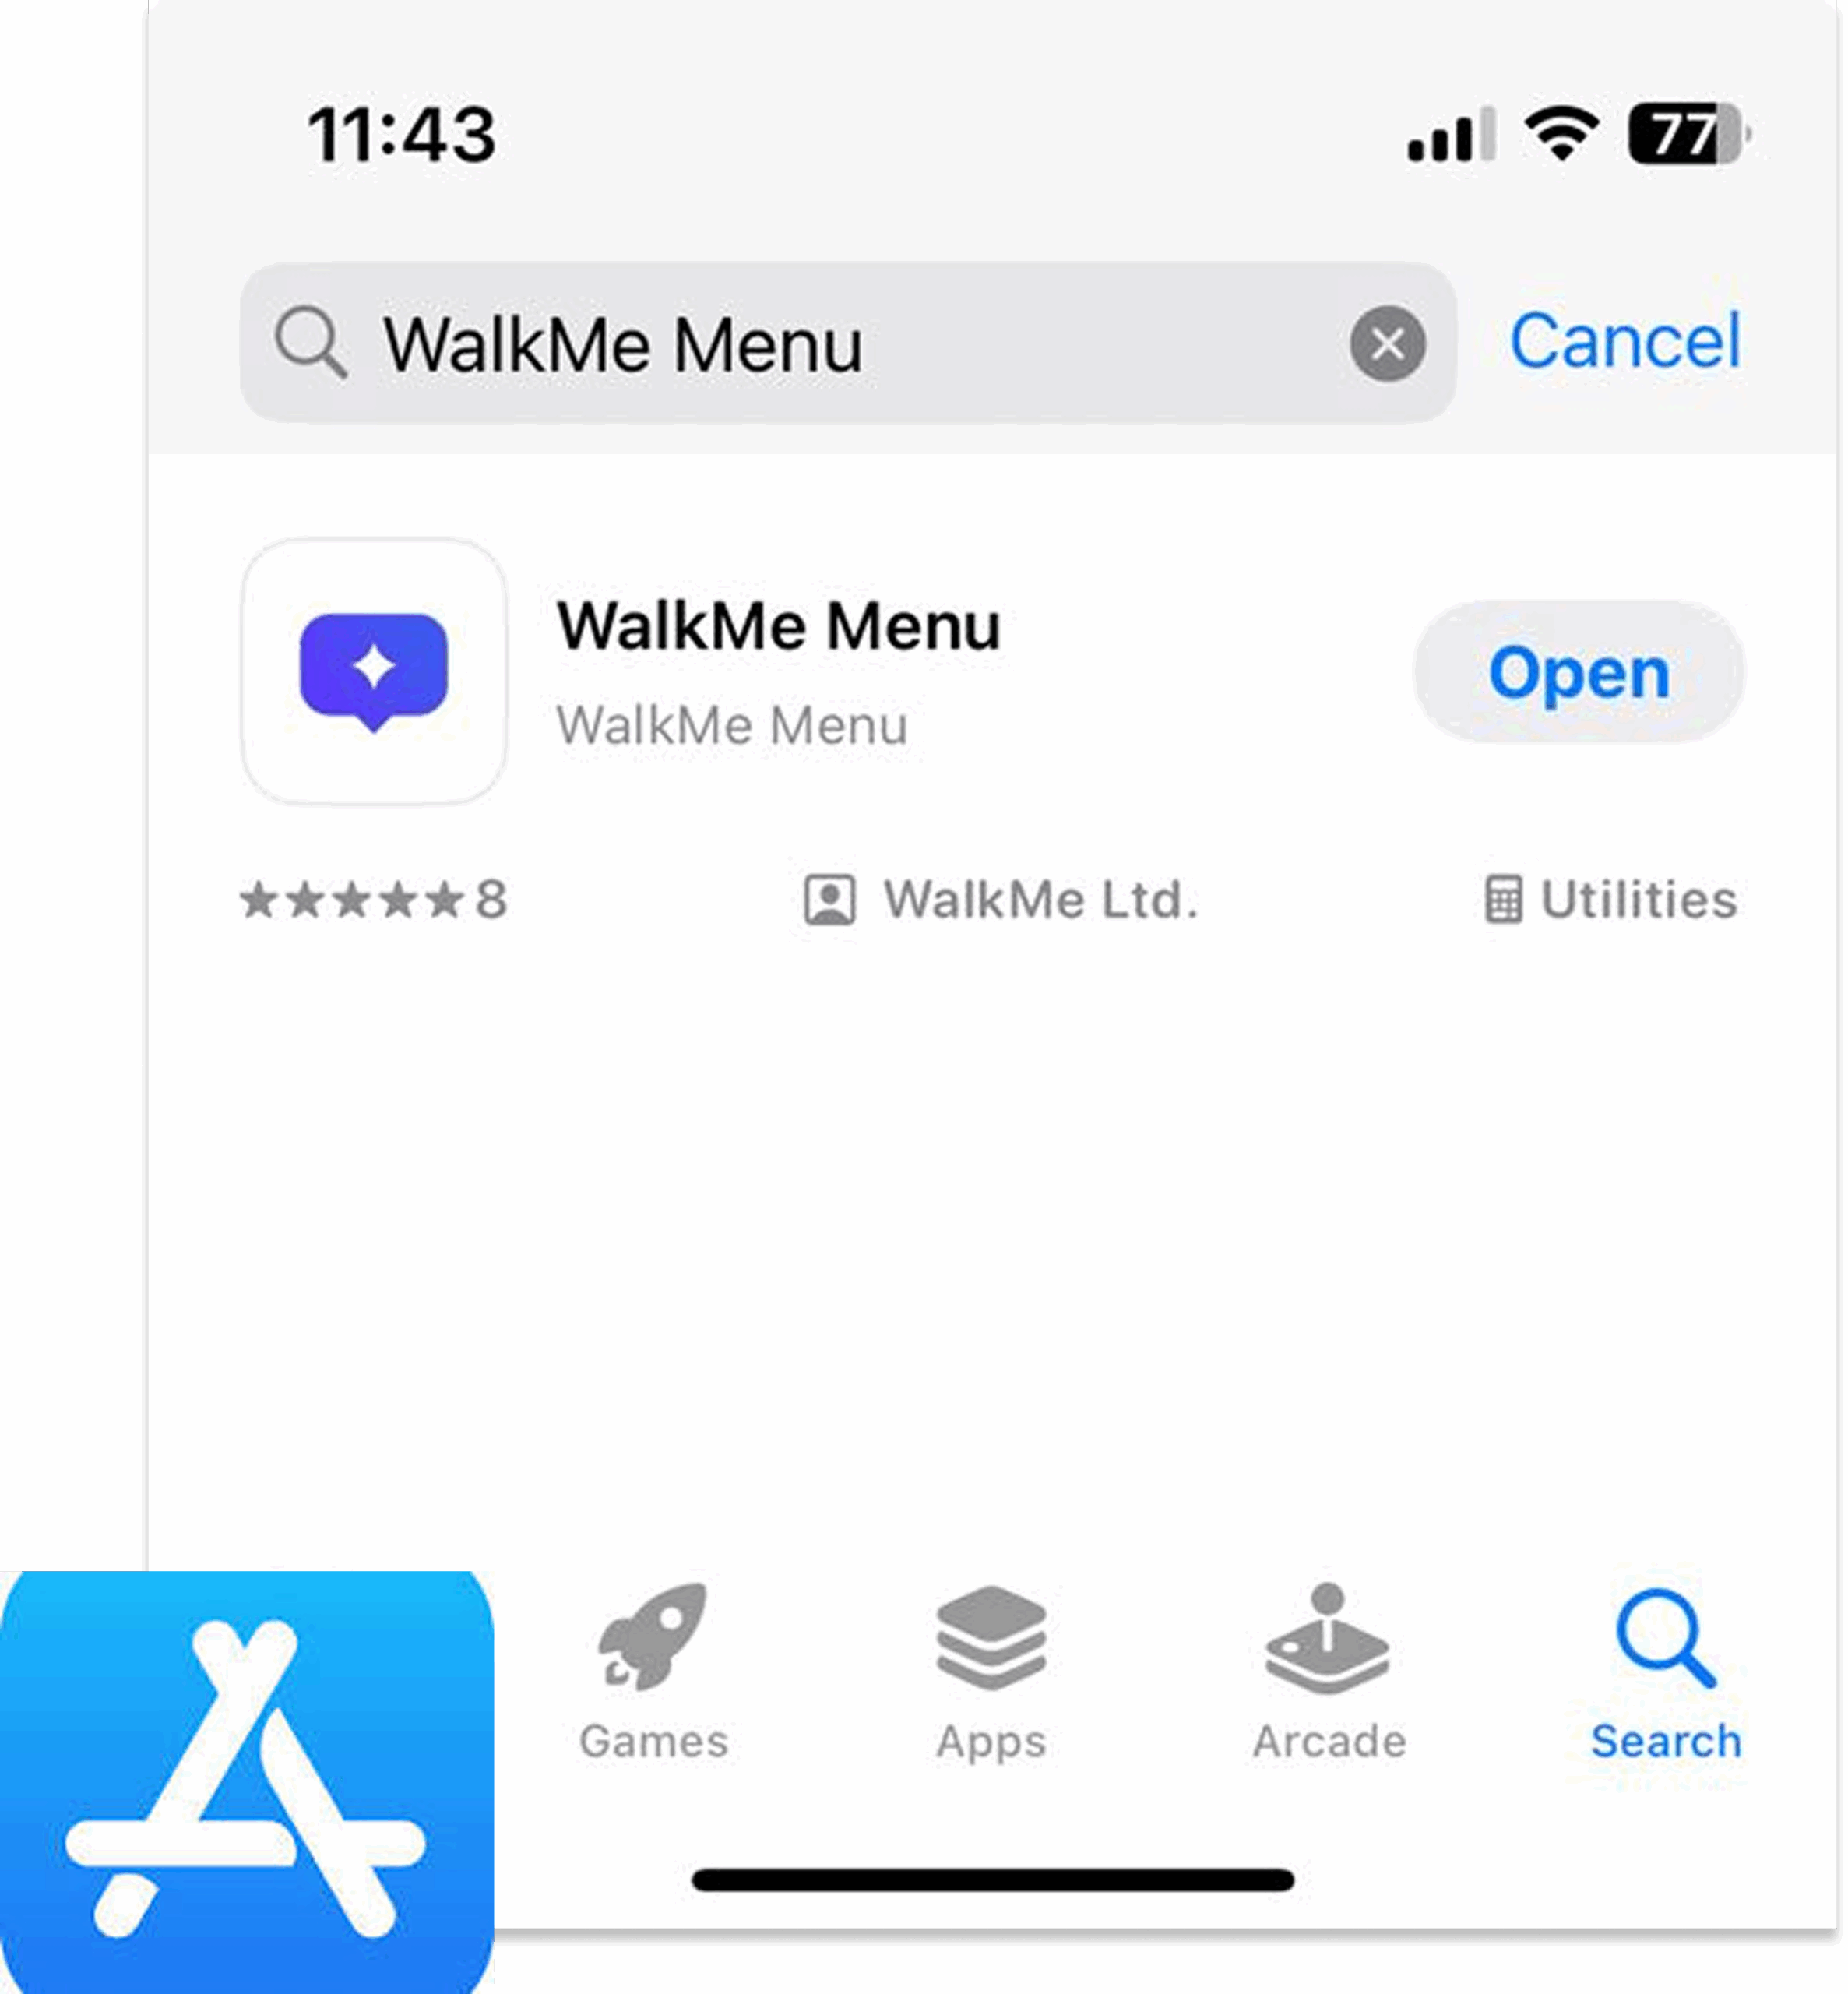
The mobile menu application can be distributed and installed on mobile devices using Mobile Device Management (MDM) software or downloaded by employees directly from the app store/market place by searching “WalkMe Menu”.
Step 4: Enable Features
Enable content
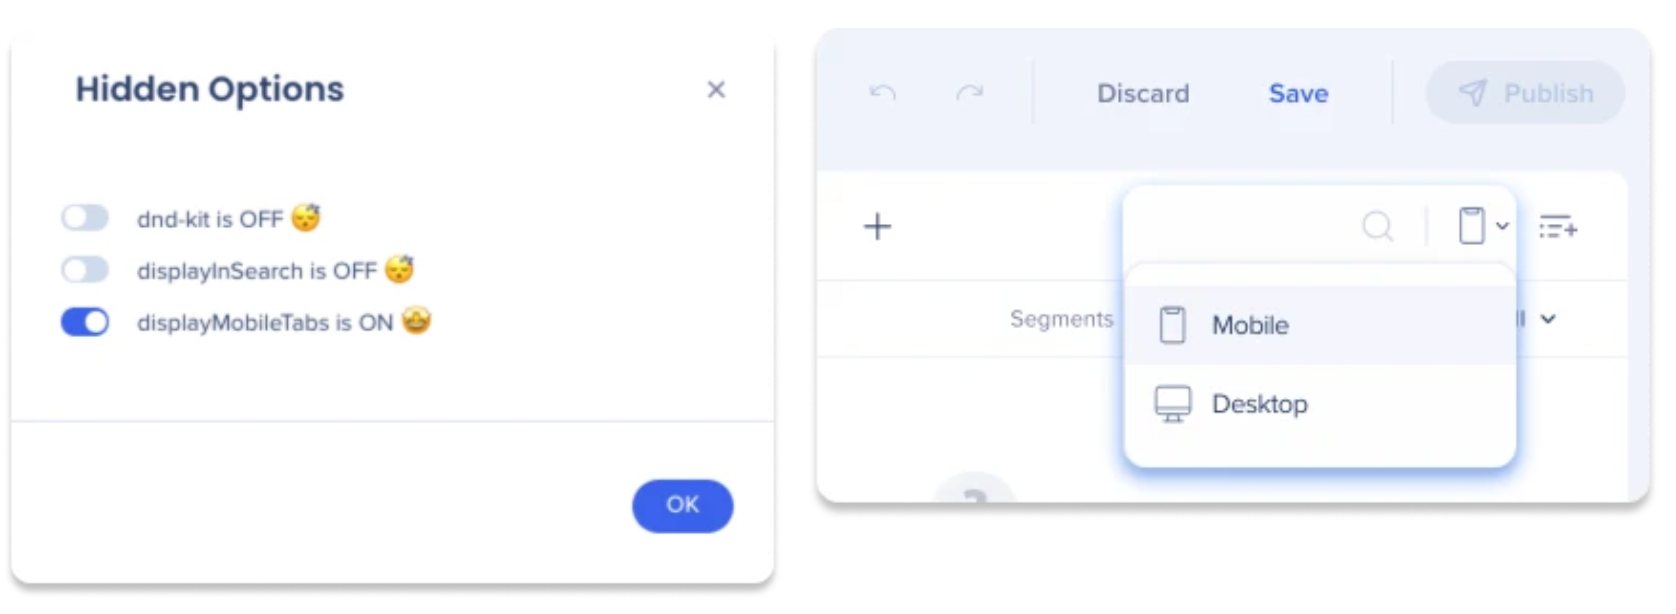
Mobile menu content is managed from the Menu Organizer in the WalkMe Console.
-
Select your desktop/mobile system from the systems selection

-
Select Mobile from the Desktop / Mobile view selection
-
Add or rename tabs according to your need (optional)
Note
You can add two different types of tabs:
- Tasks: Displayed as a “Quick actions” widget on the app
- Help: Displayed as an “onboarding” widget on the app
-
Drag content from the Items list to your tabs
-
Click Save and Publish
Enable app integrations
To enhance the capabilities of your enterprise search and home screen, you have the option to enable and configure app integrations from the Integrations tab.
For more information about a specific integrations, you can click on the Setup button and access the Setup Guide linked in the popup.
Desktop and Mobile Menu Integrations
Get to Know and Use
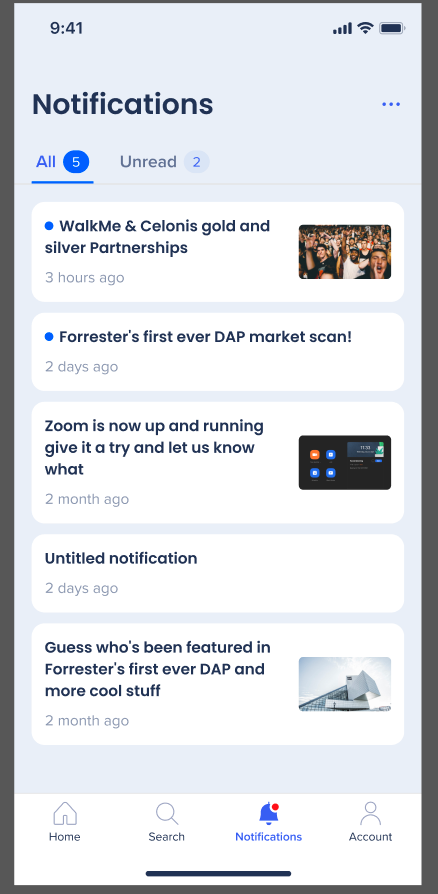
Send notifications
Builders have the ability to send notifications through the communication center in the WalkMe Console.
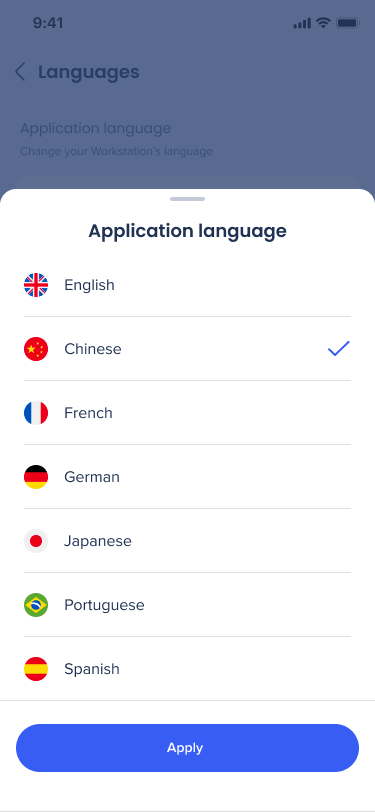
Localization and multi-language
The mobile menu application allows users to easily switch to their preferred language, which is automatically applied across all their devices. This process includes both menu and resources language translations, ensuring a flexible and consistent experience.
Desktop Menu: Localization and Multi-Language