Brief Overview
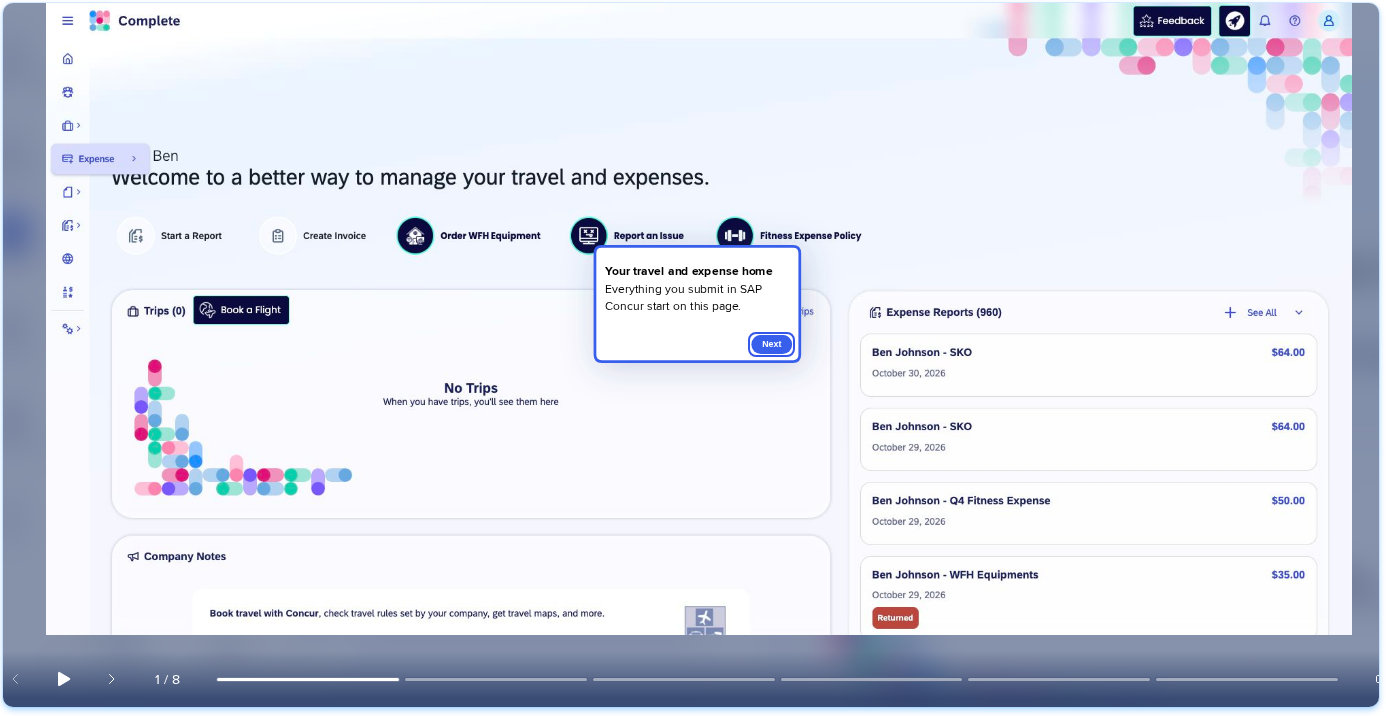
Sequencing lets you show several annotations on 1 slide, one at a time, instead of creating a separate slide for each callout. You set the order and choose what moves the learner to the next annotation, so simulations stay shorter and learners get guidance at a steady pace.
The Annotations panel lists every annotation on a slide, so you can find and edit one even when it sits under another.
Use Cases
- Walk learners through several fields on 1 screen without extra slides
- Pace callouts on a busy page so learners aren't overwhelmed
- Find and edit an annotation hidden under another one
Access
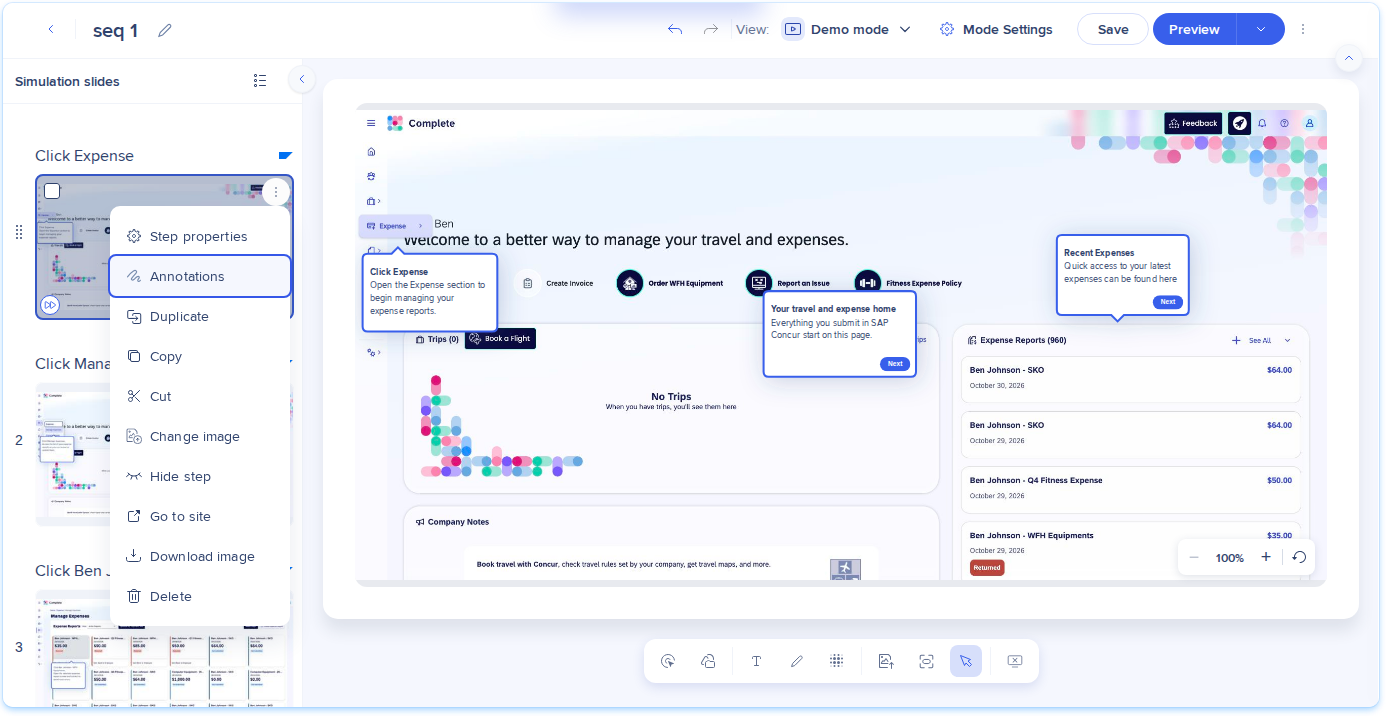
Open the Annotations panel from the simulation editor:
- In the Slides panel, open the Options menu on a slide
- Select Annotations
You can also right-click an annotation on the canvas and select Annotations. The panel opens with that annotation selected.
Simulation Editing in WalkMe Learning Arc
How It Works
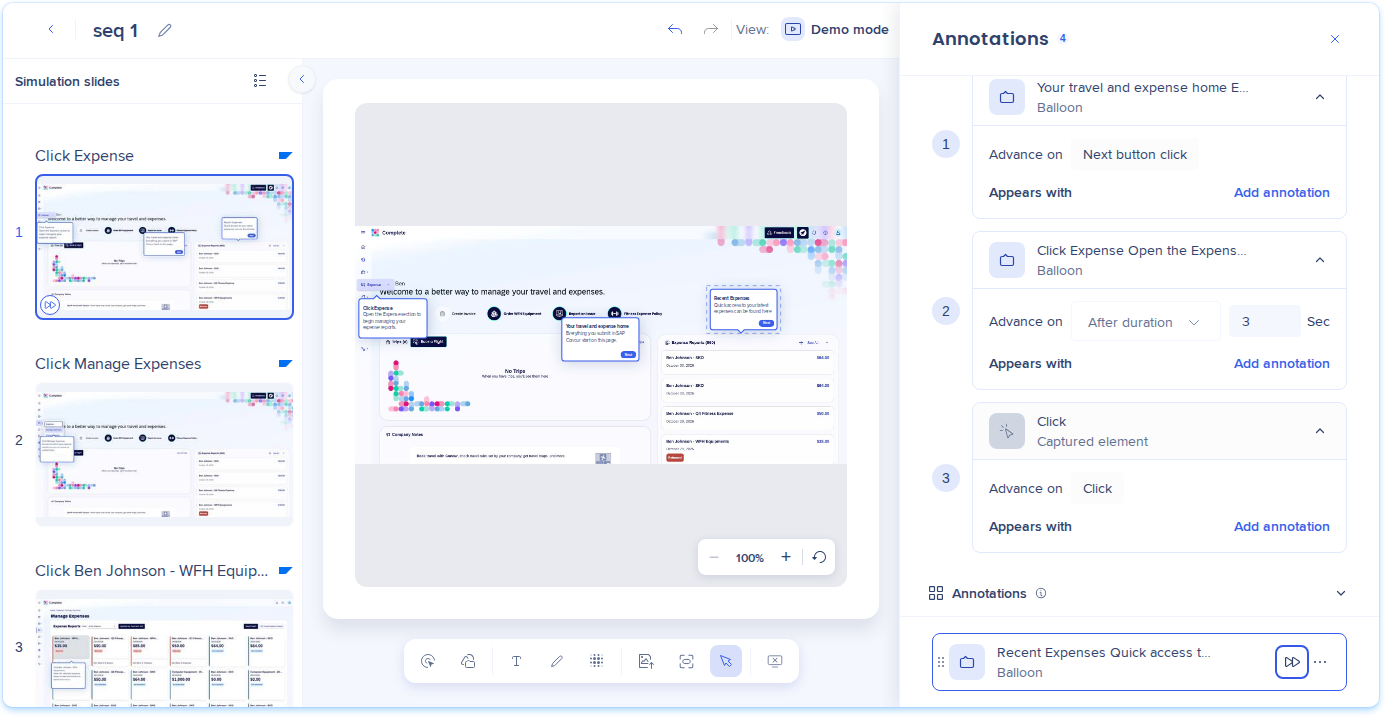
The Annotations panel lists the slide's annotations from front to back. Add annotations to the Sequence section to show them in order. Annotations outside the sequence appear when the slide loads.
Edit overlapping annotations
To edit an annotation that's hidden under another one:
- In the Annotations panel, hover over an annotation to outline it on the canvas
- Select the annotation in the panel to show it on top of the others
- Edit the annotation on the canvas
Create a sequence
- In the Annotations panel, select Add to sequence on an annotation, or drag it to the Sequence section
- Repeat for each annotation you want to show in order
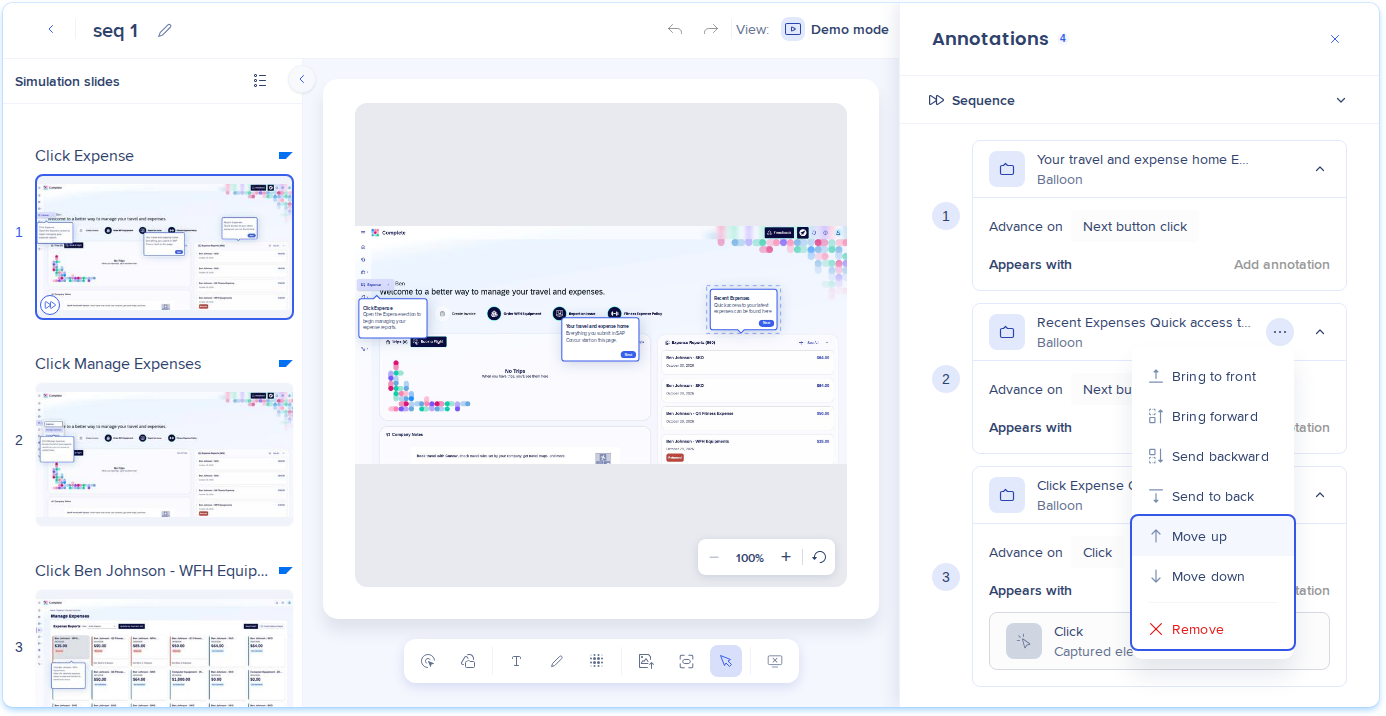
- To change the order, drag items, or select Move up or Move down in the item menu
- Under Advance on, choose what moves the learner to the next item:
- Next button click: The learner selects Next. It's the default for an item that includes a balloon with a Next button, and it's available only for those items
- After duration: Type a time from 1 to 60 seconds. The default is 3
- The learner interacts with the captured element
- To show annotations together, select Add annotation next to Appears with (optional)
- Select Done
Note
A slide with a sequence shows a badge on its thumbnail.
Edit a sequence
- To change the order, drag the item, or select Move up or Move down in the item menu
- To show an annotation on its own instead of with others, select Remove
- To take an annotation out of the sequence, select Remove
What learners see
- In all modes, the annotations in the sequence appear one at a time, in order
- Annotations hidden in the current mode are skipped
- In practice and test modes, the learner interacts with Next buttons and the captured element when its turn comes
- In demo mode, the captured element animation plays at its turn in the sequence, and learners select Next buttons as needed
In exported documents:
- Sequenced annotations appear as numbered markers on the image
- All annotations are listed next to the image
- Annotations outside the sequence stay on the image
Technical Notes
Required permissions
For details, refer to WalkMe Learning Arc Roles & Permissions.
WalkMe Learning Arc Roles & Permissions
Limitations