Brief Overview
Integrate with Azure Blob Storage to securely transfer data for archiving, analytics, or backup workflows. Follow these steps to connect your Azure storage.
How It Works
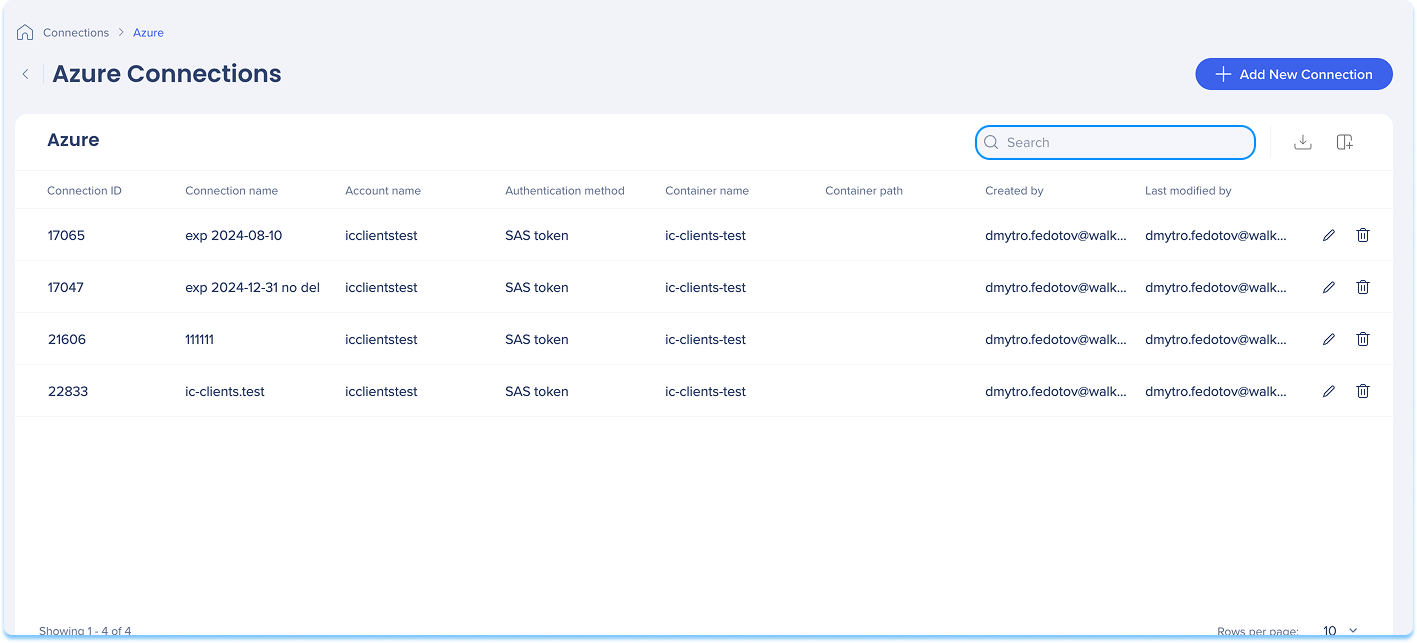
Azure Blob connections page overview
The Azure Blob Connections page is a central hub for viewing and managing all of your configured Azure Blob connections.
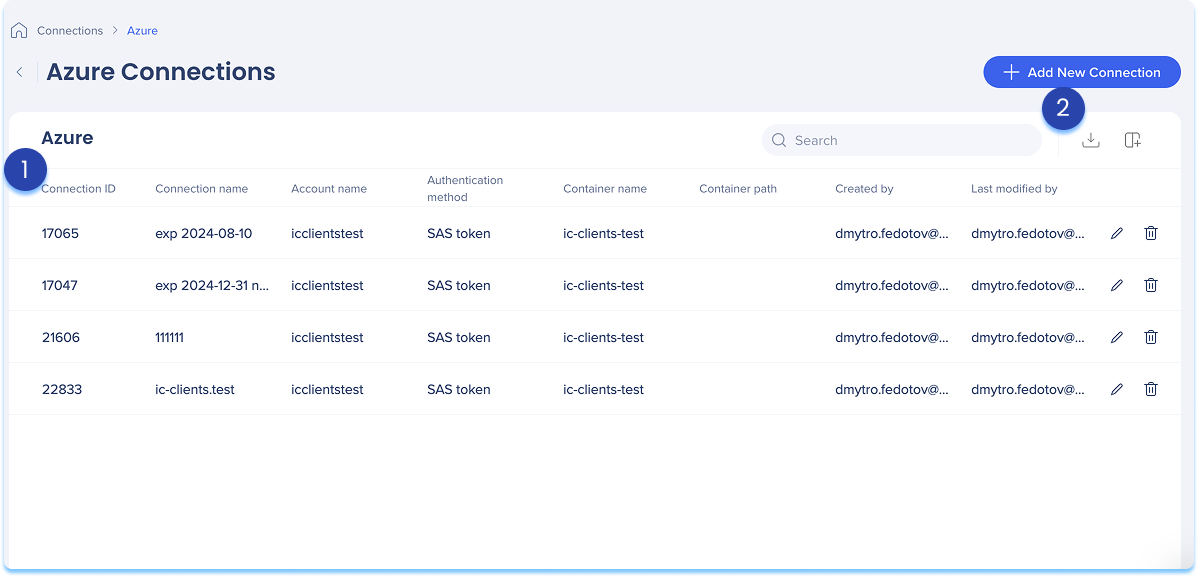
1. Azure Blob table
The Azure Blob connections table lists all configured connections.
Table columns:
-
Connection ID: Unique identifier for the connection
-
Connection name: Custom name given to the connection
-
Account name: Name of the Azure Storage account
-
Authentication method: Type of authentication used
-
Container name: Name of the Azure Blob container used for the connection
-
Container path: Optional folder path within the container where files are stored or retrieved
-
Created by: User who created the connection
-
Last modified by: User who last updated the connection
2. Table icons
Manage columns
Remove or add columns from the table
-
Click the Manage columns icon
-
Select which columns you'd like to have in the table
-
Click Apply
Add new connection
-
Click the + Add New Connection button to add a new Azure Blob connection
Learn more in the section below.
Export connections
-
Click the Export Connections icon to download a csv or xlsx file containing all configured connection details
Search
-
Use the Search bar to quickly find specific connections
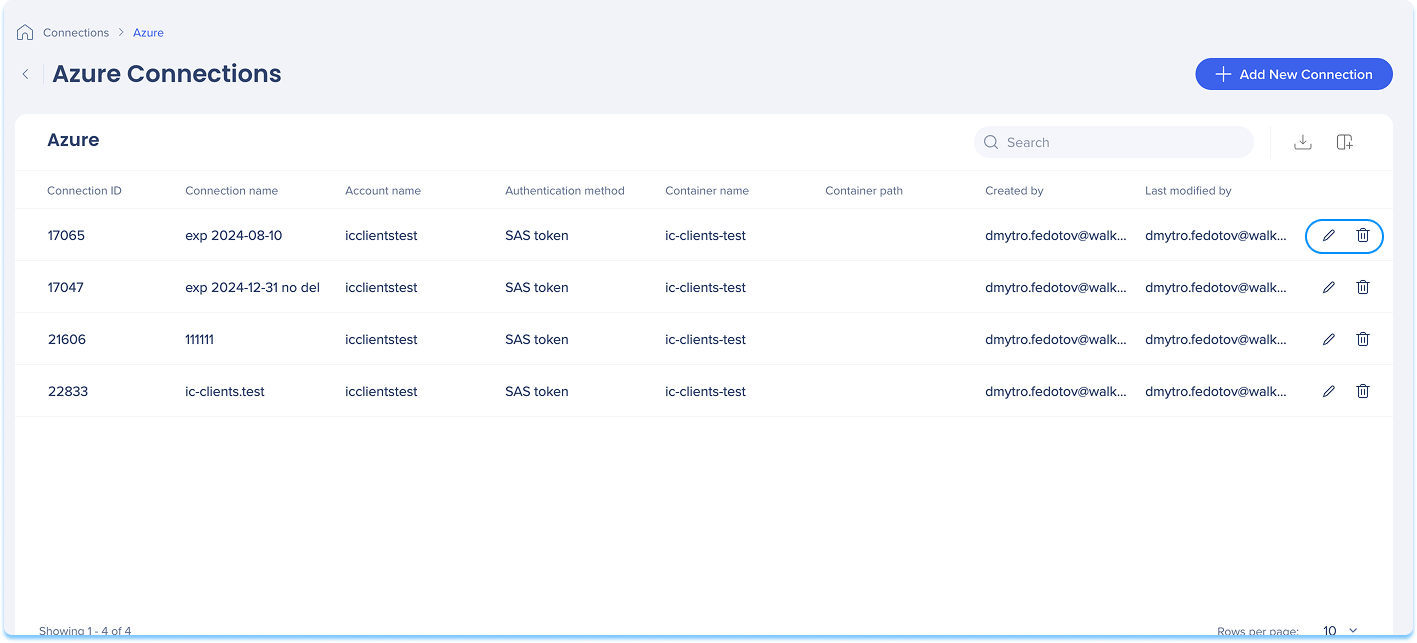
Item options
Available actions:
-
Click the Edit icon to update the connection
-
Click the Delete icon to remove the connection
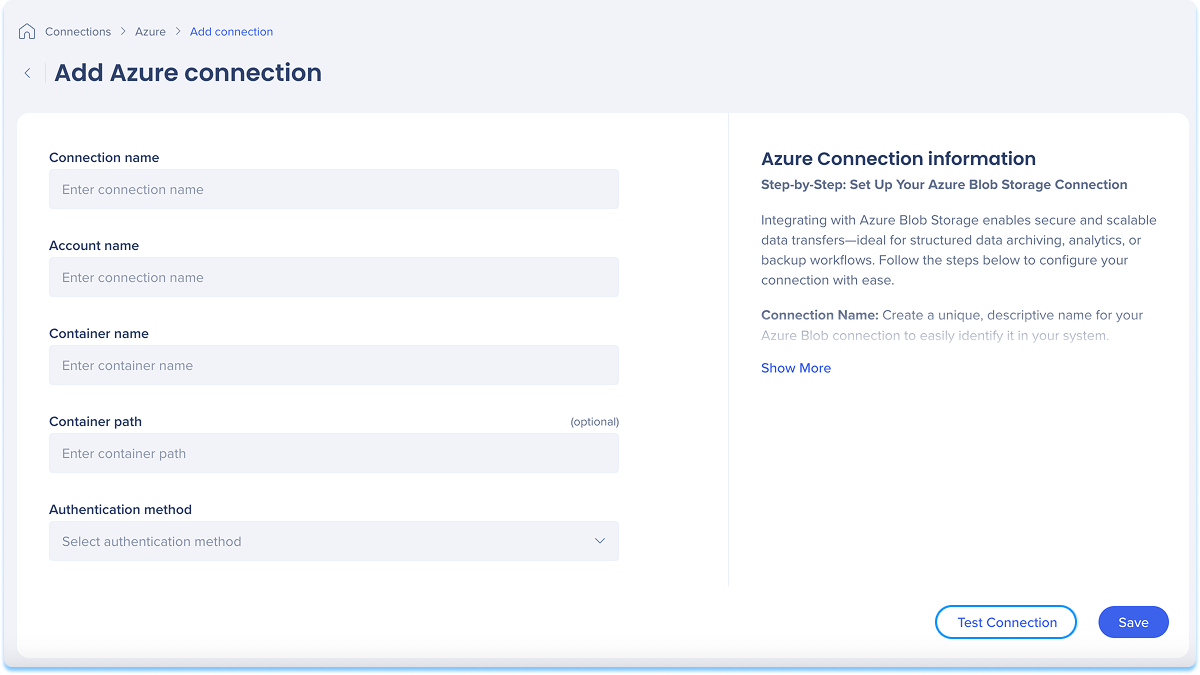
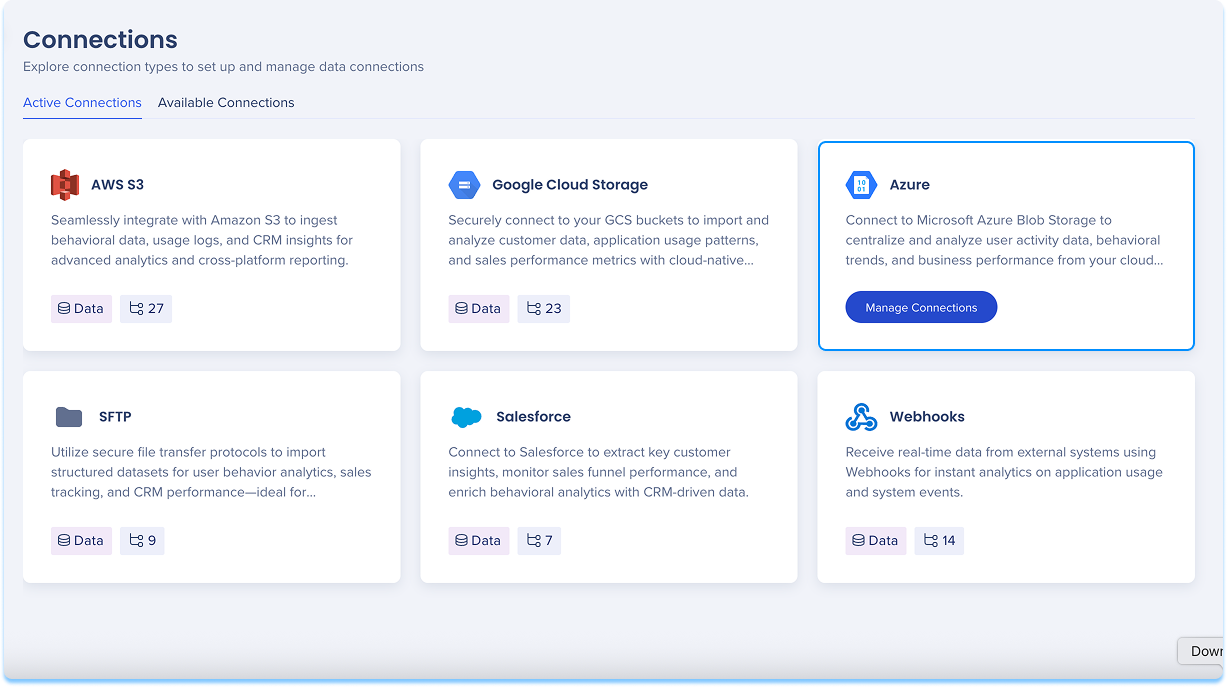
How to setup an Azure Blob connection
You can add a new connection whether it's your first or you're adding to existing ones.
-
Choose how to start:
-
If this is your first connection:
-
Go to the Available connections tab
-
Hover over the Azure Blob tile
-
Click Setup
-
If you already have connections:
-
Go to the Active connections tab
-
Hover over the Azure Blob tile
-
Click Manage Connections
-
A table will open showing all configured connections for that integration
-
Click Add new connection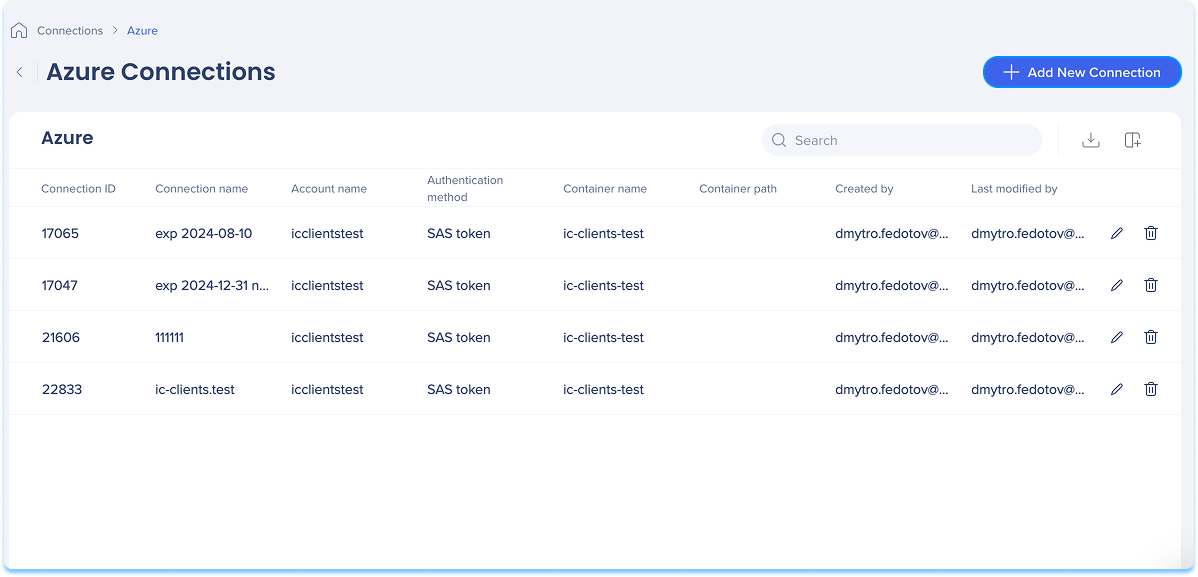
-
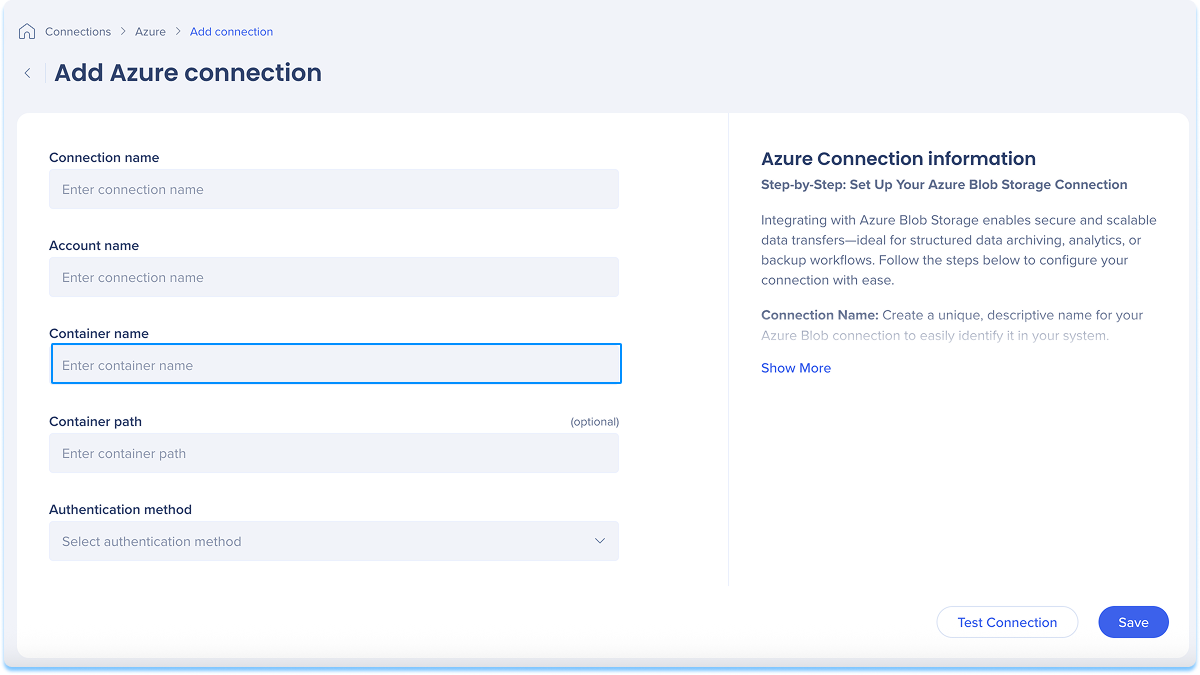
You'll be taken to the Add Azure Blob Connection page
-
Give your connection a clear, descriptive name so you can easily recognize it later
-
For example: Azure_Blob_CustomerExport
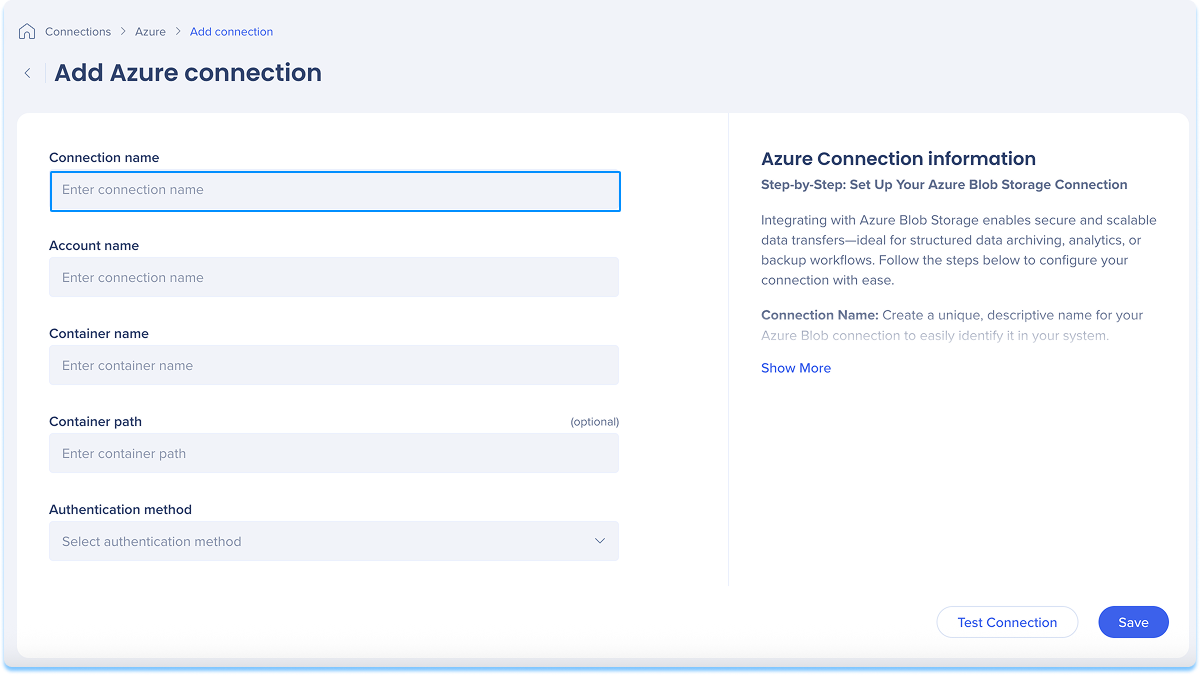
-
Enter the name of your Azure Storage account
-
You can find this in the Azure Portal under Storage Accounts
-
Enter the name of the container in your Azure Storage account
-
Containers act as top-level directories in your Azure Blob environment
-
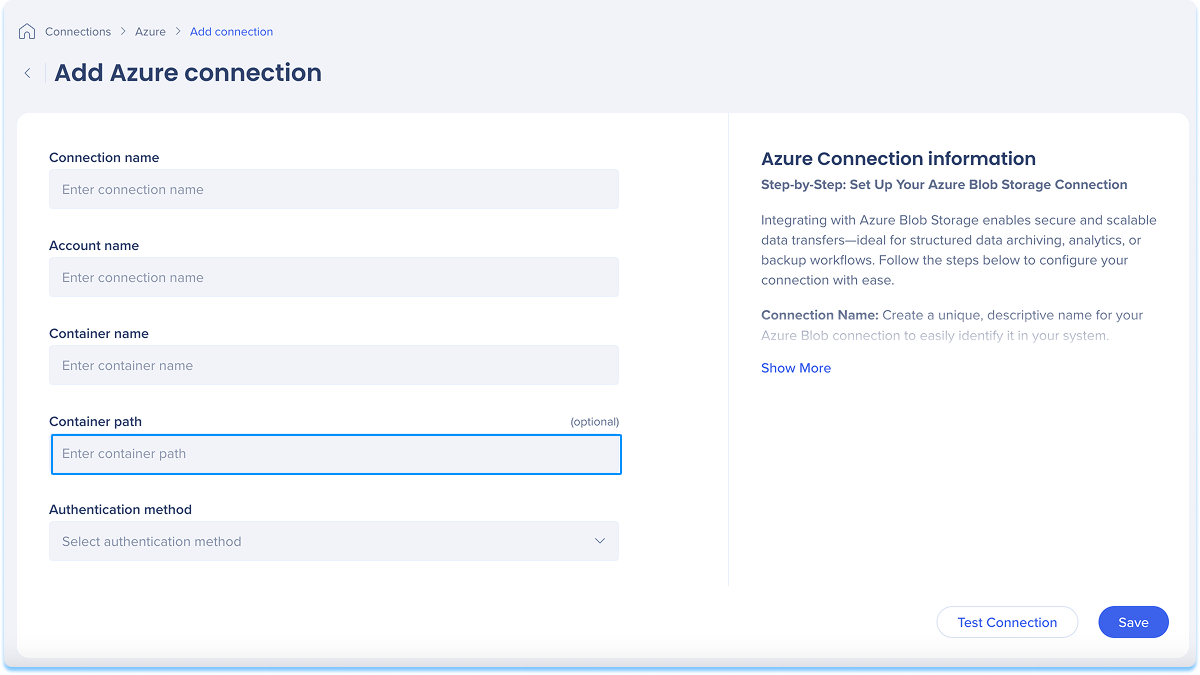
Optional: Enter the container path
-
Define a subfolder path within the container to help organize your files into folders
-
For example: reports/monthly
-
If left blank, files will be stored in the root directory of the container
-
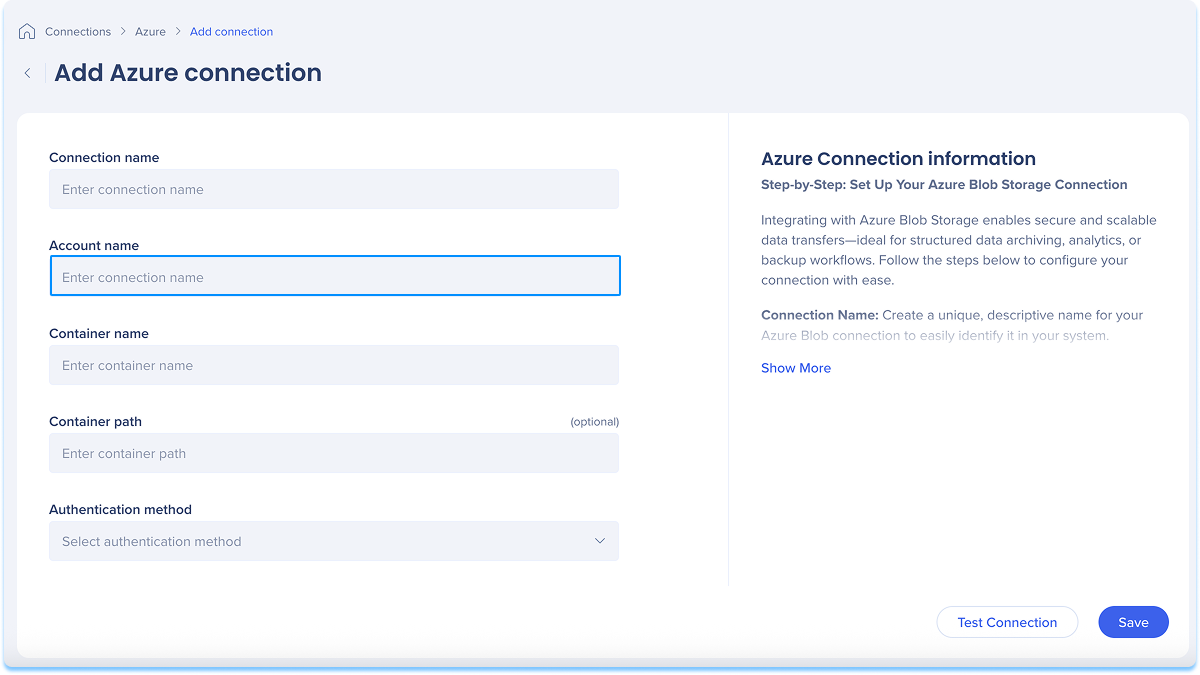
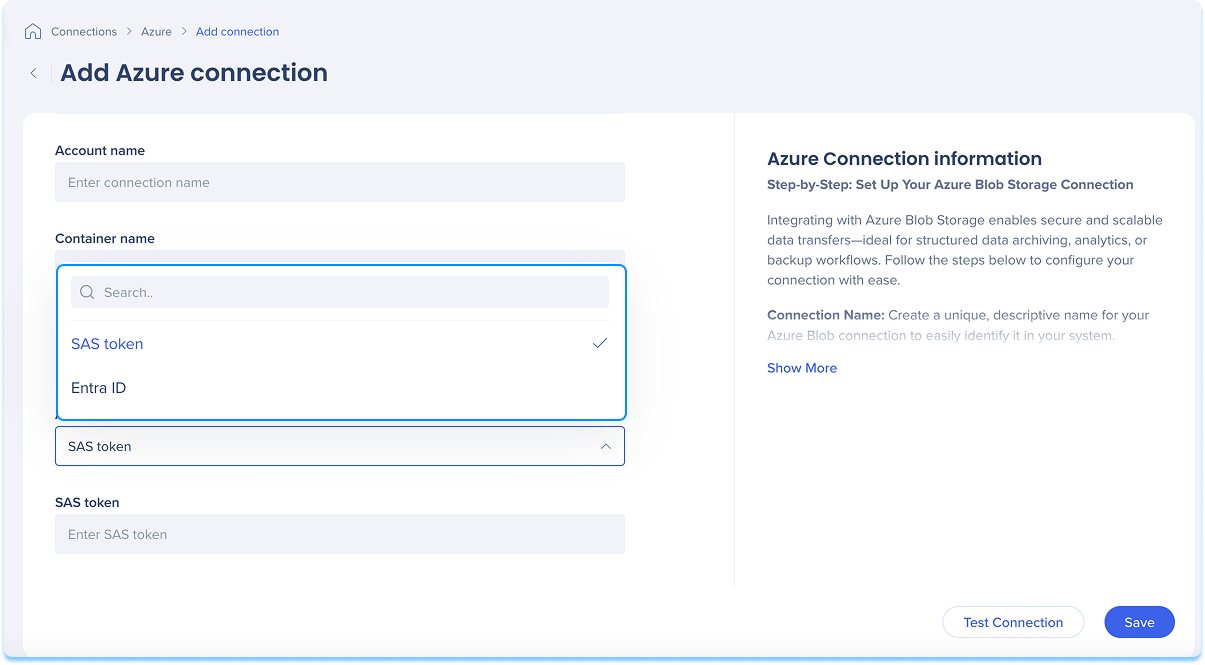
Select an authentication method from the dropdown that matches your security and access setup:
-
SAS Token: Use a Shared Access Signature (SAS) Token to grant time-limited, permission-controlled access
-
Paste the SAS Token string (toggle to show or hide)
-
Make sure the token includes the required permissions
-
For example: Read, Write, List
-
SAS Tokens are generated in the Azure Portal under Storage Account → Shared Access Signature settings
-
Microsoft Entra ID (Azure AD): Use authentication through Microsoft Entra ID (formerly Azure Active Directory)
-
When this method is selected, the SAS token field is hidden
-
Provide the following from your Azure AD app registration:
-
Client ID: The application (client) ID
-
Client Secret: The secure app key (toggle to show or hide)
-
Tenant ID: The directory (tenant) ID Make sure the app has the Storage Blob Data Contributor role or similar
-
Click Test Connection to validate that your connection works
-
If the test is successful, you'll see a confirmation message
-
If there's an issue, you'll get an error message with steps to fix it
-
Click Save
Your new Amazon Blob connection will now be available when setting up Data In or Data Out integrations.