Brief Overview
WalkMe supports SCIM (System for Cross-domain Identity Management) provisioning through Okta. You can use either the WalkMe Okta App or the SCIM 2.0 Test App (Header Auth) to automatically add and remove users in your organization.
Note
You must be a WalkMe Admin to enable SCIM for your organization.
How It Works
There are two ways to set up SCIM:
- Okta app
- SCIM 2.0 Test App (Header Auth)
Use Okta app
WalkMe is available as an app in the Okta Integration Network, allowing you to enable user provisioning directly through Okta.
Supported features
The following features are supported:
- Create users
- Update user attributes
- Deactivate users
- Group push
Before you start
- Add the WalkMe app in Okta
- Set up Okta SSO for your WalkMe account
Step 1: Enable SCIM in WalkMe
- Sign in to the WalkMe Admin Center
- Go to IDP Integrations select SCIM Integration
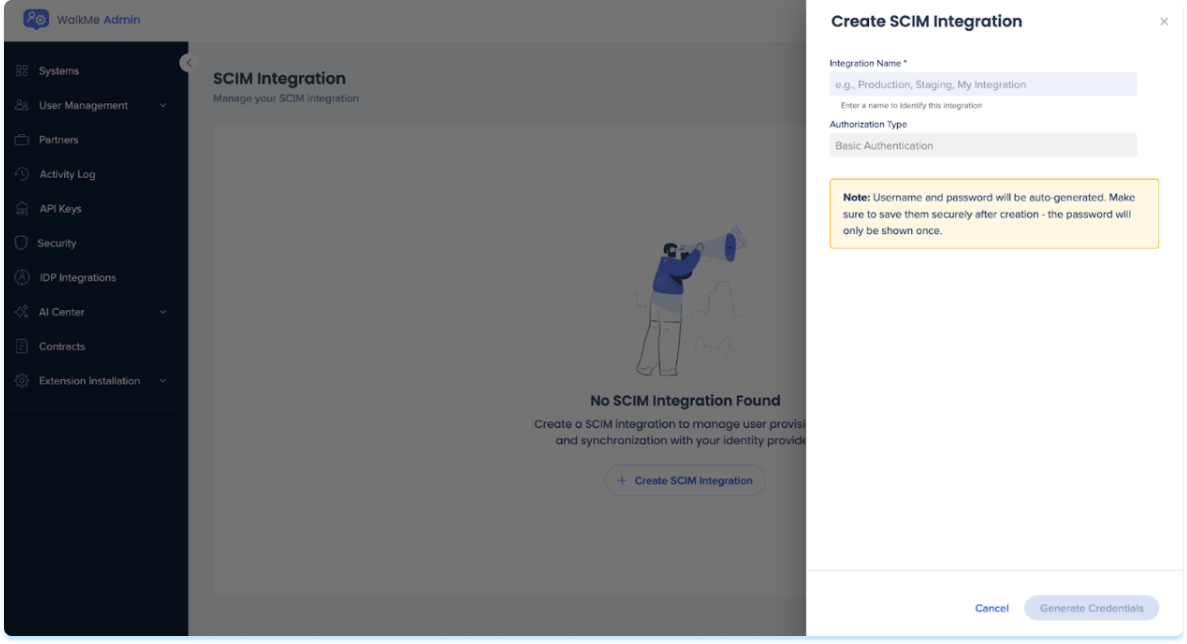
- Select + Create SCIM Integration
- In the Create SCIM integration panel, enter the following:
- Integration Name: Enter a descriptive name for the integration, for example: Production, Staging, Okta Integration
- Authorization Type: This is preset to Basic Authentication and can't be changed
- Select Generate Details
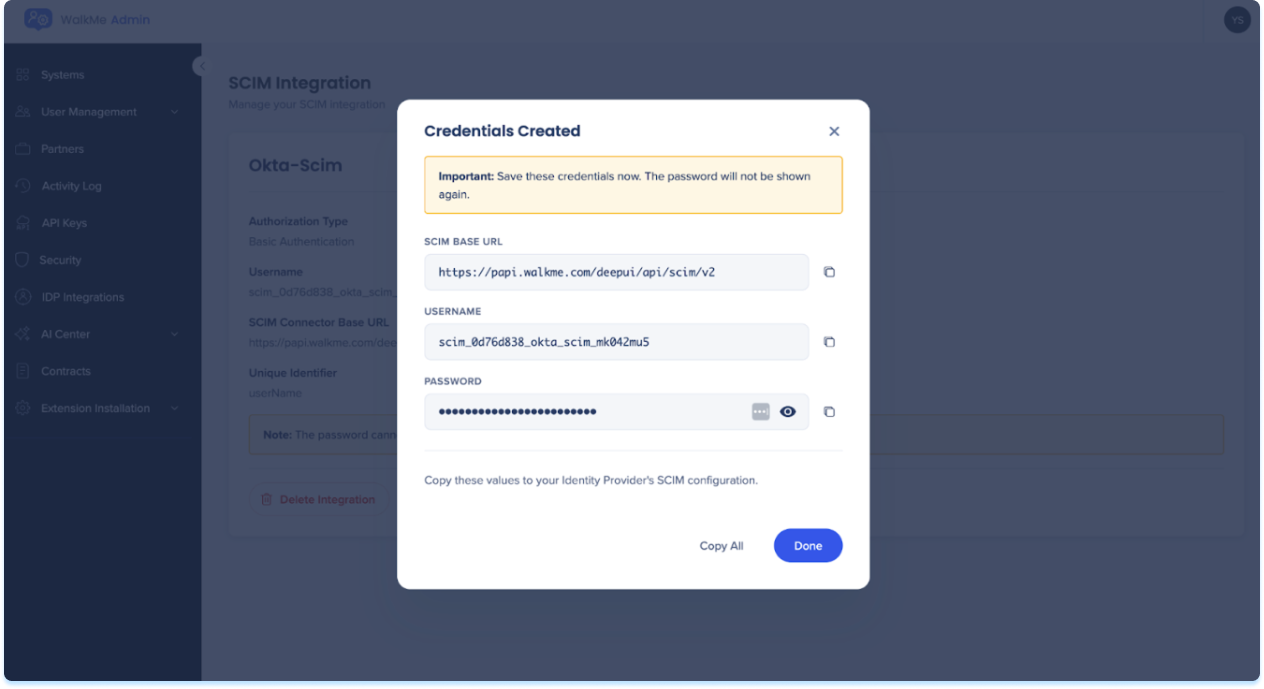
- A popup opens displaying the SCIM credentials generated for this integration:
- SCIM base URL: The endpoint URL used to configure SCIM in your identity provider
- Username: The auto-generated username for authentication
- Password: The auto-generated password for authentication
Note
The password is shown only once, after closing the popup, it can't be retrieved. If you lose the password, you must delete the integration and create a new one.
- Copy the credentials and keep them available for the Okta setup
- Select Done to complete the SCIM integration setup in WalkMe
- In Okta, open the WalkMe app
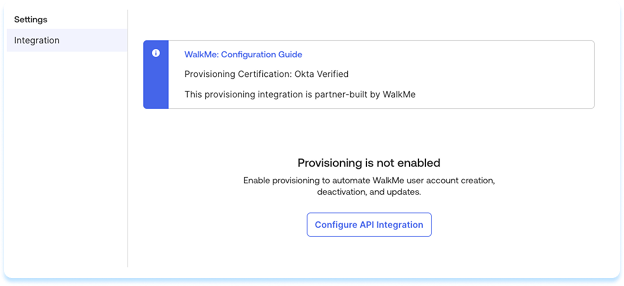
- Go to Provisioning and select Configure API Integration
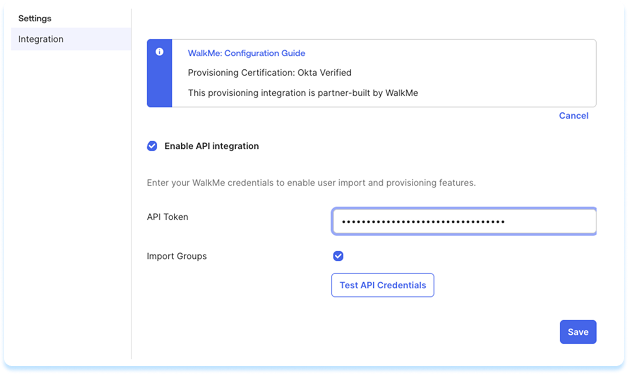
- Select Enable API Integration
- Enter the following:
- Base URL: This field is read-only and will be automatically populated based on the Region selected during the initial application configuration
- API Token: Enter your SCIM API key from WalkMe Admin Center using the format that matches your chosen authorization type:
-
Basic Authentication: The API should be: "Basic <base64(user:password>"
-
Bearer Token: The API should be: "Bearer <generated bearer token>"
- Select Test API Credentials
- If successful, a verification message appears
Note
If the verification fails, make sure SCIM is enabled, the API key is correct, and the tenant region (US or EU) matches. If the issue continues, contact WalkMe Support.
- Click Save
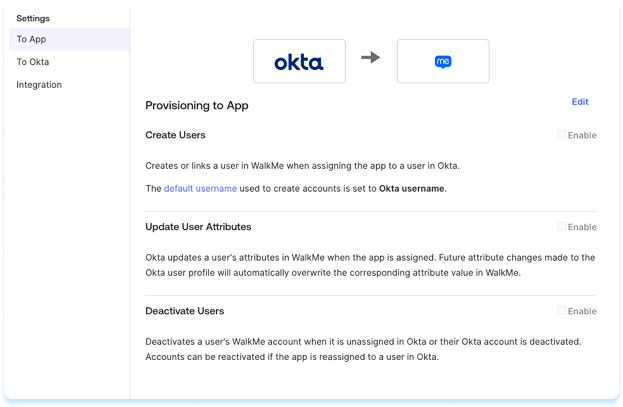
Step 3: Set provisioning features
The WalkMe Okta app supports the provisioning features listed in the WalkMe SCIM Provisioning Overview.
To turn these features on or off, do the following:
- In Okta, open the WalkMe app
- Select To App on the left panel
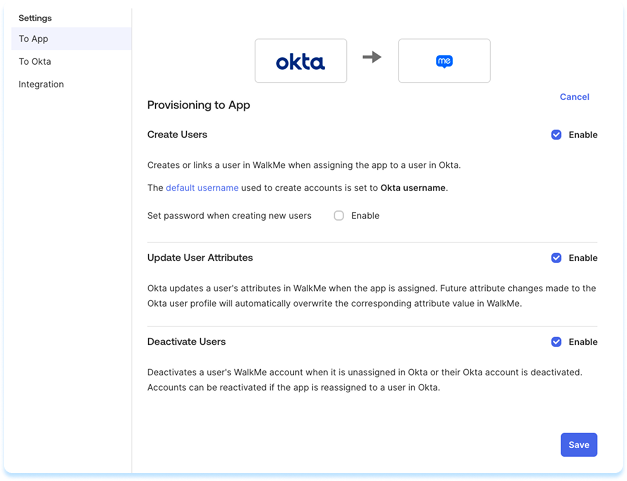
- Select Edit
- Enable or disable the features you need
- Select Save
Note
Learn how to assign users below.
If you prefer to set up SCIM manually, you can use the SCIM 2.0 Test App (Header Auth) in the Okta Integration Network.
Note
We recommend using the WalkMe Okta App for easier setup.
Before you start
- Set up Okta SSO for your WalkMe account
Step 1: Enable SCIM in WalkMe
- Enable the SCIM in WalkMe and generate a SCIM API key as described above
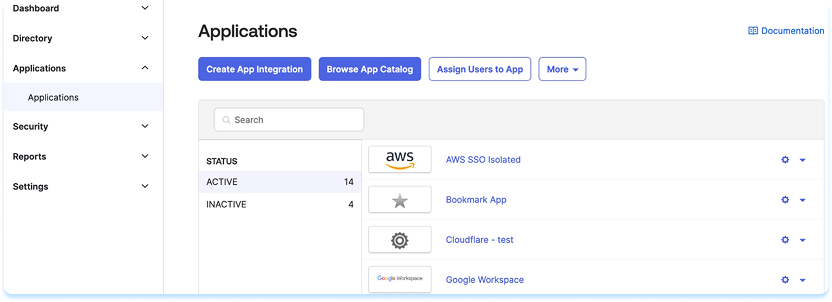
- Open the Okta Admin Console in a new tab
- Go to Applications and select Browse App Catalog
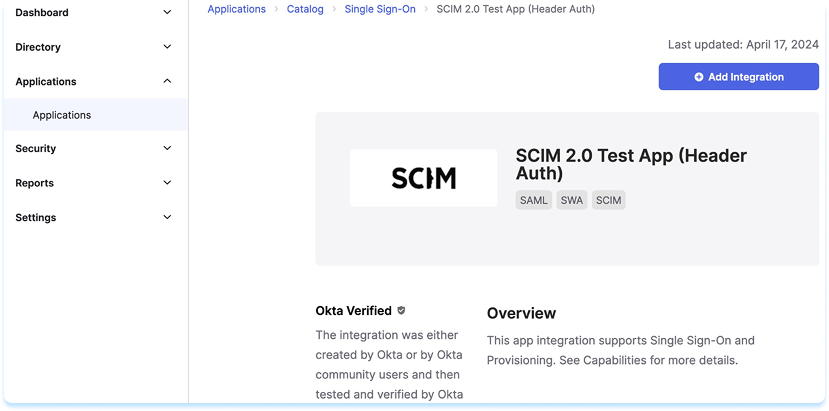
- Search for SCIM 2.0 Test App (Header Auth)
- Select Add Integration
- Enter a name for the app and select Next, then Done
- In Okta, open the SCIM 2.0 Test App (Header Auth)
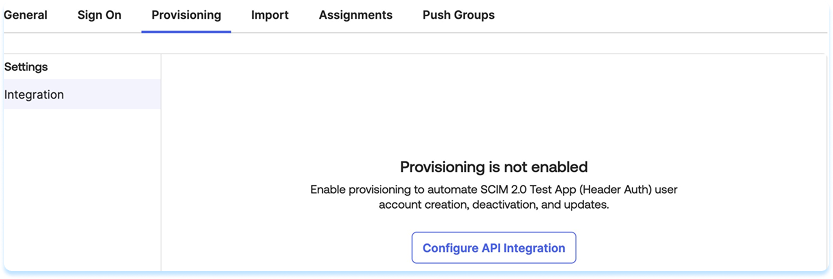
- Go to Provisioning and select Configure API Integration
- Select Enable API Integration
- Enter the following:
- Base URL
- For US tenants: https://papi.walkme.com/deepui/api/scim/v2
- For EU tenants: https://eu-papi.walkme.com/deepui/api/scim/v2
- API Token: Enter your SCIM API key from WalkMe Admin Center
- Select Test API Credentials to verify
- Select Save

Step 4: Set provisioning features
The SCIM 2.0 Test App supports the same provisioning features listed in the WalkMe SCIM Provisioning Overview. The app supports creating, updating, and deactivating users, as well as syncing group data.
To turn these features on or off, do the following:
- In Okta, go to SCIM 2.0 Test App (Header Auth)
- Select Provisioning and then select To App on the left panel
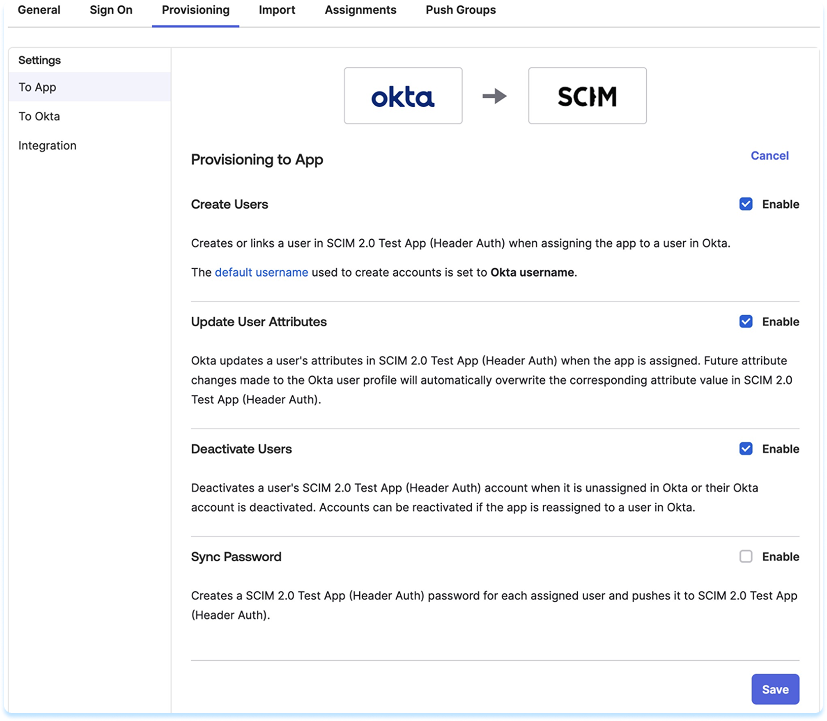
- Select Edit
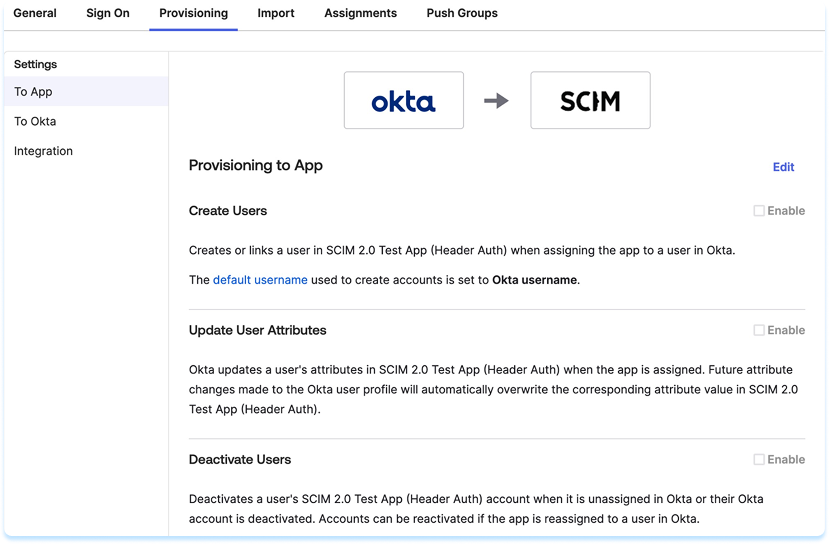
- Enable the following features:
- Create Users
- Update User Attributes
- Deactivate Users
- Select Save
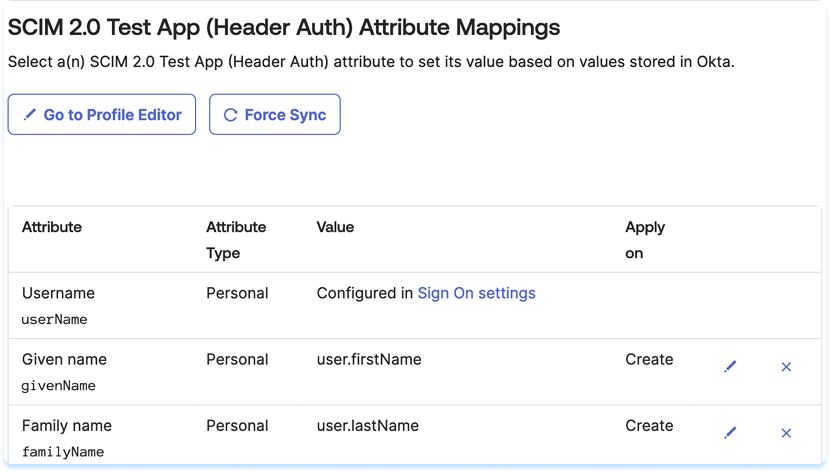
- In the Attribute Mappings section make sure only the following are mapped (remove other attributes if present):
- Username
- Given Name
- Family Name
Assign users to WalkMe in Okta
We recommend syncing groups from Okta to keep permissions and memberships updated.
To assign users or groups to WalkMe:
- Sign in to the Okta Admin Console
- Go to Applications and select the WalkMe app
- Select Assignments
- Select Assign, then Assign to People or Assign to Groups
- Search for users or groups and select Assign
Push groups from Okta to WalkMe
You can use group push to sync Okta groups with WalkMe.
Link an existing WalkMe group
You can link an existing WalkMe group to an AD or Okta group.
- In Okta, open the WalkMe app
- Go to Push Groups and select By Name
- Search for an existing WalkMe group and select Link Group
- Turn on Push group membership immediately
- Select Save
- Confirm the group status is Active
Create a new WalkMe group
To create a new group in WalkMe using an Okta or AD group:
- In the Okta Admin Console, open the WalkMe app
- Go to Push Groups and select By Name
- Enter a group name and select Create Group
- Turn on Push group membership immediately
- Select Save
- Confirm the group appears as Active under the All tab
Troubleshooting
Base URL issues
- Ensure the correct region (US or EU) is selected in the General tab
- The Base URL is read-only in the Provisioning tab and is automatically updated based on the selected region
- If you see a routing error, verify your WalkMe tenant's physical location
Authentication errors (401 Unauthorized)
- WalkMe uses Basic Authentication disguised as a token for this integration
- In Okta, the API Token field must contain the credentials generated in the WalkMe Admin Center
- If the connection fails, verify that you copied the correct username and password from the WalkMe SCIM settings
Attribute mapping issues
- If specific user fields are not syncing, go to Provisioning > To App and review the attribute mappings
- Ensure that the WalkMe target attributes are mapped to the corresponding Okta user profile fields
User not created
- Check the Okta System Logs for specific error codes
- Common issues include:
- Missing mandatory fields (such as email or username)
- Uer already existing in WalkMe with the same identifier


