Brief Overview
Preview slides in the Content Manager allows users to visualize their DAP implementation seamlessly. Users can preview, collaborate, and download presentations directly from the console during the building process. This provides a seamless experience by eliminating the need to switch between separate applications.
How It Works
Preview slides in Content Manager
View slides
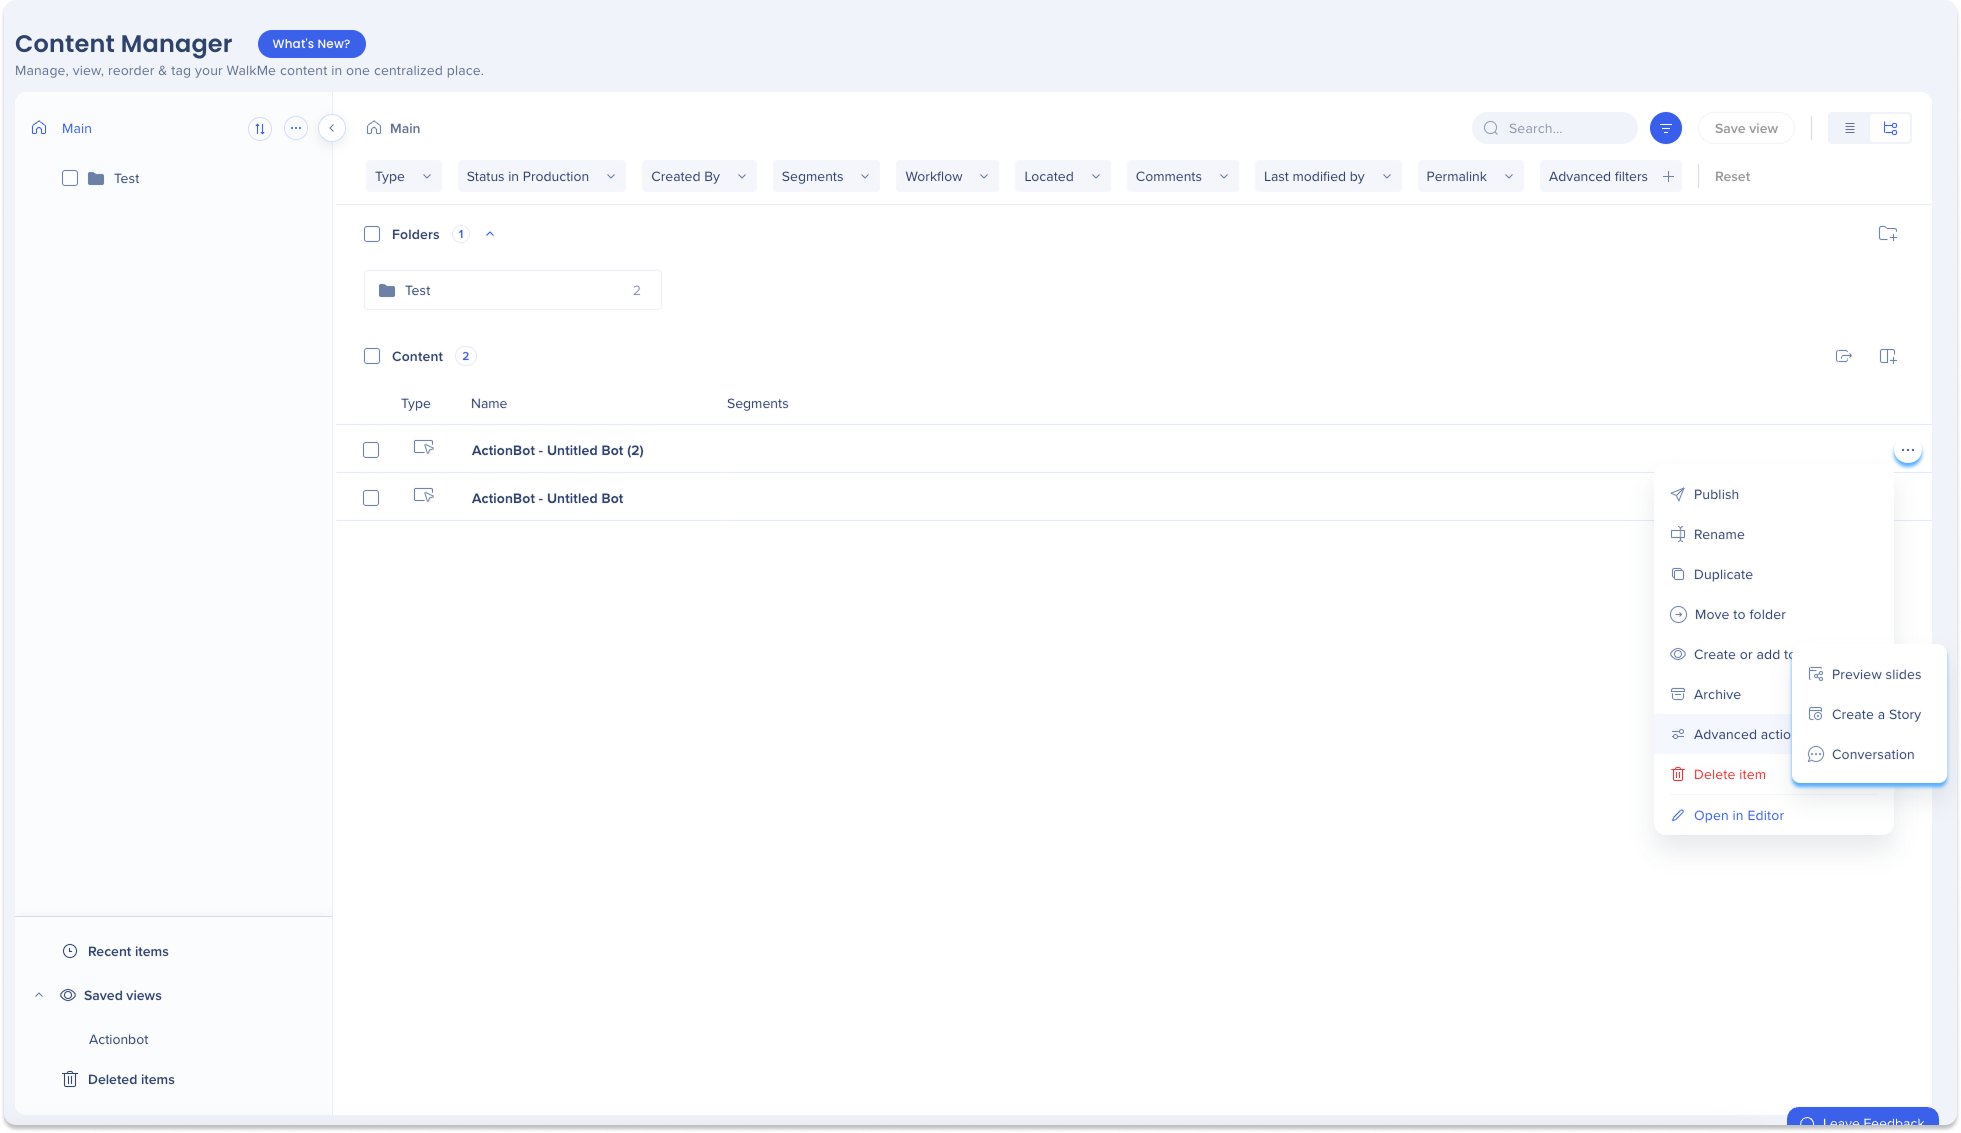
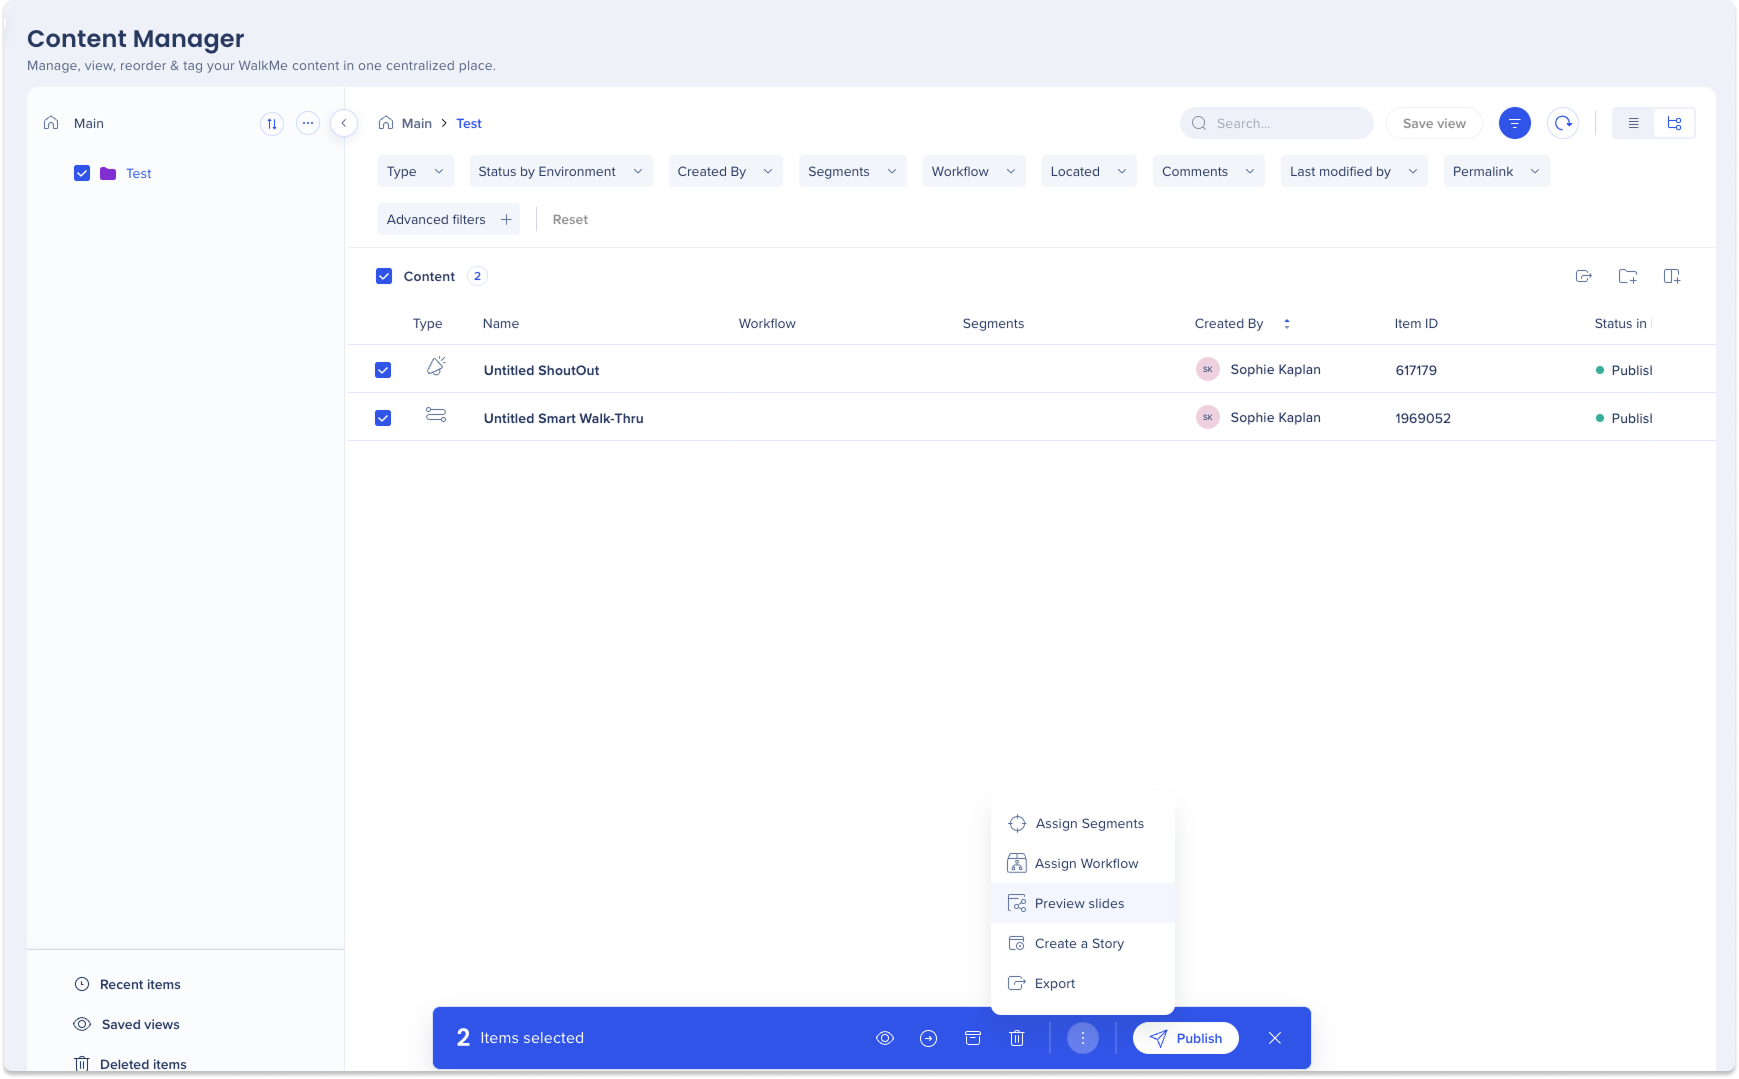
Users can view slides of WalkMe items in multiple ways:
- Click on the Options menu in the item line
-
Hover over Advanced actions in the menu
- Select Preview Slides
- The slide preview will appear in a new tab
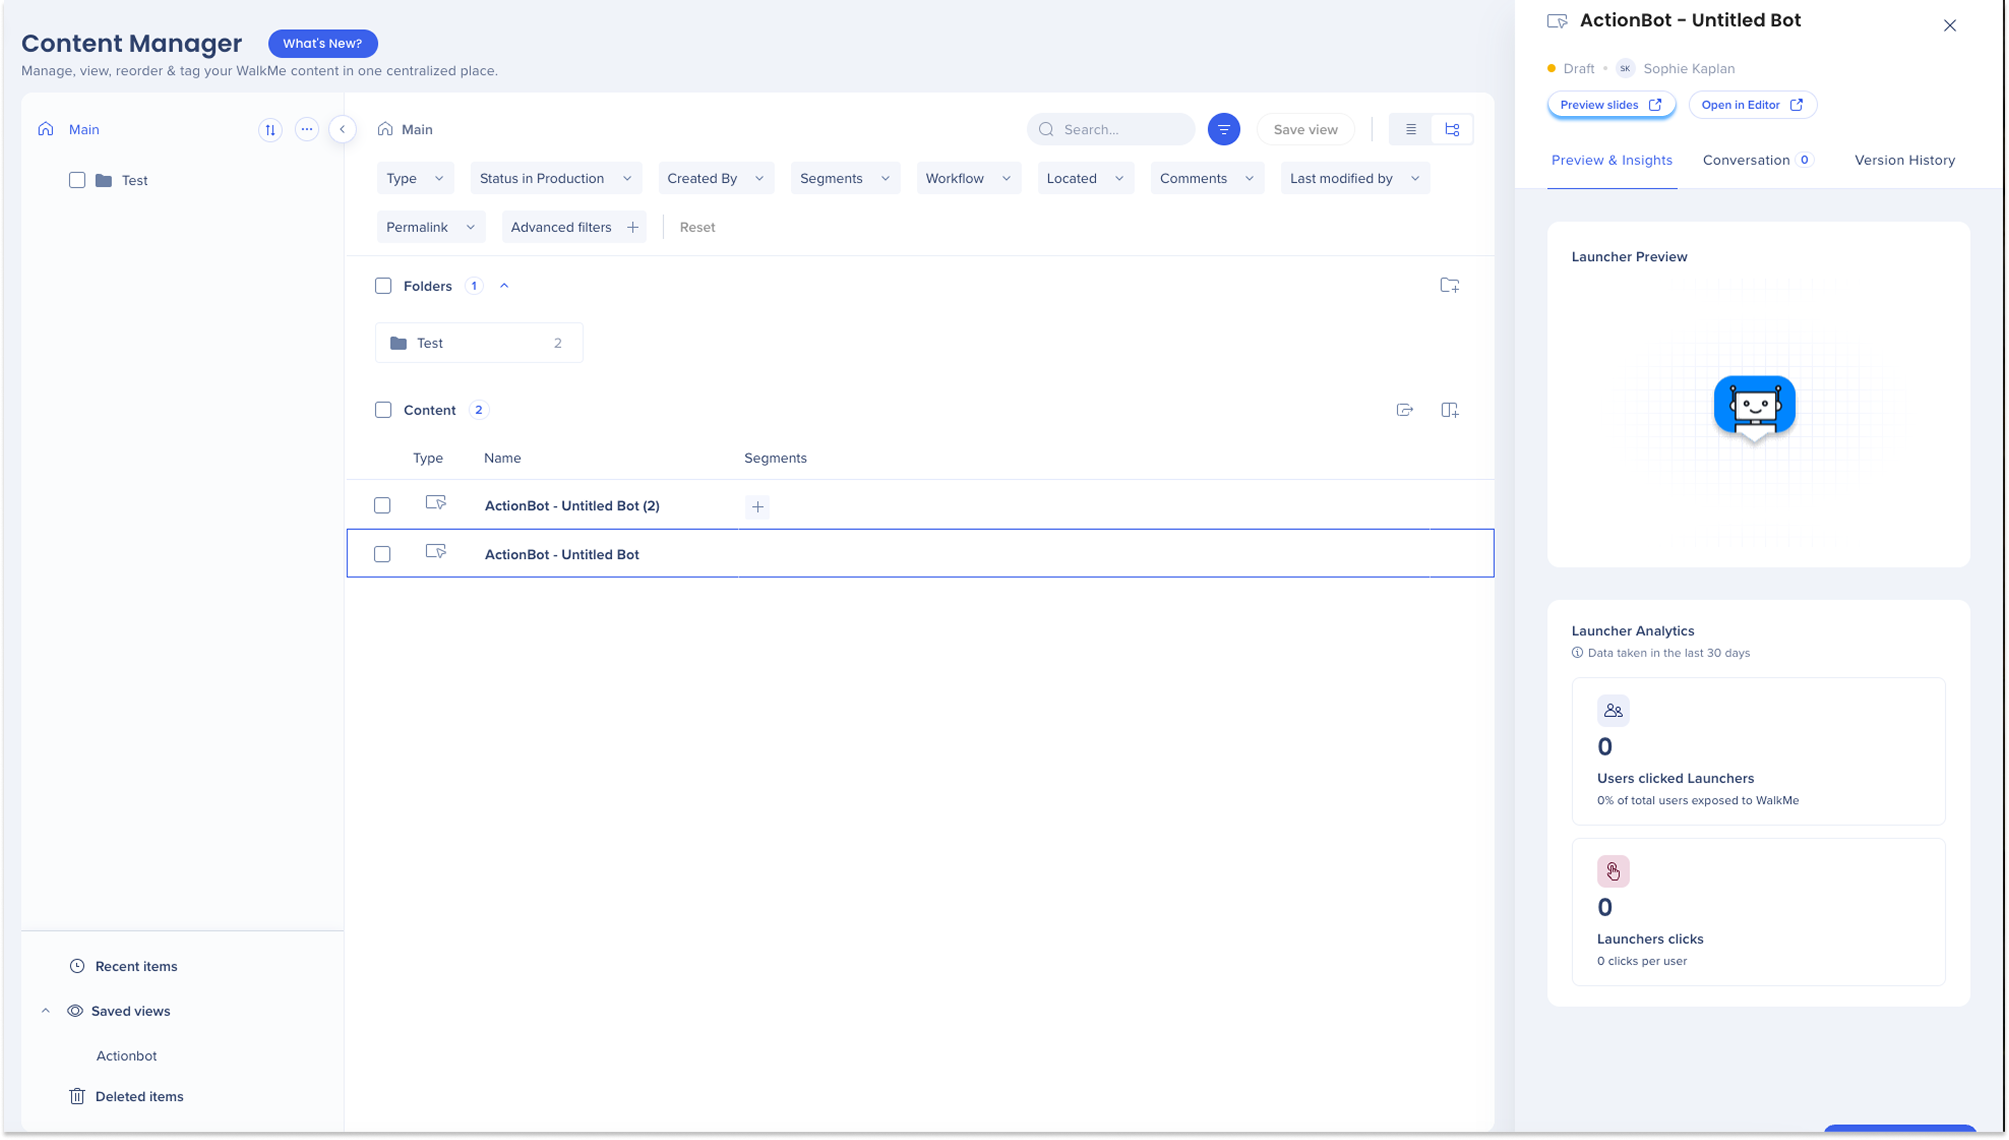
- Click on the item line
- Click Preview Slides in the Preview and Insights tab
- The slide presentation will open in a new tab
- Select multiple items
- Check the boxes for each item
- Click the Options menu in the footer
- Click Preview slides
- The slides presentation will open in a new tab

- Select a folder
- Click the Options menu in the footer
- Click Preview slides
- The slides presentation will open in a new tab
Use comments to collaborate on slides.
-
Users will be notified both via email, and in the notifications icon at the top right of the console if they are tagged in a comment on a slide
-
Upon clicking the email, users will be redirected to the conversations tab where they can view the comment
View comments
- Click the item line
-
Go to the Conversation tab in the side panel
-
Click the All comments dropdown and choose between:
-
All comments
-
WalkMe Slides Comments
Add comments
-
Click on the item line
-
Go to the Conversation tab in the side panel
-
Click + Add Comments at the bottom of the panel
-
Add a comment in the input box
- Click Add
-
If there are existing comments, you can:
-
Reply
-
View the slide the comment is located on
-
Add additional comments
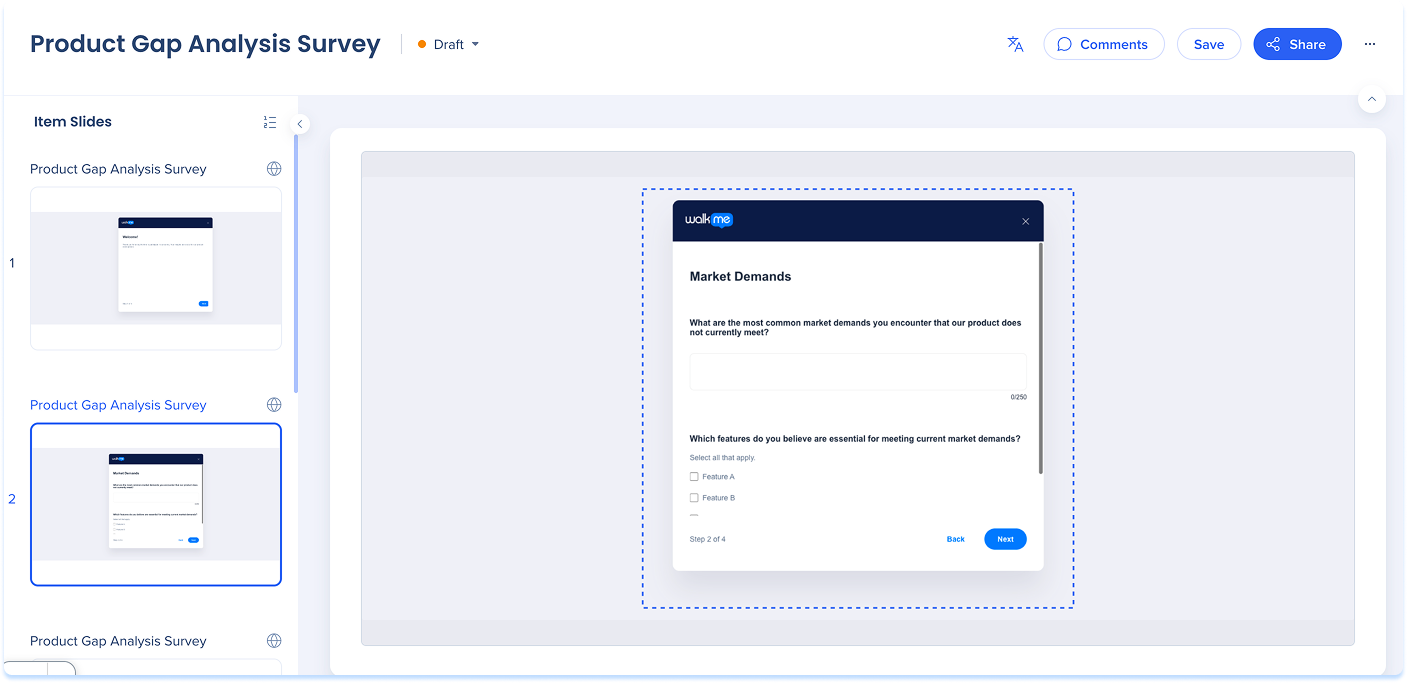
Preview slides page overview
The preview slides page includes three main areas:
- Slides panel
- Top panel
- Main canvas
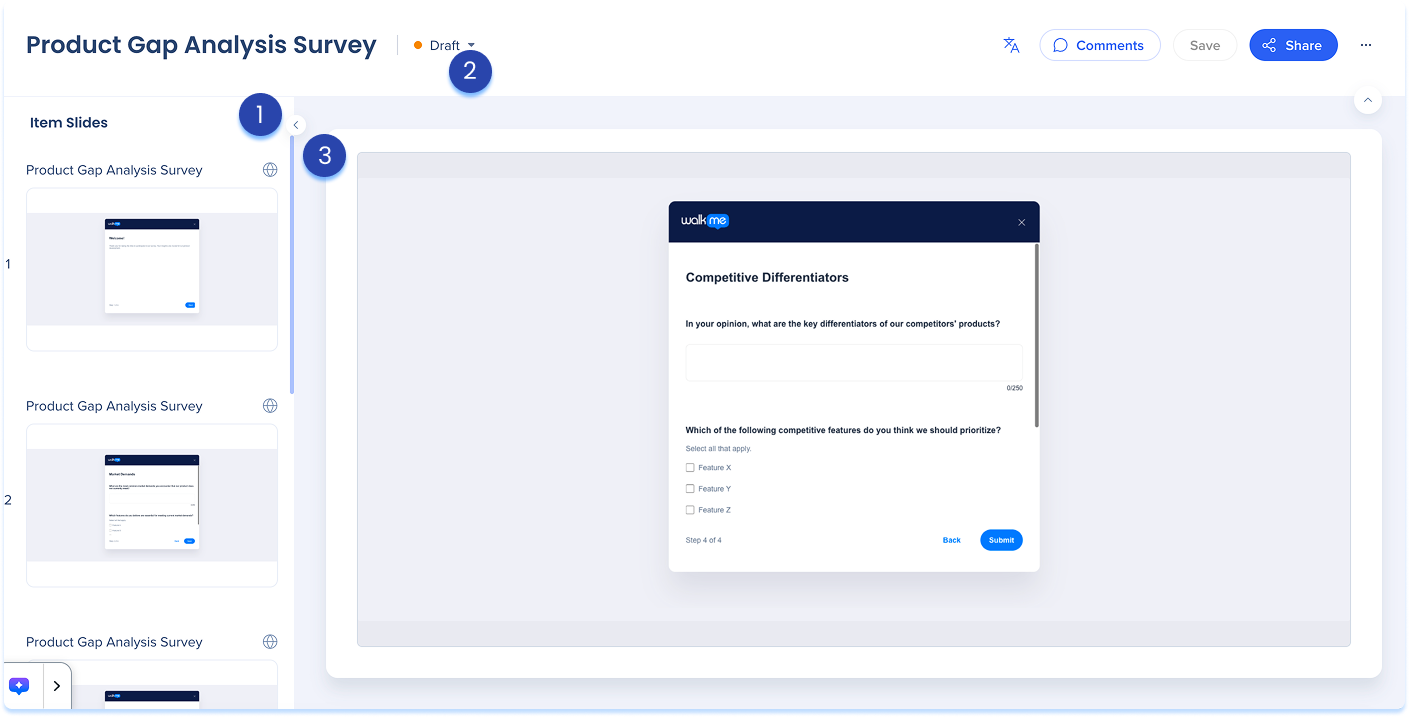
1. Slides panel
The slides panel appears on the left and shows the slide's steps in order.
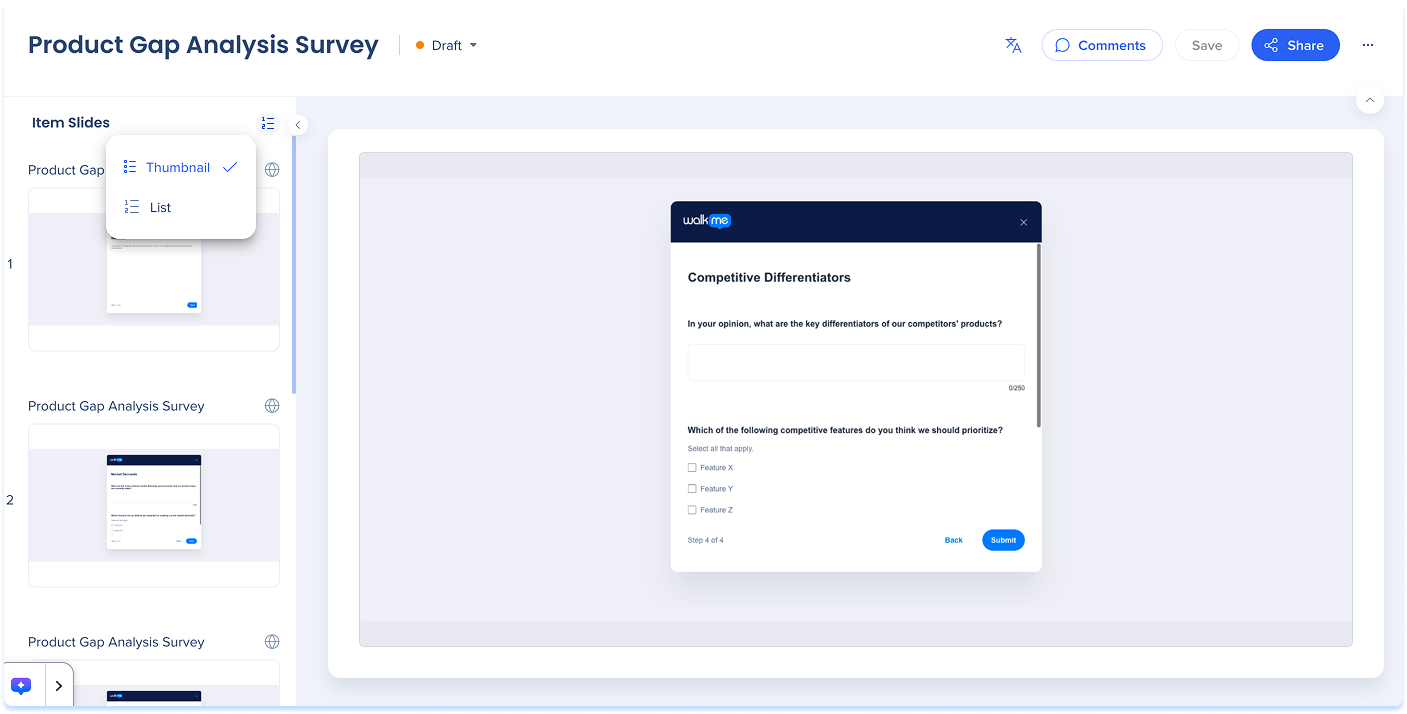
Display mode
- In the panel header, select the Display mode icon
- Choose one of the following:
- Thumbnail: Large image previews of each slide
- List: Compact view showing step numbers and titles
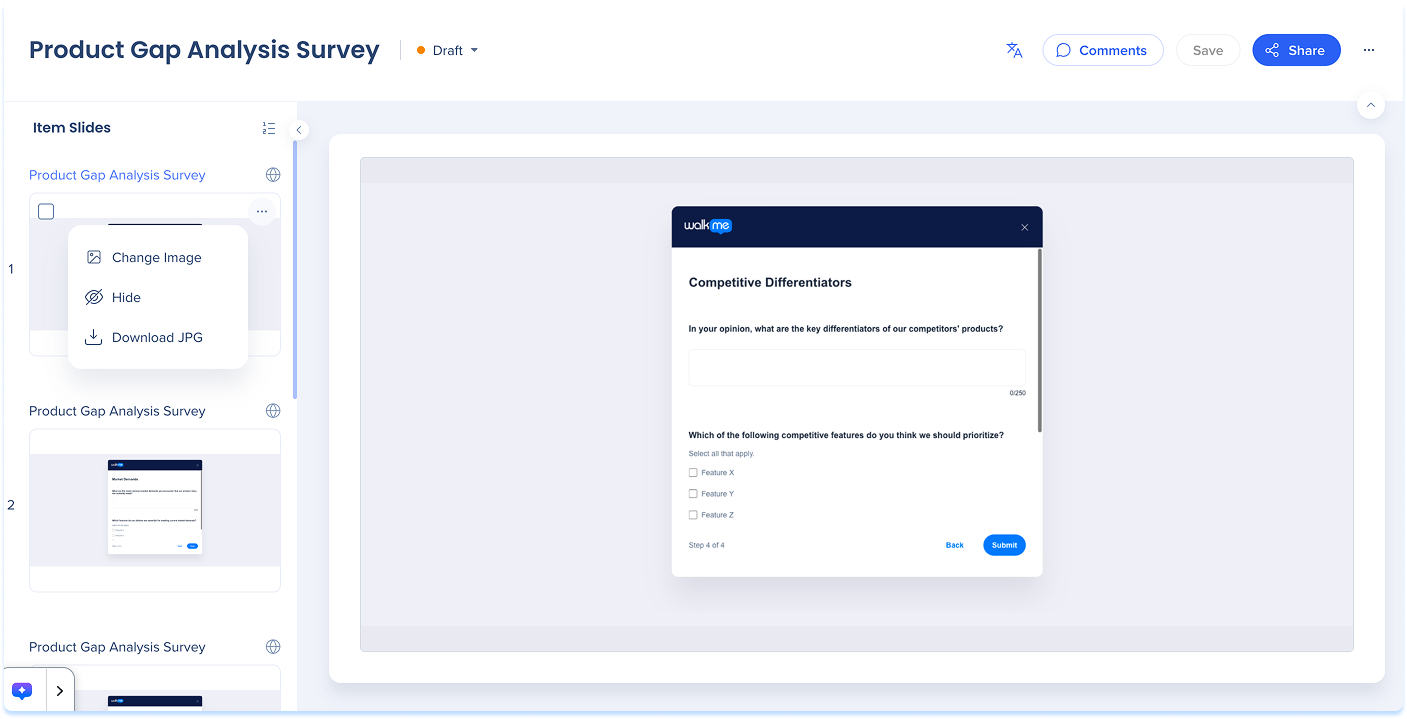
Slide options
Each slide includes an Options menu with tools for managing steps.
Available actions:
- Change image: Replace the image in the slide
- Hide: Exclude the step from playback without deleting it
- Download JPG: Save the slide as an image
Bulk actions
To manage multiple slides:
- Select slides using the checkboxes or select Select All Slides
- A blue toolbar appears with these actions:
- Download
- Export

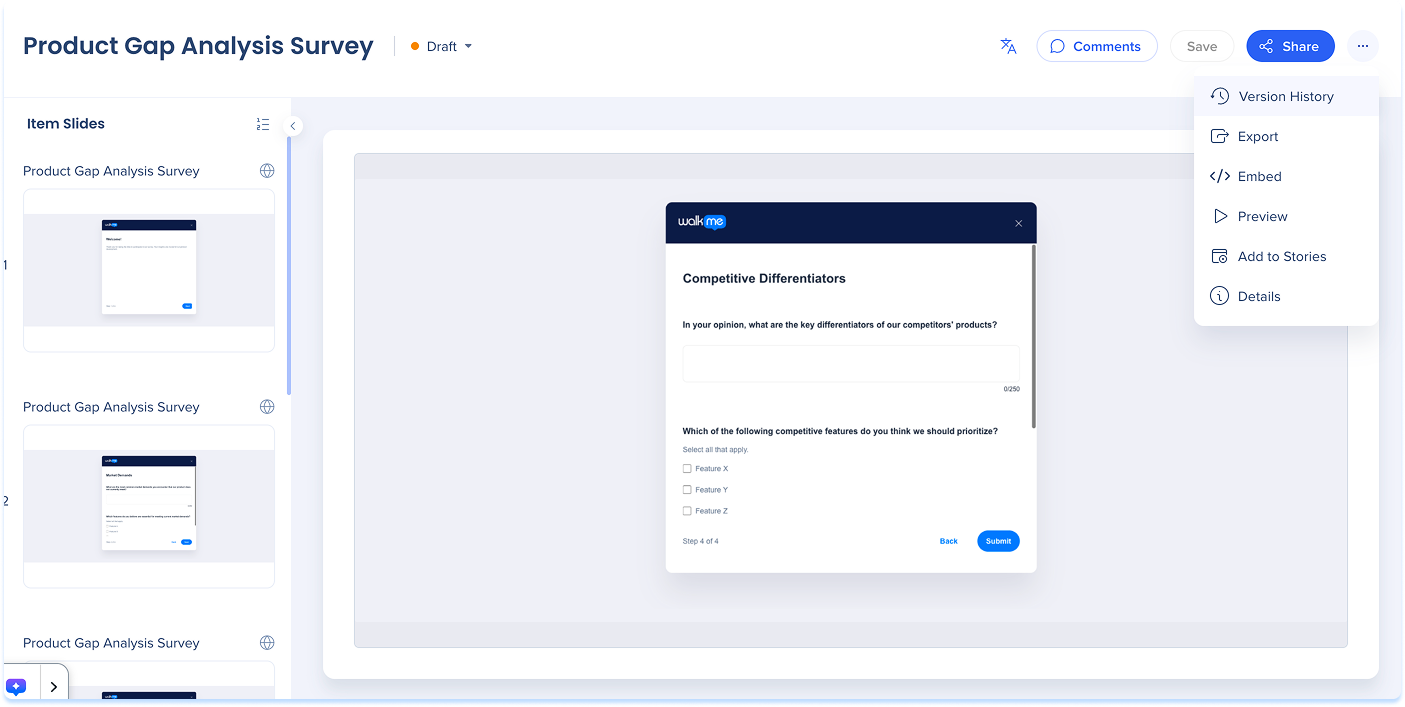
2. Top panel
The top panel contains controls for managing the entire simulation.
Includes:
- Preview slides title
- Multi-Language
- Comments
- Save
- Share
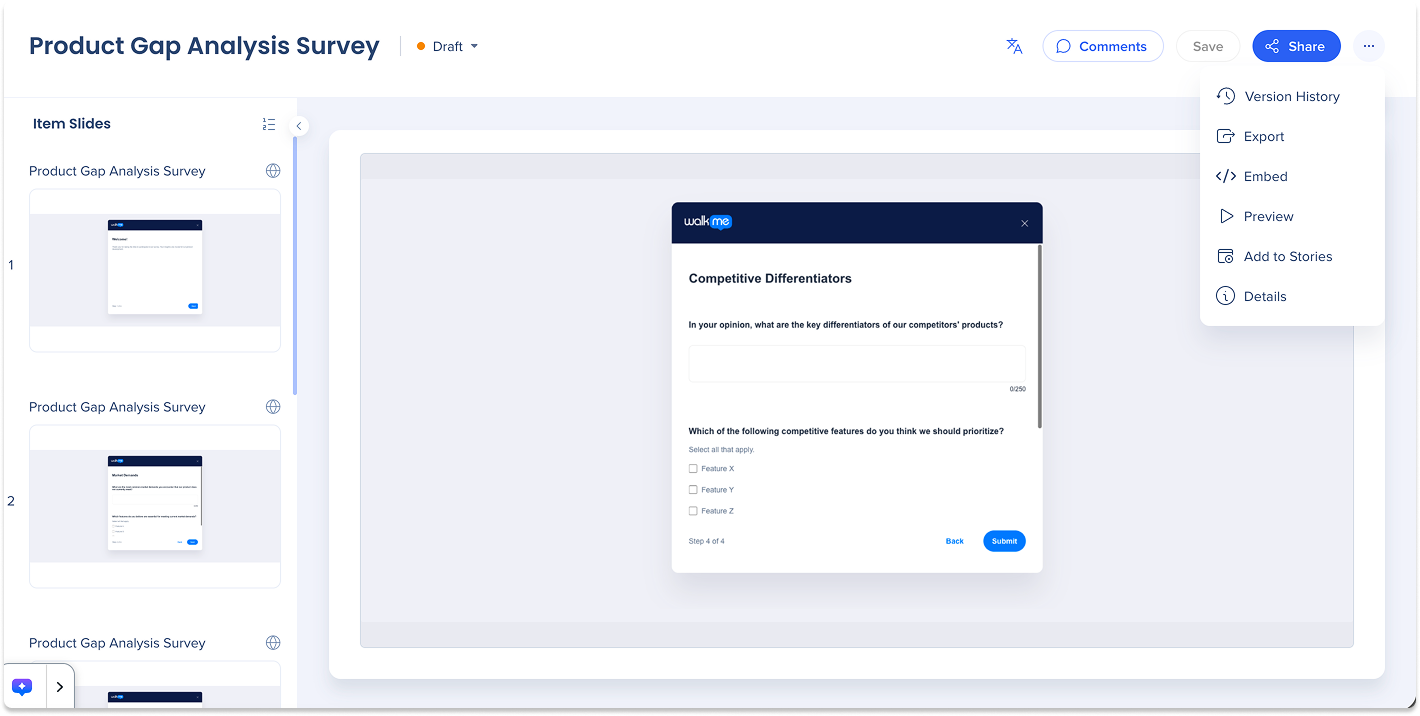
- Options menu
- Version history
- Export
- Embed
- Add to Stories
- Preview
- Details
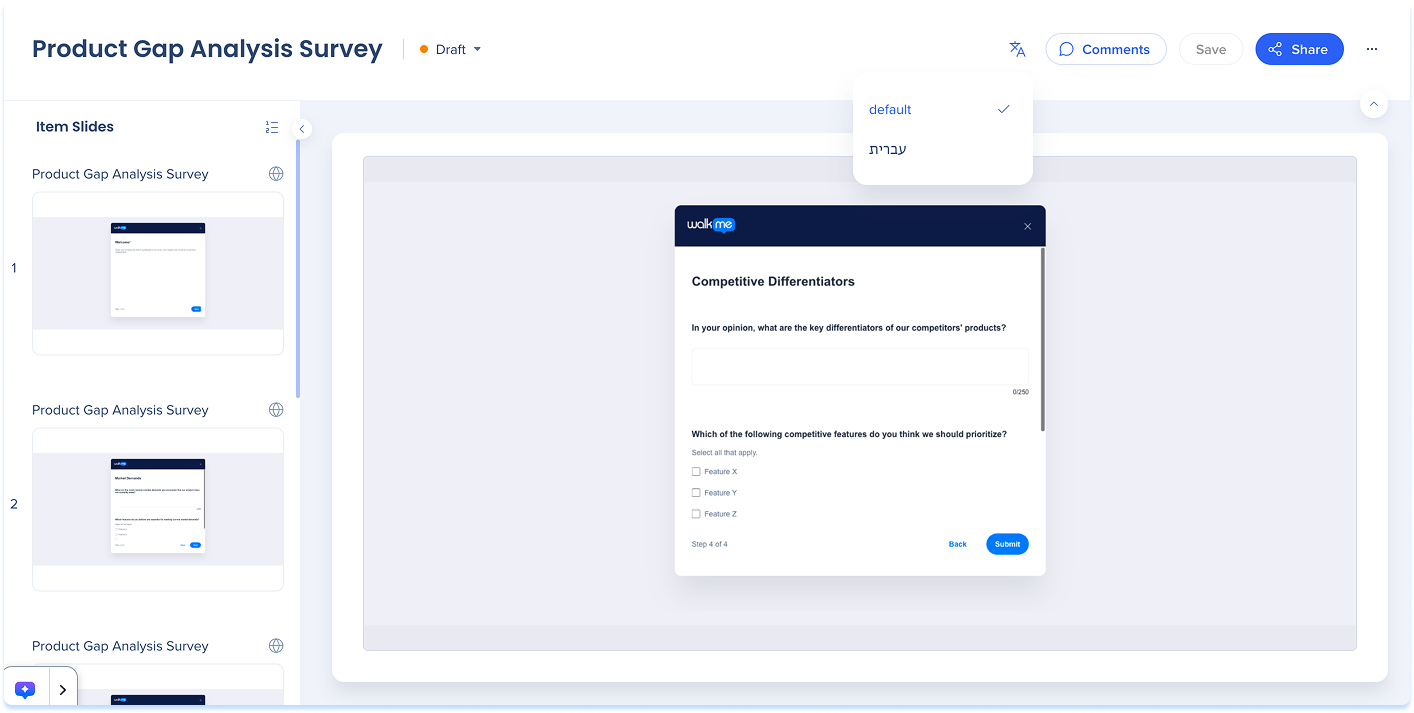
Multi-language
You can translate your content into different languages
- Select the Multi-language icon to choose the language of your slides content
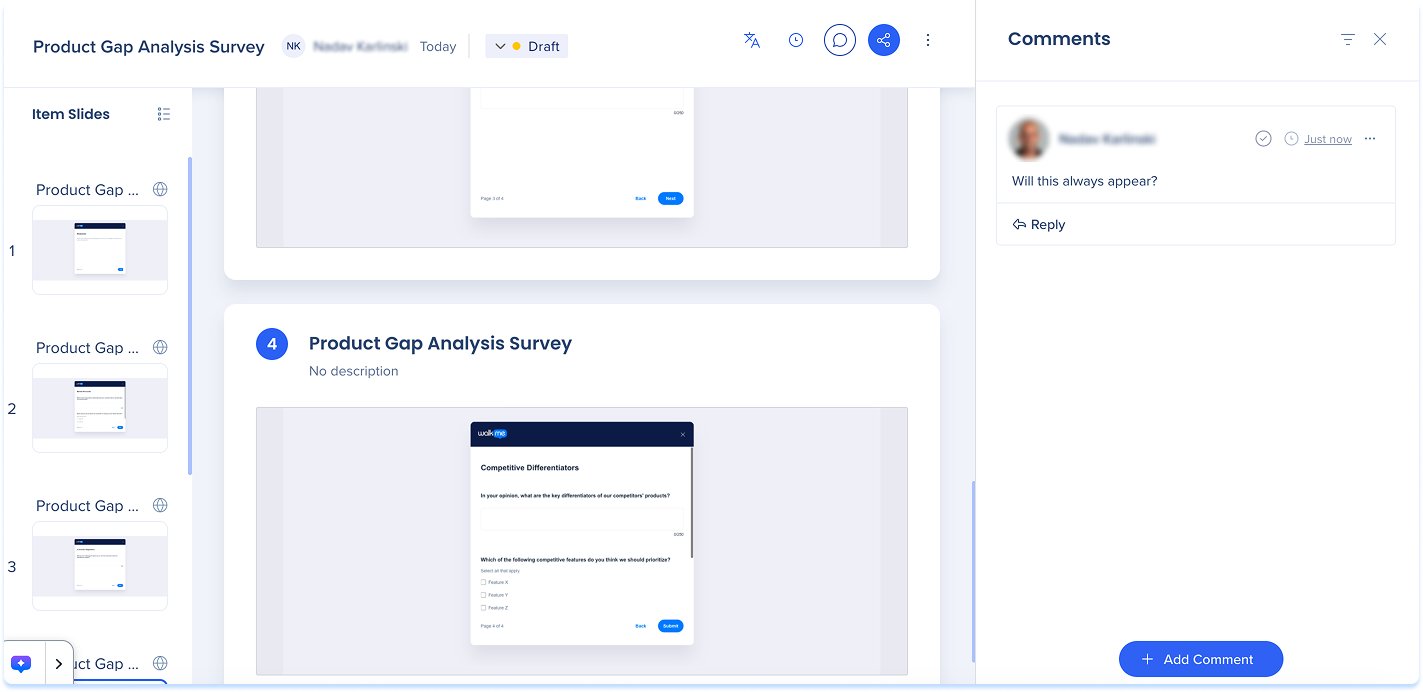
Comments
Use comments to collaborate on slides.
View comments
- Click on the Comments icon near the top-right of the page
- All available comments will be displayed
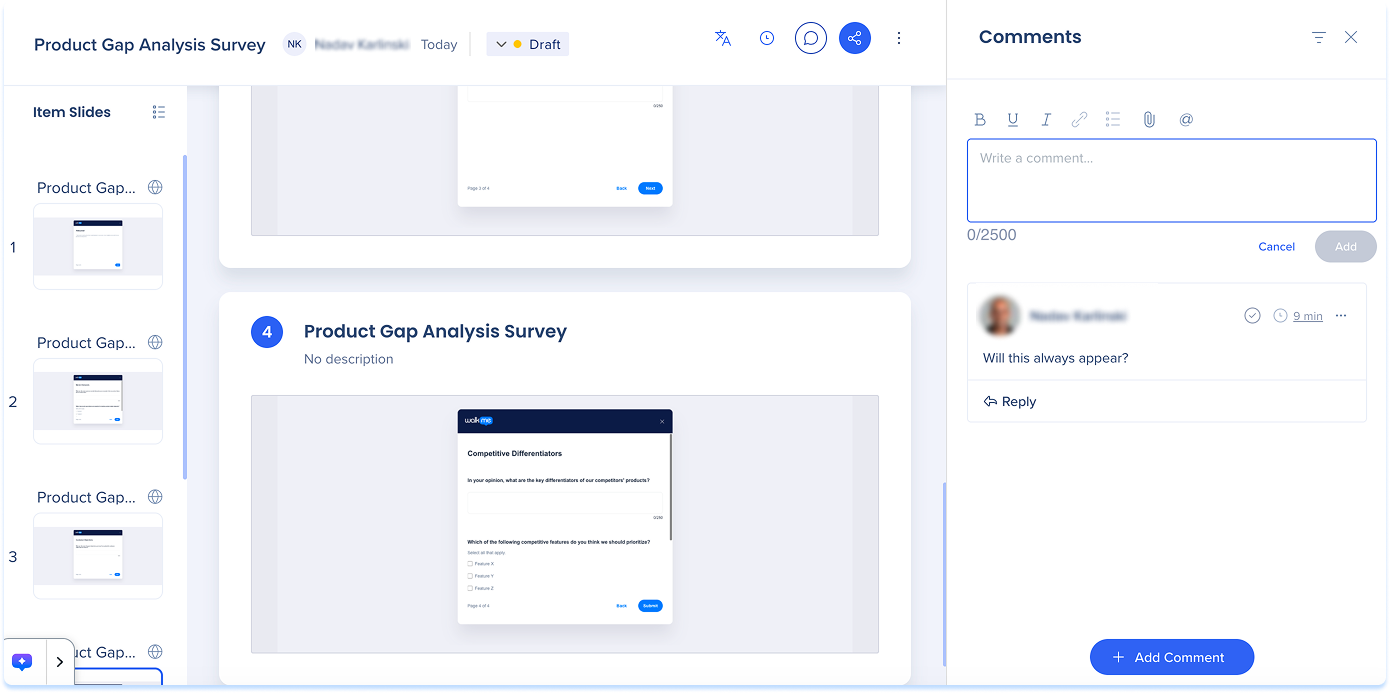
Add comments
- Click the Comments button, near the top-right of the page
- Click + Add comment
- Add a comment in the input box
- Click Add
Manage Comments
- To edit comments in the presentation:
- Click the Comments button at the top-right of the page
- Click the dropdown on the Options menu
- Click Edit comment or Delete comment

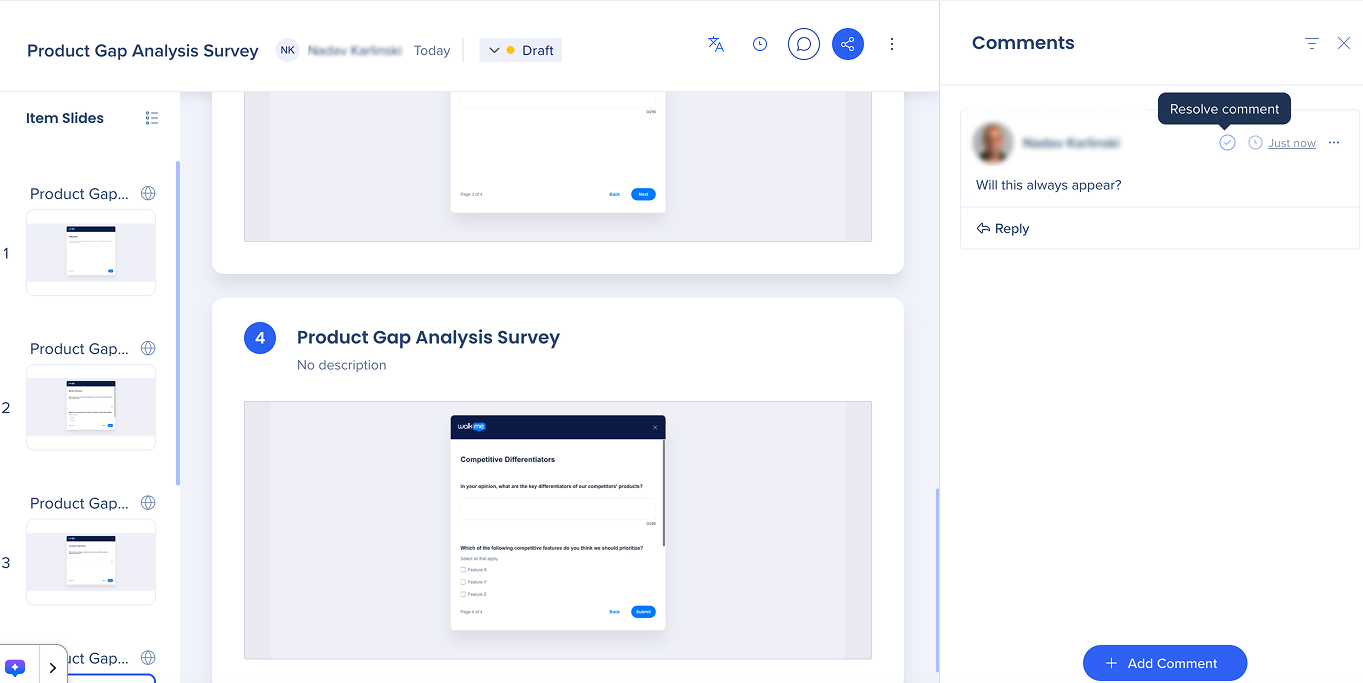
Resolve comments
- Click the Comments button near the top-right of the page
- Click the Check icon at the top of the comment
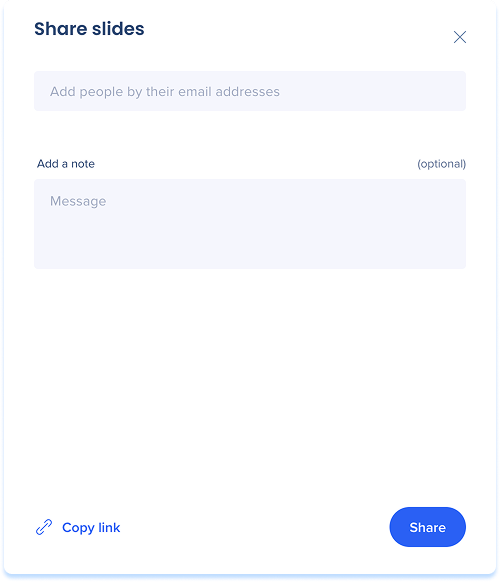
Share
- Click the Share button near the top-right of the page
- A Share slides popup will appear
- Add users: Enter one or more email addresses in the text field to share the story with specific users
- Add a note (optional)
- Copy Link: Copy the story's link and share it manually
- Click Share
Version history
- Select Version History to view previous versions
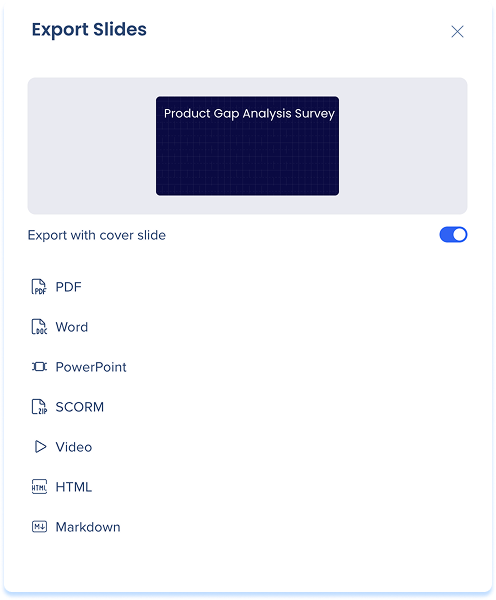
Export
- Click the Options menu at the top right hand side of the page
- Select Export
- Turn on Export with cover slide (optional)
- Choose a format:
- PDF Document
- Word Doc
- PowerPoint
- Zip scorm (p3)
- Video
- HTML: Embed stories in sites which support HTML formatting
- Markdown: Embed stories in sites which support Markdown formatting (i.e. github, notion, sharepoint)
Embed
- Select the Options menu at the top of the page and select Embed
- Choose a format:
- Copy to Source Code
- Copy HTML
- Copy Markdown

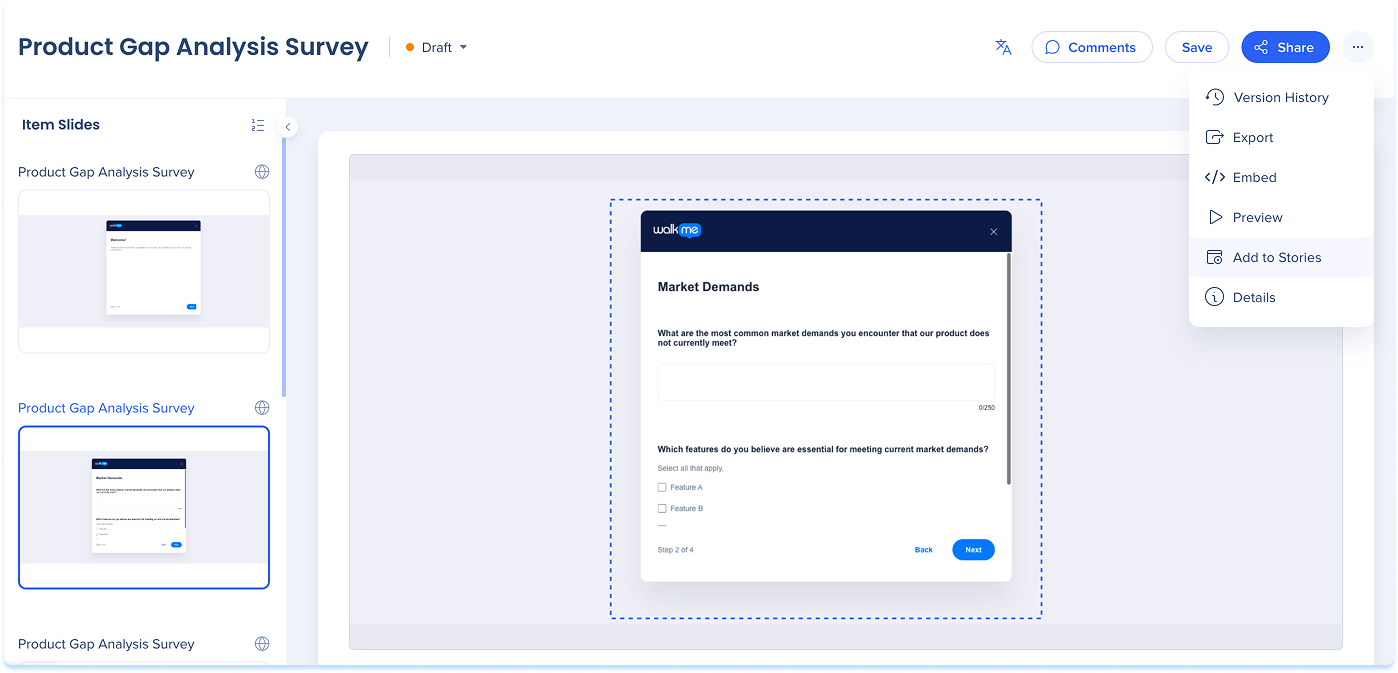
Add to Stories
- Select the Options menu at the top of the page
- Select Add to Stories
- The Stories app will open in a new tab
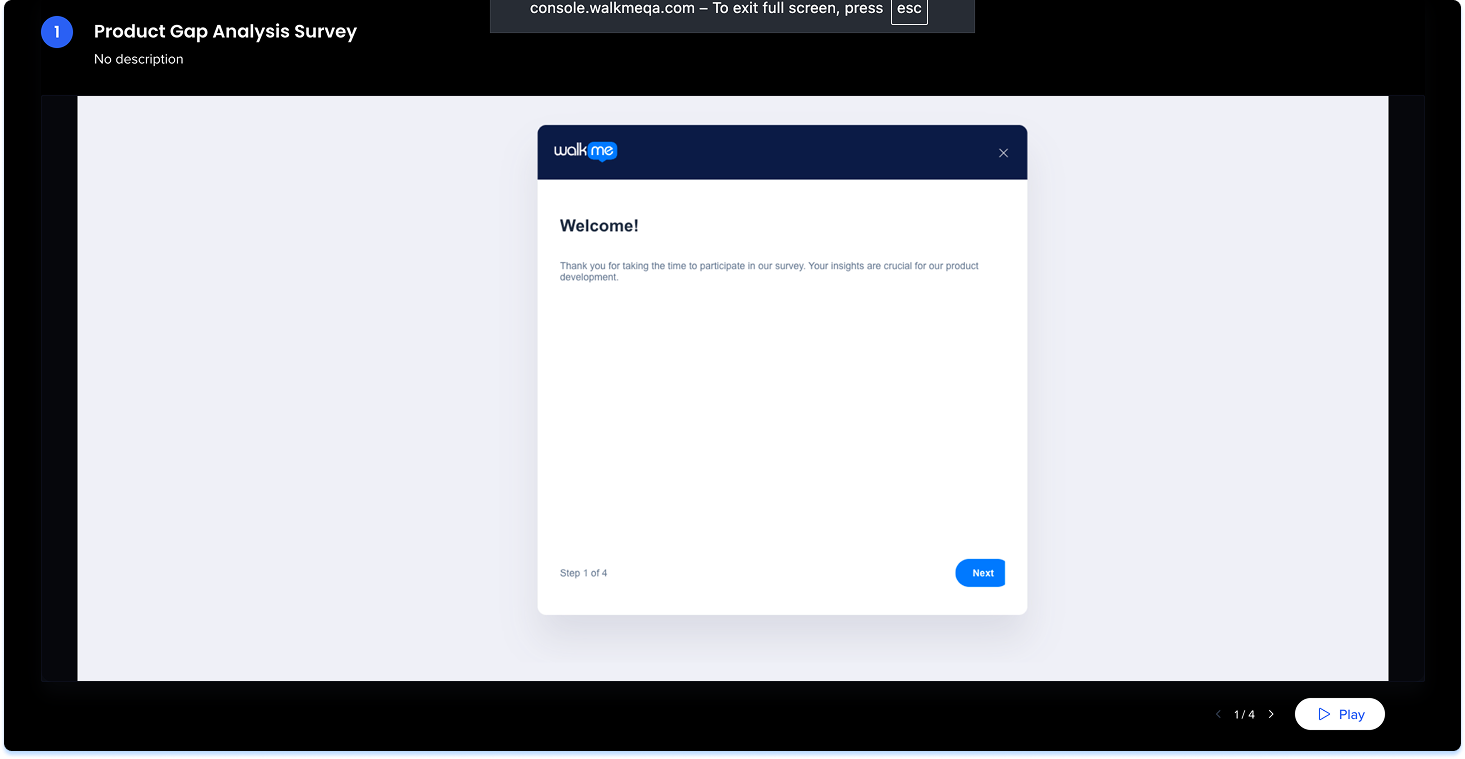
Preview
You can preview their whole presentation in a full-screen carousel presentation.
- Click on the Options menu on the top-right of the page
- Select Preview
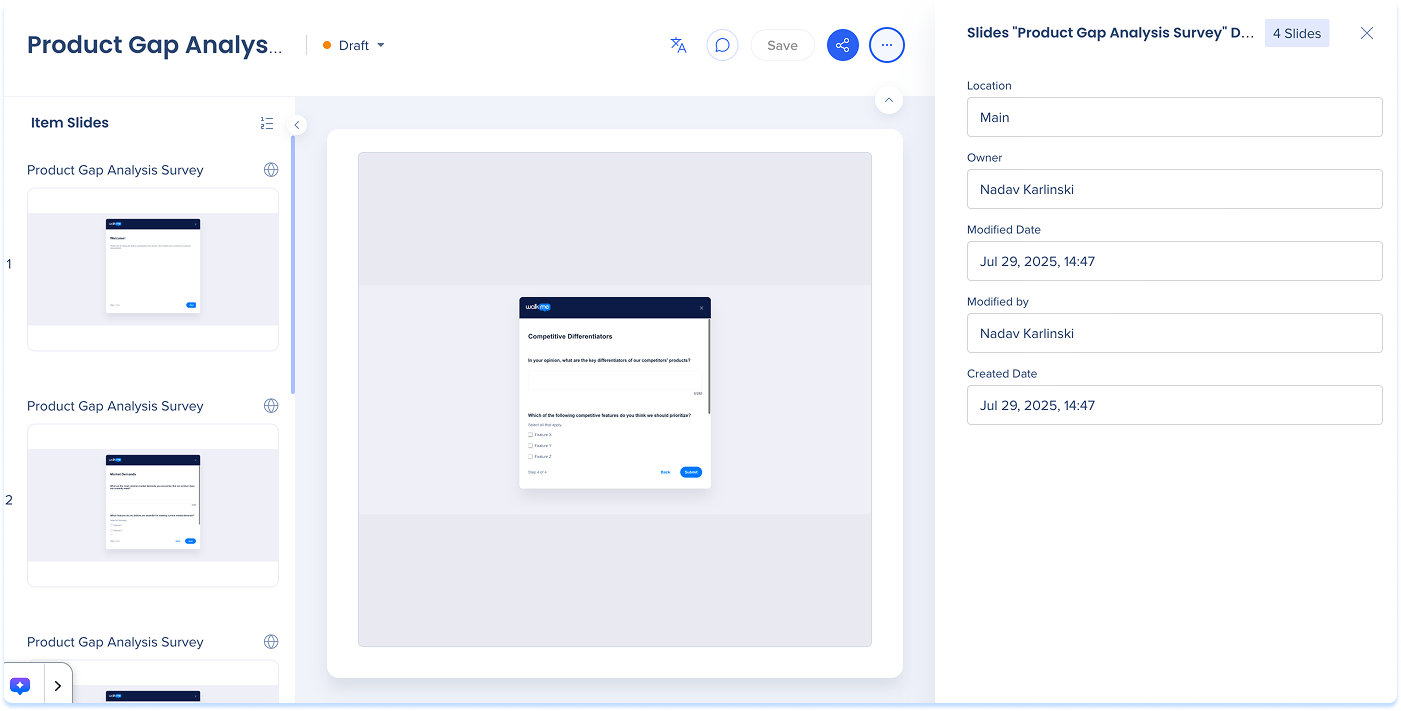
Details
- Click the Options menu at the top right hand side of the page
- Select Details
- The slide details appear in the right-hand panel
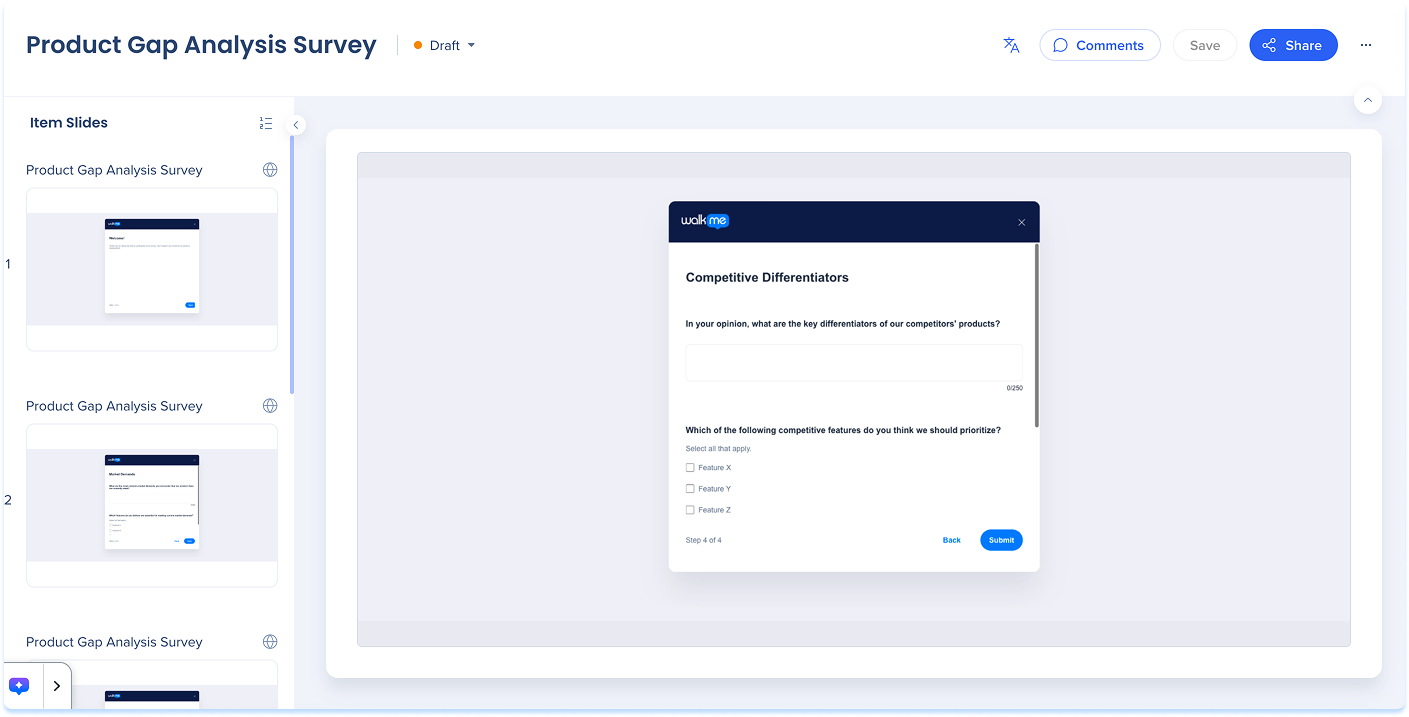
3. Main canvas
The main canvas displays the currently selected slide at full size for review and editing.
Move image
- Click and drag the image to where you want it on the canvas