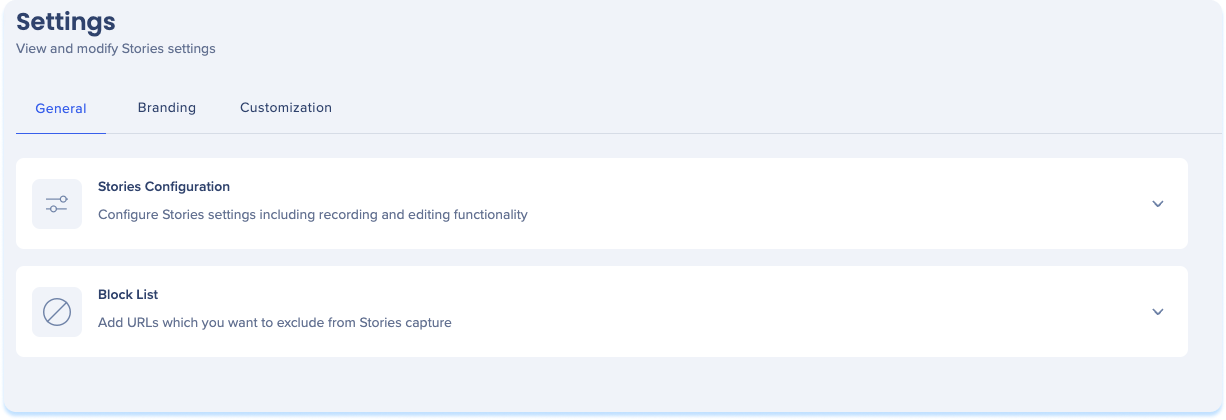
Brief Overview
The settings page lets you view and modify Stories configurations. You can select preferences and customize branding to suit your needs.
Includes:
-
General
-
Branding
-
Customization
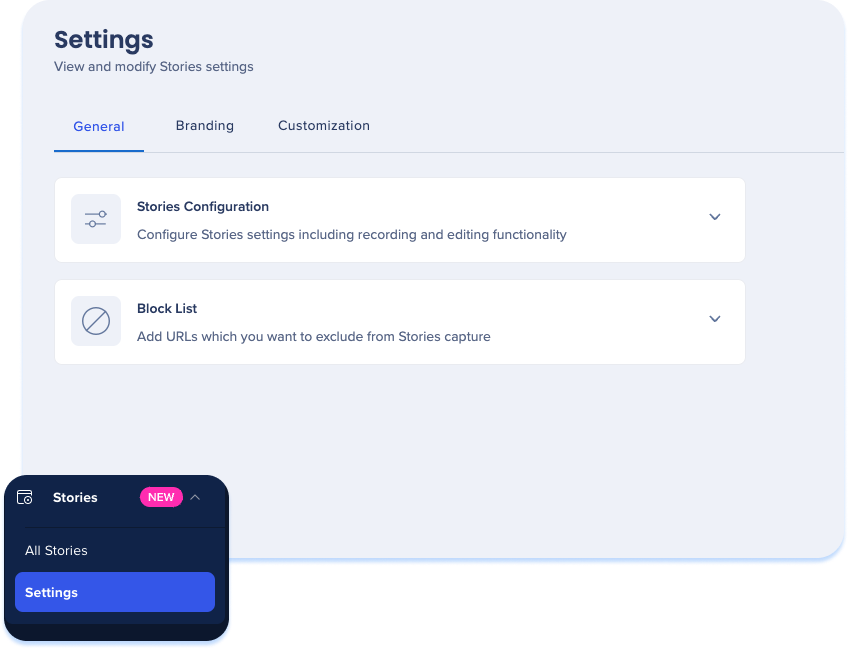
General tab
The general tab allows you to customize your Story's recording and editing functionality and add links to block lists. It consists of two drop downs:
- Stories Configuration
- Block List
Stories Configuration
-
Click the Stories configuration dropdown to set up the Story creation source:
-
Websites and WalkMe
-
Stories can be captured across all websites
-
WalkMe only
-
Stories can only be created from existing WalkMe items

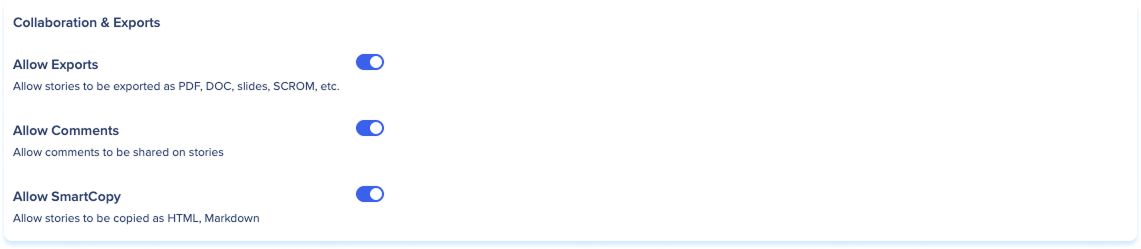
Adjust Story settings by enabling or disabling specific preferences.
-
Allow exports: Allow Stories to be exported to PDFs, Docs, Slides, SCORM
-
Allow comments: Allow comments to be shared on Stories
- Allow SmartCopy: Allow stories to be copied as HTML Markdown
Define the default access level:
- Restricted: Only the story creator or users specifically shared with can access the story
- Everyone: All users within the account can view and access the story

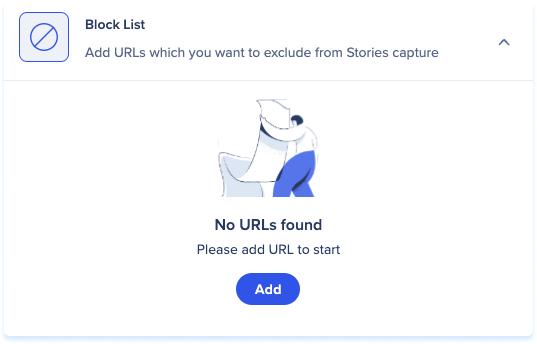
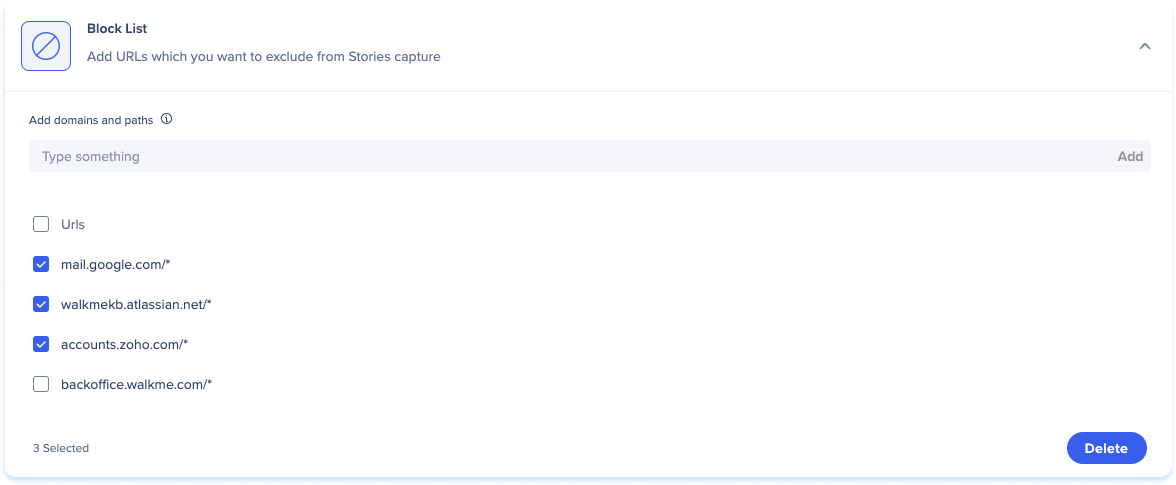
Block list
Manage URLs to exclude from Stories capture, WalkMe will be unable to capture content from these links.

How to add URLs if none have been added yet:
-
Click the Block List dropdown
-
Click Add
-
Enter a URL to block
-
Click Add
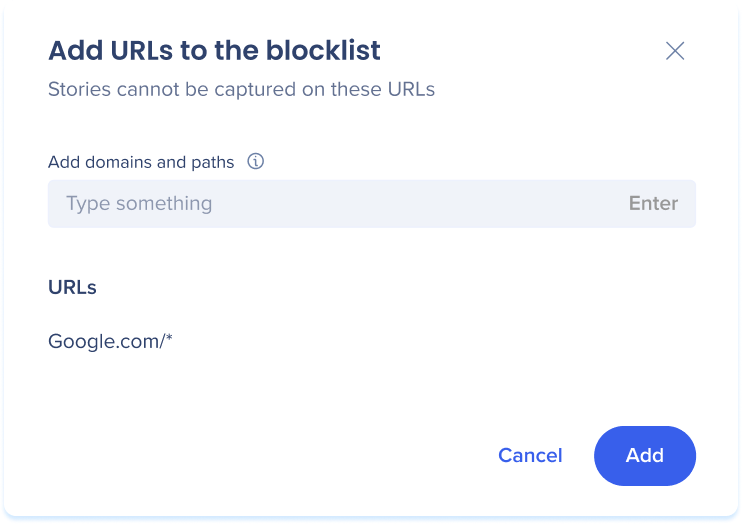
How to add new URLs if there are previous ones added:
-
Click the Block List dropdown
-
Enter a URL to block
-
Click Add
Delete one URL from block list:
-
Click the Block List dropdown
-
Click the trash icon next to the URL line

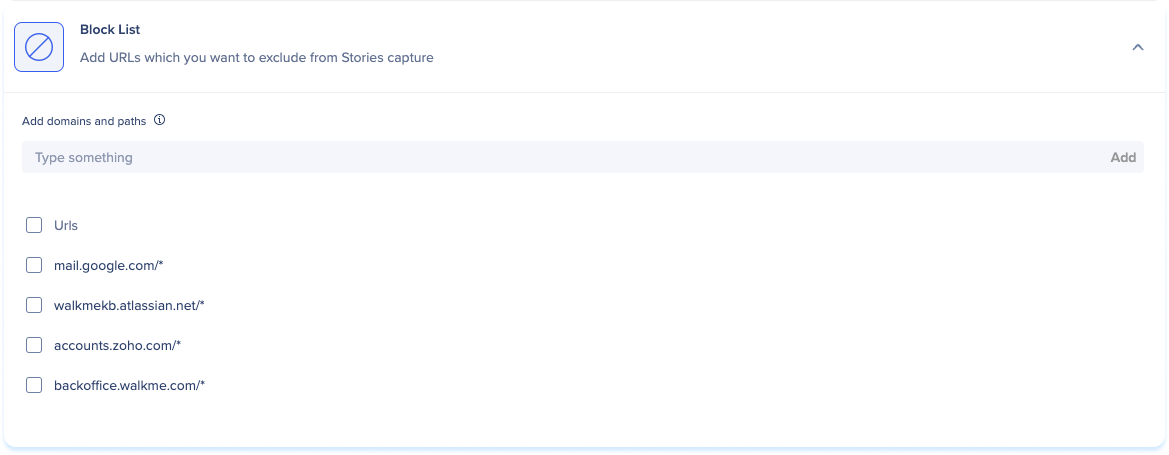
Delete multiple URLs from block list:
-
Click the Block List dropdown
-
Click the selection boxes next to the URLs you want to delete
-
Click Delete
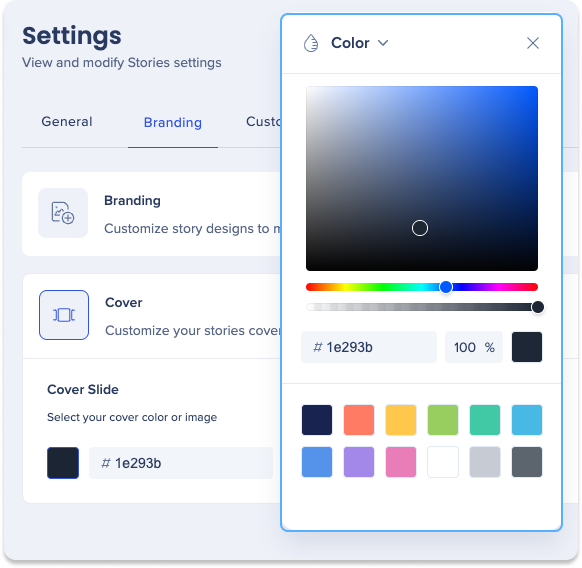
Branding tab
Customize exported Stories to align with your brand's image.
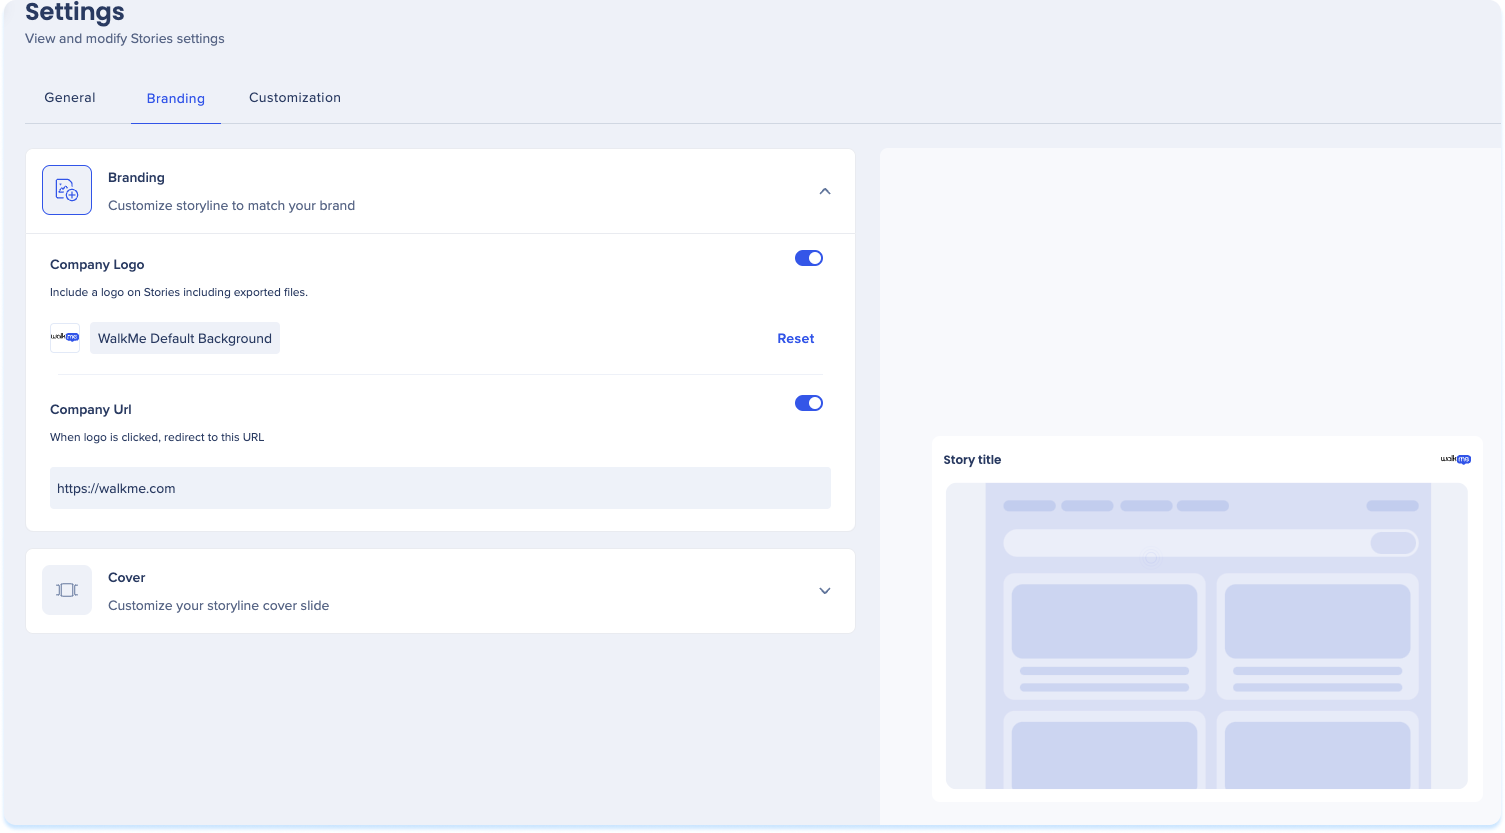
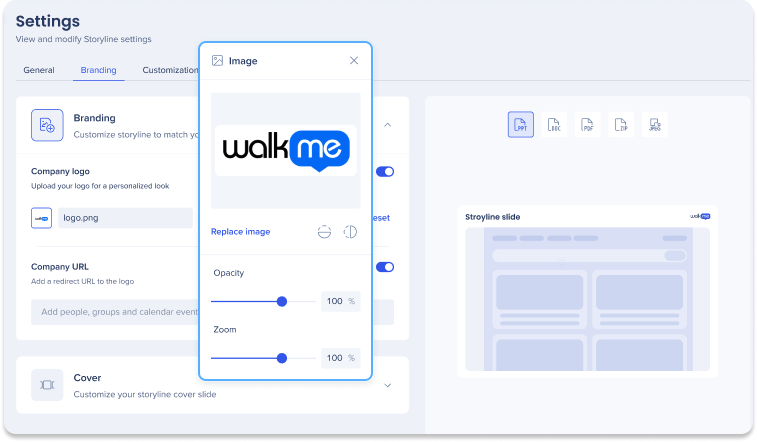
Edit company logo image
- Click the image preview

-
A popup will appear with the options to:
-
Replace image
-
Adjust the opacity
- Zoom
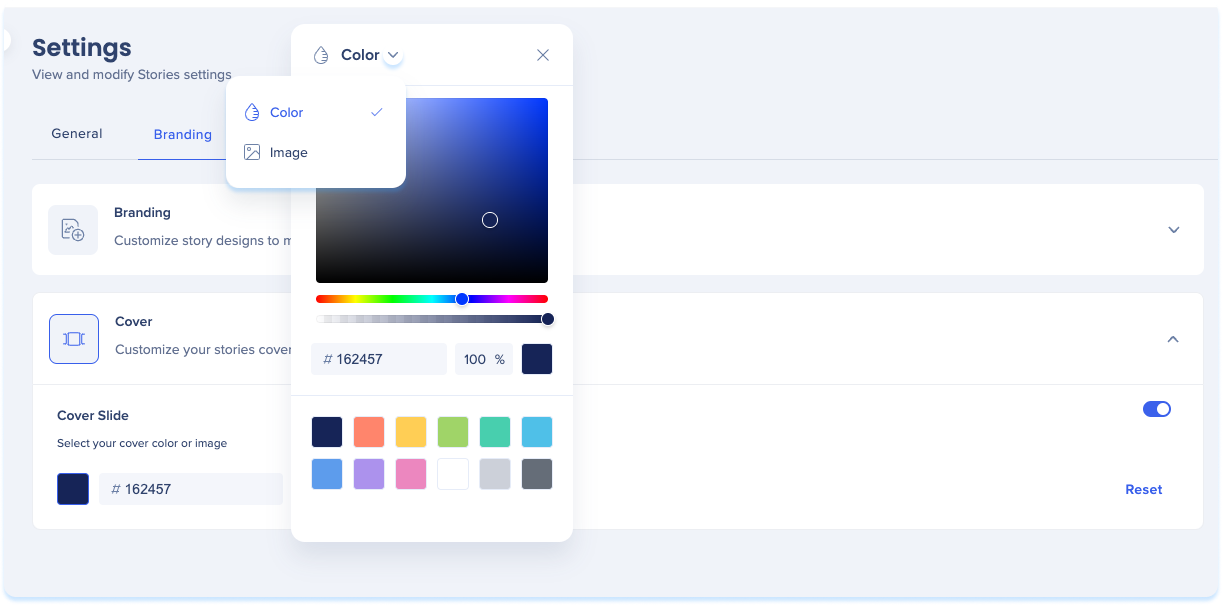
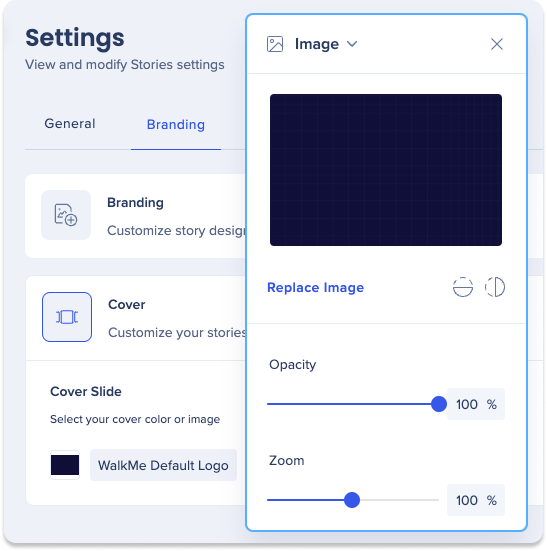
Cover
Customize the design and appearance of your story's cover slide.
-
Click the Cover dropdown
-
Click the preview image or color of your cover slide
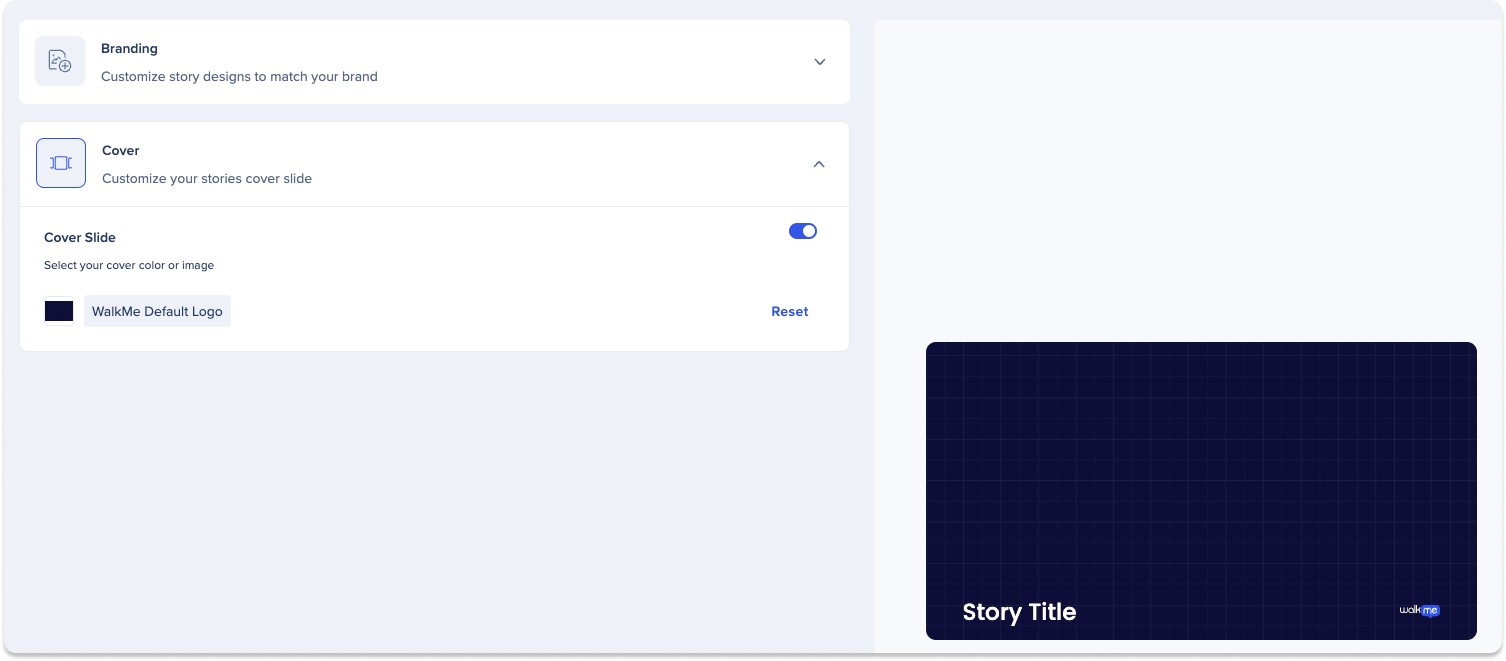
-
Select the dropdown menu at the top of the popup to edit either:
-
Image
-
Color
To edit cover image:
- Select Image from the dropdown menu
-
You have the options to:
-
Replace Image
-
Adjust opacity
-
Zoom
To edit cover color:
-
Select Color from the dropdown menu
-
You have the options to:
-
Select a new color
-
Adjust the opacity
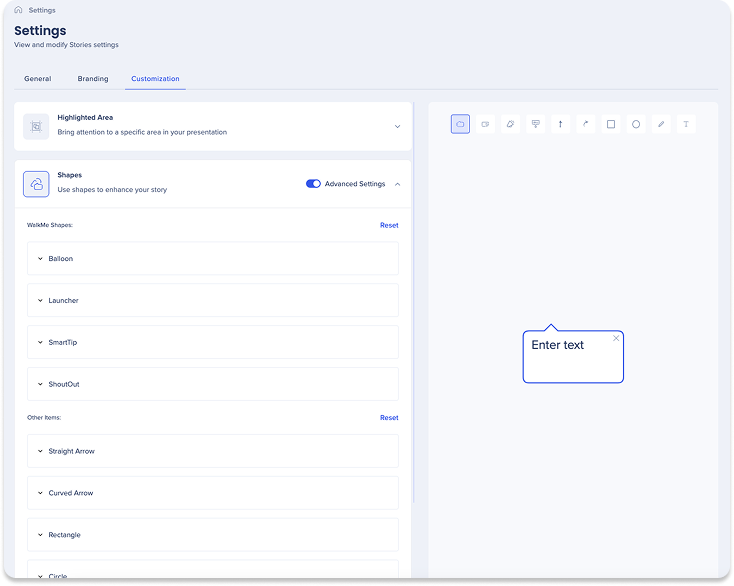
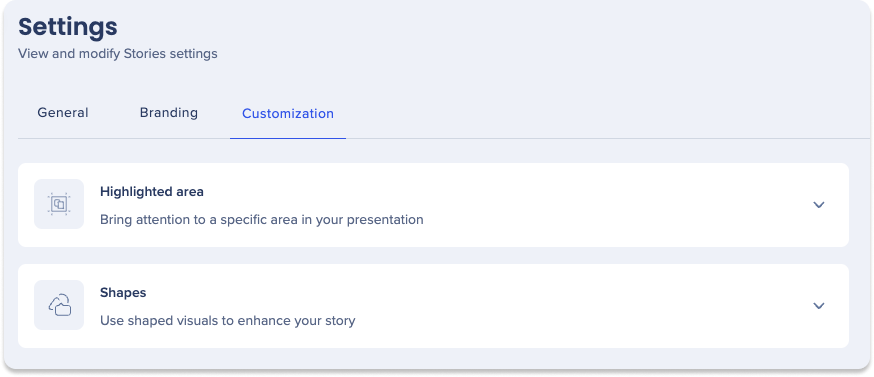
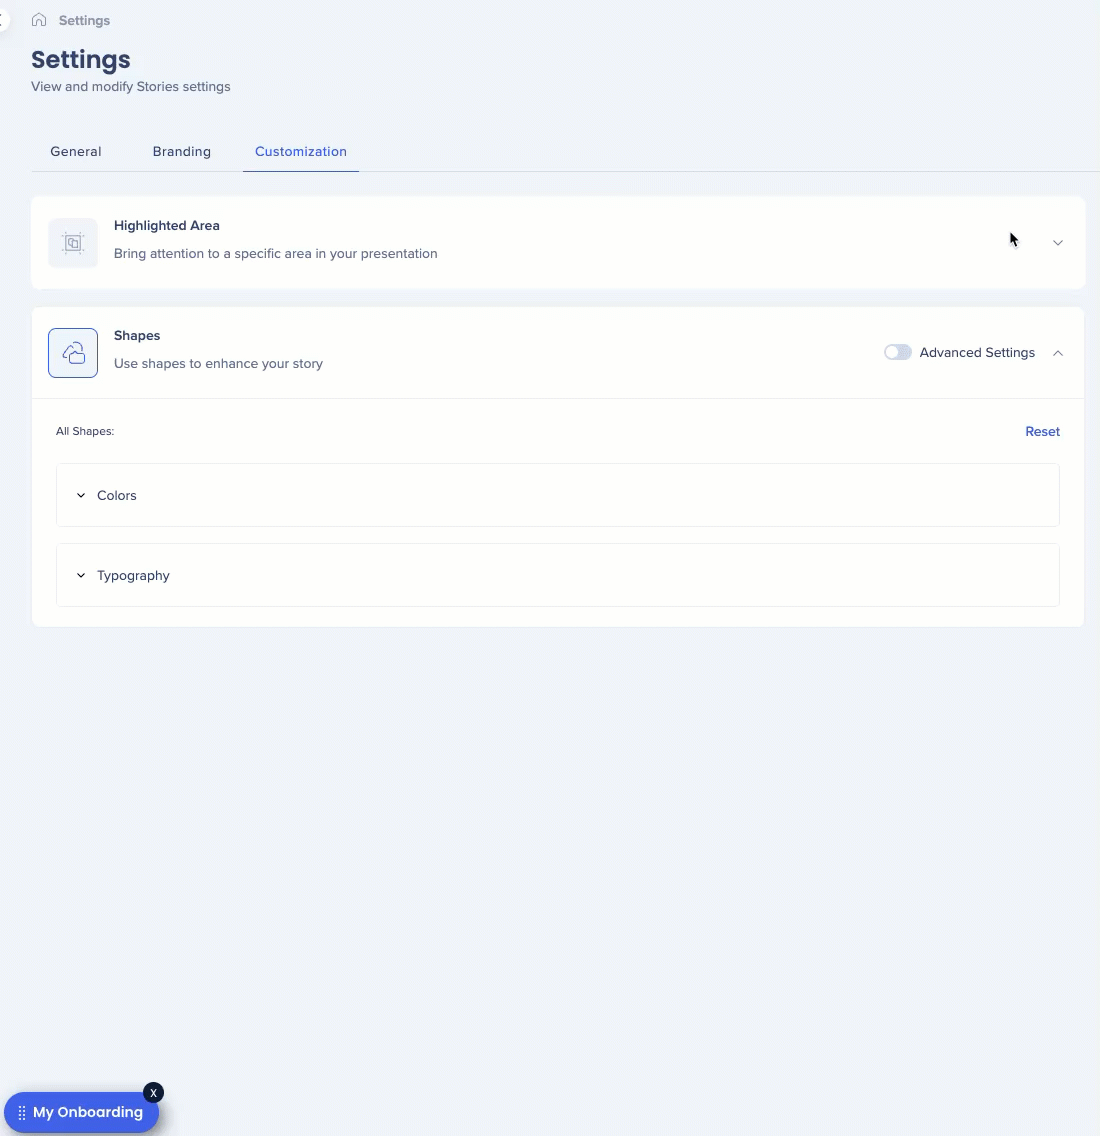
Customization tab
The customization tab lets you further personalize your presentation by defining the default style for Stories captured, including:
Note
- Only admins have access to edit
- Customization settings auto-save
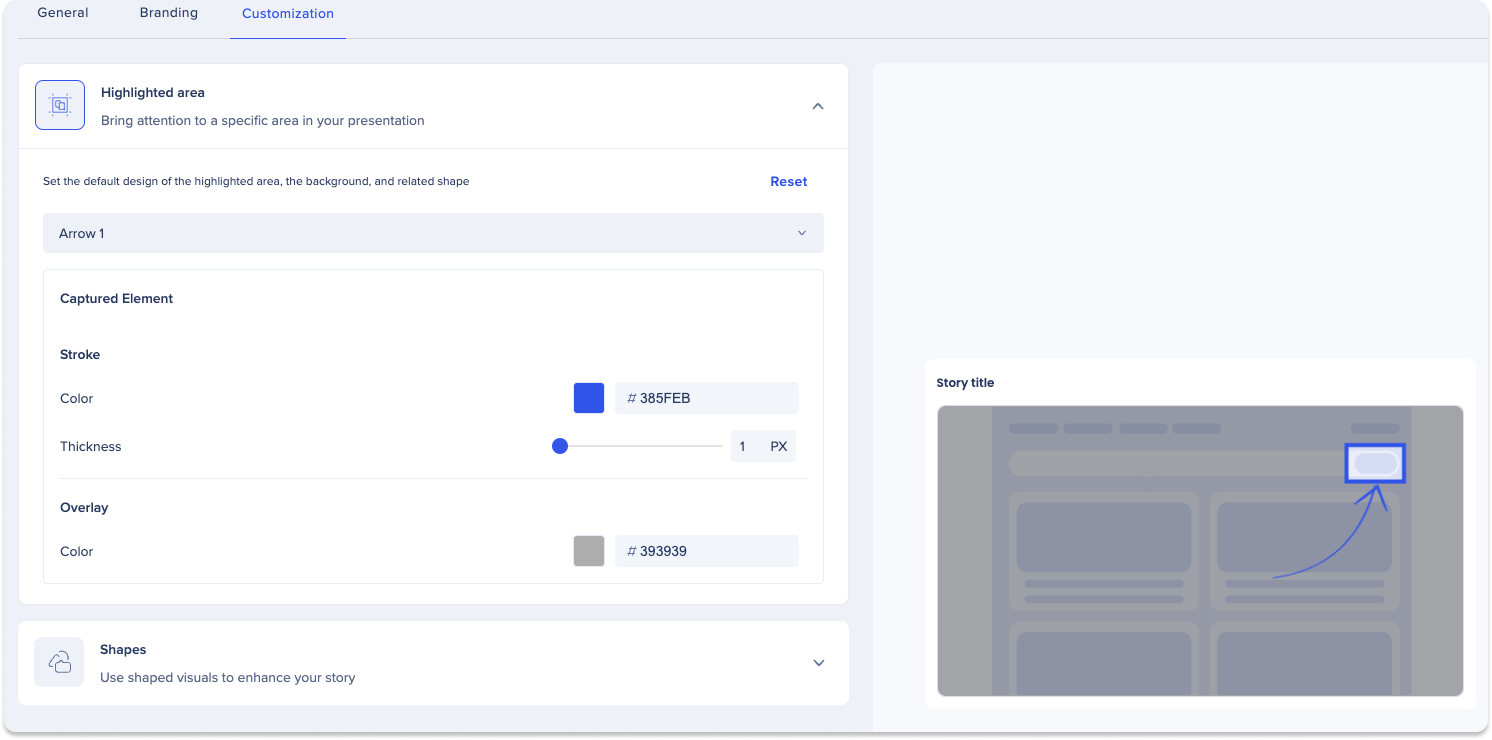
Highlighted Area
This is based on where the user clicks, highlighting the area for attention.
- Click the Highlighted area dropdown
- Click the dropdown to select the default shape pointing to the captured element

-
Adjust the following settings of the Captured Element:
-
Stroke: The boarder surrounding the captured element
-
Color
-
Thickness
-
Overlay: The color applied over the captured element
-
Color
Note
Clicking Reset will revert the icon or text to the WalkMe default.
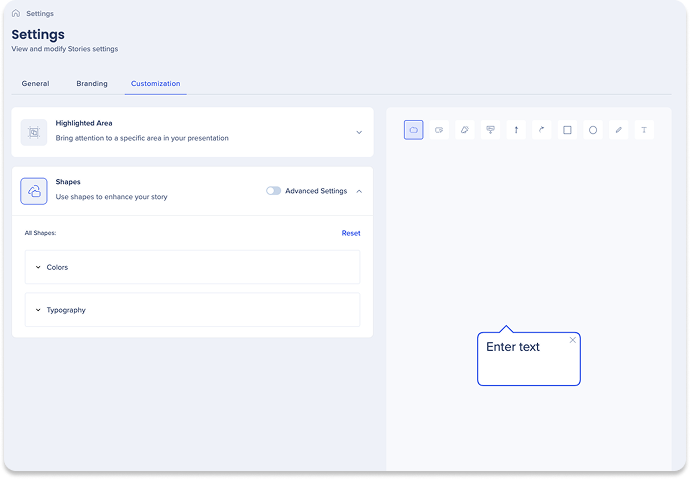
Shapes
Users can adjust the design of the shape used to point at the captured element.
-
Click the Shapes dropdown
-
Toggle between:
-
Basic mode
-
Advanced settings
Basic mode
Users can adjust the appearance one time for all shapes.
-
Click the Colors dropdown to adjust the shapes:
-
Fill
-
Color
-
Stroke
-
Color
-
Thickness
-
Click the Typography dropdown to adjust:
-
Text
-
Typography
-
Size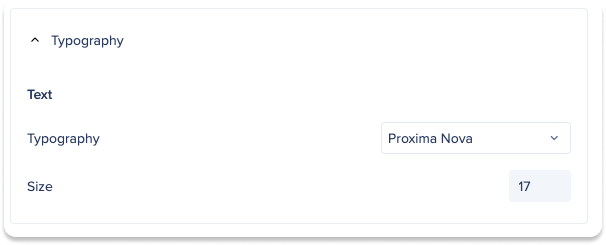
Advanced settings
Users can edit the appearance of shapes at an individual level.
-
Click the dropdown of each WalkMe Shapes and Other Items to adjust:
-
Fill
-
Color
-
Stroke
-
Color
-
Thickness
-
Text
-
Typography
-
Color
-
Size