Welcome to the
WalkMe Help Center
Please log in to continue

Please log in to continue

You can create different types of learning content to share knowledge, guide users through processes, or build full training programs. Content can be created manually, generated with AI, or imported from existing sources. After creation, you can organize, edit, and publish it so it's available for learners.
There are three available content types to choose from:

Start from scratch
Click the + Learning Content button in the Learning Content page
Select Start from Scratch
The learning content builder will open

Start from scratch

Create with AI
Click the + Learning Content button in the Learning Content page
Select Create with AI

The Create a course with AI popup will open
Enter a short summary of what the course is about
Add instructions to guide the layout and content (optional)
Upload files help customize the content (optional)
Uploaded files can be used as references for AI or included directly in the course
Click Create Course Outline

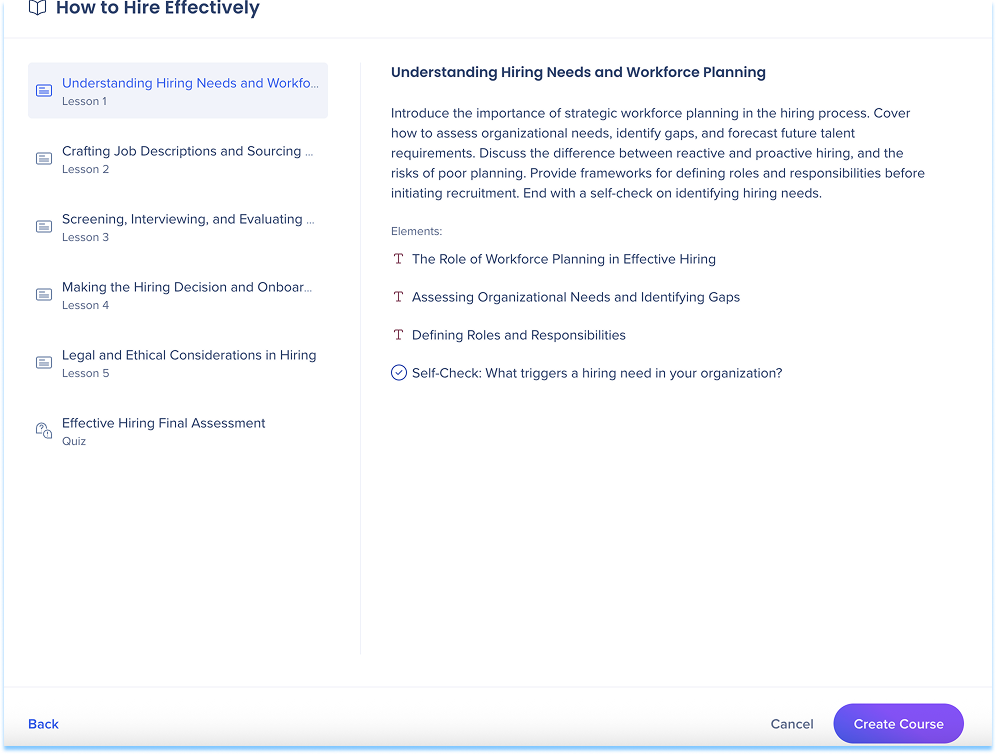
The Course Outline appears with suggested lessons and structure
Click Create Course to open the builder with pre-generated content

You can edit, rearrange, or remove any part of the generated material

The learning content builder workspace contains four main areas:
Top panel: Main controls for managing and publishing content
Elements panel: Toolbar containing all available learning elements
Layers panel: Side panel showing covers, lessons, and elements
Main canvas: Drag-and-drop area to arrange and edit content

The top panel appears across all content types and includes:
Content title
Status
Last updated date
Undo / Redo
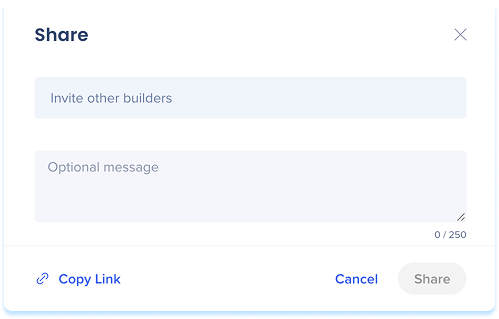
Share
Publish
Save
Preview

Click the Edit icon next to the title text field
Type the new name
Press Enter


Click the Options menu in the top-right corner
Select Publish


Previewing lets you view your course or lesson as learners see it.
Click Preview
A preview popup will open, showing the learner-facing version of your content

Each course or lesson can include a mix of elements. Drag and drop different content types to add explanations, examples, or practice activities.
Available elements:
Text: Add written content to explain ideas, give instructions, or provide context
Image: Upload or insert an image to visually support your message
Video: Use the video element to record yourself and delivercontent in a more dynamic way
Screen Recording: Show a step-by-step recording of a process or workflow
Embedded Content: Insert external resources, such as websites, apps, or tools, directly into your lesson
Simulation: Let users practice a process in an interactive, guided environment
Self Check: Add a short quiz-style question to help users test their understanding
Attachment: Provide downloadable files like PDFs or guides
Learn more: Elements in WalkMe Digital Learning
The layers panel appears as a side drawer and displays the structure of your learning content. It helps you navigate and manage lessons and elements.

A course structure includes:

The cover appears in the content card and includes:
Course title
Number of lessons
Number of quizzes
Course duration
Difficulty level
Tags
About section
Edit fields:

To add a lesson:


The lesson outline appears with suggested structure.
Click Create Lesson to add the generated lesson to the builder

8. You can edit, rearrange, or remove any part of the generated content
Lesson actions:


Lessons can contain multiple elements.
To view elements:
To manage elements:


Quizzes let you create assessments to test knowledge, reinforce learning, and provide feedback directly in the learning flow
To add a quiz:

A Micrelearnings structure contains:
Cover
Lesson
Elements

1. Microlearning cover
The cover page appears in the content card and includes:

The main canvas is where you build and arrange your learning content. When you create a course or microlearning from scratch, the canvas opens in its default state.
Default state includes:
Lesson title: A placeholder text field to enter the lesson title
Image area: Upload from your device or insert from assets
Content space: A blank area to add text
+ Add Element: Click to insert elements
