Brief Overview
The image element lets you add visual context to a lesson in WalkMe Learning Arc. You can drag and drop a file, add an image from your assets, upload one from your device, or generate one with AI based on your lesson or course content.
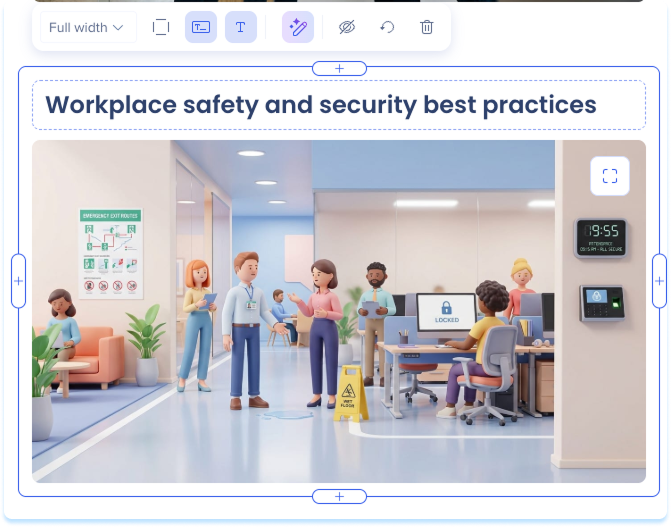
Use Cases
- Add visual context to a lesson
- Illustrate a concept or a step
- Break up long sections of text
- Reinforce your content with a relevant visual
Add an Image Element
- Open your learning content
- Drag the Image element into your lesson
The image placeholder opens so you can add an image.
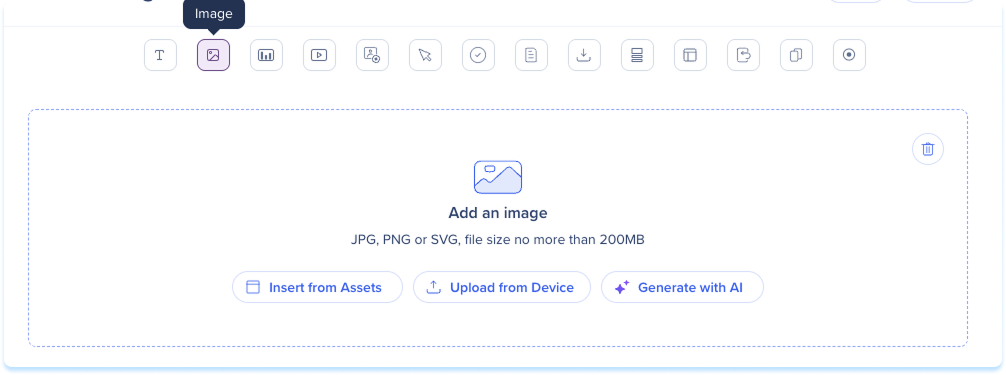
Add an existing image
To use an image you already have:
- Select Insert from Assets to add an image from your assets
- Select Upload from Device to upload an image from your device
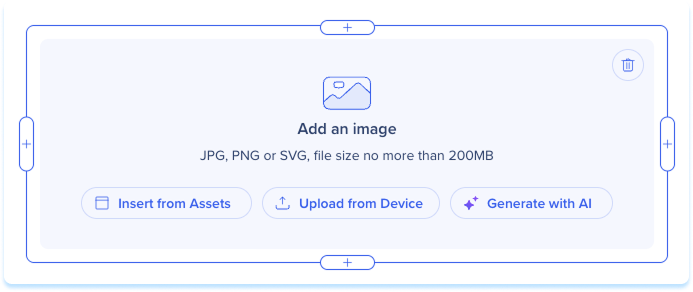
Generate an image with AI
- On the placeholder, select Generate with AI
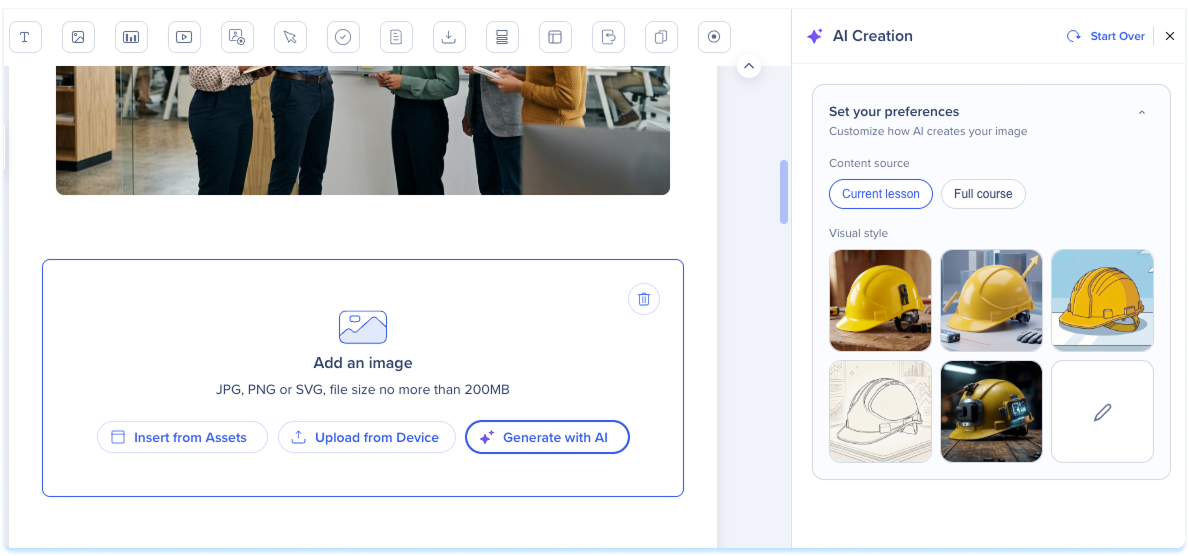
- In the AI Creation panel, choose a content source: Current lesson or Full course
-
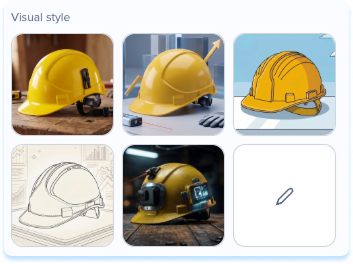
Choose a visual style from the grid, or select the custom option to describe the style you want
Visual style presets
-
Stock image realistic: Photorealistic imagery for professional and human-centered scenarios.
-
Business 3D illustration: Stylized 3D renders with a modern, polished look. Suited to concept-driven or abstract content.
-
Flat illustration: Clean vector-style visuals with minimal shading. Works well for SaaS, enterprise UI, and process-oriented content.
-
Line art: Minimalist outline style. Best for technical or instructional content where clarity matters most.
-
Tech photography: Hardware, screens, interfaces, and workspace environments. Suited to software training and IT-focused content.
-
Generate the image
Hover over a generated image to see the available actions:
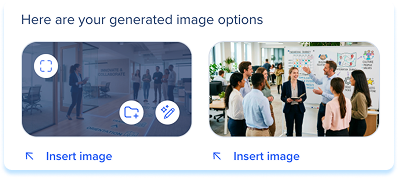
-
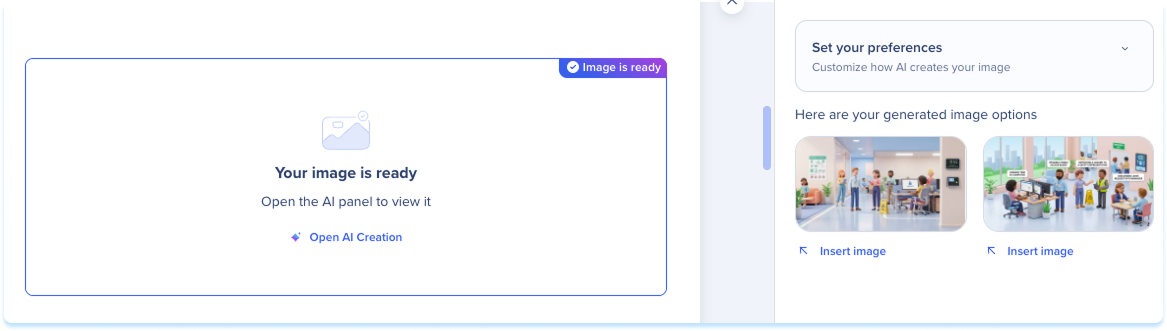
Review the options, then select Insert image on the one you want
Note
You can also generate an image from an existing element.
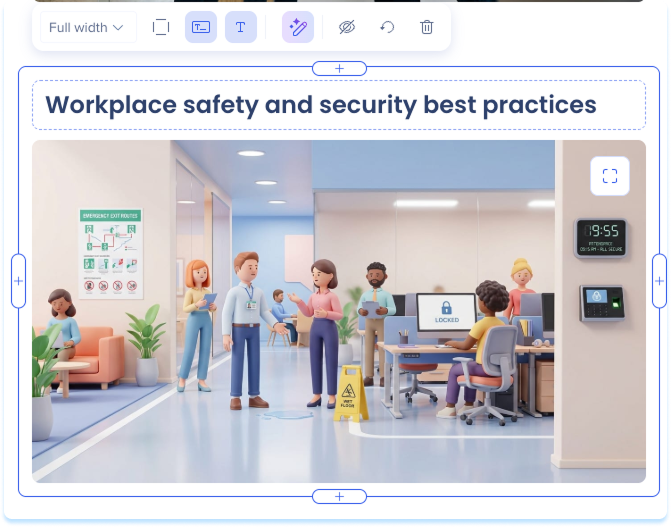
After you add an image, select it to show the toolbar. Use the toolbar to:
- Width: Set the element width
- Show border: Show an outline around the image
- Alternative text: Type short, descriptive alternative text to improve accessibility
- Reset element: Clear the image and return the element to its placeholder
- Hide: Hide the element from learners while keeping it in the lesson
- Delete: Delete the element from the lesson
Technical Notes
- AI image generation works best for conceptual and real-world scenarios. Text describing specific UI elements or software workflows may produce less accurate visuals.


