Brief Overview
Having Resources is vital for organizations that utilize the desktop menu, as they provide a means for organizing and storing useful materials that can benefit both your teams and users.
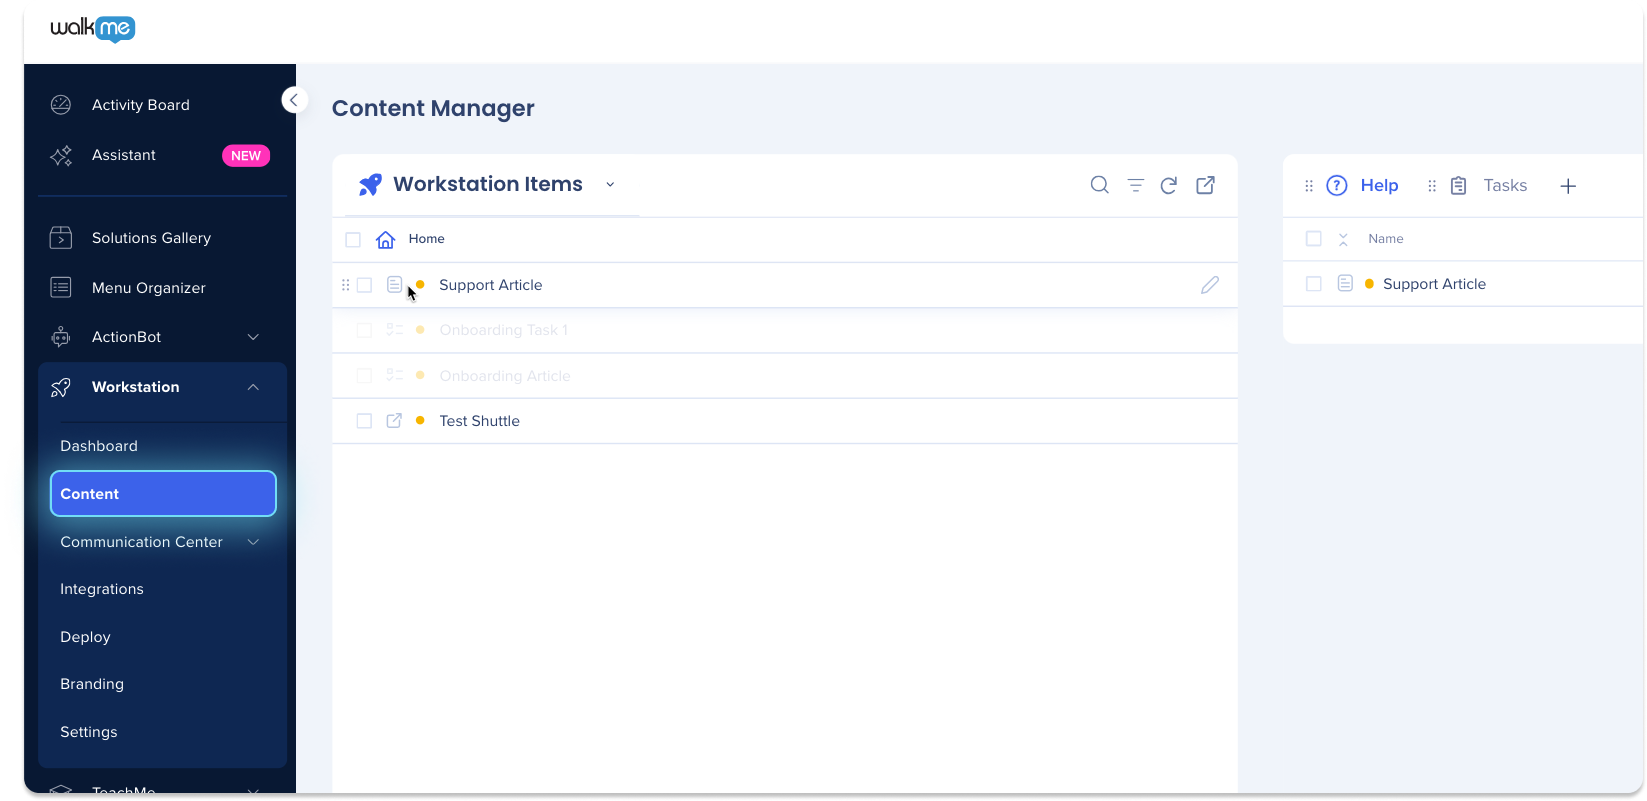
Resources are added to the desktop menu via the Menu Organizer in the Console. Resources are displayed in the desktop menu's Resources and Tasks tabs, in addition to a few other screens.
In this article, we will go over how and where your Resources are displayed in the desktop menu.
Use Cases
Displaying Resources in the desktop menu can be useful in various scenarios, such as:
-
Employee onboarding: Providing new employees with access to important resources, such as company policies, procedures, and training materials
-
Technical support: Displaying resources such as FAQs, troubleshooting guides, and video tutorials can help users resolve technical issues on their own
-
Sales enablement: Providing sales teams with access to resources such as product information can help them better understand the products they are selling and close more deals
-
Compliance training: Displaying compliance-related resources such as legal documents, training materials, and regulatory updates can help ensure that employees understand and adhere to relevant regulations
Get to Know and Use
Resources are added to the desktop menu via the Menu Organizer in the Console. To familiarize yourself with the Menu Organizer's functions, start with these links:
Navigate to the Menu Organizer
Console > Navigation Sidebar > Menu Organizer
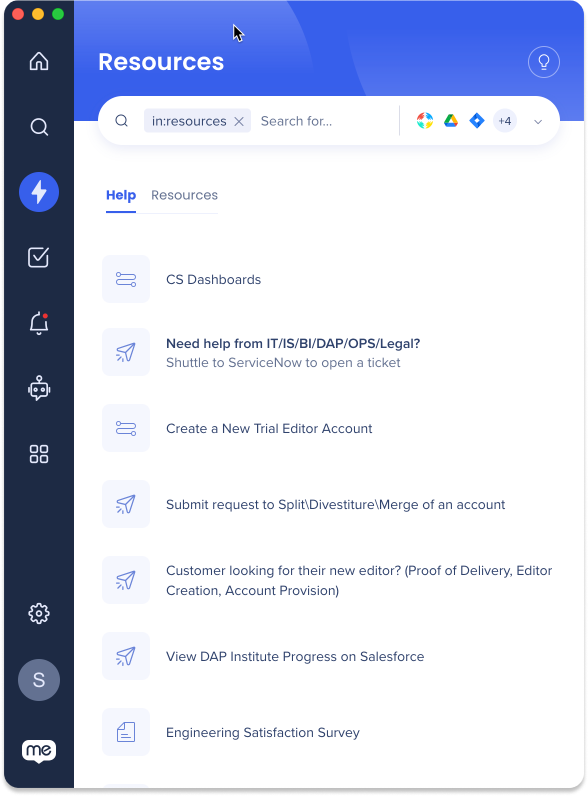
Resource Tab

To add items to the Help tab:
-
Navigate to the Menu Organizer in the Console
-
Click the Help tab
-
Drag desired items from the Items List to the Help tab
-
Click Save
-
Click Publish
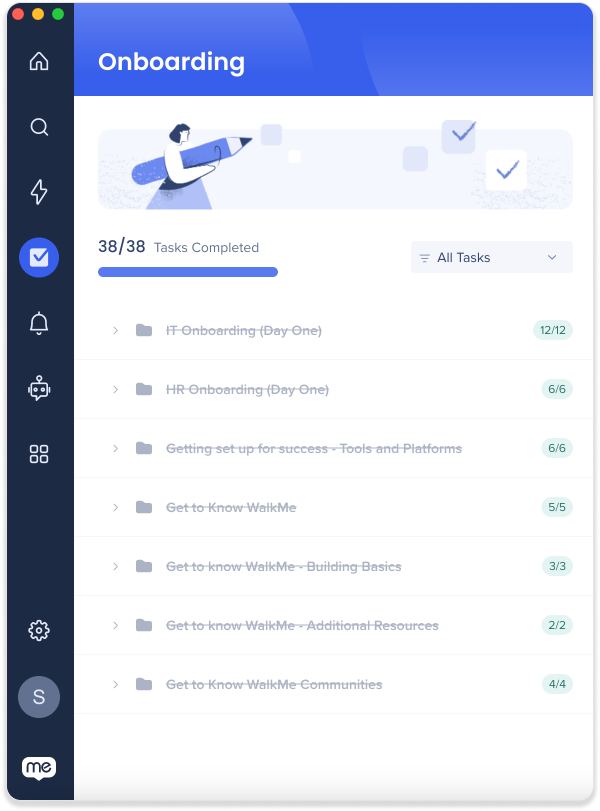
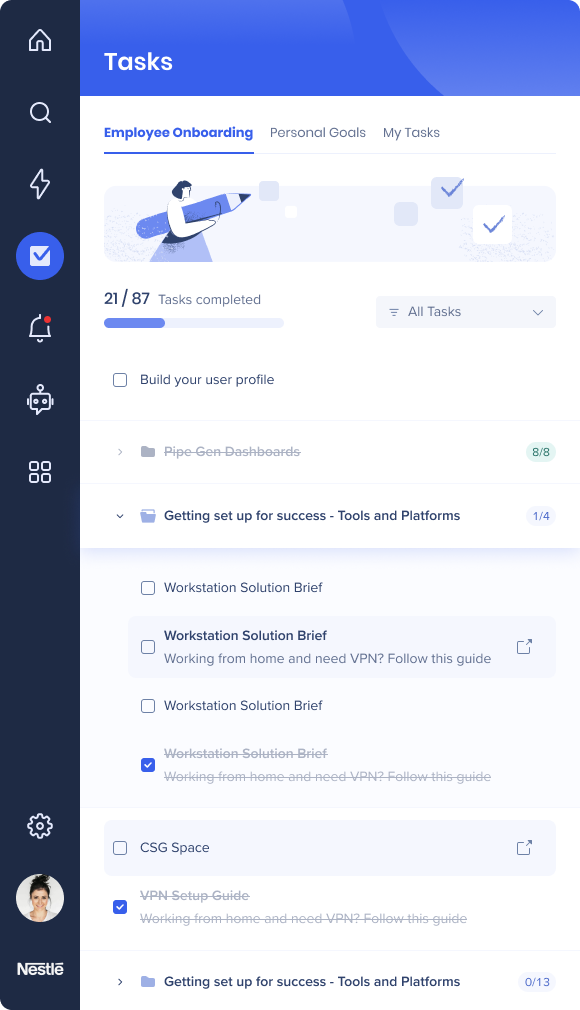
Tasks Tab (Onboarding)
-
A list of Onboarding Tasks added to the Tasks Tab in the Menu Organizer
-
These are tasks that have been given a goal, normally used to train users
-
Onboarding Tasks cannot be added to the Help tab
To add items to the Task tab:
-
Navigate to theMenu Organizer in the Console
-
Click the Help tab
-
Onboarding tasks are not available to interact with
-
Drag desired items from the Items List to the Task tab
-
Click Save
-
Click Publish
Note
You can convert Items that are not Onboarding Tasks by adding them to the Task tab.
Multiple Tasks Tabs
- Create up to 4 task tabs in the Menu Organizer for desktop/mobile systems
- If there are multiple tabs, they will appear as inner tabs with the header labeled "Tasks"
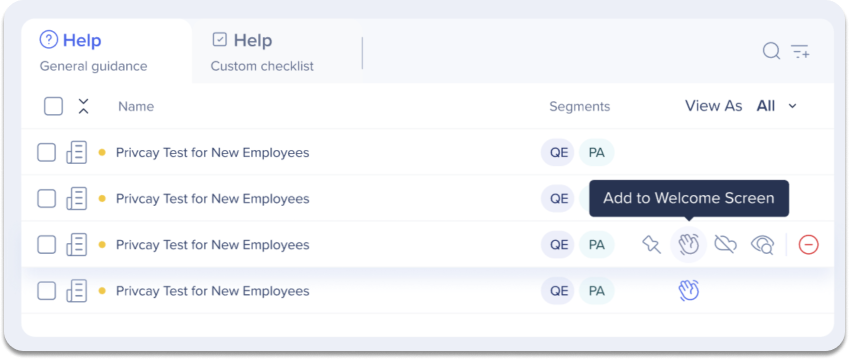
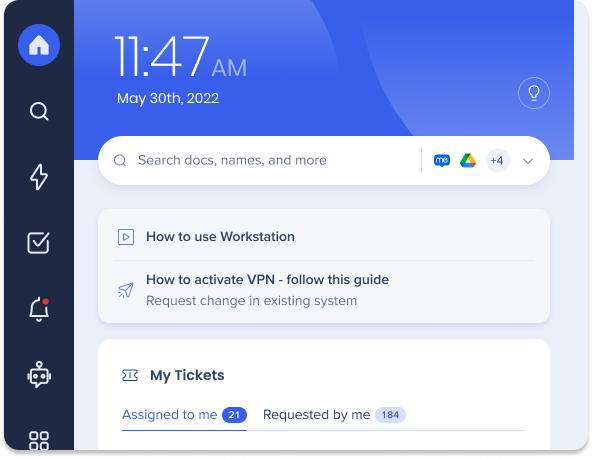
Welcome Screen
Display up to three Resources on the Welcome Screen
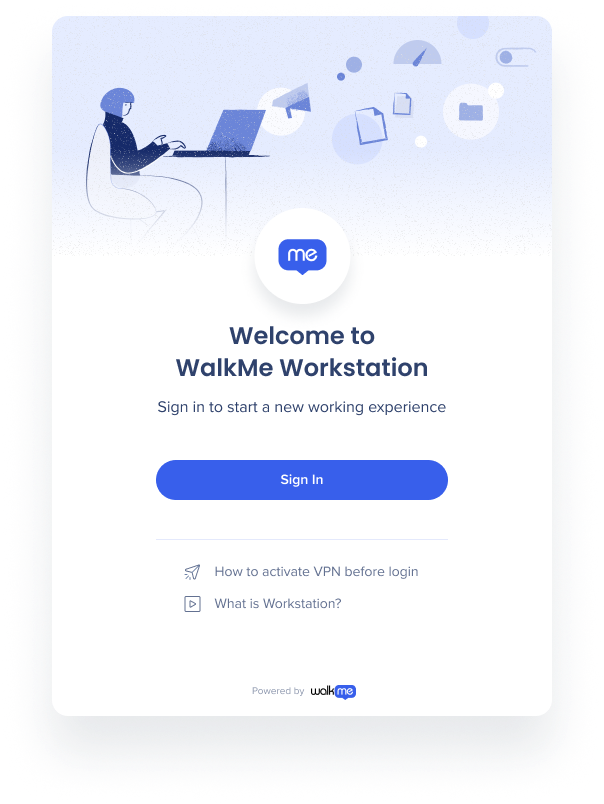
To add items to the Welcome Screen:
-
Navigate to the Menu Organizer in the Console
-
Click the wave icon next to items in the Help Tab to add resources to the Welcome Screen
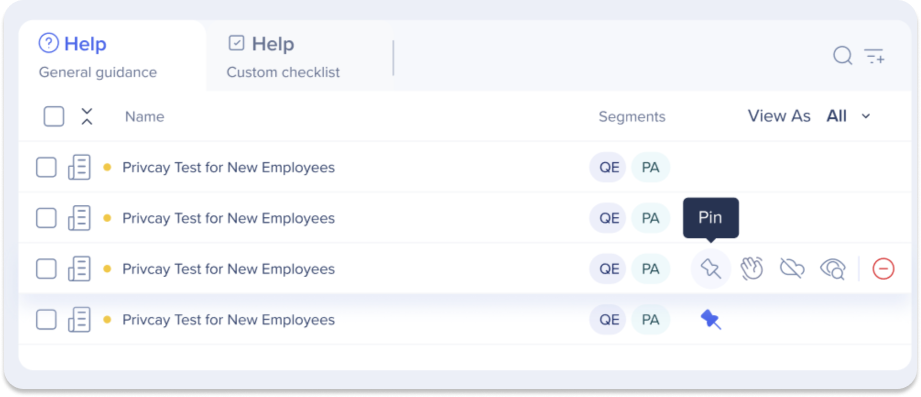
Pinned Homepage Items
Highlight specific Resources by pinning them to the top of the Homepage
To pin items to the Homepage:
-
Navigate to the Menu Organizer in the Console
-
Click the pin icon next to items in the Help Tab to add resources to the Homepage
To display items in search only:
To display items in the search only, and not on the resources page, click the eye icon.

Refresh Content Button
When content is updated and published in the Menu Organizer, a Refresh Content button will appear in the desktop menu for users. By clicking this button, users can update and refresh the WalkMe content within the desktop menu.
If content is archived in the WalkMe Editor, the Refresh Content button will not be displayed, and the desktop menu will refresh automatically.
Technical Notes
-
Up to one tasks tab and overall three tabs are supported (this is a Menu Organizer limitation)
-
The desktop menu Onboarding Tasks will be marked as completed even if the goal wasn't reached (this is a bug that will be fixed)
- ShoutOuts are not supported in the Welcome Screen
- Pinned items are not draggable and do not display on “Customize Homepage”
-
Users will still see up to 2 items in their homepage, but they will be displayed based on segmentation
- Onboarding Tasks are not supported in "Pinned Homepage Items"