
Outgoing Azure Blob Integration
Brief Overview
The outgoing integration of WalkMe with Azure Blob enables you to utilize Azure as your primary cloud provider to seamlessly transfer data from the WalkMe platform directly to Azure Blob storage. This facilitates flexibility in data consumption and further integration with in-house BI tools.
Set Up an Outgoing Integration with Azure Blob
Step 1: Access the Integrations page in Insights Classic
- Navigate to Insights Classic: https://insights2.walkme.com/
- Select the system you would like to setup the integration on from the Monitored Systems widget
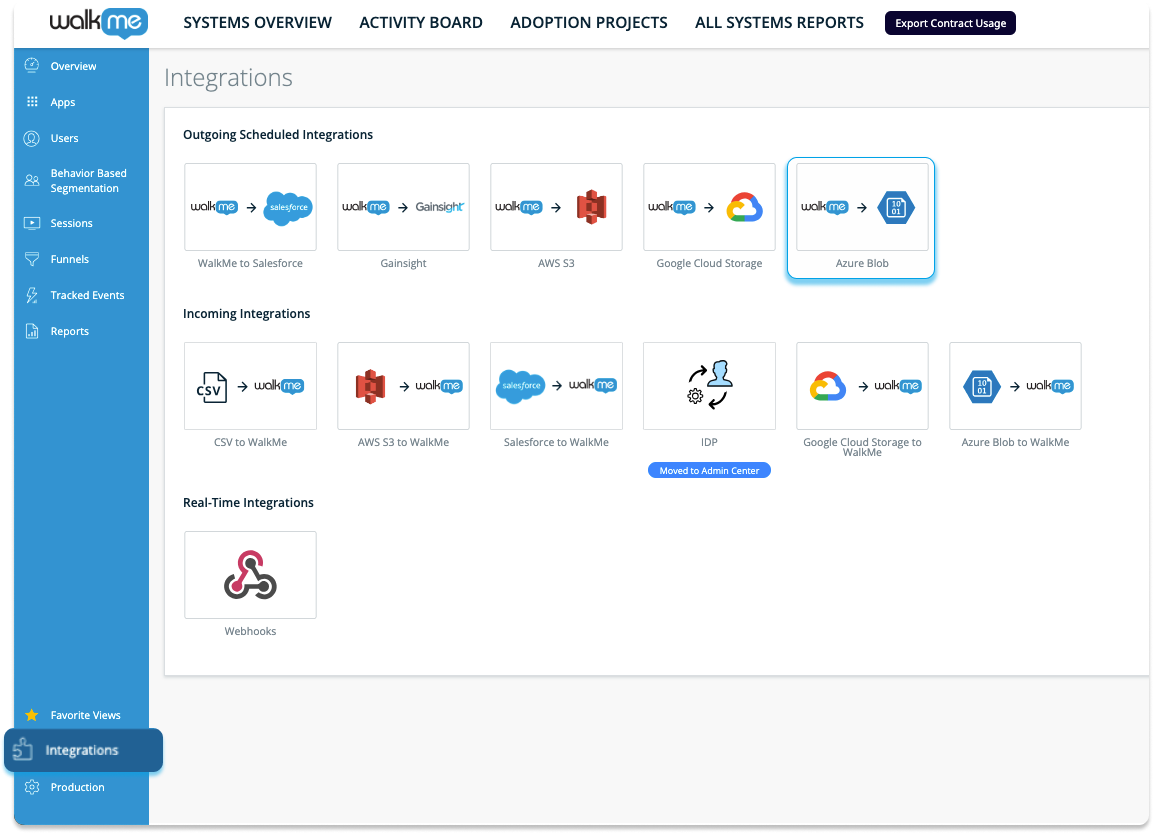
- Click the Integrations tab in the sidebar
- Click Azure Blob under Outgoing Scheduled Integrations
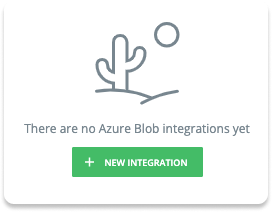
5. Click the NEW INTEGRATION button to get started
Step 3: Create a Destination
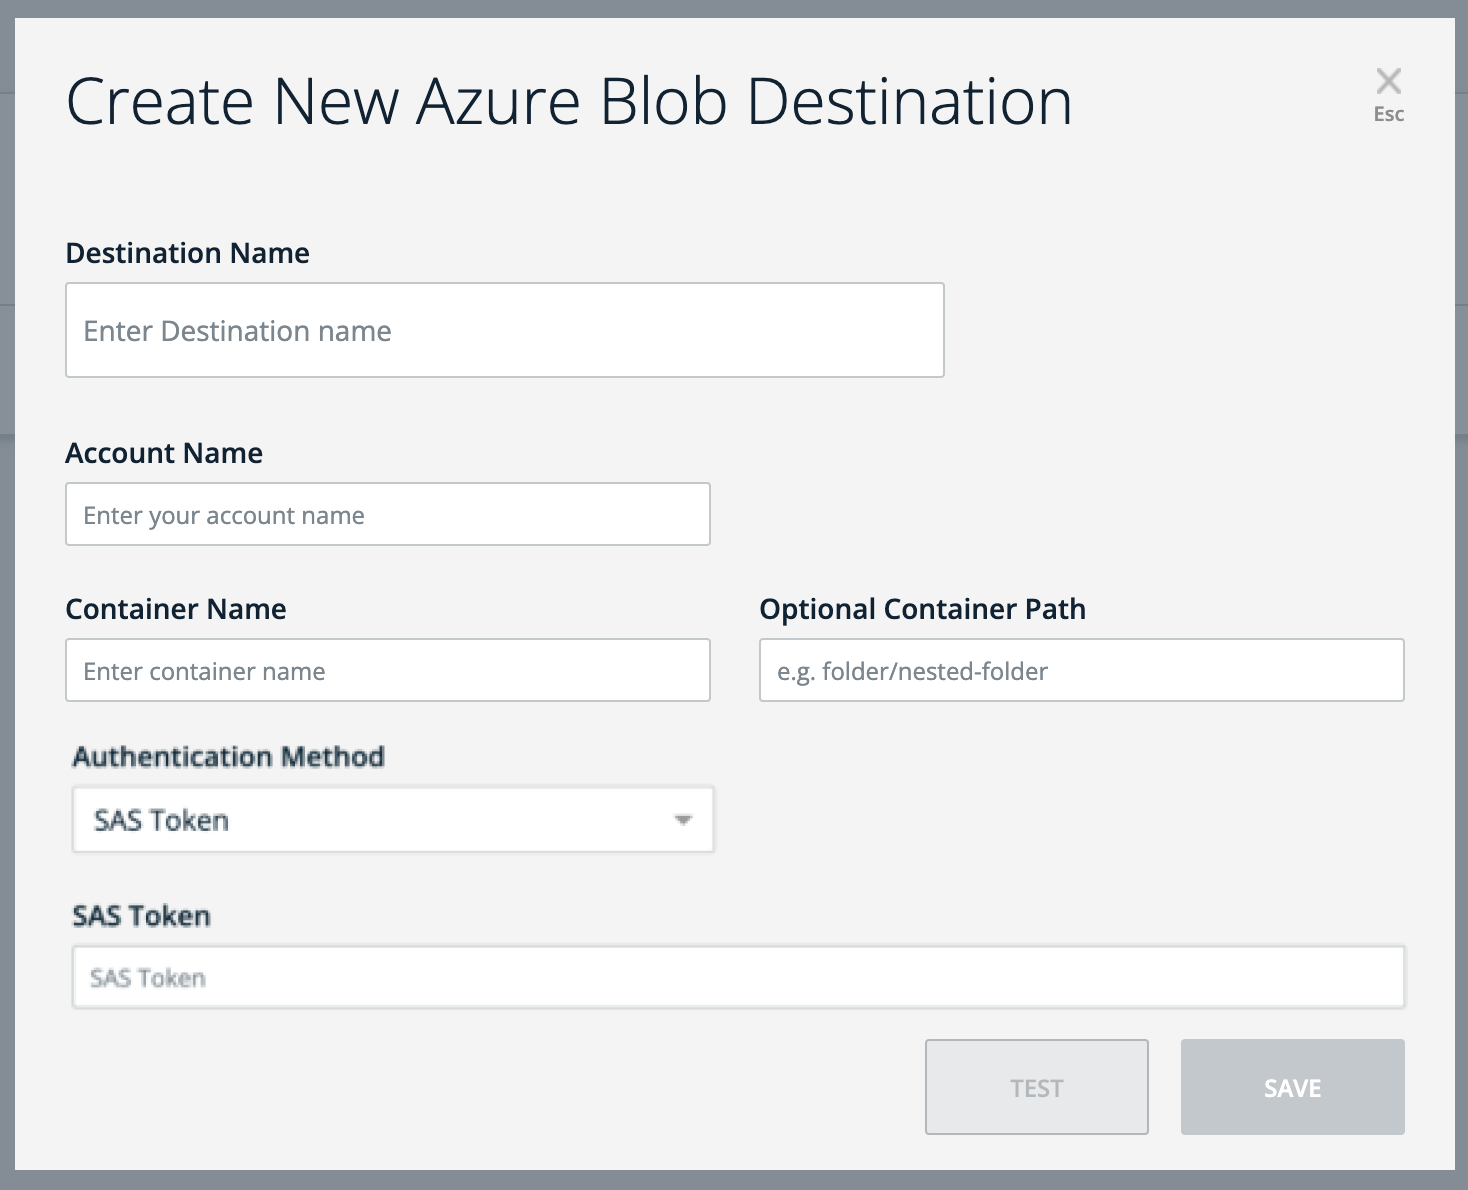
The next step is to create a destination in Azure Blob. Meaning, where to store the file you are going to export from WalkMe.
This step can be also performed during Step 3 when adding a new integration.
Information needed to enter:
- Destination Name: A name to recognize the destination
- Account Name: The name of the relevant Storage Account in Azure Blob
- Container Name: The name of the relevant container within the Storage Account in Azure Blob
- Authentication Method: Select a secure authentication method to verify user or system identity when accessing Azure Blob storage
- If SAS (Shared Access Signature) Token is selected, you will be promoted to enter the following:
- SAS Token = the SAS token generated for the relevant Storage Account
- If Microsoft Entra ID is selected, you will be promoted to enter the following:
- Client ID = a unique identifier assigned to your application by Azure Active Directory to recognize it during the authentication process
- Client Secret = a confidential key or password used by your application in conjunction with the Client ID to authenticate itself to Azure Active Directory
- Tenant ID = a unique identifier for your organization's instance of Azure Active Directory, specifying the directory in which your application is registered and authenticated
- If SAS (Shared Access Signature) Token is selected, you will be promoted to enter the following:
** The “Container Path” is an optional field.
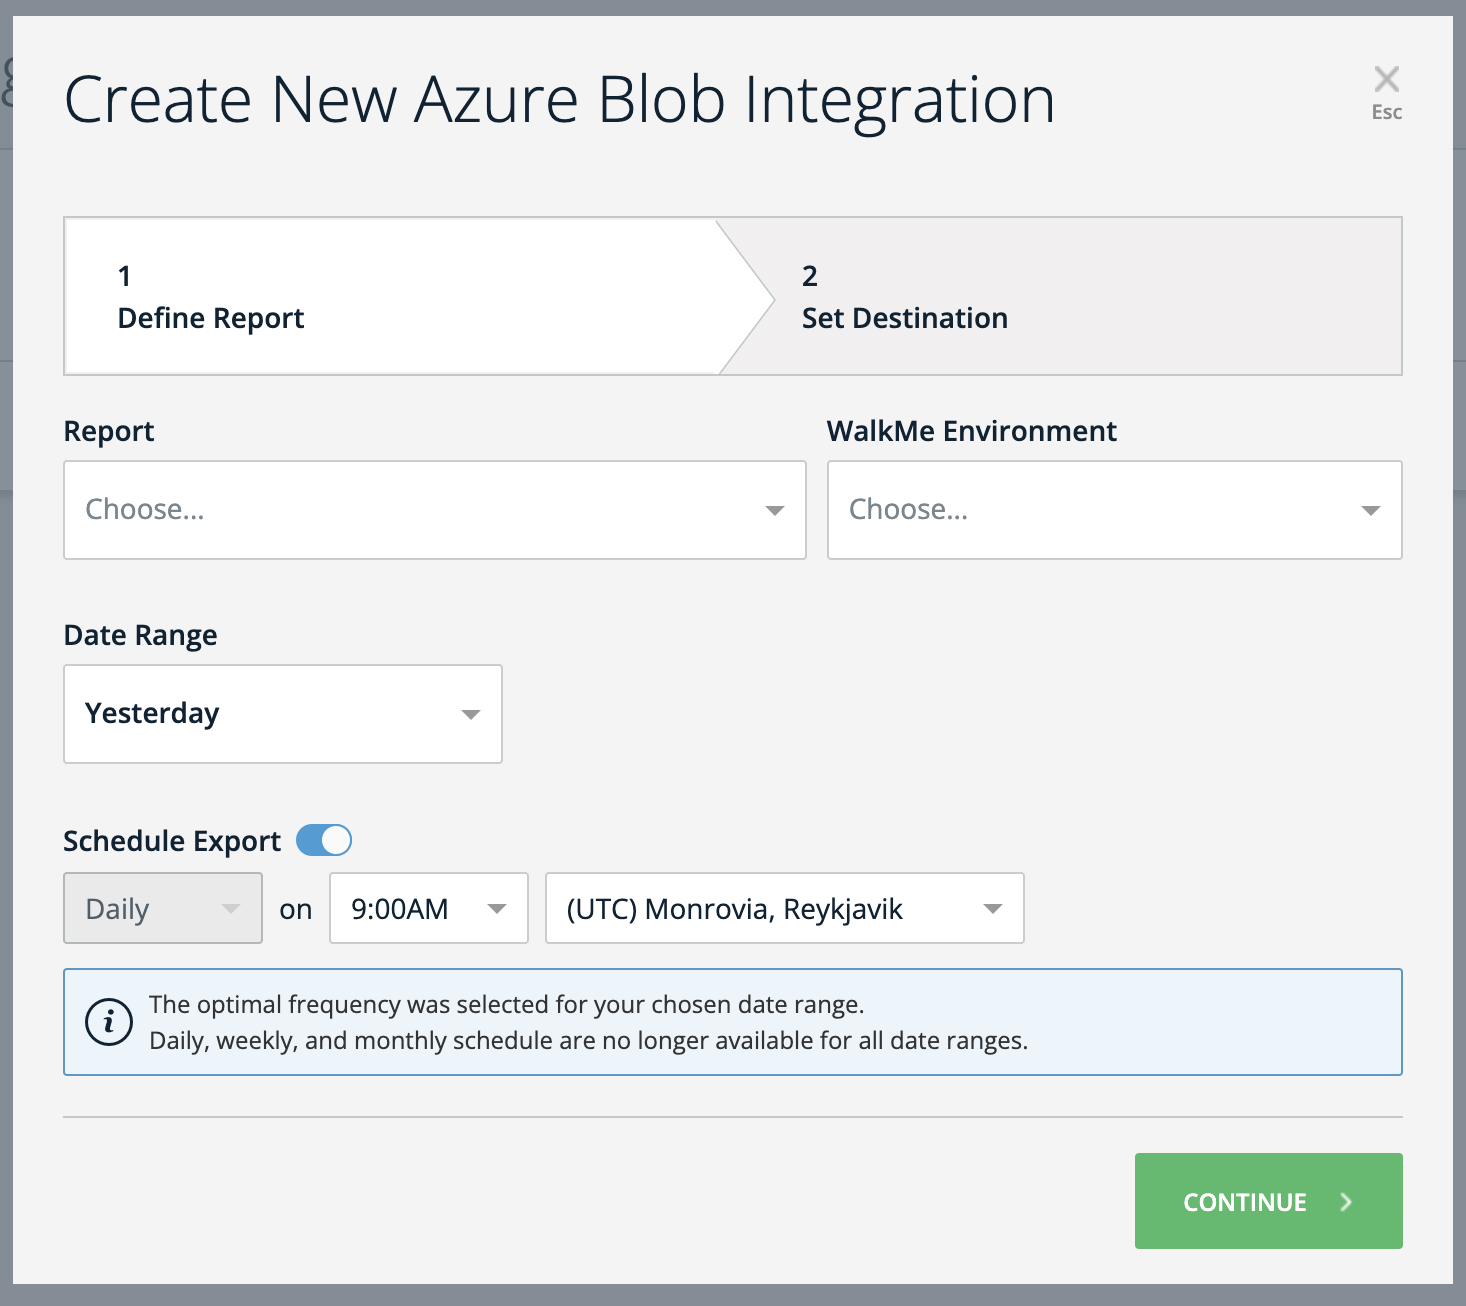
Step 3: Add New Integration
Adding a new integration can be completed in 2 simple steps:
- Define Report → Choose the report's name and the origin environment from which you intend to export the data
- You should also select the desired reporting frequency and determine whether it should be set up as a recurring process
- Set Destination → Define a new destination or select a destination from a list.
- Selecting a destination from the list will auto populate the rest of the information
Set Up a Microsoft Azure Account and Blob Container
Sign Up for Microsoft Azure
- Go to the Microsoft Azure website
- Click on "Start free" or "Sign up" to create a new Azure account
Create a Storage Account
- Once you have an Azure account, log in to the Azure portal
- Click on "Create a resource" and search for "Storage account"
- Follow the prompts to create a new storage account
- Choose a unique name for your storage account and configure other settings as needed
Create a Blob Container
- After creating a storage account, open it in the Azure portal
- In the left-hand menu, under "Data storage" click on "Containers"
- Click "+ Container" to create a new container
- Choose a unique name for your container, configure access level settings, and create the container
Authentication Method
Create a SAS (Shared Access Signature) Token
To interact with your Azure Blob Storage, you'll need to generate a Shared Access Signature (SAS) token.
- In the Azure portal, navigate to your storage account and select "Security + networking" > "Shared access signature"
- Configure the desired permissions, expiration date, and other settings for your SAS token
- Click "Generate SAS and connection string"
- Copy the generated SAS token and connection string to share with your service for accessing the container
Recommended settings
- Allowed Services → Blob
- Allowed Resource Type → Object
- Allowed Permissions → Read, Write, Delete
- Blob Versioning Permissions → Leave empty
- Allowed Blob Index Permissions → Leave empty
- Start and Expiry Date/Time → Subject to your discretion
- Allowed IP Addresses → Leave empty
- Allowed Protocols → HTTPS only
- Preferred Routing Tier → Basic (default)
- Sining Key → Key1
Technical Notes
- No limit to the number of rows for the integrated file; however, file size is limited to 1GB