Brief Overview
WalkMe Theming lets you style every element of your WalkMe content to match your brand—across the account. It's available for all existing systems, but activating it requires manual conversion of your content as we intentionally avoid altering it.
This article outlines how to enable Theming, what it affects, and how to manage your existing content after activation.
🎓 Digital Adoption Institute
Use Cases
-
Roll out a new brand style guide across all live WalkMe items
-
Centralize visual control of WalkMe assets in multi-system deployments
-
Transition legacy content to modern, scalable templates
How to Enable
To enable Theming:
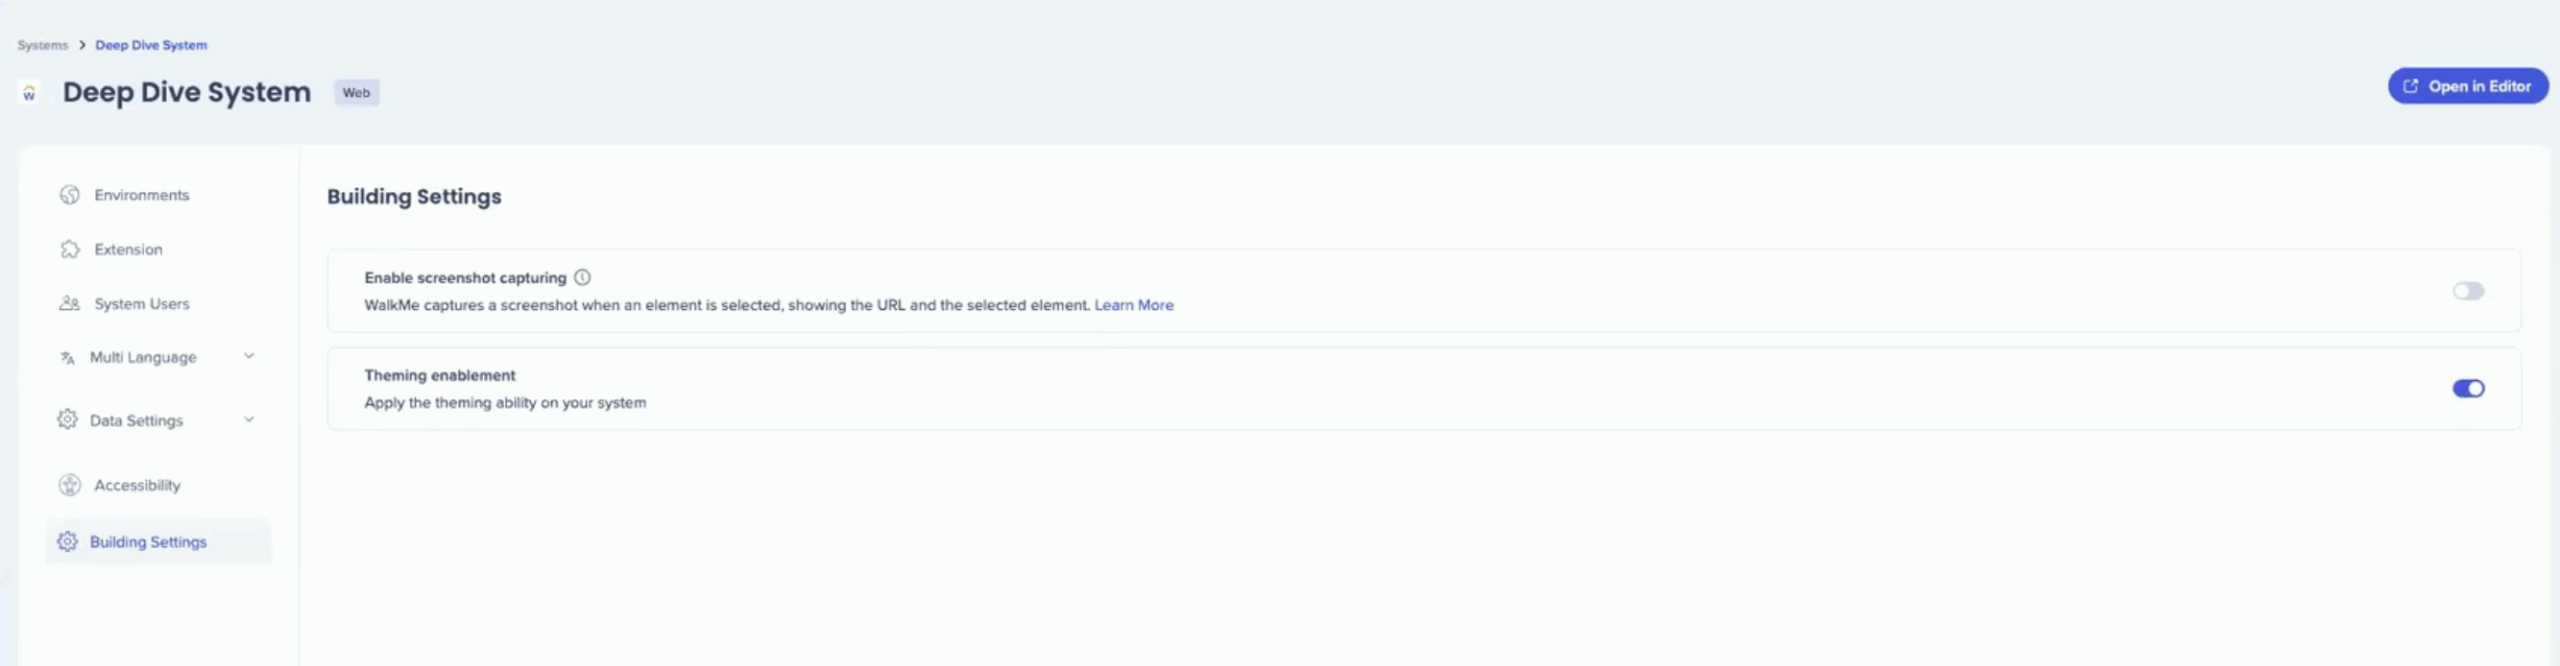
- In the Console, open Theming
- Select Enable Theming

- In the Building Settings page, turn on Theming enablement
- Select Save
Note
- Once Theming is turned on, it cannot be undone
- If you're not an admin, contact your administrator to enable it
How to Use
Note
Once you enable Theming, existing content, templates, and selections remain exactly as they were. We intentionally avoid automatically altering your existing content—you maintain full control, and can connect your content to Theming manually.
Customize content style
To connect your existing content to Theming:
-
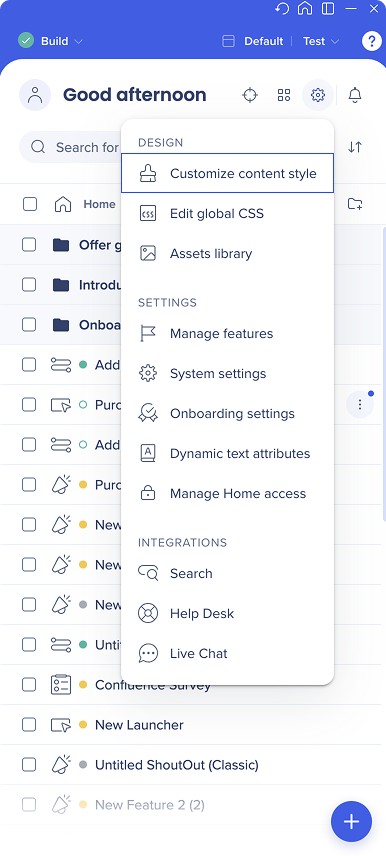
In the WalkMe Editor, go to Settings
-
Select Customize content style
To connect your menu to Theming:
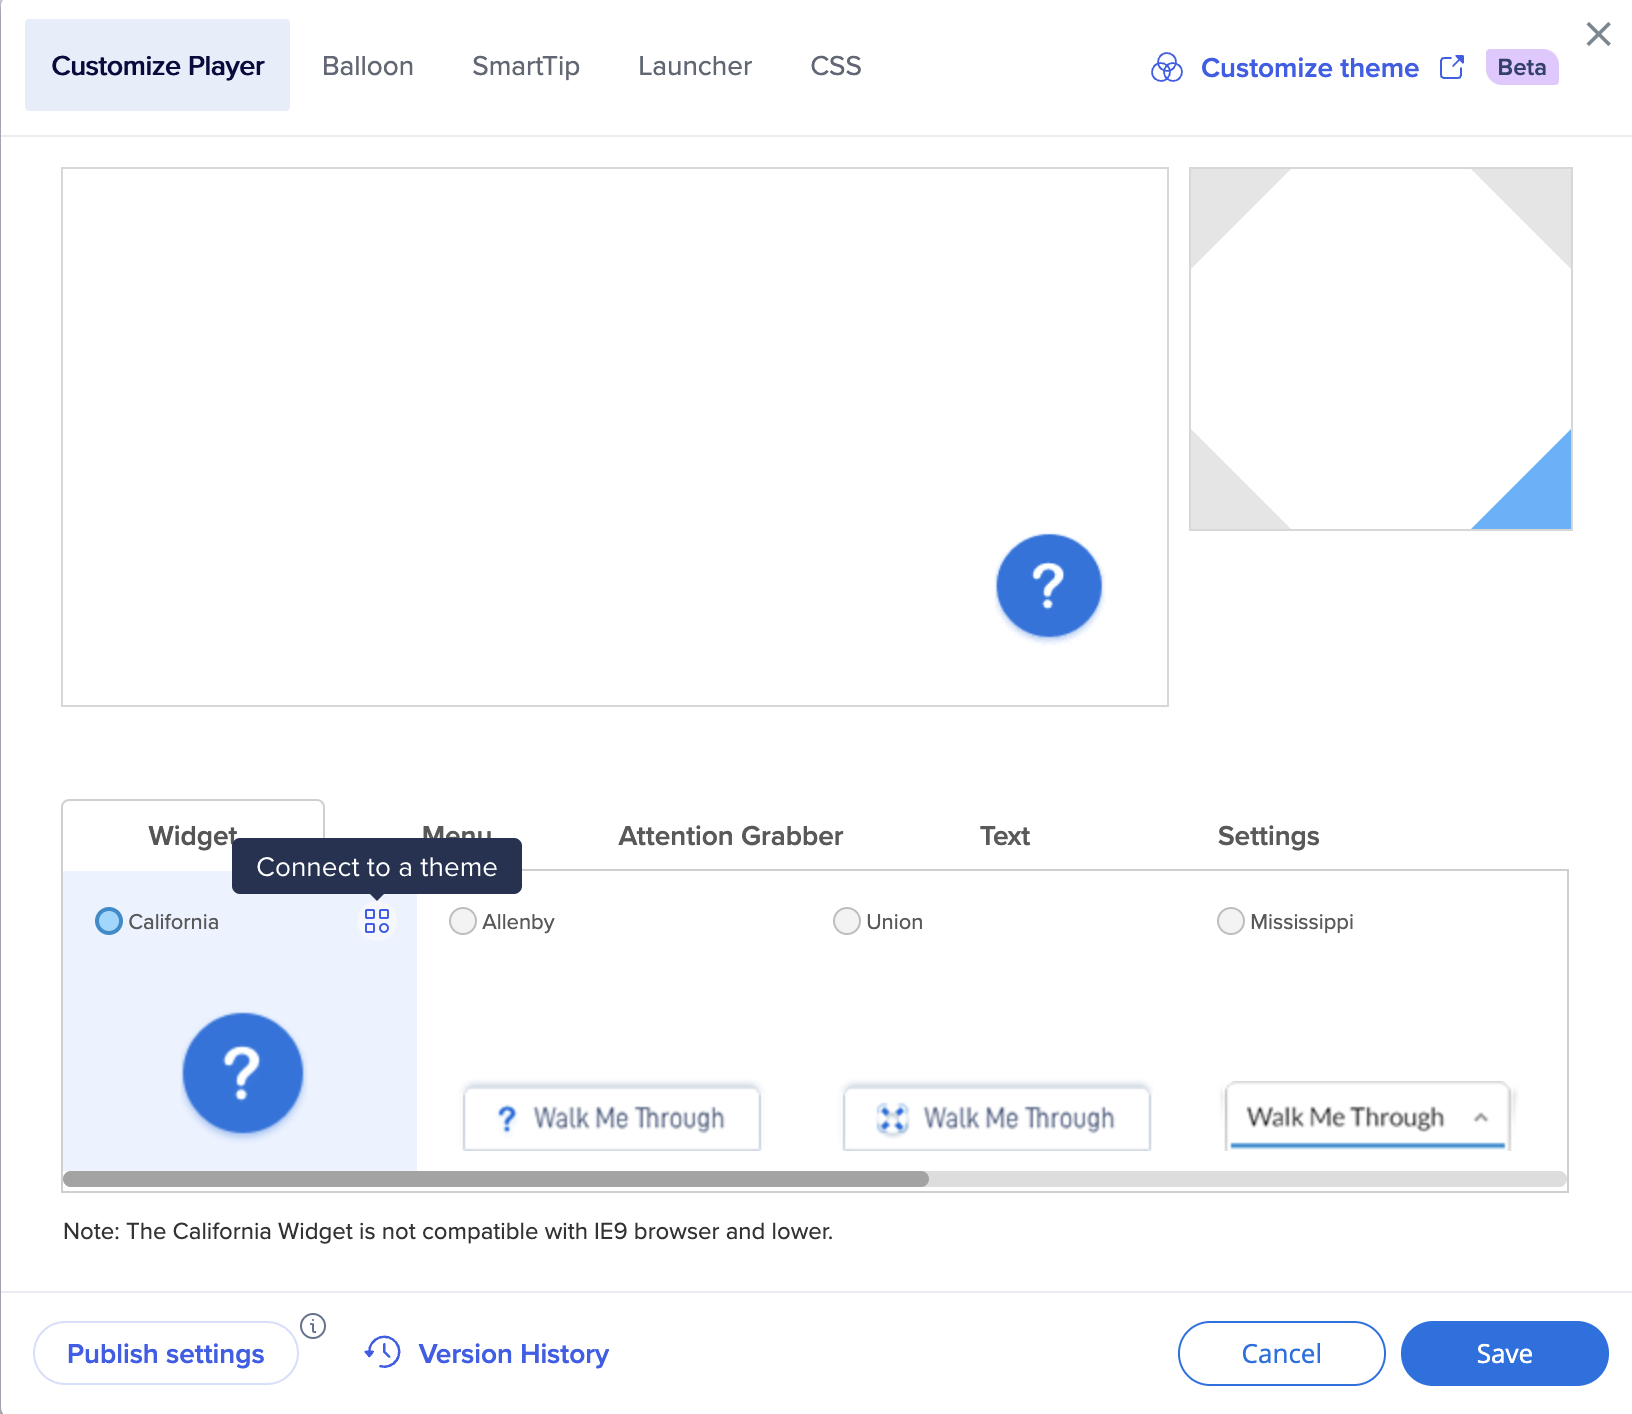
- In the Customize Player tab, select the California widget
- Click on Connect to a theme
- Select the Menu tab
- Select Pro menu
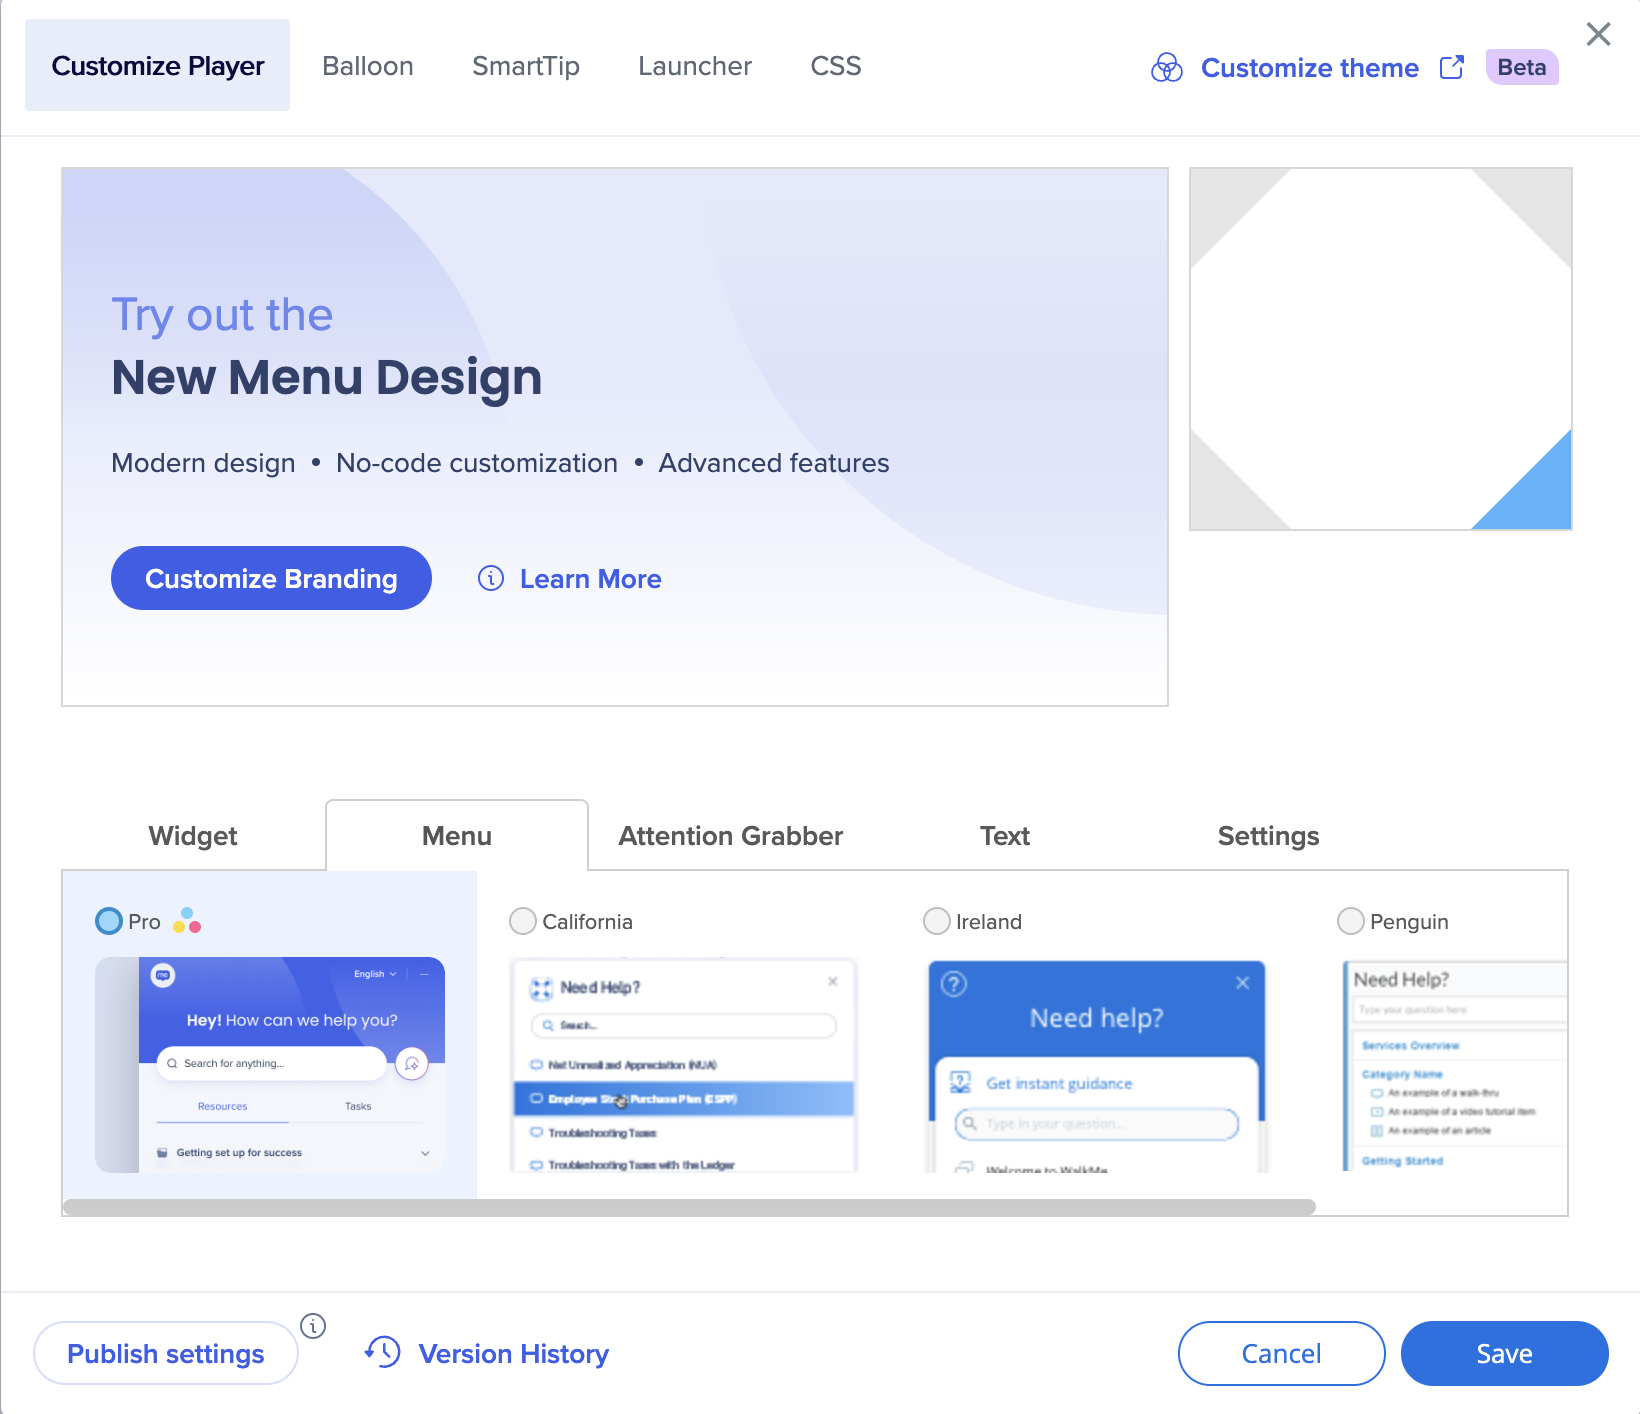
- Select Save
Note
- Only the California widget can be used with Theming
- Only the Pro menu supports Theming
Balloon
To apply Theming to your balloons:
- In the Balloon tab, click Change template
- Select a WalkMe template that uses Theming
- Alternatively, you can select one of your custom templates and edit the CSS
- Connect the highlighter color to Theming
Legacy balloons
If your system's default template is the Classic balloon, a Legacy Templates tab will appear in your gallery, alongside WalkMe templates and User templates. If your system uses the Classic balloon as the default:
- You can only apply Classic balloons (found in the Legacy Template tab) to individual steps
- You will not see the theming-enabled California templates in the gallery for specific balloons
- If your default is a California balloon, you cannot apply any Classic balloons to individual Smart Walk-Through steps

Template usage report
To help with the migration of content, especially in legacy systems that may have thousands of steps, a tool is available for assessing content status.
- Select the Export button in the upper right corner to generate an Excel CSV report

- The report provides a table containing steps, balloons, and templates, allowing users to filter and analyze their content status
- Template statuses:
- In use
- Step not using template
- Template is not used
- The report also indicates if a template is connected to Theming
- Use filters to see which templates are in use, not connected to Theming, and need to be updated; and which are not in use and can be deleted
- Find specific steps that aren't using a template and decide whether to connect them to Theming, or to convert their CSS to Theming-supported

Note
The file doesn't show the default template which is active and the steps connected to it. It only shows steps that are using other templates, or not using any template, and templates that are not in use.
SmartTip
To connect SmartTips to Theming:
- In the SmartTip tab, connect all the values to Theming
- Click Change icon to select an icon connected to Theming
- Click Edit icon if you want to create a custom icon
Launcher
Once Theming is enabled, all new launchers will automatically use the set Theming template.
To change or disconnect launchers using Theming:
- Open the Launcher tab
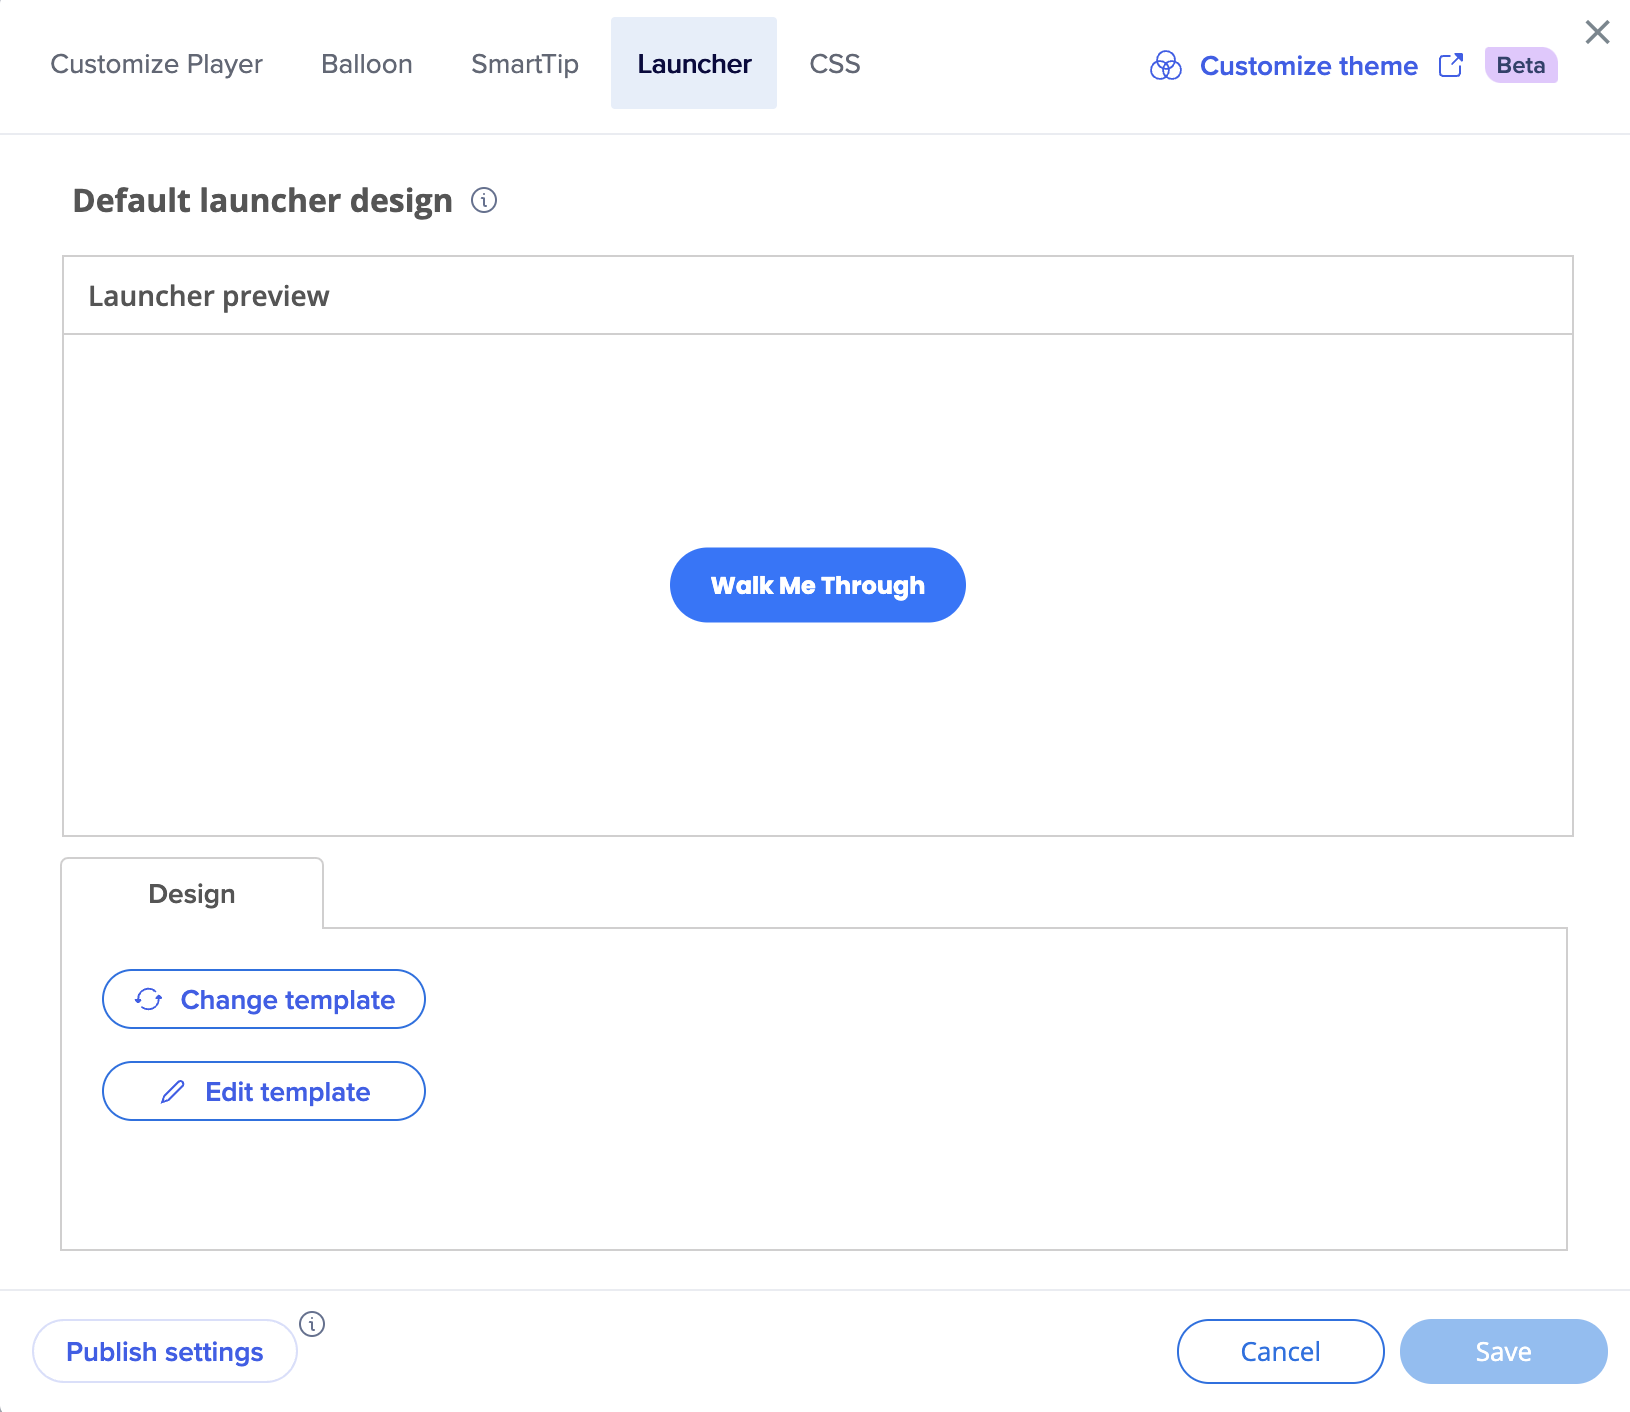
- Select Change template and choose a launcher design
- Select Save
To connect launchers to Theming:
- Open the launcher
- In the Design tab, click Change template
- You'll see how many launchers are using this template
- Click on the Options menu and select Edit
- Manually connect all the properties to Theming
- Select Save
- All the launchers using this template will change accordingly
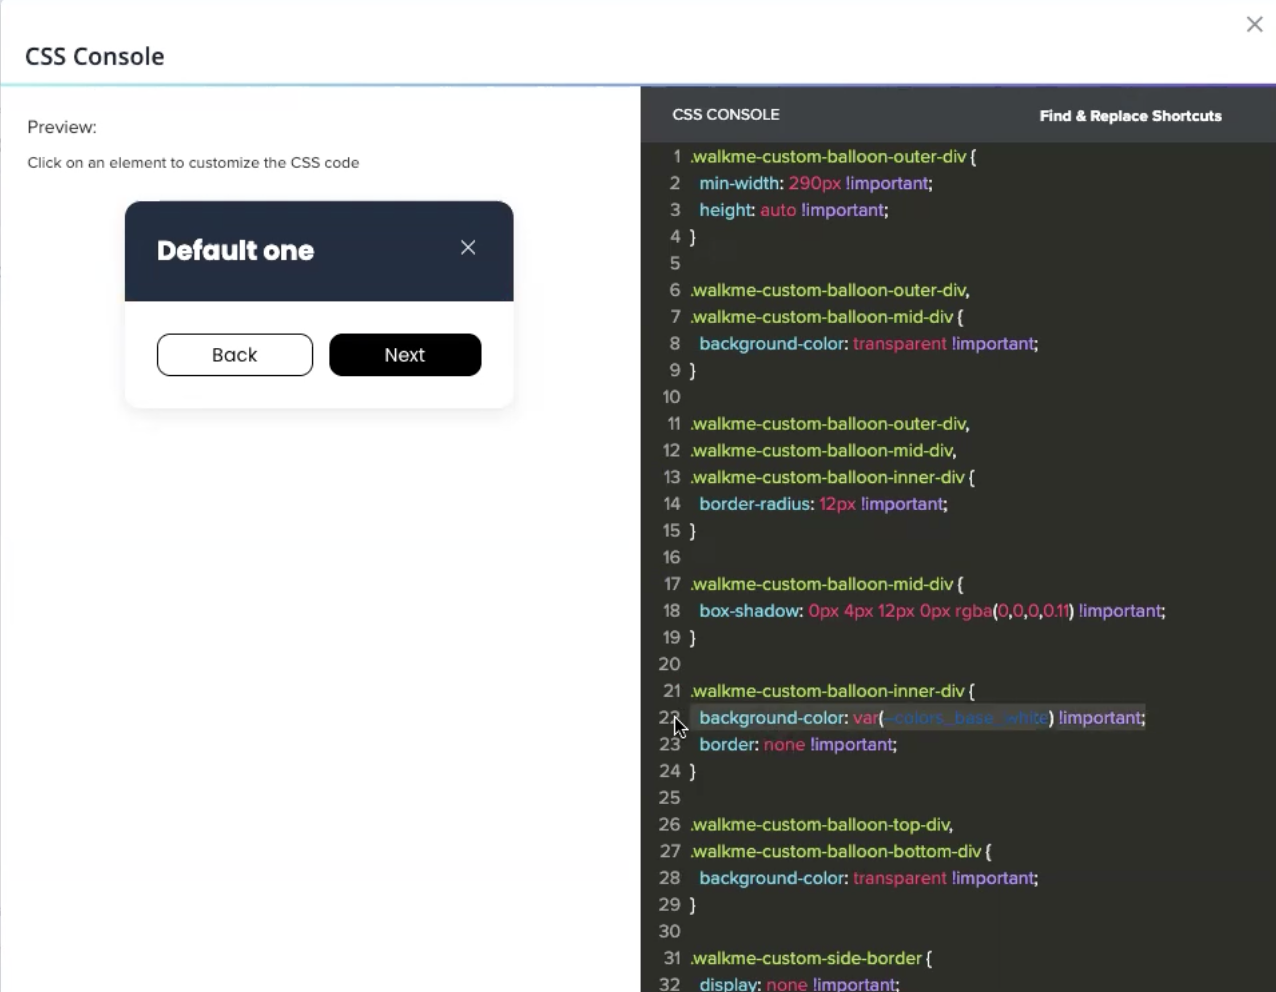
CSS
To connect custom CSS to Theming:
- Replace static color definitions (for example, color red) with Theming variables (for example, v primary main)
CSS in Theming
ShoutOuts
Once Theming is enabled, Theming templates will appear in the template gallery.
Did you know?
If you don't want to use Theming when creating a new ShoutOut, you can also manually disconnect the template element by element. You can save this template and reuse it—with or without Theming.
To connect existing ShoutOuts to Theming:
- Open the ShoutOut
- Manually connect all the properties to Theming
Tip Tuesday Video


