Brief Overview
The Users page is your central hub for managing everyone who has access to your WalkMe account. From here, you can add new users, assign roles and systems, manage permissions, and keep your account secure — all in one place.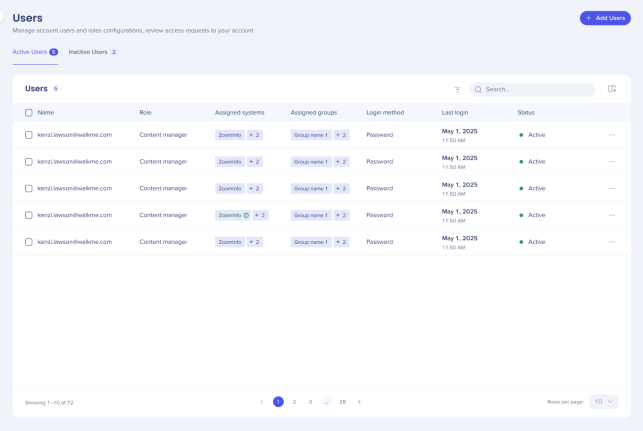
Use Cases
- Standardize role distribution and permission hierarchy across your account
- Separate publish permissions for Production and Test environments
- Reduce the number of admin users to increase account security
- Manage team access requests from a single location
Access
To access Users in the console:
- Open the WalkMe Admin Center:
- Select Admin
- Go to Access Management
- Select Users
How It Works
Create or add users
- Select the + button
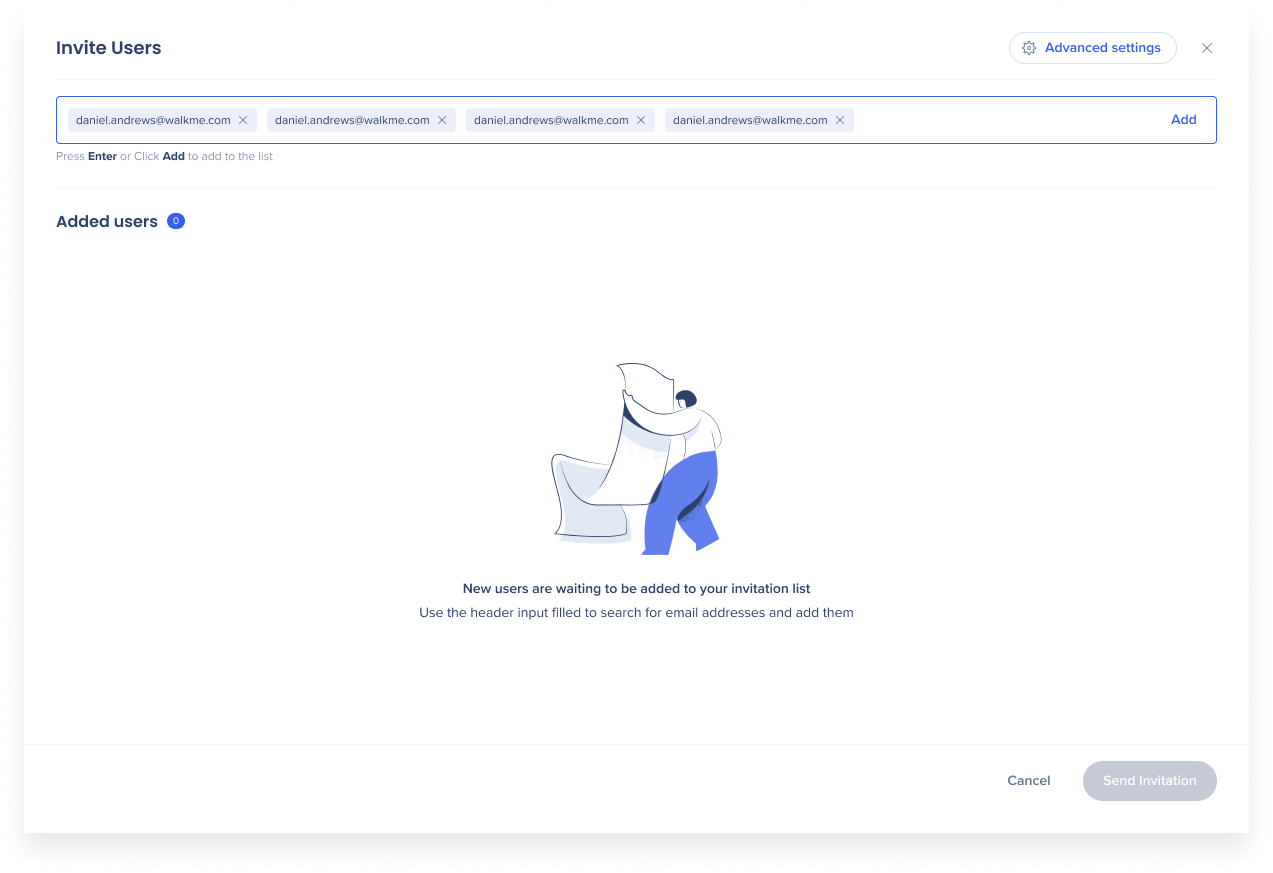
- Type the email address of the user you want to add
- To bulk add users, paste a list of email addresses from a CSV file
- Select Add or press Enter to add the user to the list
- Choose a role and the system or systems to assign to the user
Note
Only one role can be assigned to a user. This role applies to all systems they're assigned to.
- Select a Login method and type the SSO ID
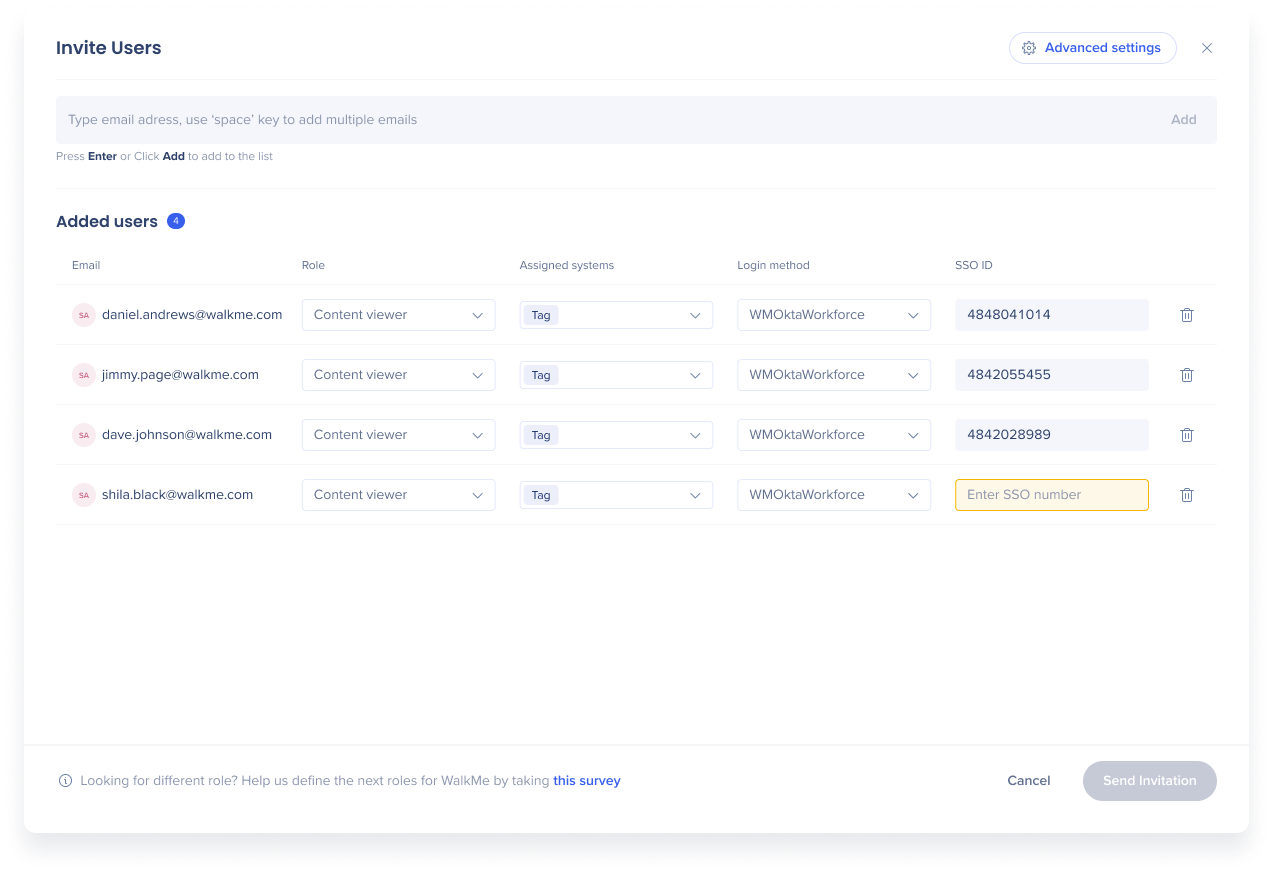
- Select Send Invitation to send an activation email to the user
- The user receives an email prompting them to activate their account
Note
The activation email may go to their spam folder.
- The user selects Activate My Account in the email and is taken to the WalkMe login page
- The user sets up their account by typing a password and selecting Sign Up
- Passwords must be at least 10 characters and contain one special character
Note
Set a temporary password even if your organization uses SSO. Subsequent logins will use SSO.
View users
- Go to the Users Page
- Check the Status column to see each user's current status
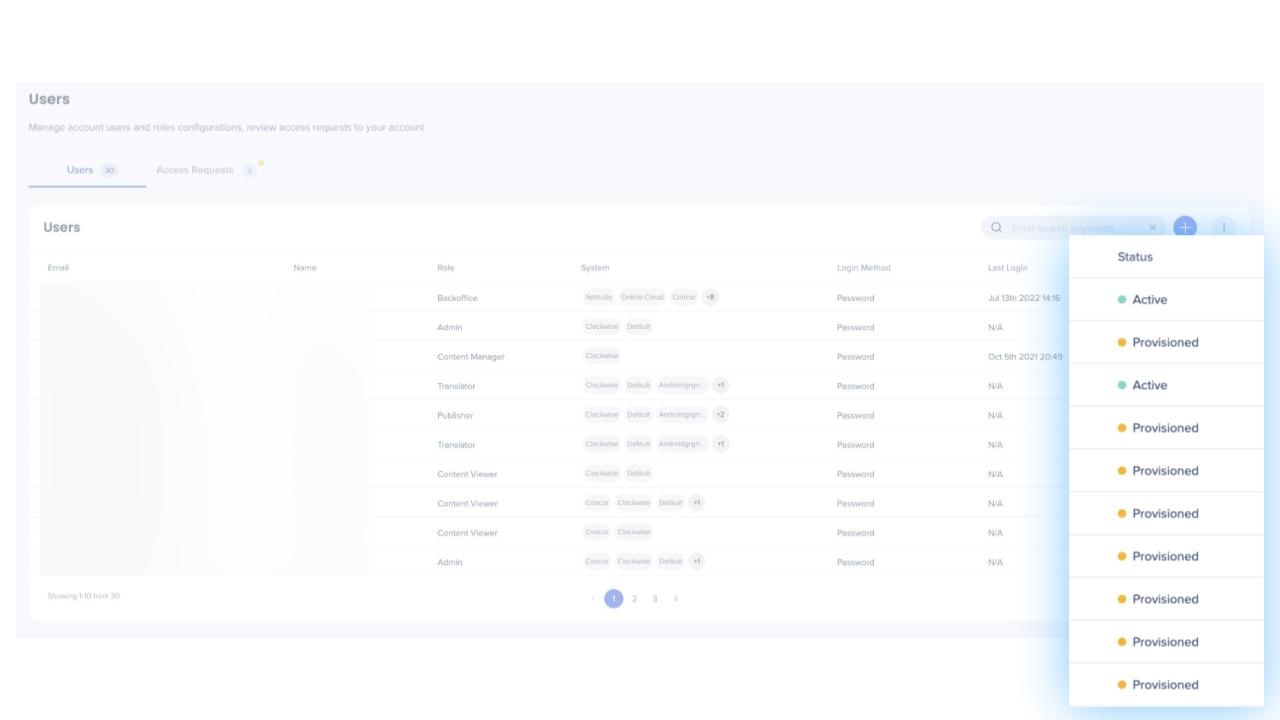
Resend activation email
- Select the relevant user
- The user must have an orange "Provisioned" status
- Select Resend Email
Reset password
- Select the relevant user
- The user must have a green "Active" status
- Select Reset Password Via Email
Edit users
- Select the relevant user
- Make your changes
- Select Save
Note
A user's email can't be edited after the account is created. To change a username or email, create a new account.
Manage access requests
The Access Requests tab is only visible to admins. From here, admins can:
- Review requests from users who want to join the account
- Assign a role, system, and SSO to those users
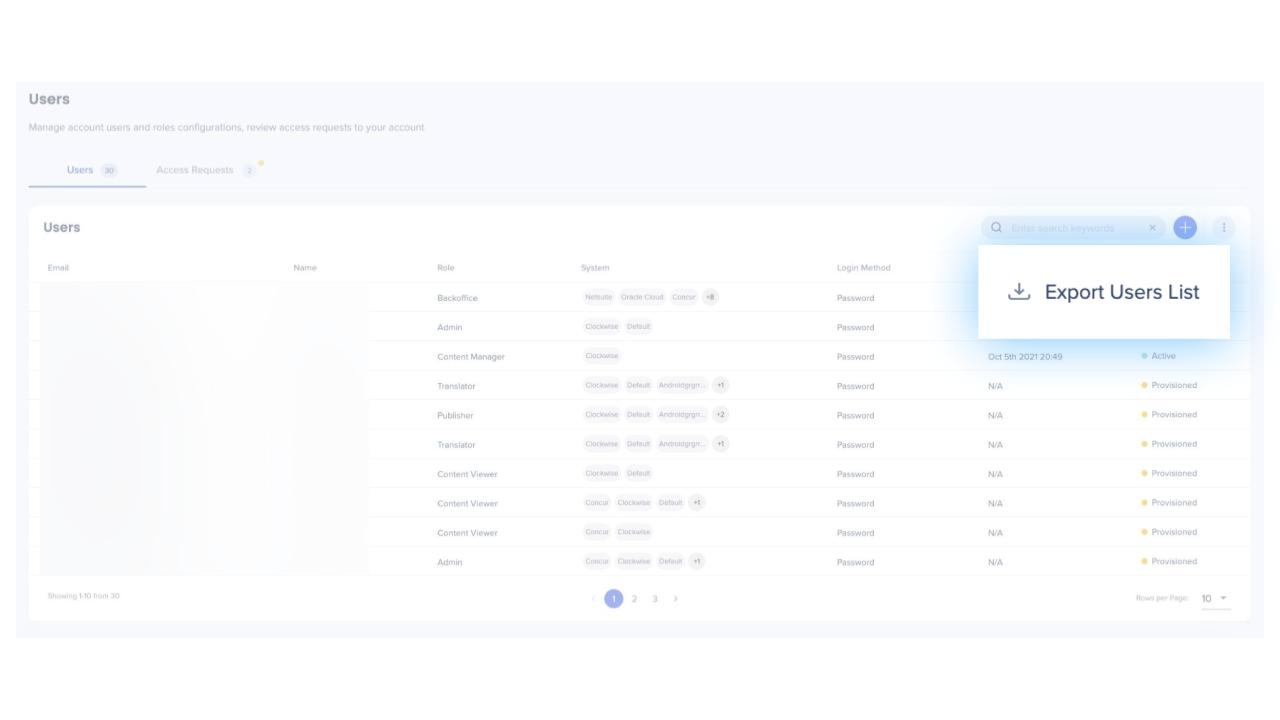
Export users list
- Open the Options menu
- Select Export Users List
Disable a User
- Select the checkbox next to the user or open the Options menu and select Disable Users
Note
For bulk actions, use checkboxes.
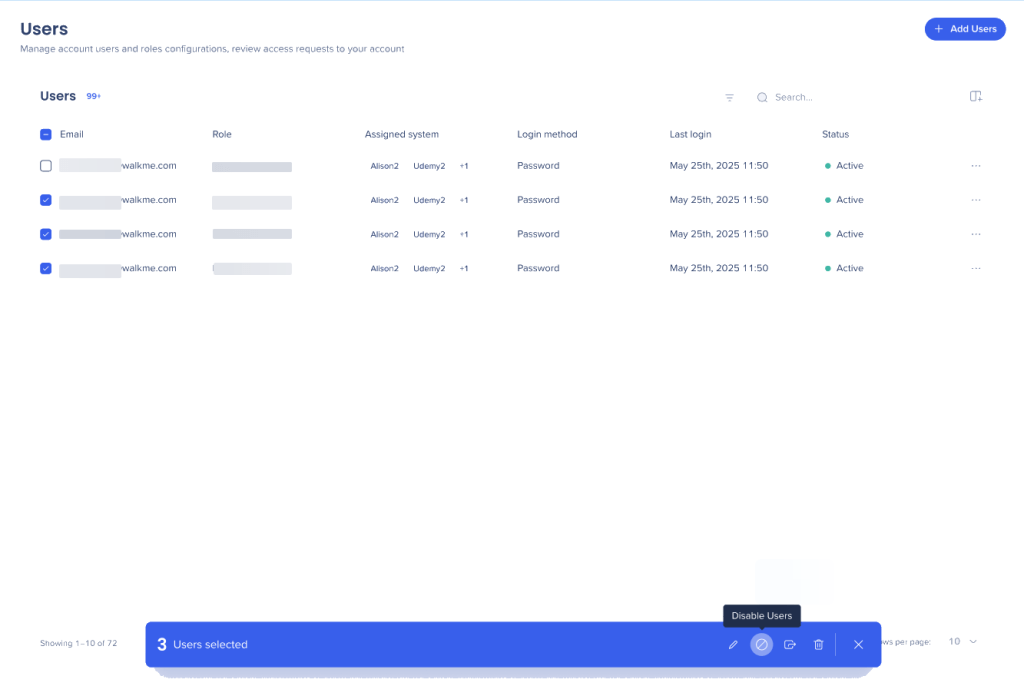
- Select Disable Users
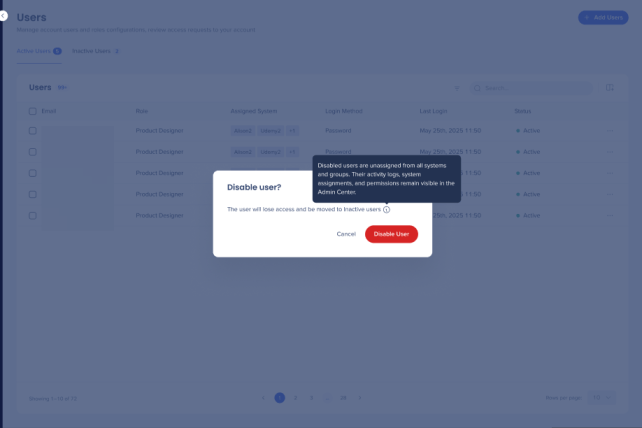
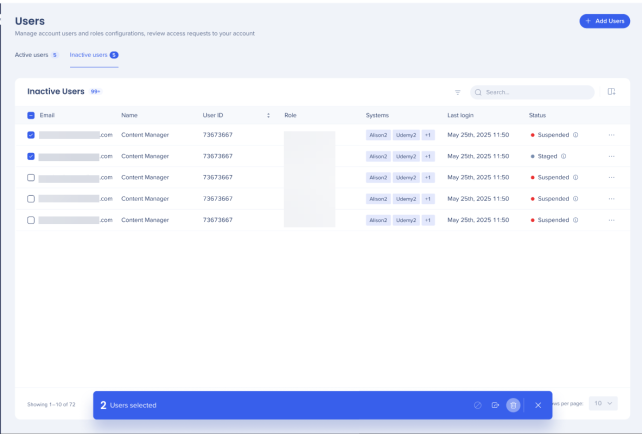
- The users will move to the Inactive users tab
Note
- Only active users can be disabled - If you select users with different statuses, the action will be blocked
- Partner users can't be disabled or deleted
- The last remaining admin on an account can't be disabled or deleted - This would remove all access to the Admin Center, preventing critical actions like managing users, assigning systems, and viewing activity logs
Enable users
-
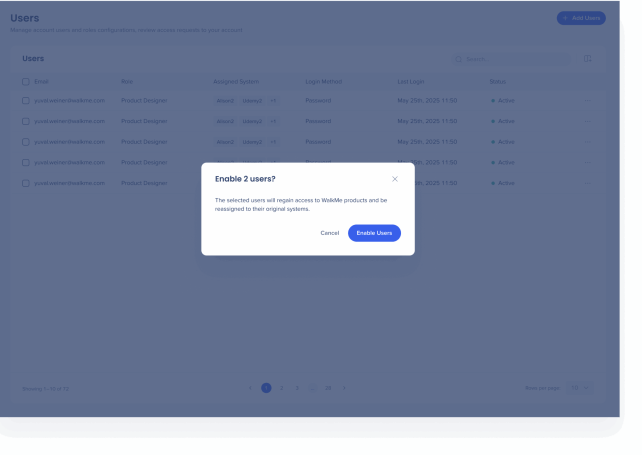
Select the checkbox next to the user or open the Options menu and select Enable User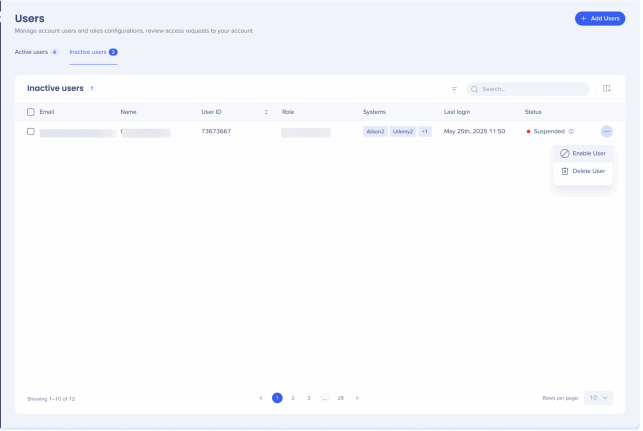
Note
For bulk actions, use checkboxes.
-
Select Enable User
Editor user management
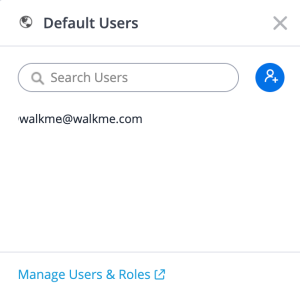
Users with admin permissions can manage users and systems directly from the editor.
- Select the name of the system you're currently on
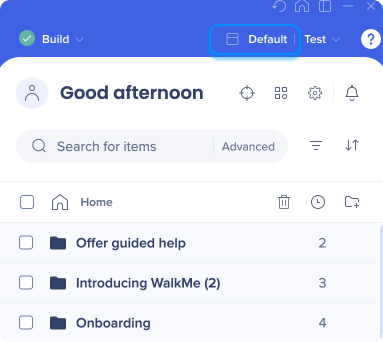
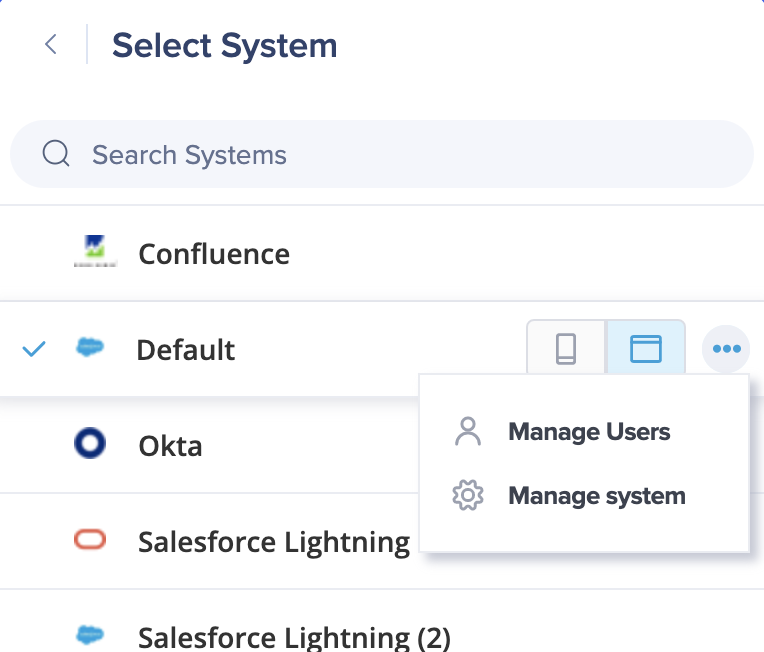
- Open the Options menu and choose one of the following:
- Manage Users: View current system users, invite new users, and open the Users page
- Manage Systems: Open the Systems page
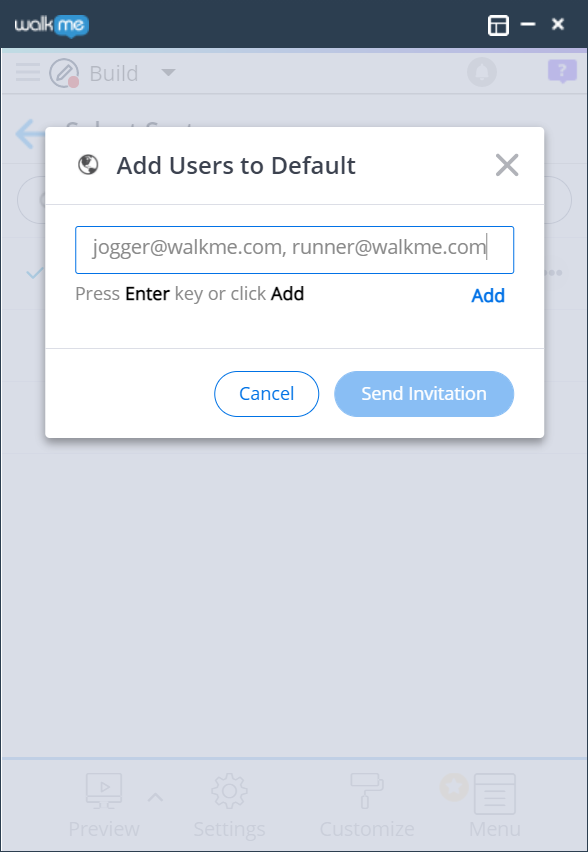
Invite users
Select the Invite Users icon to invite users to the system. You can bulk invite users by pasting a list of email addresses directly from Excel, Google Sheets, or similar tools. Separate addresses by semicolons, commas, spaces, or line breaks.
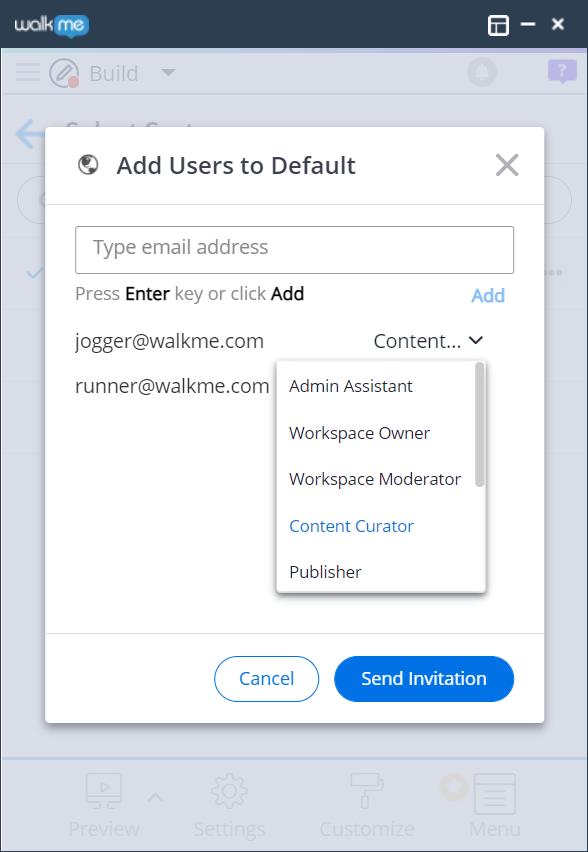
Select Add or press Enter to add users to the list. Once added, you can update each user's role from the Roles dropdown.
Note
A user that already exists in the account can't be edited from the editor — roles are set at the account level and apply across all systems. To edit an existing role, go to the Roles page.
Selecting Send Invitation sends an activation email to each invited user.
https://support.walkme.com/knowledge-base/user-management/


