You can use the WalkMe for Dynamics package to get WalkMe to your users, even if you don't plan on using the WalkMe extension. In order to complete the installation, you must have access to a Dynamics Administrator account and the Dynamics Package. Once complete, your published WalkMe content will immediately be accessible and WalkMe will begin collecting data.
Install the Package
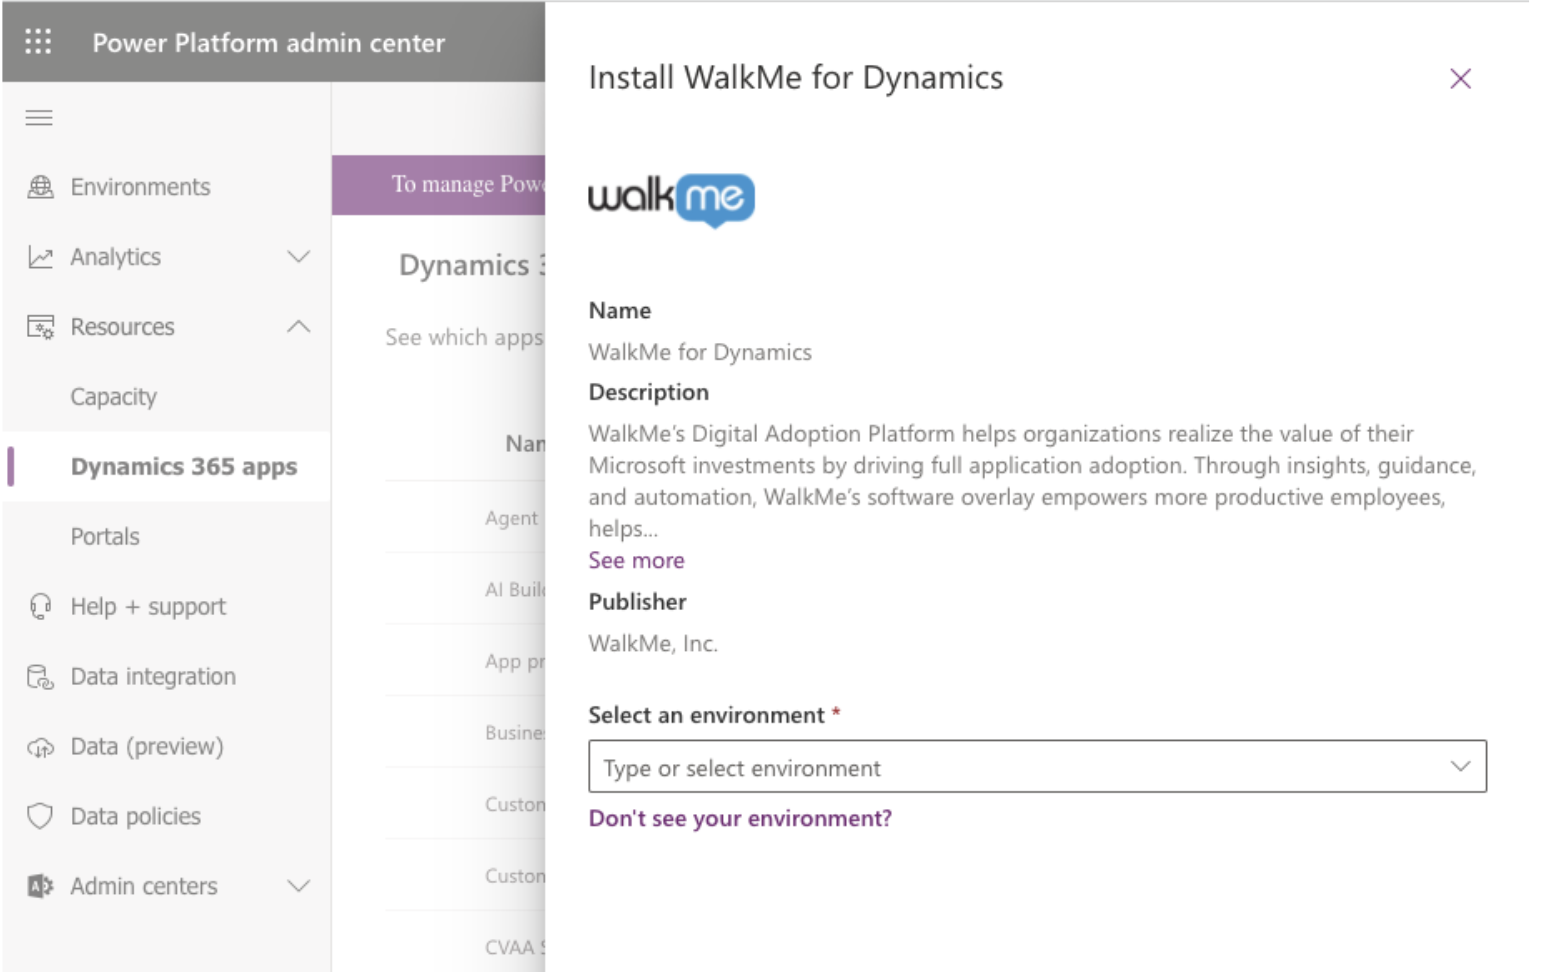
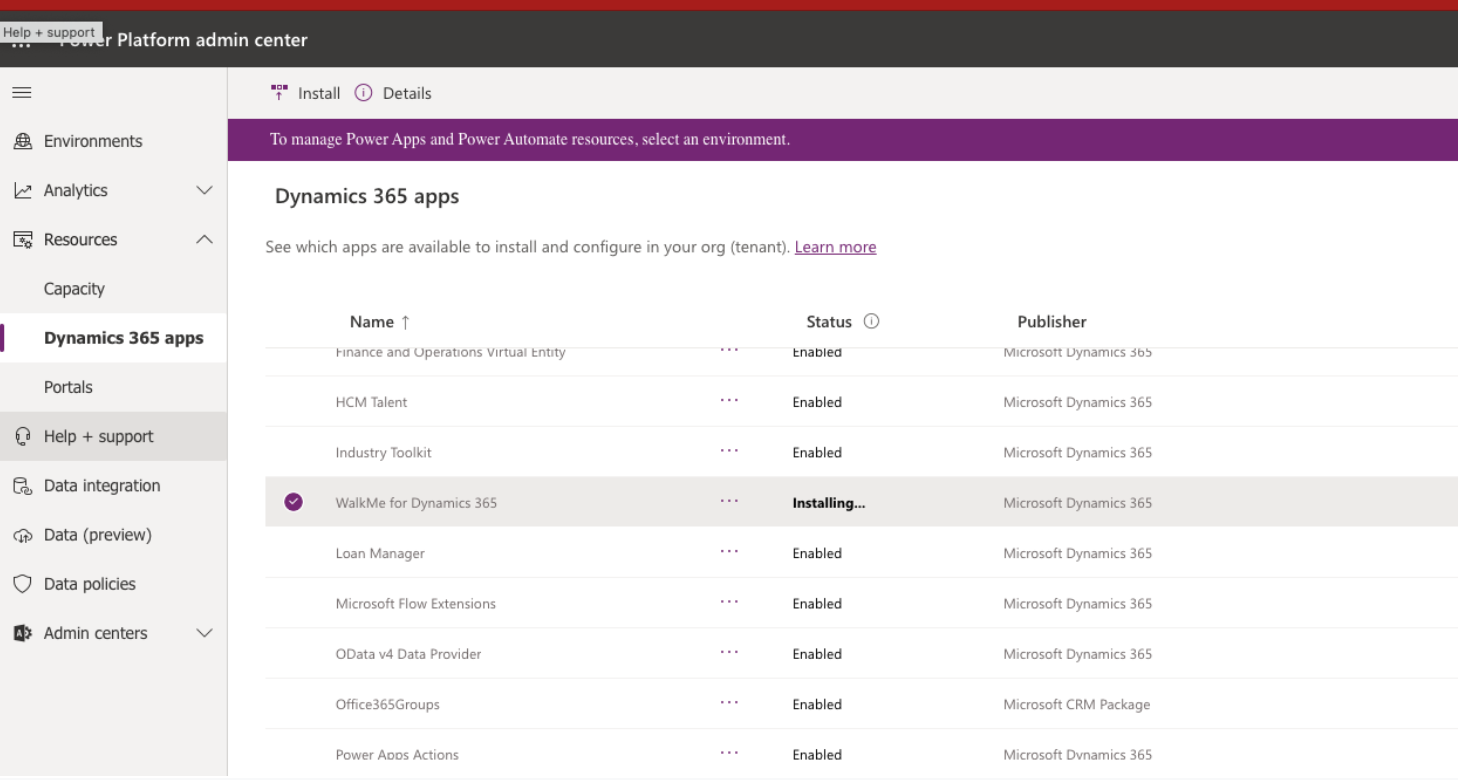
Install from Microsoft AppSource
Note
These steps must be performed by a Dynamics System Administrator
The package must be installed in every Dynamics environment you need WalkMe in
You do not need to install the package if you are planning on using the WalkMe extension
Make sure you send your customer their WalkMe system GUID, as it is required during package configuration
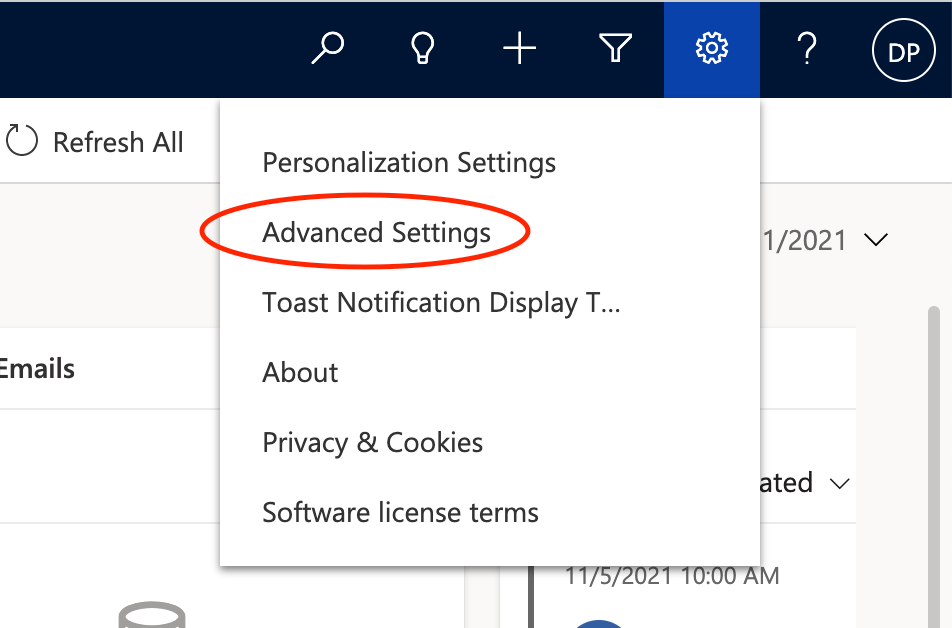
Go to Settings > Advanced Settings inside Dynamics
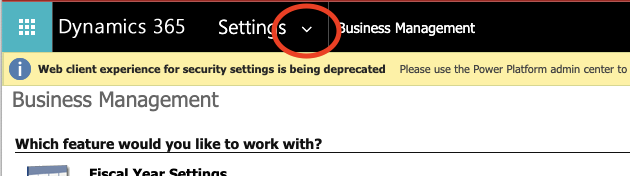
Click the Settings dropdown and select Customization > Solutions
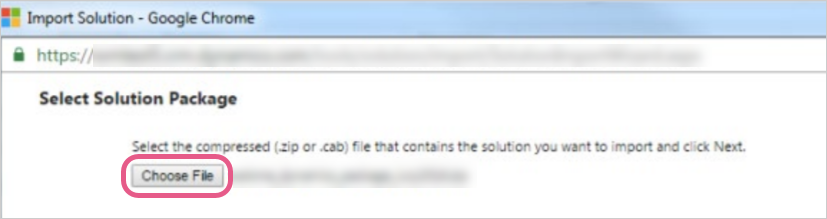
From the toolbar, select Import
Note: If you see that an older version of the WalkMe package is installed, make sure to delete it before moving on to the next step.
Browse and select the WalkMe package you downloaded, then click Next
Follow the prompts to import the solution
Note: After the import is complete, the installation is still processing some background tasks, because of that, it may take up to 10 minutes before you see any content appear.
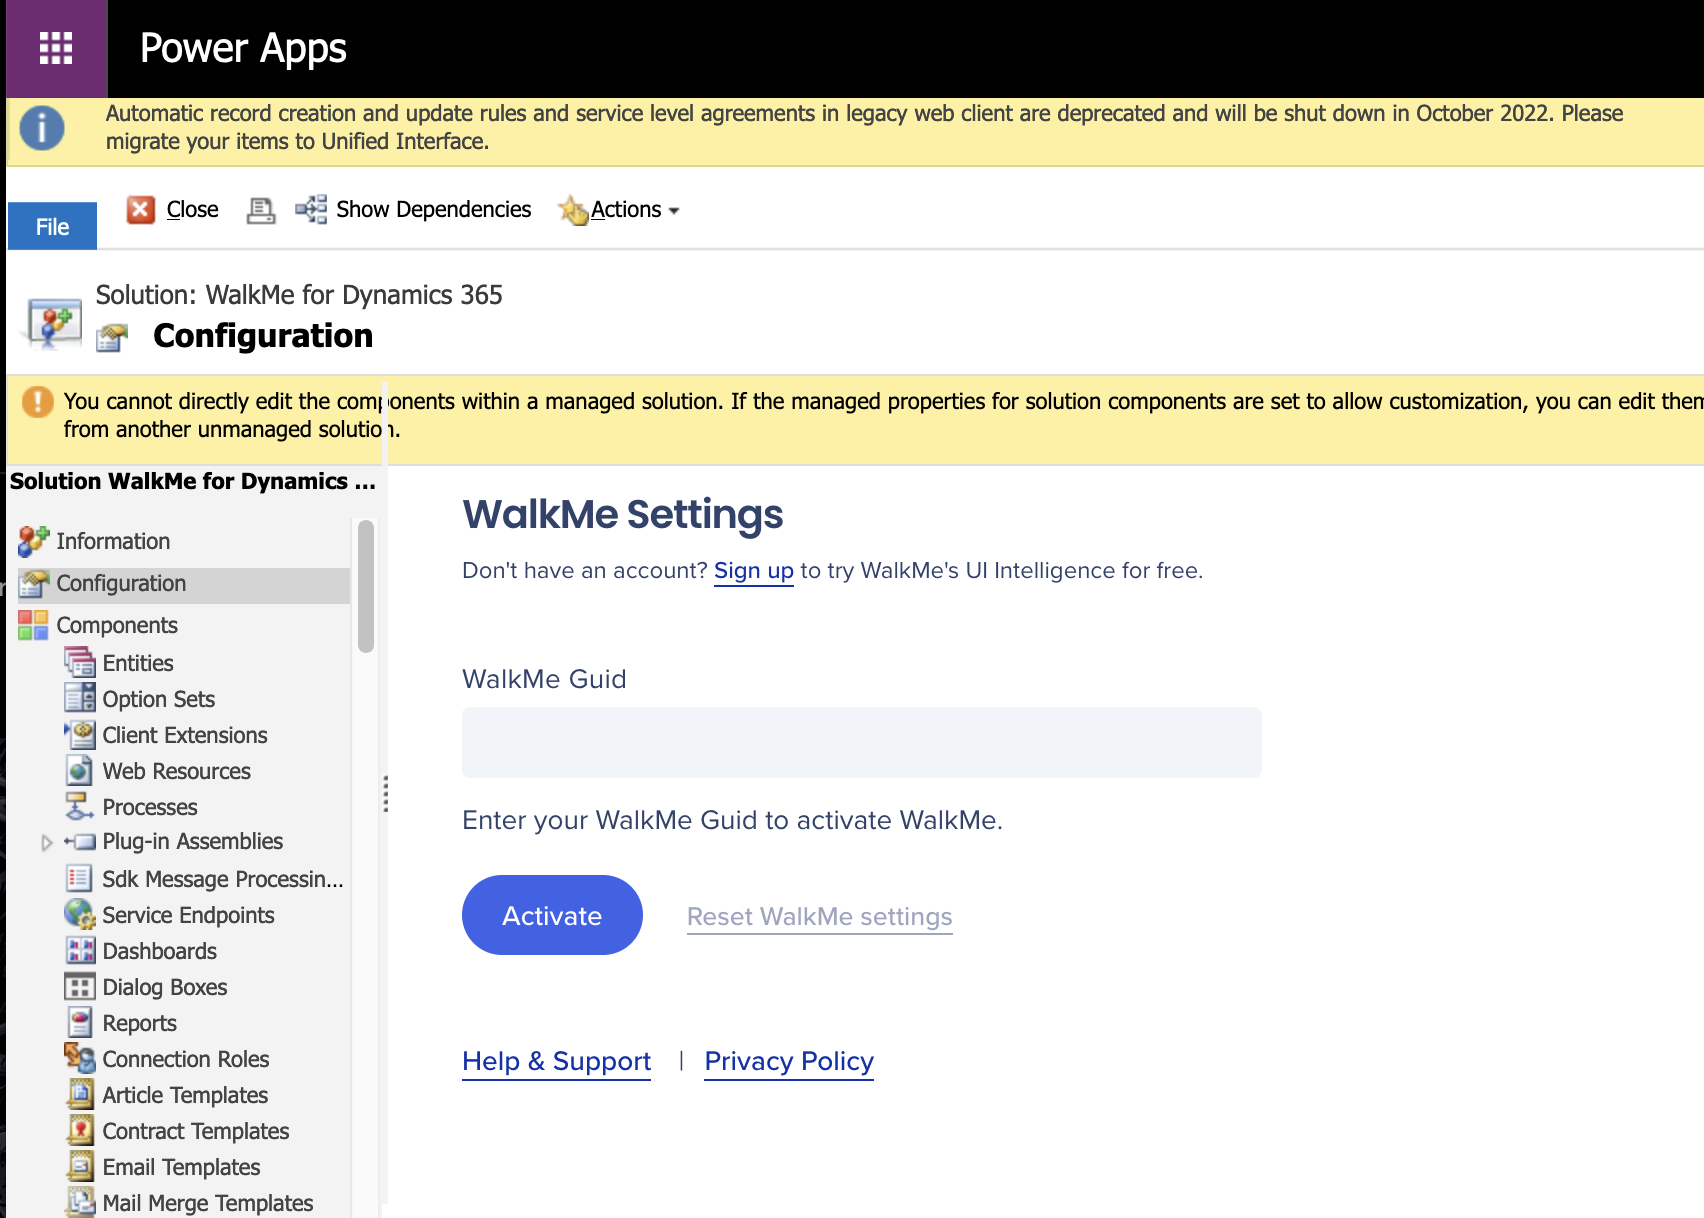
From the Solutions page, click on WalkMe for Dynamics 365
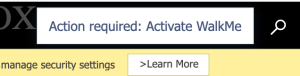
Enter your WalkMe Guid to activate
Note: Prior to activation, a default WalkMe snippet will be installed to help the Admin get started. This will only be shown to the Admin.
Once activated, you can adjust your configuration as needed
You're done! Now any published items will appear to your users.
Install older (1.x) package versions via Solution ZIP file (including On Premise)
Step 1) Download an installation package
Choose from among the following per your version of Microsoft Dynamics:
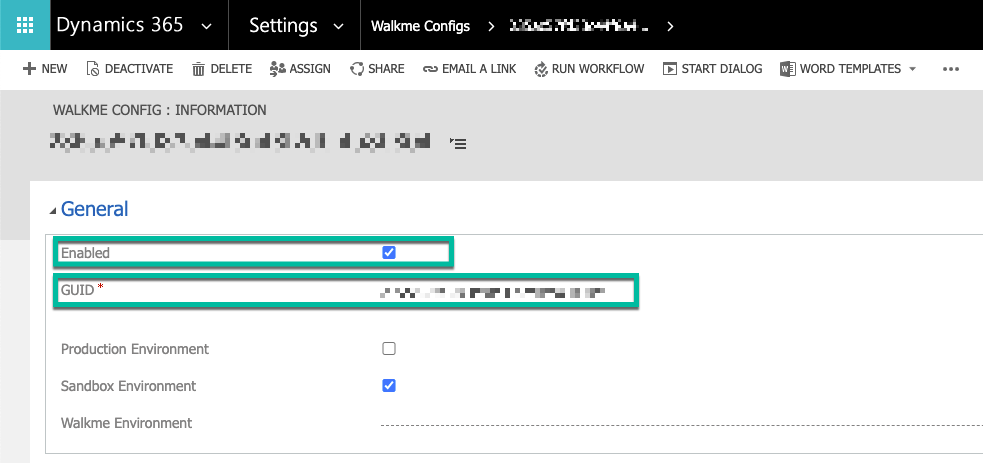
Select Production Environment if using the WalkMe Production environment
Select Sandbox Environment if using the WalkMe Test environment
If you need to use any other WalkMe environment, enter the alternative WalkMe environment name into the WalkMe Environment text area
For example, “customEnv”
Click Save.
Step 4) Configure WalkMe to appear for all roles
Hover over Microsoft Dynamics CRM and click Settings
Click Settings
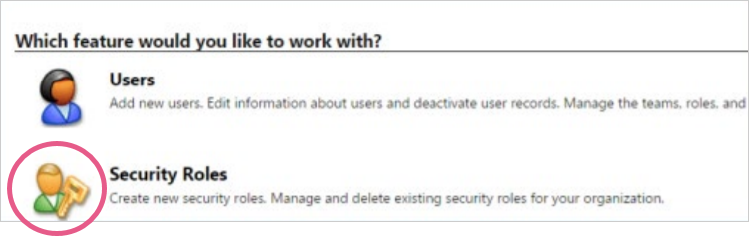
Click Security
Click Security Roles
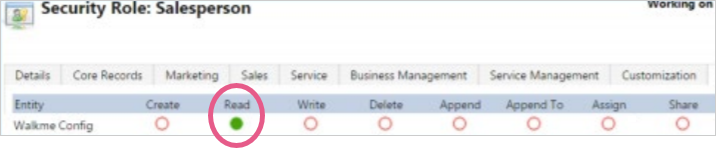
Select a role that you wish WalkMe to use
Click the Custom Entities tab and switch on the “Enable” checkbox
In the Read column, select WalkMe Config.
Repeat this process for all desired roles
You're done! Now any published items will appear to your users.
Update the Package
Upgrade from 1.x to 2.x
First install and configure the new package following the steps on this page. Ensure WalkMe is working as expected on the new version before removing the old package.
Upgrade from 2.x to 2.x
To update the 2.x package, you can install the new package on top of the old one!
Download the latest version of the package ZIP file
Go to Settings > Advanced Settings inside Dynamics
Click the Settings dropdown and select Customization > Solutions
From the toolbar, select Import
Browse and select the WalkMe package you downloaded, then click Next
Follow the prompts to import the solution
Note
For Import Options, leave the defaults as-is:
Upgrade
Maintain Customizations
Enable any SDK message
Get to Know & Use
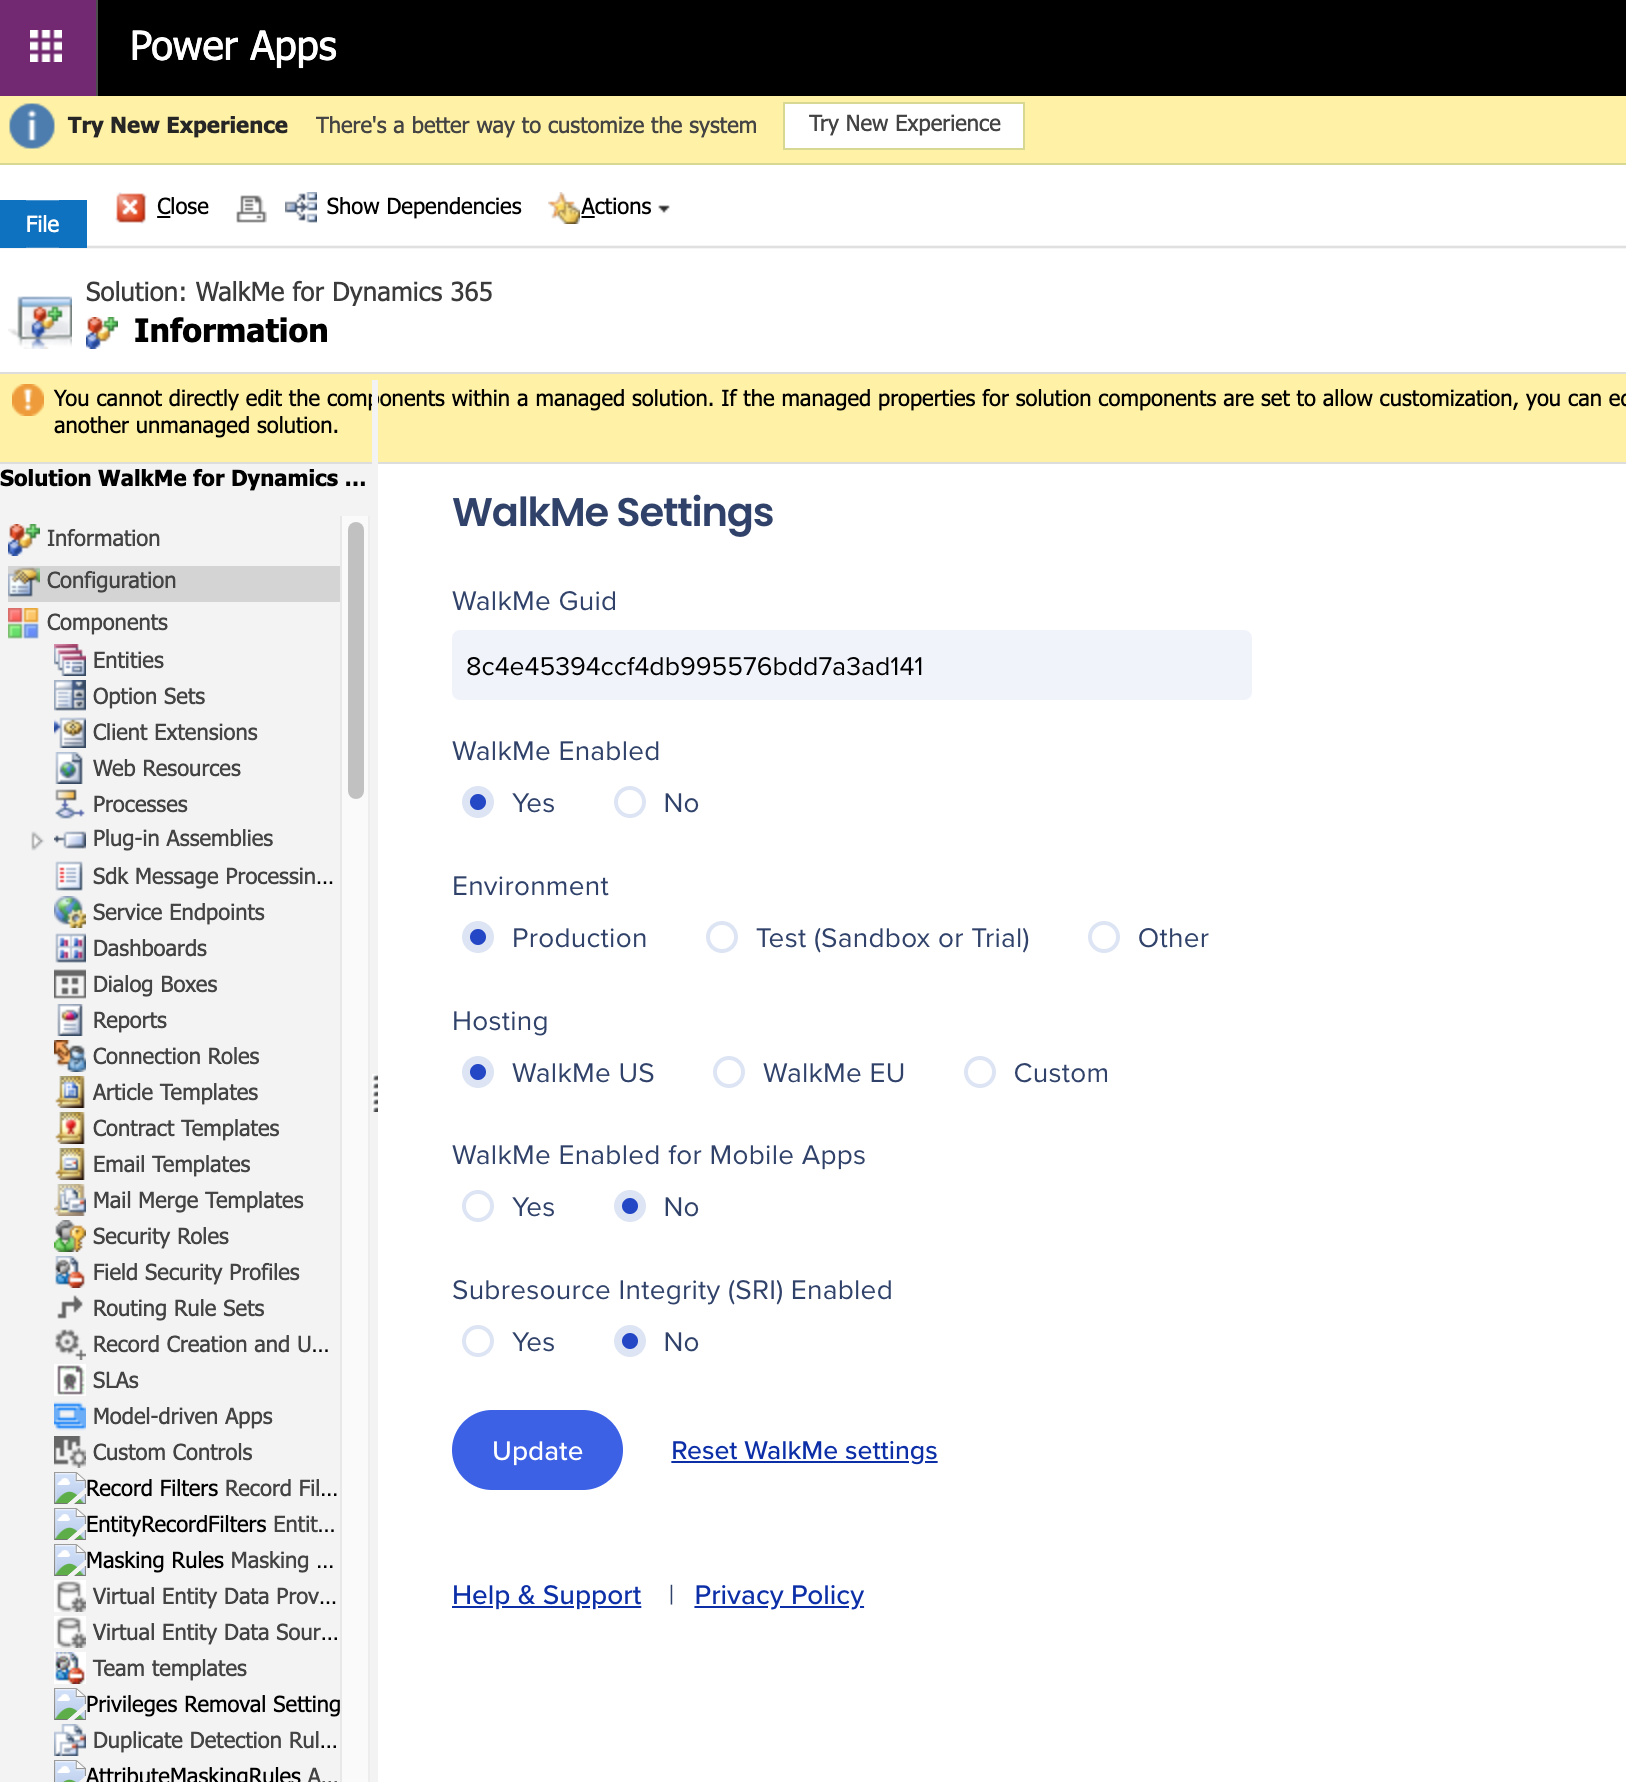
Once deployed successfully, a Dynamics CRM administrator can configure WalkMe. To access the WalkMe package configuration as an administrator:
Configure 2.0 package
Note
Any configuration changes will not reflect until users do one of the following:
Restart their browser
Open Dynamics in a new tab
Clear session storage (cache)
Run the following command in the console: _walkmePackage.clearConfig();
Navigate to the configuration page:
Click Settings > Advanced Settings
Click the Settings dropdown and select Customization > Solutions
Click WalkMe for Dynamics 365
Adjust the configuration as needed:
Settings
WalkMe Guid: You will have received your Guid from WalkMe in an email. If not, contact your WalkMe CSM or DAC or WalkMe Support to request it
WalkMe Enabled: Enables or disables WalkMe for all end users
Environment: This should align with your WalkMe Editor environment (choose Other for any non-standard / custom environment, then you can enter the environment name)
Additional options
Hosting (from ver 2.1): Choose US or EU data center, or self hosted
Mobile Apps Enabled (from ver 2.3): Enables WalkMe to load (web version) on the Android and iOS mobile apps for Field Service and Dynamics
Other notes:
For Other (custom) environments, you should use the custom environment name (i.e. 'dev', 'uat' etc) and ensure it is case sensitive


 Once installed go to Settings > Advanced Settings inside Dynamics