Brief Overview
Content Manager is a centralized workspace for organizing, managing, and reviewing WalkMe items at scale. It replaces the traditional grid view with a modern, table-based experience that improves visibility, collaboration, and content governance across environments.
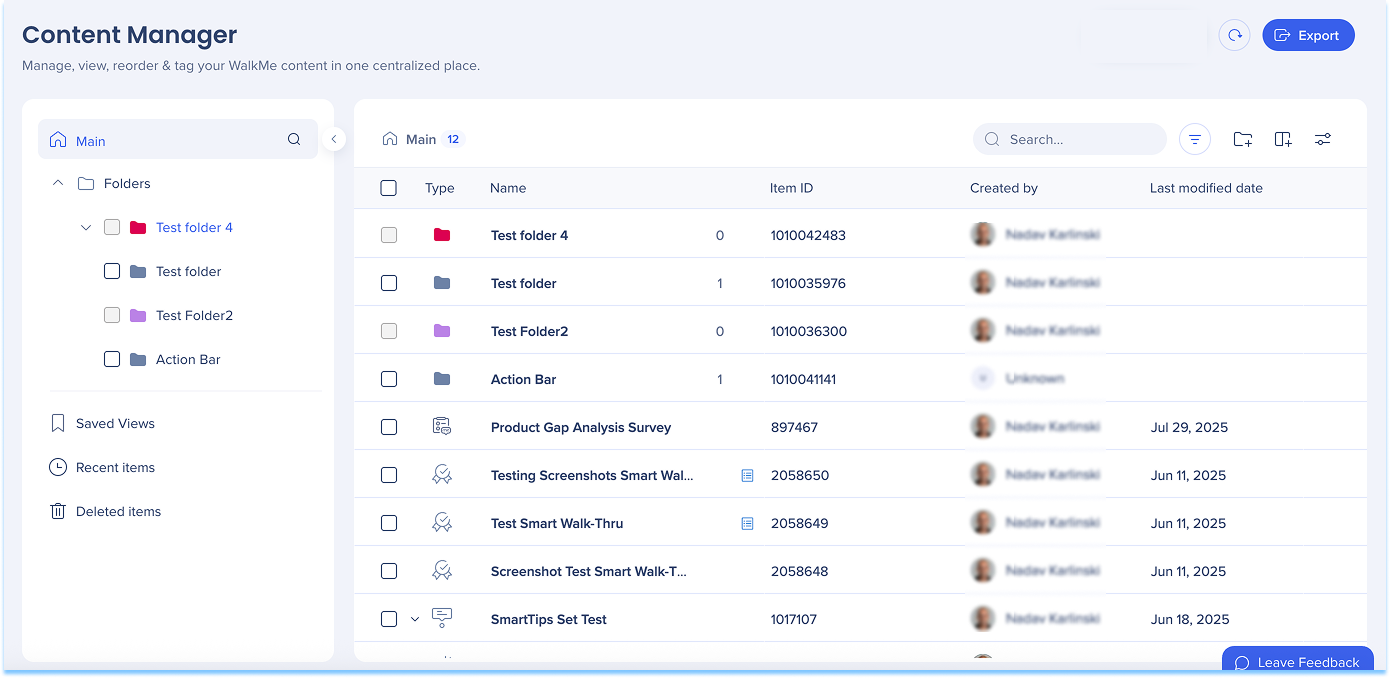
Content Manager lets builders organize content using folders and views, manage items individually or in bulk, collaborate through comments and version history, and quickly assess performance using inline insights—all from a single interface.
Use Cases
With Content Manager, you can:
- Organize WalkMe items using folders, tree view, and saved views
- Search and filter content across folders, item types, and environments
- Perform bulk actions such as publishing, archiving, moving, or exporting items
- Collaborate on content using conversations, comments, and version history
- Monitor engagement trends and item status directly from the table
How Content Manager Fits into Your Workflow
Content Manager is designed to support teams managing large volumes of WalkMe content. Instead of switching between multiple screens or relying on the grid view, builders can manage content lifecycle tasks—from organization to collaboration and review—directly from one place.
It complements the editor by focusing on management and visibility, while creation and configuration continue to happen in the editor.
When to Use Content Manager
Use Content Manager when you need to:
- Clean up or reorganize existing content
- Review item status across environments
- Manage content at scale using bulk actions
- Collaborate with teammates on reviews or updates
- Identify content that needs attention based on engagement signals
Get Started
To learn how to use Content Manager and complete common tasks, refer to Content Manager: Getting Started Guide.
Content Manager: Getting Started Guide


