Com a API de Notificações do menu para desktop e dispositivos móveis, você pode usar eventos em qualquer sistema (mesmo que ele não tenha um snippet do WalkMe) para acionar uma notificação no WalkMe e manter seus Usuários atualizados automaticamente. Ative notificações do menu com uma chamada REST para o nosso Webhook de Notificação WalkMe.
Este artigo fornecerá as informações necessárias para fazer a chamada REST, que requer um token de autenticação e uma carga útil JSON.
Casos de uso
Mostrar alertas quando um sistema estiver inativo ou tiver problemas (servidores AWS ou Slack inativos)
Notificar um aprovador quando um novo ticket do ServiceNow exigir revisão
Informe os usuários quando a senha do Okta expirou
Lembre os Usuários de concluir sua Inscrição Aberta
e muito mais!
Qualquer sistema que possa chamar uma API REST pode ser usado para acionar Notificações no menu desktop/móvel.
Antes de começar...
Chamar a API requer algumas permissões e configuração técnica. Certifique-se de ter acesso e poder fazer o seguinte:
Acesso à Central de Administração para o seu sistema desktop/móvel para obter o Token de Acesso à API
Observação: se a sua organização tiver mais de um sistema desktop/móvel, você precisará fazer chamadas de API separadas para cada sistema.
Aplicativo para configurar e executar chamadas (por exemplo, Zapier ou Postman) para a API de notificação.
Você deve ter um aplicativo que possa fazer chamadas de API REST de saída autenticadas. Se você não tiver certeza se a sua organização possui esse aplicativo, entre em contato com sua equipe de TI para discutir as opções.
Como funciona
Aqui está o que você precisa do WalkMe para ativar o gatilho da API. As etapas sobre como reunir tudo são as seguintes.
Autenticação e criação de um token de acesso
Identificando a notificação da Central de Comunicação e o público-alvo
Criando a carga útil JSON
Fazer a chamada
Especificamente, você encontrará as informações necessárias para usar uma notificação JSON com as seguintes informações:
ID do sistema
ID do modelo de notificação
ID do usuário final ou ID do público
Tipo de notificação: popup ou push
Título da notificação
Descrição
Substituir informações
Autenticação e criação de um token de acesso
O que é um token de acesso?
Um token de acesso é uma credencial que pode ser usada por um aplicativo para acessar uma API. Eles informam à API que o portador do token foi autorizado a acessar uma ação específica.
O token de acesso autentica a chamada de API, dando ao aplicativo permissão para passar dados do sistema para o menu.
Criar token de acesso
Vá para o console
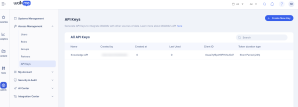
Selecione a categoria Central do Admin
Selecione Gerenciamento de acesso
Selecione a página Chaves de API
Clique em Criar Nova Chave
No painel Criar nova chave:
Nomeie a chave
Dica: indique a finalidade da chave no nome para ajudar você a lembrar mais tarde
Ativar a API de Notificação
Selecione Escrever no menu suspenso
Clique em Criar
No painel Detalhes Chave:
Copie o ID do cliente e o segredo do cliente
Salvar o segredo do cliente
Você não verá o Segredo novamente, então salve-o em algum lugar acessível, você precisará dele novamente em breve.
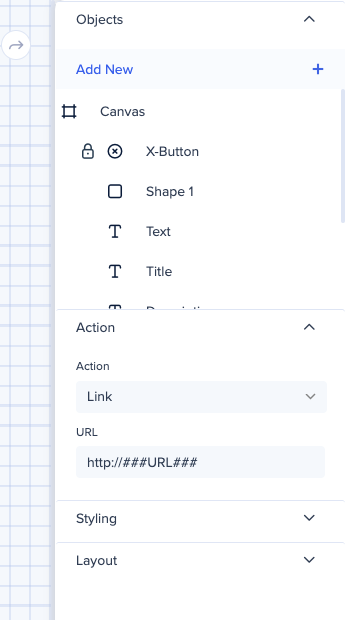
Você pode usar links dinâmicos ou permalinks do WalkMe.
Você não pode editar a notificação depois de configurar a API, portanto, certifique-se de estar satisfeito com sua notificação
Opcional: adicione regras de substituição no modelo
No caso de você querer que uma notificação seja personalizada, seja para o usuário ou para o evento que está sendo acionado, você pode adicionar valores dinâmicos que a API preencherá automaticamente.
Na imagem, há dois exemplos de valores sendo substituídos por texto dinâmico que será substituído dependendo dos valores que a API aciona.
Este é um exemplo de notificação de API com o Salesforce, que é acionada quando um novo lead é atribuído. Ele notificará o vendedor sobre o nome da oportunidade e o link para o lead no Salesforce.
###OPP_NAME_ATTRIBUTE### será substituído pelo nome da oportunidade no Salesforce
###URL### será substituído por um URL real, permitindo uma ação personalizada para cada usuário, sempre que a API for acionada
Observação
O nome do valor (exemplo: OPP_NAME_ATTRIBUTE) deve ser copiado exatamente no JSON para que possa ser substituído
Os URLs devem começar com um dos seguintes:
http://
https://
walkme-workstation://
mailto:
Copiar os valores necessários
As etapas a seguir conectarão a notificação à API.
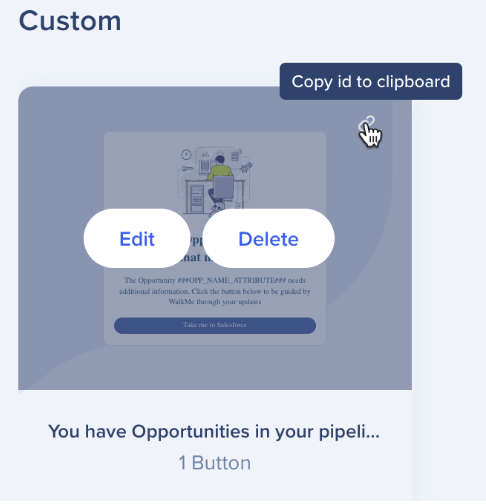
Em Modelos Personalizados>, passe o mouse sobre o canto da notificação
Clique no ícone de cópia para copiar o ID para a sua área de transferência
Exemplo: 75cfcba6-c320-42cb-938e-4c2bd08a43a3
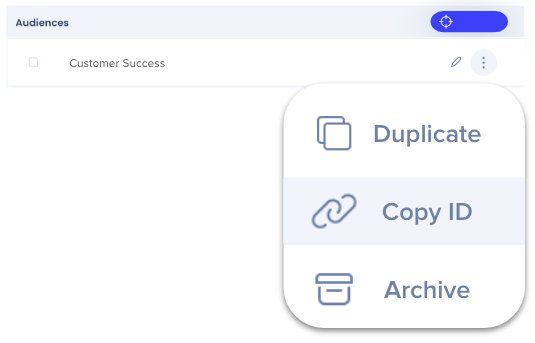
Copiar o ID do público-alvo
ID do usuário final vs público
Usar um público-alvo é mais eficiente, mas você também pode segmentar até 100 usuários com base no ID do usuário final. Recomendamos criar uma audiência se você planeja usar mais de 10 IDs de usuário final
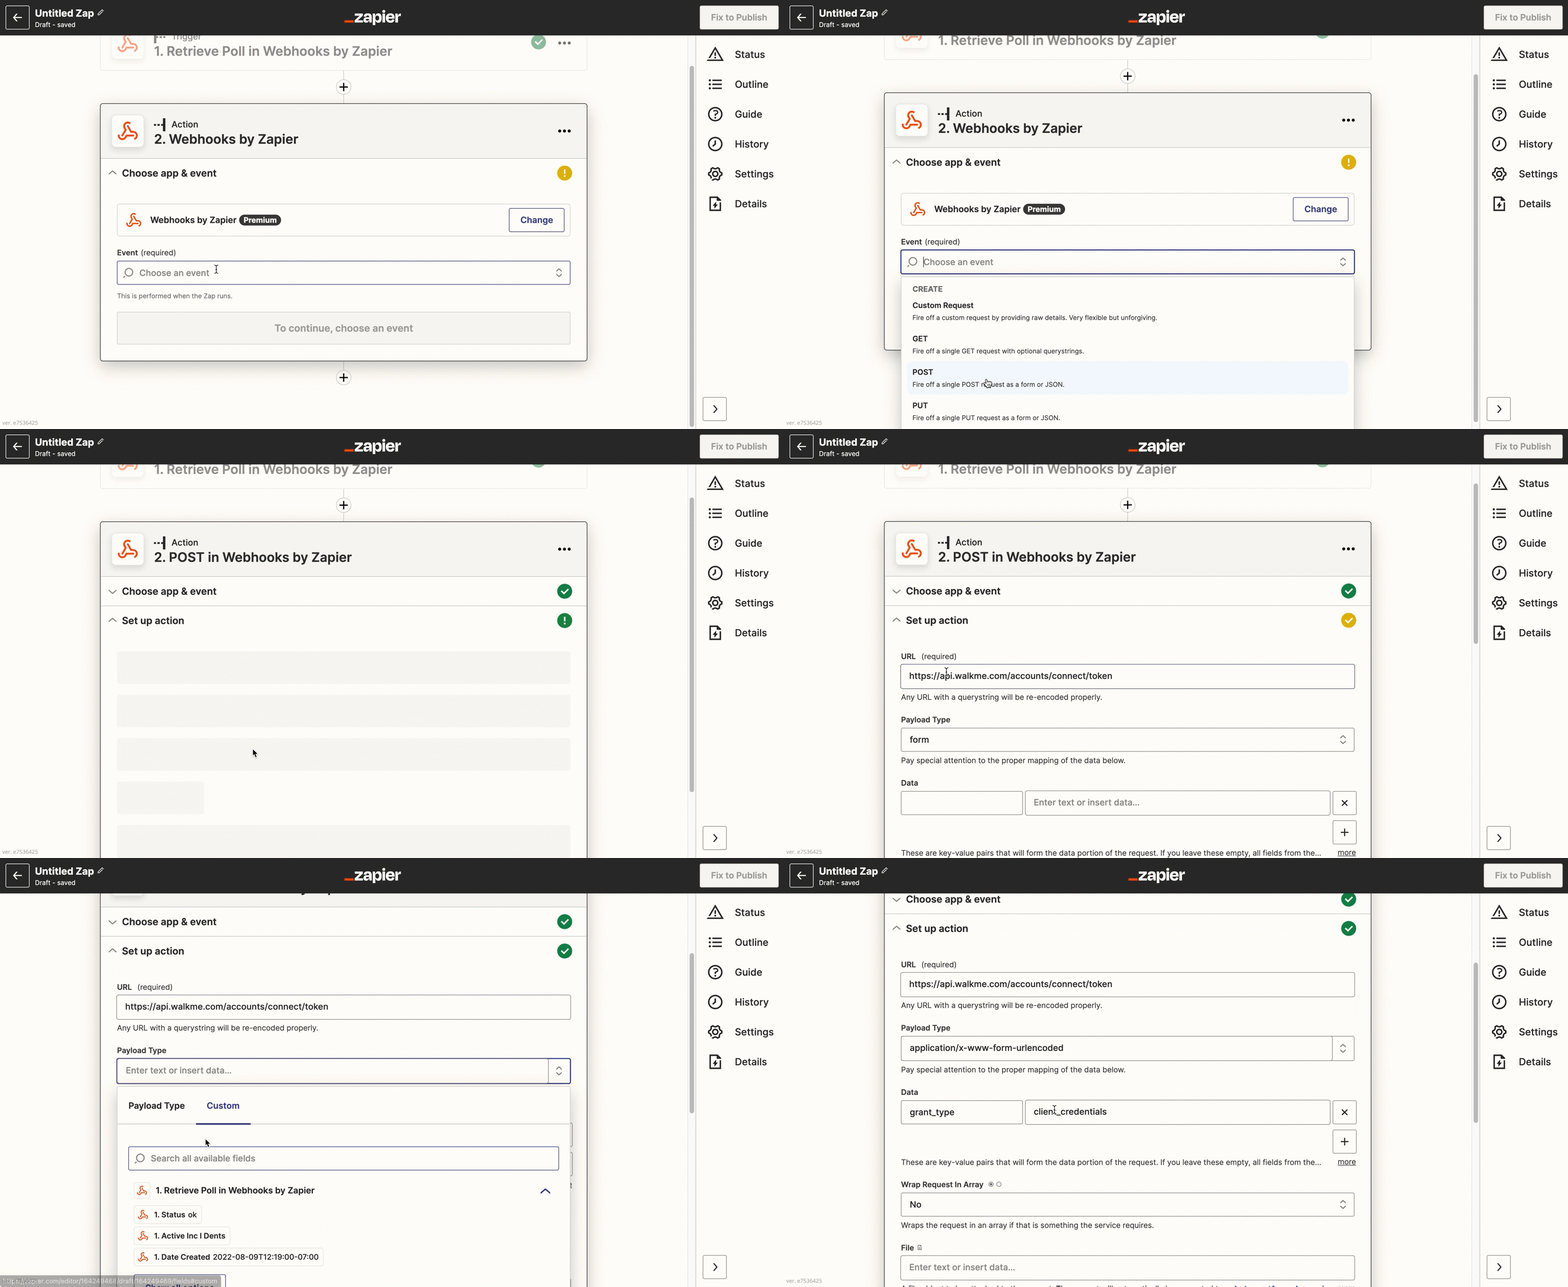
Now it's time to fill in some information on your API connection application. For clarity, we use Zapier to explain, but we are not endorsing this application over any other. Any similar app will work.
The information used below is universally necessary on all applications:
Payload Type = (Content-Type) application/x-www-form-urlencoded
Data = grant_type → client_credentials
Add Basic Authentication
When using basic Auth, the clientID is the username and the client secret is used as the password.
Client ID | Client Secret (copied from Admin Center)
Example
0o234234234UqD5d7 | JVnD346346346436345asfgasgbPt_4T7h2_
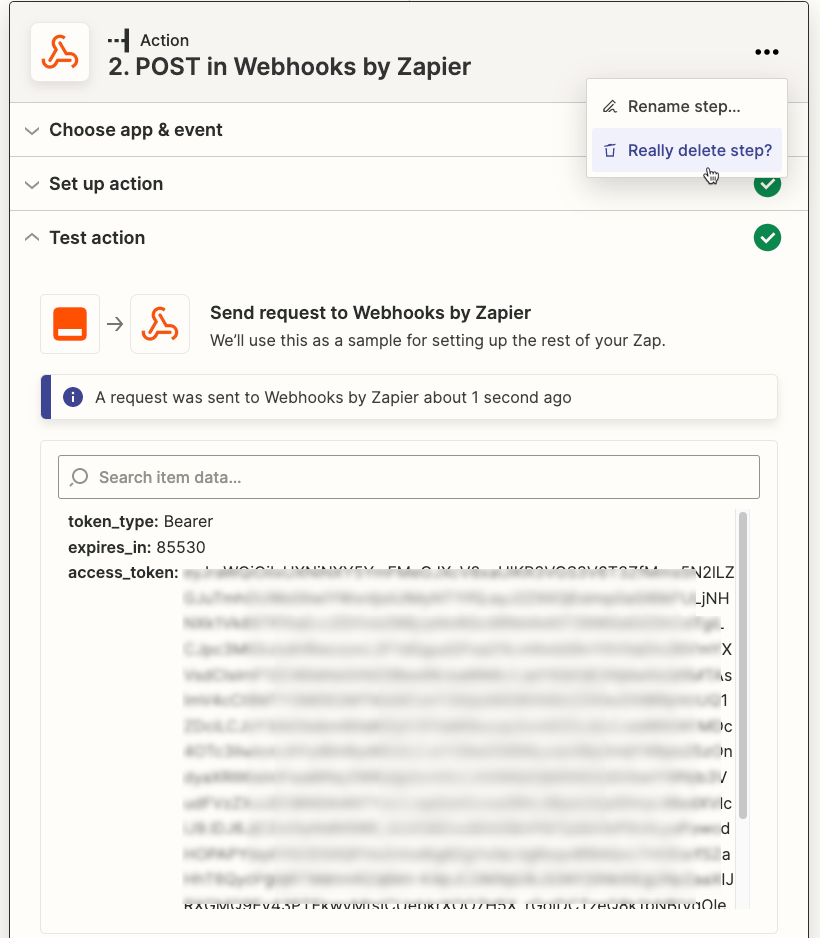
Once you've added this information, you will be given an access token.
Copy your Access Token
If you're using Zapier, you can delete this step after you've copied the token.
Update the JSON code
Now it's time to fill in the blanks and use the JSON code that will call the notification.
{
"notification": {
"systemId": "<the workstation system id>", //Required if you have more than one workstation system
"templateId": "<template id>", //Required
"endUsersIds": ["<end user id 1>","<end user id 2>","<...>"], //You need either end-user ID or audience ID (you can use both), remove the one you aren't using
"audiencesIds": ["<audience id 1>","<audience id 2>","<...>"], //You need either end-user ID or audience ID (you can use both), remove the one you aren't using
"notificationType": "<how notification will display, push v popup>", //Optional, default push, remove if not using
"title": "<notification title as appears in the ComCenter notification table>", //Optional, remove if not using
"runtimeTitle": "<what will appear to end-users in the Workstation list and in the push notification>", //Optional, remove if not using
"runtimeDescription": "<what will appear to end-users i in the Workstation list and in the push message>", //Optional, remove if not using
"startAt": "<start date YYYY-MM-DD hh:mm>", // Optional, default right now, timezone is UTC, you can add a date and no time, default time is 00:00 UTC, remove whatever you are not using
"endAt": "<end date YYYY-MM-DD hh:mm>", // Optional, default 30 days from now, you can add a date and no time, default time is 00:00, remove whatever you are not using
"override": [
{
"key" : "<the placeholder string to replace in the notification template>",
"value" : "<the value to put into the notification instead of the placeholder>"
}
// More comma separated {key:value} pairs can follow
// For example, the value could be a URL that is passed from ServiceNow to open a ticket
]
}
}
Remova as linhas que você não está usando
Se houver linhas opcionais que você não está preenchendo, remova-as do código final para evitar erros
Usuário final e ID de público
endUsersIds e audiencesIds são matrizes e precisam ser escritas com colchetes [], e cada string deve ser separadapor uma vírgula ["<id1>","<id2>","<...>"]
O fuso horário padrão é UTC
O fuso horário padrão é UTC, mas se quiser enviar a notificação de acordo com um fuso horário diferente, você pode adicionar ou subtrair do UTC. Por exemplo, "2023-05-10T11:30:00+03:00" seria enviado em UTC+3 e o tempo correspondente em UTC seria "08:30:00" (subtraindo 3 horas do tempo especificado).
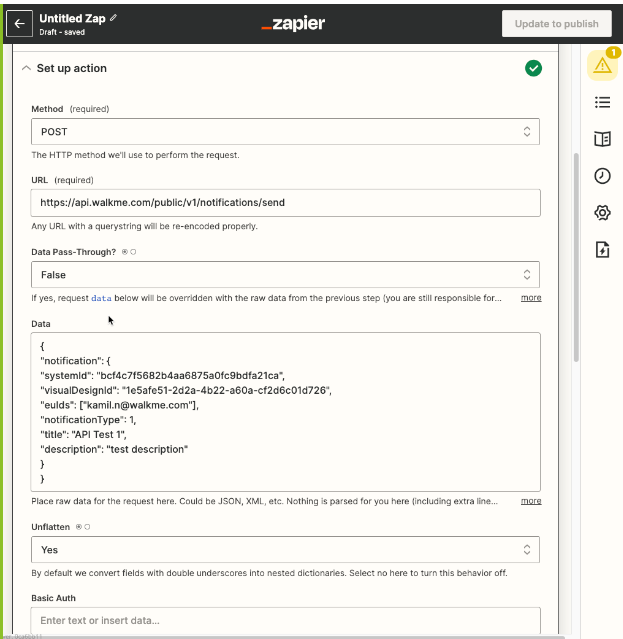
Here is an example of the JSON code with real data with few lines removed to make it simpler.
Now that we have the information we need, let's connect the dots. To make the call (connect the systems to create and publish new notifications in your organization's desktop/mobile menu), you'll need your JSON plus: