Con la API de notificaciones del menú de escritorio y móvil, puedes utilizar eventos en cualquier sistema (incluso si no tiene un fragmento de WalkMe) para activar una notificación en WalkMe y mantener actualizados a tus usuarios automáticamente. Activa notificaciones del menú con una llamada REST a nuestro Webhook de notificación de WalkMe.
Este artículo proporcionará la información necesaria para realizar la llamada REST, que requiere un token de autenticación y una carga útil JSON.
Casos de uso
Muestra alertas cuando un sistema está inactivo o tiene problemas (servidores de AWS o Slack).
Notifica a un aprobador cuando un nuevo ticket de ServiceNow requiera su revisión.
Informa a los usuarios cuando su contraseña de Okta ha caducado.
Recuerda a los usuarios que deben completar su inscripción abierta
¡y más!
Cualquier sistema que pueda llamar a una API REST se puede utilizar para activar notificaciones en el menú de escritorio o móvil.
Antes de comenzar...
Llamar a la API requiere algunos permisos y configuración técnica. Asegúrate de que tienes acceso y puedes hacer lo siguiente:
Acceso al Centro de administración para que tu sistema de escritorio o móvil obtenga el token de acceso a la API
Nota: si tu organización tiene más de un sistema de escritorio o móvil, tendrás que realizar llamadas a la API separadas para cada sistema.
Aplicación para configurar y ejecutar llamadas (por ejemplo, Zapier o Postman) a la API de notificación.
Debes tener una aplicación que pueda realizar llamadas a API REST salientes autenticadas. Si no estás seguro de si tu organización tiene una aplicación de este tipo, ponte en contacto con tu equipo de TI para discutir las opciones.
Cómo funciona
Esto es lo que necesitas de WalkMe para activar la API. A continuación se muestran los pasos sobre cómo recopilar todo.
Autenticación y creación de un token de acceso.
Identificar la notificación del Centro de comunicaciones y el público objetivo.
Creación de la carga útil JSON
Realizar la llamada
Específicamente, encontrarás la información necesaria para utilizar un JSON de notificación con la siguiente información:
ID del sistema
ID de plantilla de notificación
ID de usuarios finales o ID de audiencia.
Tipo de notificación: ventana emergente o push
Título de la notificación
Descripción
Información de anulación
Autenticación y creación de un token de acceso.
¿Qué es un token de acceso?
Un token de acceso es una credencial que puede ser utilizada por una aplicación para acceder a una API. Informan a la API que el portador del token ha sido autorizado a acceder a una acción en particular.
El token de acceso autentica la llamada a la API, lo que permite a la aplicación pasar datos de su sistema al menú.
Crea un token de acceso
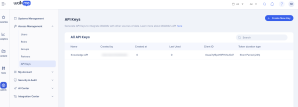
Ve a la consola
Selecciona la categoría Centro de administración
Selecciona Gestión de acceso
Selecciona la página Claves API
Haz clic en Crear nueva clave
Desde el panel Crear nueva clave:
Nombra la clave
Consejo: indica el propósito de la clave en el nombre para ayudarte a recordarla más tarde.
Activa la API de notificación.
Selecciona Escribir en el menú desplegable.
Haz clic en Crear
Desde el panel Detalles clave:
Copia el ID del cliente y el Secreto del cliente.
Guarda el secreto del cliente
No volverás a ver el Secreto, así que guárdalo en un lugar accesible, lo volverás a necesitar pronto.
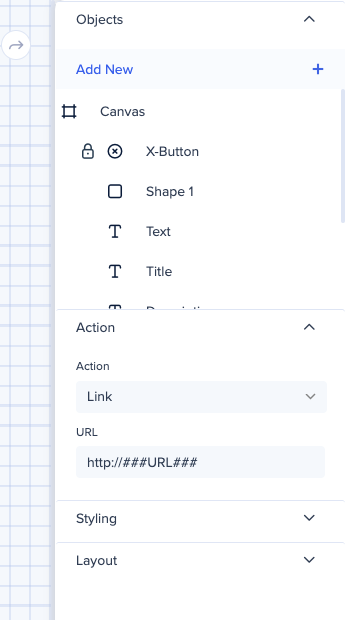
La acción del botón solo puede utilizar la acción de enlace
Puedes utilizar enlaces dinámicos o enlaces permanentes de WalkMe
No puedes editar la notificación después de configurar la API, así que asegúrate de estar satisfecho con tu notificación.
Opcional: añade reglas de anulación en la plantilla.
En el caso de que desees que una notificación sea personalizada, ya sea para el usuario o para el evento que se está activando, puedes añadir valores dinámicos que la API completará automáticamente.
En la imagen, hay dos ejemplos de valores que se sobrescriben con texto dinámico que se reemplazará dependiendo de los valores que la API desencadene.
Este es un ejemplo de notificación de API con Salesforce que se activa cuando se ha asignado un nuevo lead. Notificará al vendedor el nombre de la oportunidad y lo vinculará al cliente potencial en Salesforce.
###OPP_NAME_ATTRIBUTE### se reemplazará por el nombre de la oportunidad en Salesforce.
###URL### se reemplazará por una URL real, lo que permitirá una acción personalizada para cada usuario, cada vez que se active la API.
Nota
El nombre del valor (ejemplo: OPP_NAME_ATTRIBUTE) se debe copiar exactamente en el JSON para que se pueda reemplazar
Las URL deben comenzar con una de las siguientes:
http://
https://
walkme-workstation://{}
mailto:
Copia los valores requeridos
Los siguientes pasos conectarán la notificación con la API.
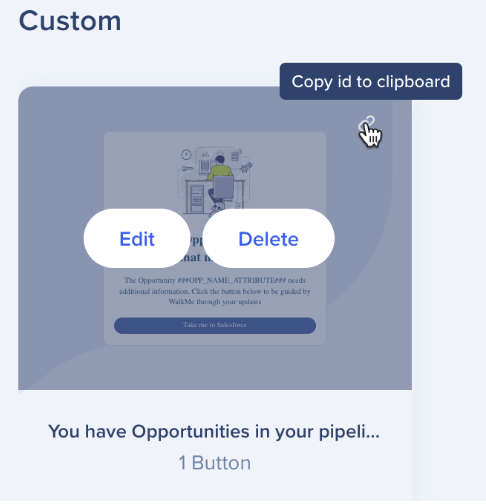
Copia el ID de plantilla personalizada que creaste.
En Plantillas personalizadas>, pasa el cursor sobre la esquina de la notificación.
Haz clic en el icono de copia para copiar el ID en el portapapeles.
Ejemplo: 75cfcba6-c320-42cb-938e-4c2bd08a43a3.
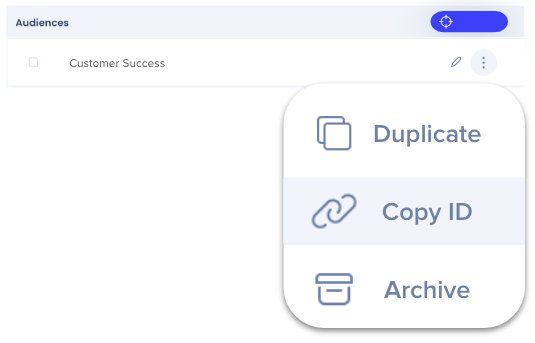
Copia el ID de audiencia objetivo.
ID del usuario final frente a Audiencia
Utilizar una audiencia es más eficiente, pero también puedes dirigirte a hasta 100 usuarios en función de su ID de usuario final. Recomendamos crear una audiencia si planeas utilizar más de 10 ID de usuario final
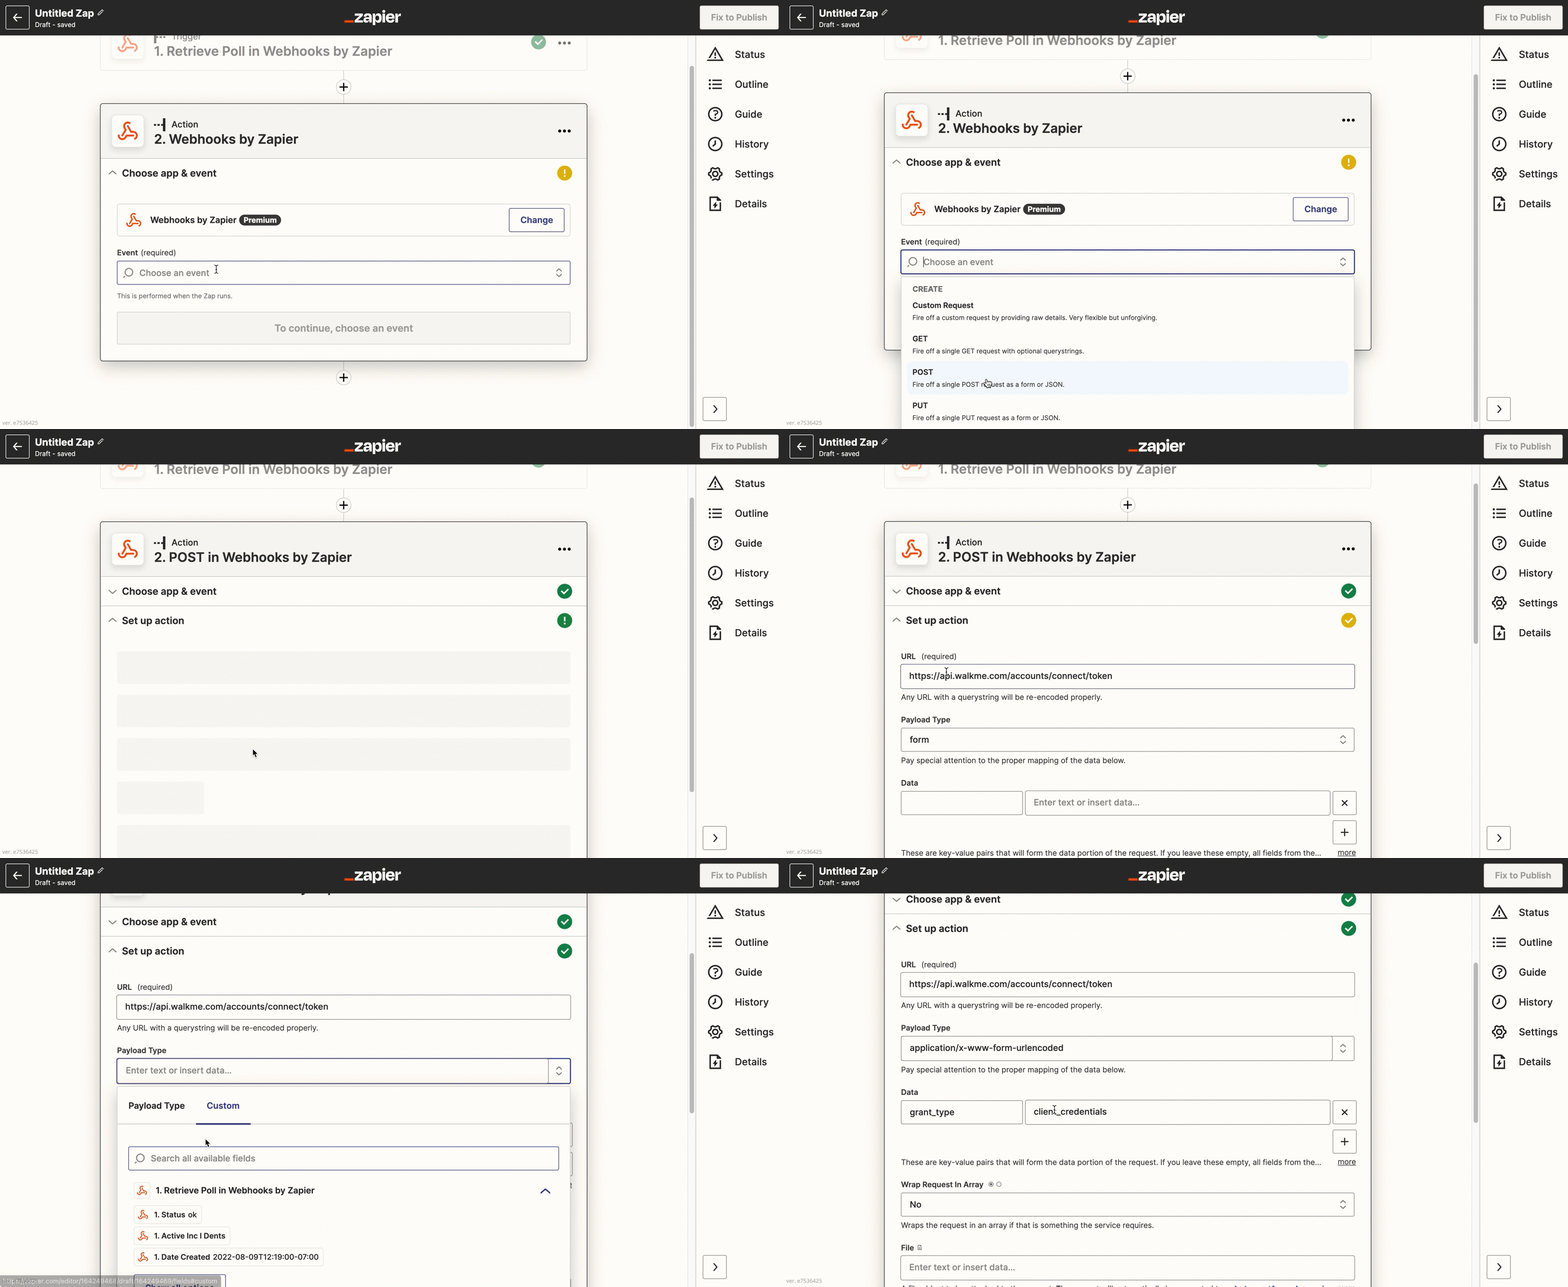
Now it's time to fill in some information on your API connection application. For clarity, we use Zapier to explain, but we are not endorsing this application over any other. Any similar app will work.
The information used below is universally necessary on all applications:
Payload Type = (Content-Type) application/x-www-form-urlencoded
Data = grant_type → client_credentials
Add Basic Authentication
When using basic Auth, the clientID is the username and the client secret is used as the password.
Client ID | Client Secret (copied from Admin Center)
Example
0o234234234UqD5d7 | JVnD346346346436345asfgasgbPt_4T7h2_
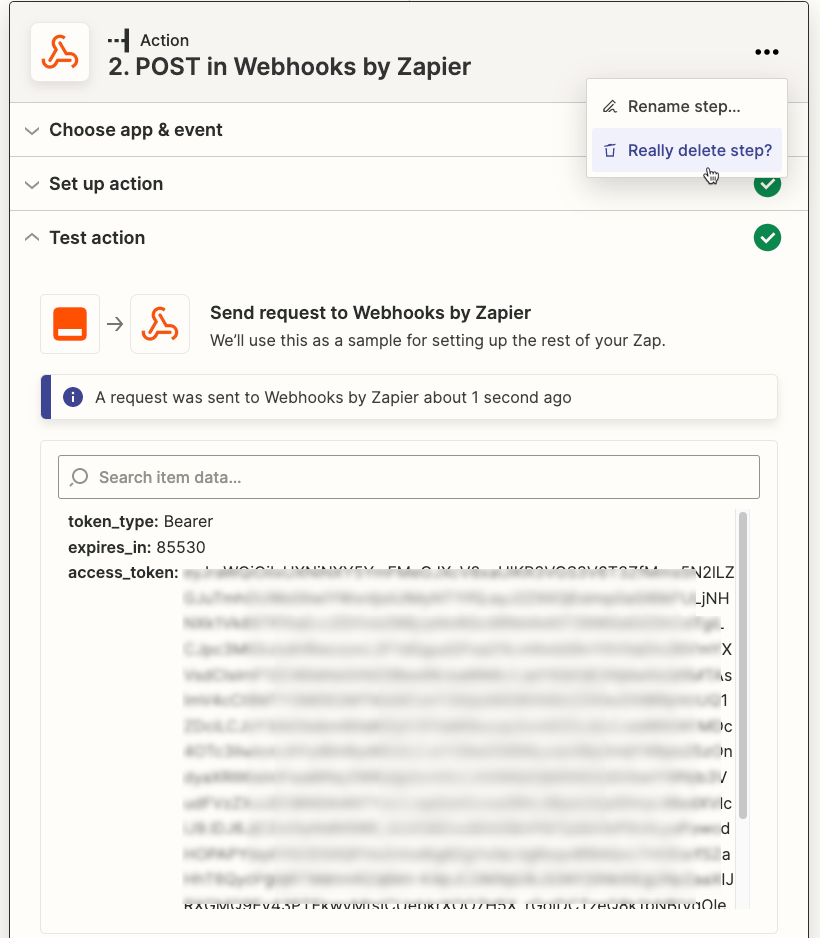
Once you've added this information, you will be given an access token.
Copy your Access Token
If you're using Zapier, you can delete this step after you've copied the token.
Update the JSON code
Now it's time to fill in the blanks and use the JSON code that will call the notification.
{
"notification": {
"systemId": "<the workstation system id>", //Required if you have more than one workstation system
"templateId": "<template id>", //Required
"endUsersIds": ["<end user id 1>","<end user id 2>","<...>"], //You need either end-user ID or audience ID (you can use both), remove the one you aren't using
"audiencesIds": ["<audience id 1>","<audience id 2>","<...>"], //You need either end-user ID or audience ID (you can use both), remove the one you aren't using
"notificationType": "<how notification will display, push v popup>", //Optional, default push, remove if not using
"title": "<notification title as appears in the ComCenter notification table>", //Optional, remove if not using
"runtimeTitle": "<what will appear to end-users in the Workstation list and in the push notification>", //Optional, remove if not using
"runtimeDescription": "<what will appear to end-users i in the Workstation list and in the push message>", //Optional, remove if not using
"startAt": "<start date YYYY-MM-DD hh:mm>", // Optional, default right now, timezone is UTC, you can add a date and no time, default time is 00:00 UTC, remove whatever you are not using
"endAt": "<end date YYYY-MM-DD hh:mm>", // Optional, default 30 days from now, you can add a date and no time, default time is 00:00, remove whatever you are not using
"override": [
{
"key" : "<the placeholder string to replace in the notification template>",
"value" : "<the value to put into the notification instead of the placeholder>"
}
// More comma separated {key:value} pairs can follow
// For example, the value could be a URL that is passed from ServiceNow to open a ticket
]
}
}
Elimina las líneas que no estás utilizando.
Si hay líneas opcionales que no estás completando, elimínalas del código final para evitar errores.
ID de usuario final y audiencia
endUsersIds y audiencesIds son matrices y deben escribirse con corchetes [], y cada cadena debe estar separadapor una coma ["<id1>","<id2>","<...>"]
La zona horaria predeterminada es UTC.
La zona horaria predeterminada es UTC, pero si deseas enviar la notificación según una zona horaria diferente, puedes añadir o restar de UTC. Por ejemplo, "2023-05-10T11:30:00+03:00" se enviaría a UTC+3 y el tiempo correspondiente en UTC sería "08:30:00" (restando 3 horas al tiempo dado).
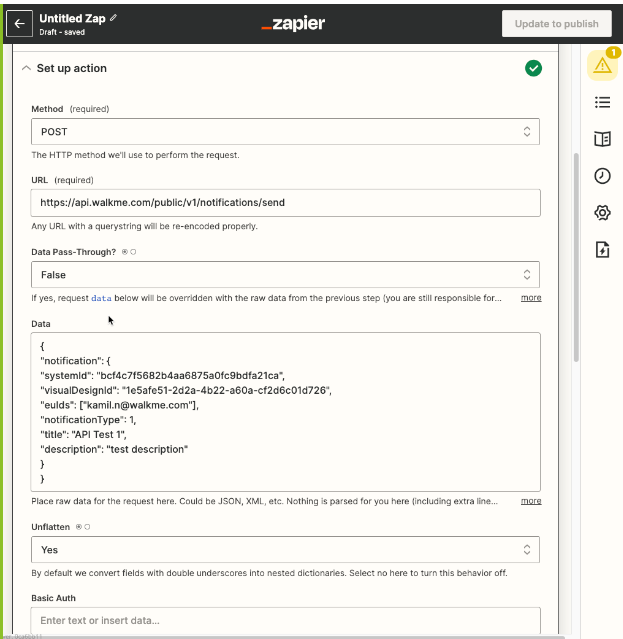
Here is an example of the JSON code with real data with few lines removed to make it simpler.
Now that we have the information we need, let's connect the dots. To make the call (connect the systems to create and publish new notifications in your organization's desktop/mobile menu), you'll need your JSON plus: