Brief Overview
A course is a structured learning experience made up of multiple lessons and optional quizzes. Courses are designed to help learners progress through a topic step by step. Use a course when you want to guide learners through a broader topic step by step.

Create a Course
- Go to the Learning Content page
- Select + Learning Content
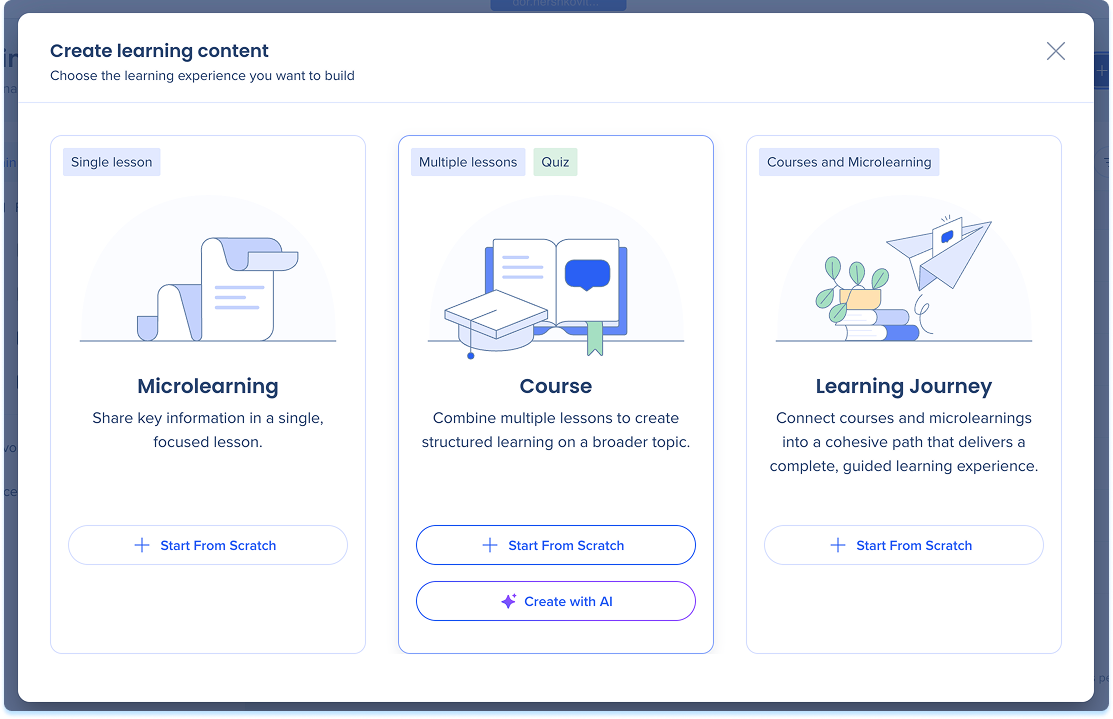
- Choose how you want to create it:
- Start from scratch: Opens an empty course in the builder
- Create with ai: Generates a course outline based on your instructions
Note
Create with AI is only available to AI customers.
Create a Course with AI
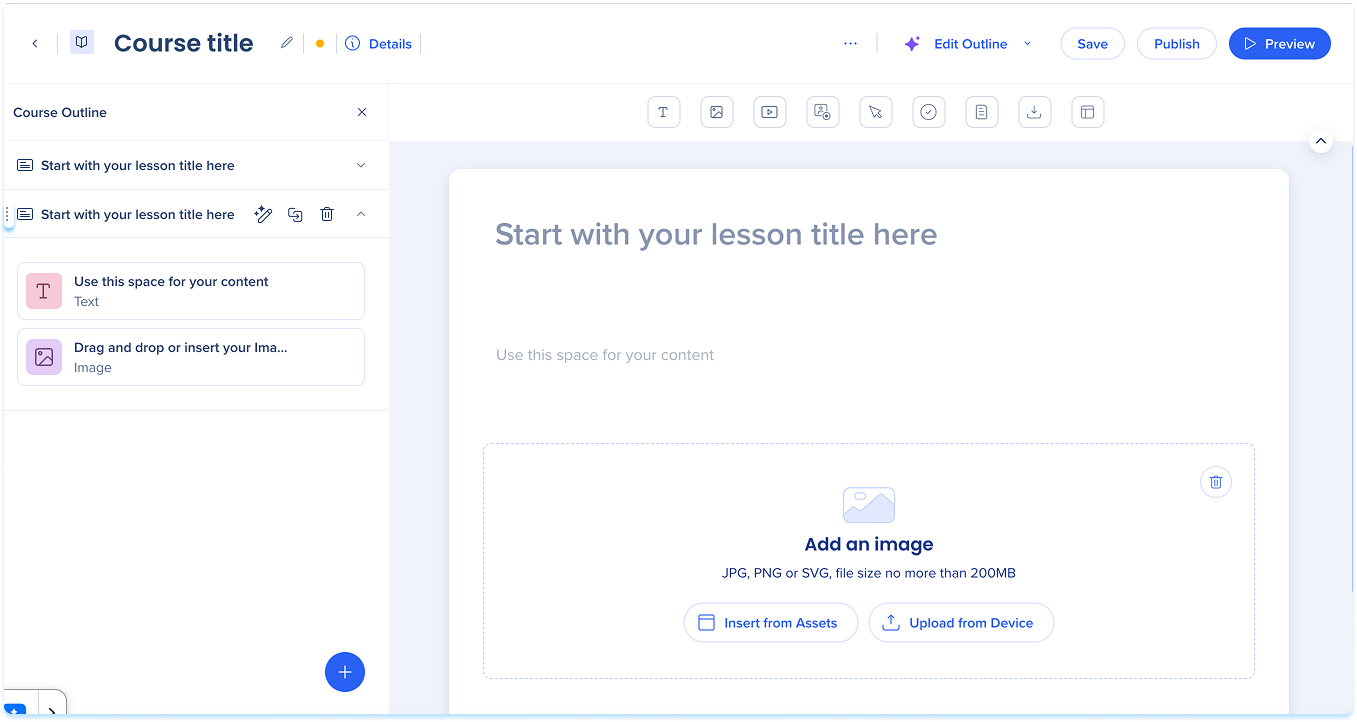
Course Builder Layout
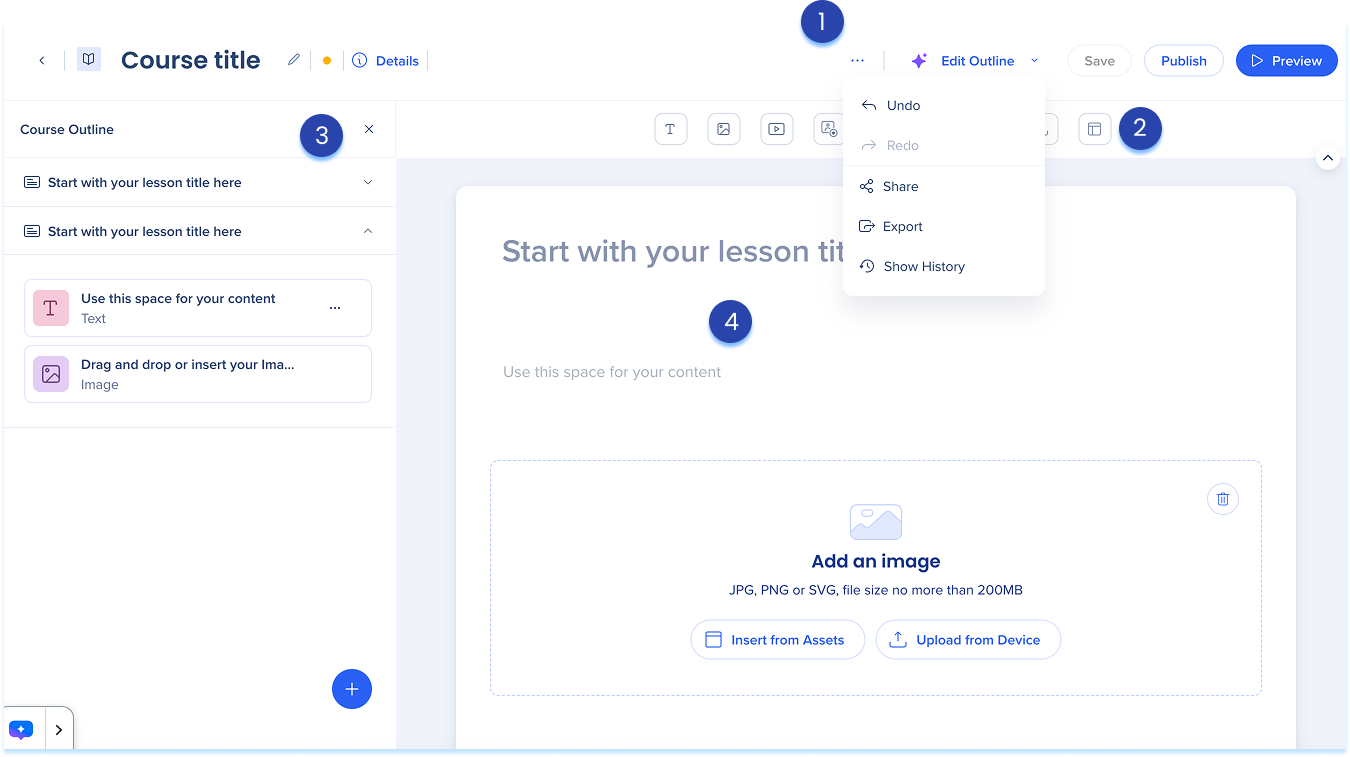
The course builder is divided into four main areas:
- Top panel: Main controls for managing and publishing your course
- Details: View and edit your course information
- Edit Outline: Review and reorganize your course or lesson content and structure
- Options menu: Access sharing, export, and history
- Elements panel: Toolbar containing all available learning elements you can add to a lesson
- Layers panel: Side panel showing the full structure of your course, including lessons, elements, and quizzes
- Main canvas: The area where you build and edit your course content
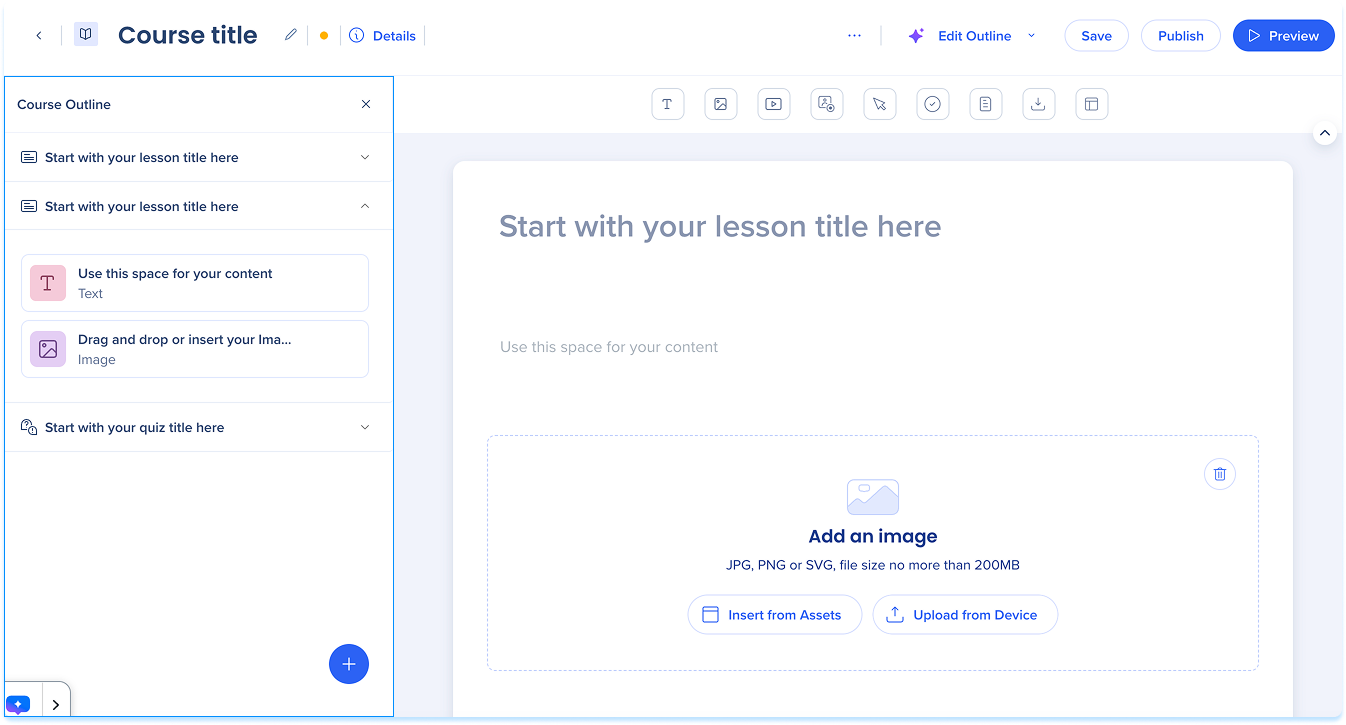
Course Structure
A course is made up of:
- Lessons: Individual learning units that make up the course
- Elements: The content blocks inside each lesson, such as Text, Image, or Video
- Quizzes: Optional assessments to test learner knowledge
Manage Lessons
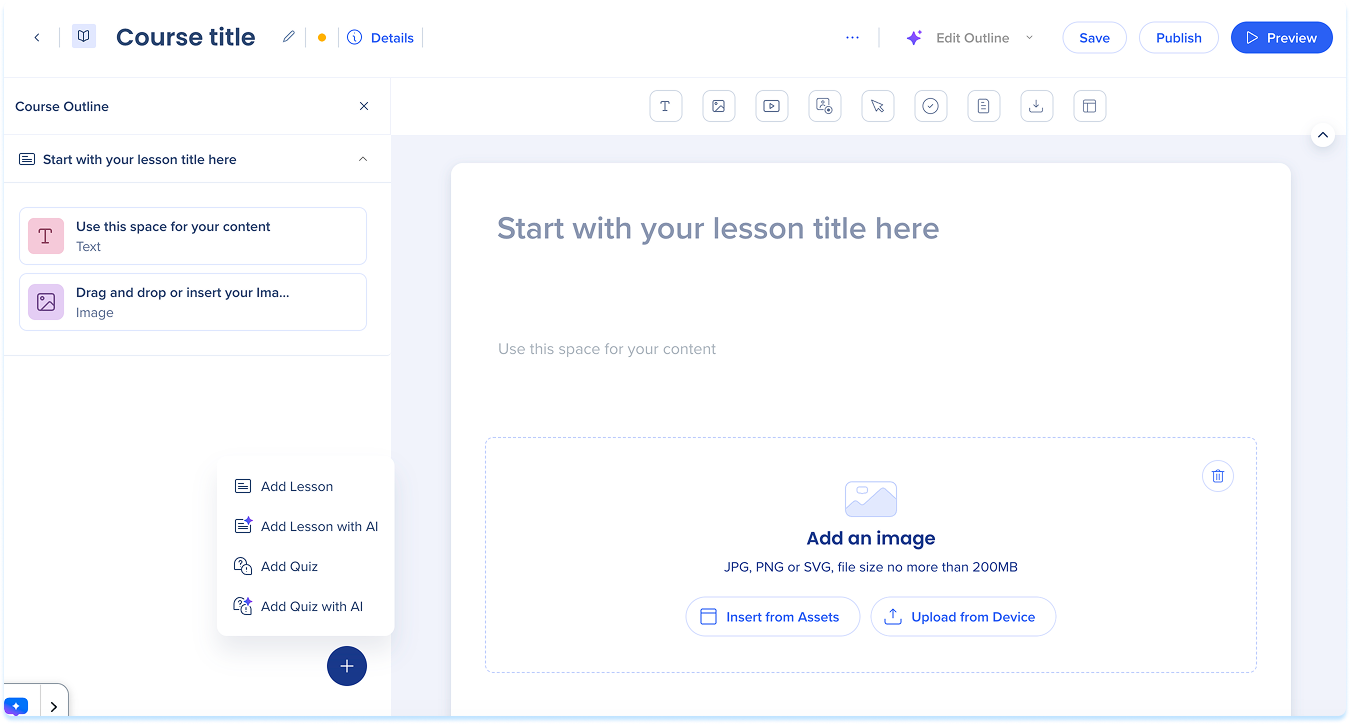
Add a lesson
- In the layers panel, select the + button
- Choose one of the following:
- Add lesson: Opens an empty lesson in the builder
- Add lesson with AI: Generates a lesson outline based on your instructions
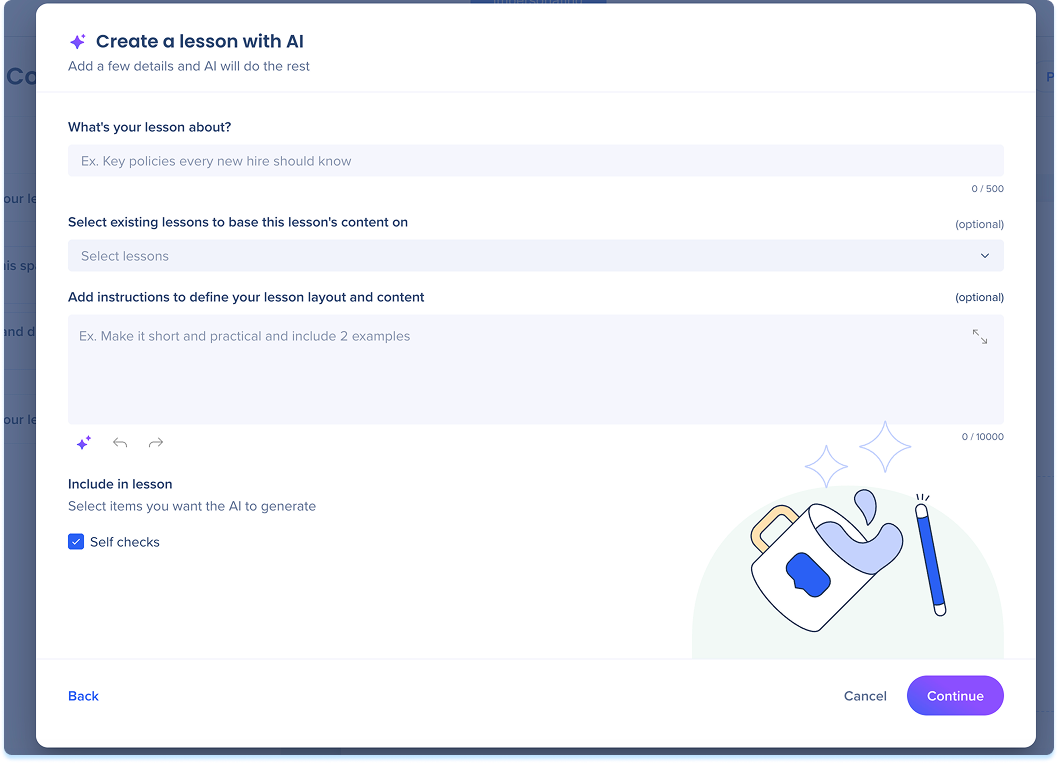
Add a lesson with AI
- Fill in a short summary of the lesson topic
- Describe what you want the lesson to cover (optional)
- Select the Improve with AI icon to rewrite and expand your instructions (optional)
- Under Include in lesson, select what you want the AI to generate:
- Self checks: Add short knowledge checks within lessons
- Select Continue to move to the next step
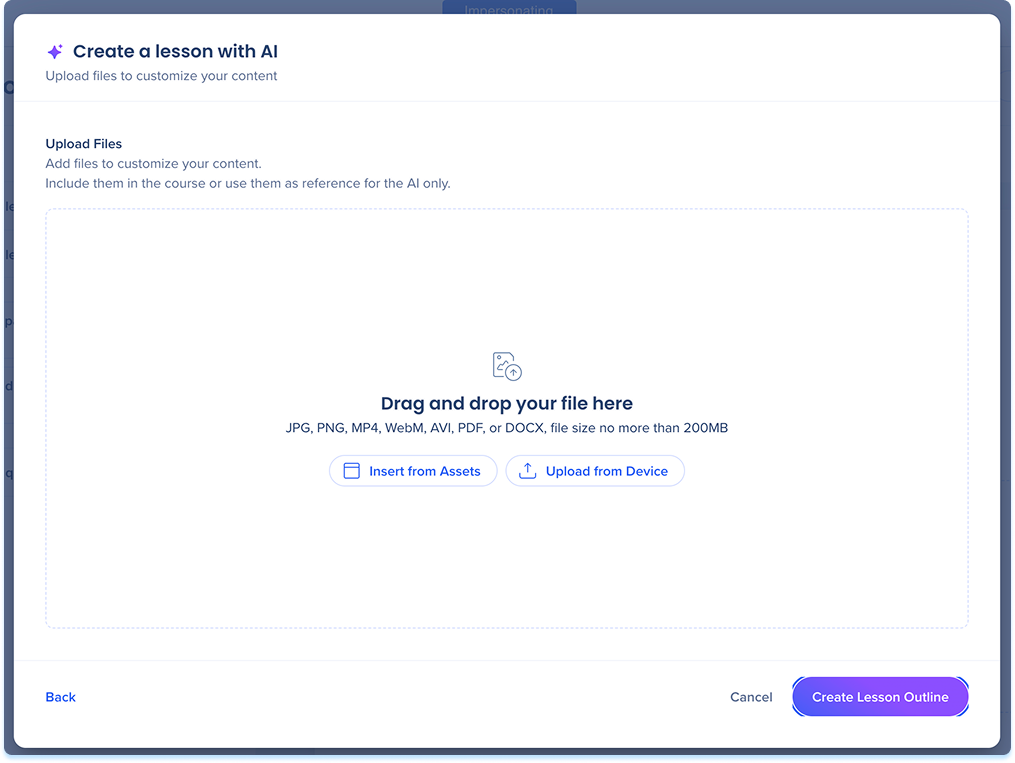
You can upload files to shape how the AI builds your course. Files can serve as source material for the AI, or you can include them directly in the course so learners can access them.
- Select Insert from Assets or Upload from Device
- Add one or more files
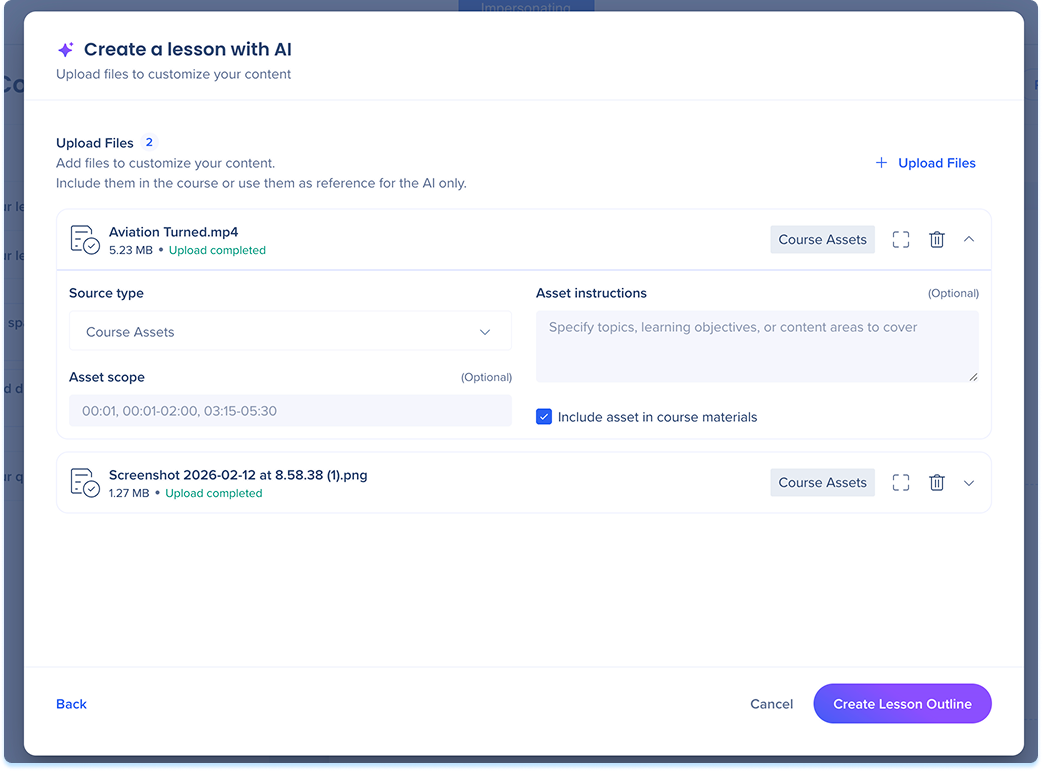
Once a file uploads, expand it to configure how the AI uses it.
- Under Source type, choose how the AI should treat the file:
- Course assets: Raw material used to create lesson content (default)
- Structure: Defines the flow and organizational requirements of the course
- Style and standards: Sets the terminology, tone, and brand voice
- Backstage info: Background data used for fact-checking or constraints
- Under Asset scope, fill in a page or time range if you only want the AI to use part of the file (optional)
- Under Asset instructions, add guidance on how the AI should apply the asset (optional)
- Turn on Include asset in course materials if you want learners to access the file in the published course
- Select Create Lesson Outline
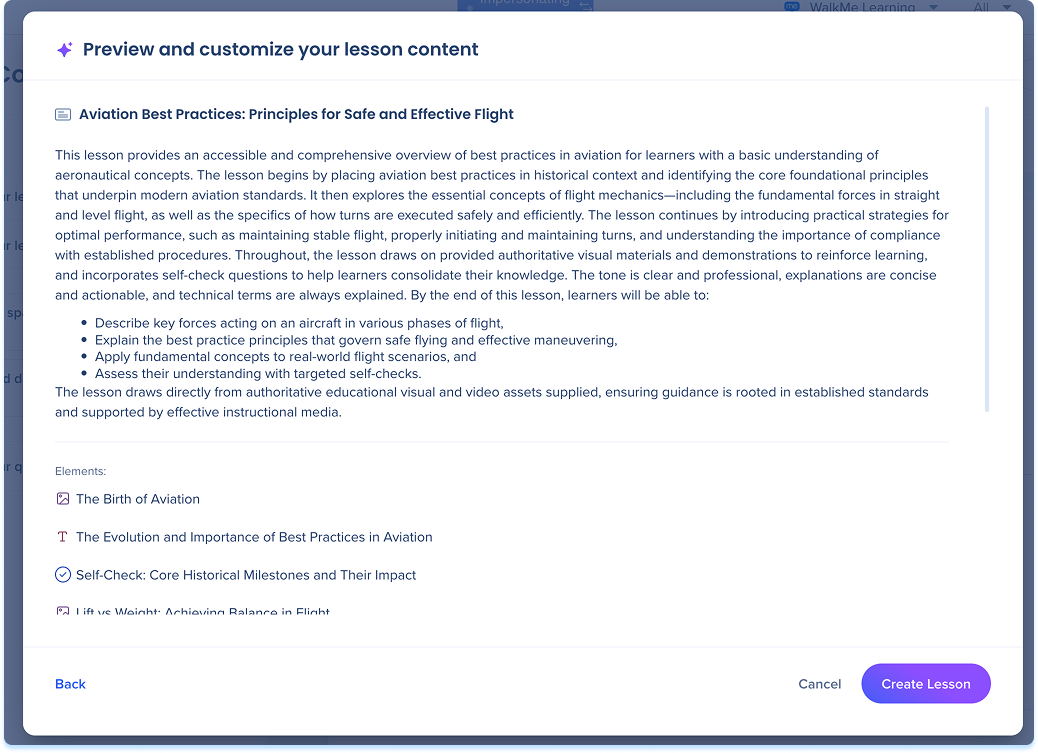
6. Review the lesson outline and select Create Lesson
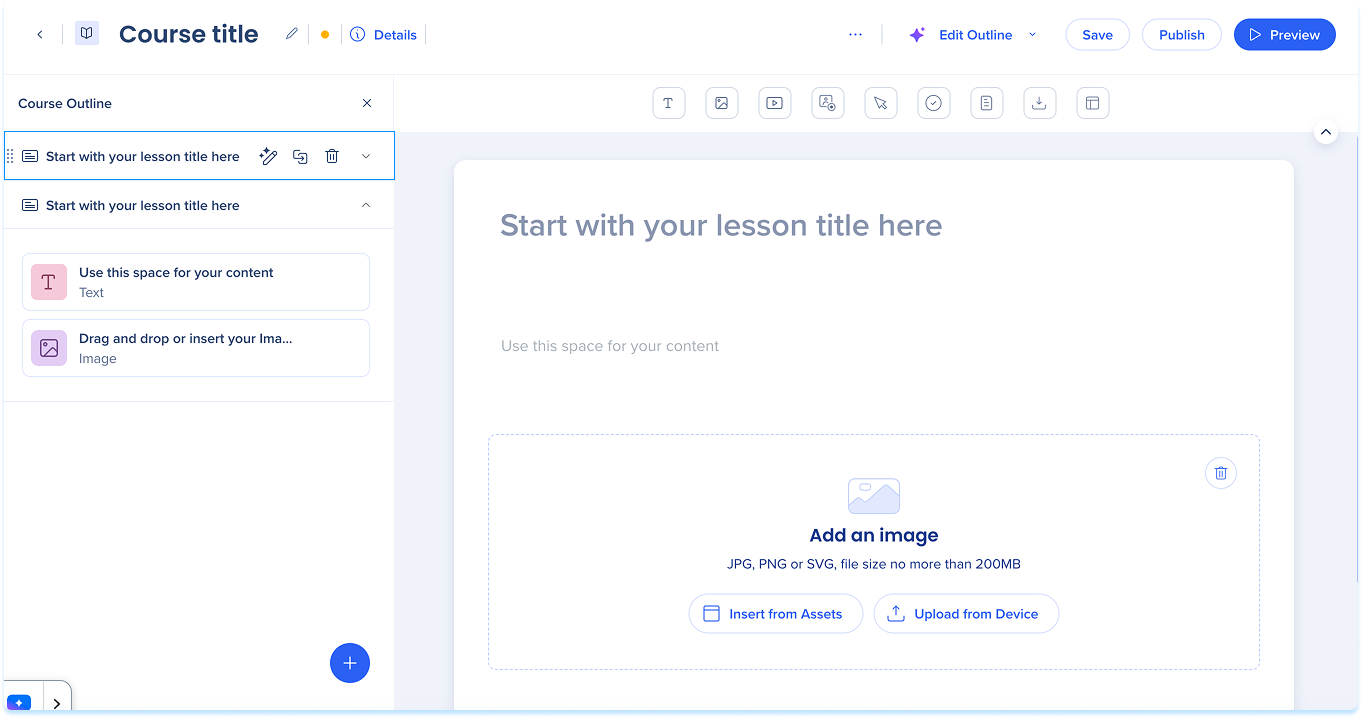
Reorder lessons
In the layers panel, drag and drop a lesson to change its order.
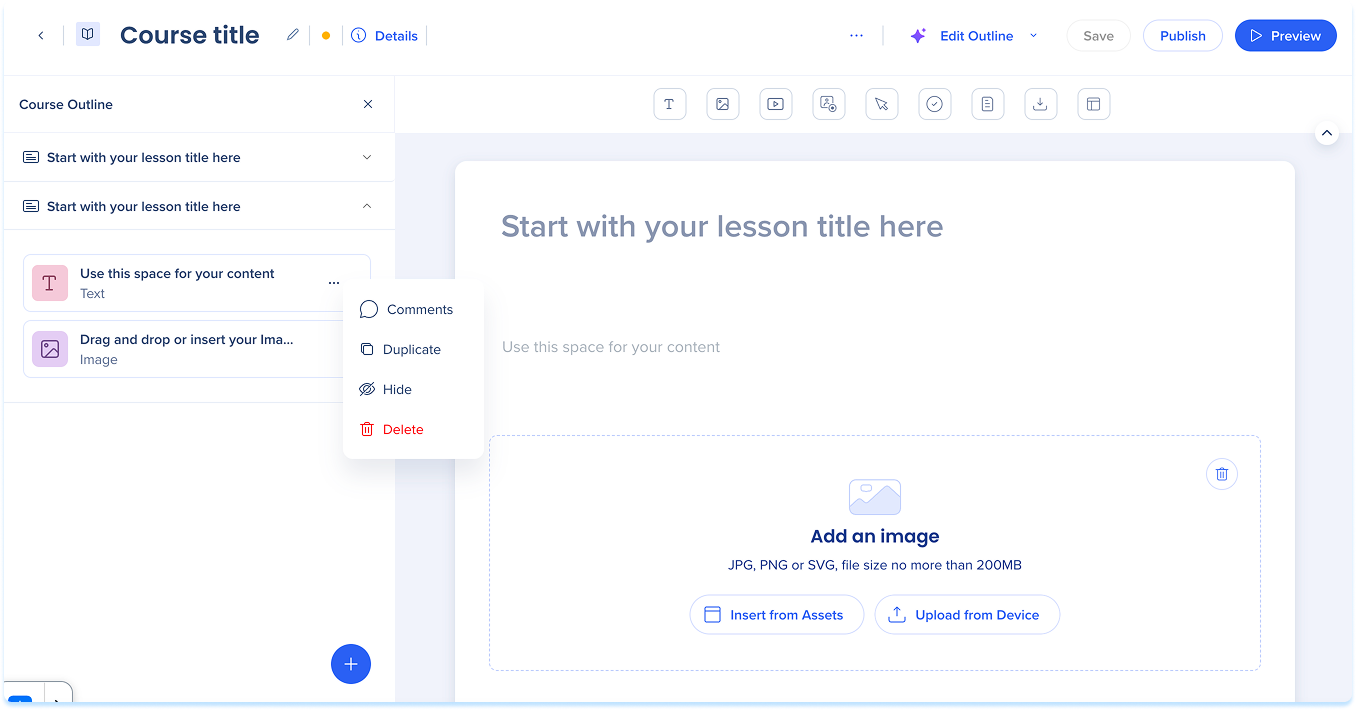
Lesson actions
Hover over a lesson row in the layers panel to access the following actions:
- Edit Lesson Outline with AI: Opens the lesson outline in AI edit mode
- Duplicate: Creates a copy of the lesson
- Delete: Removes the lesson from the course
Manage Quizzes
Add a quiz
- In the layers panel, select the + button
- Choose one of the following:
- Add quiz: Opens an empty quiz in the builder
- Add quiz with AI: Generates a quiz outline based on your instructions
Quizzes in WalkMe Learning Arc

Manage Elements
Each lesson can include multiple elements. Open a lesson and use the element toolbar or the main canvas to add content.
Elements in WalkMe Learning Arc
Technical Notes
- File uploads support files up to 200 MB
- Video file uploads support files up to 500 MB
- SVG files are not supported


