Brief overview
The Groups page alows you to create groups. You can also assign users to the groups and link systems to them. Access it from the admin.walkme.com under the User Management section.
Use cases
-
Improve user management consistency across accounts
-
Simplifies user management tasks especially for onboarding or offboarding employees
-
Maintains organized and secure access control of users
How It Works
Create a group
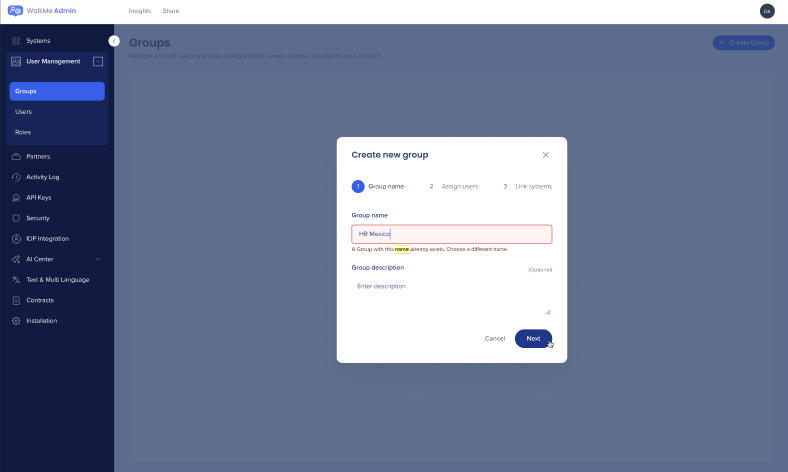
- Go to User Management and click + Create Group

- Name your group and click Next

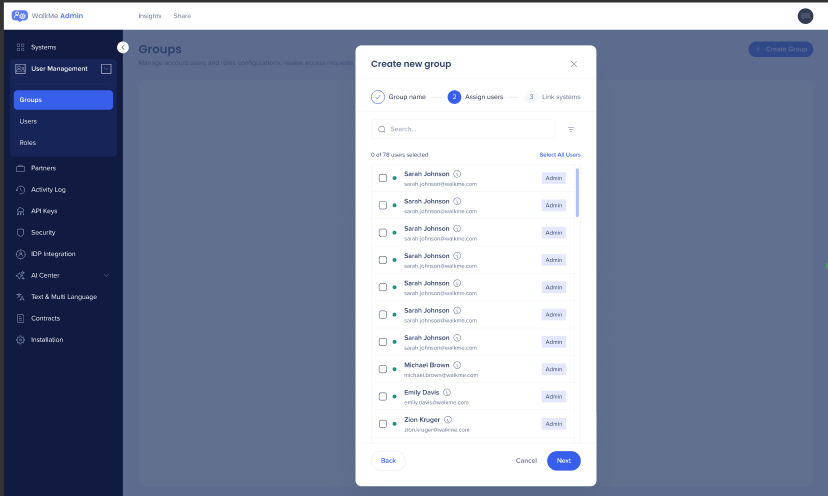
-
Assign users or click Next (group will be saved for later you can come back and add users at any point after group creation).

-
Check box to select system or Select All Systems and click Create

5. When you create the group you can also add filters these include:
- Roles
- Linked systems
- User creation date
- Status

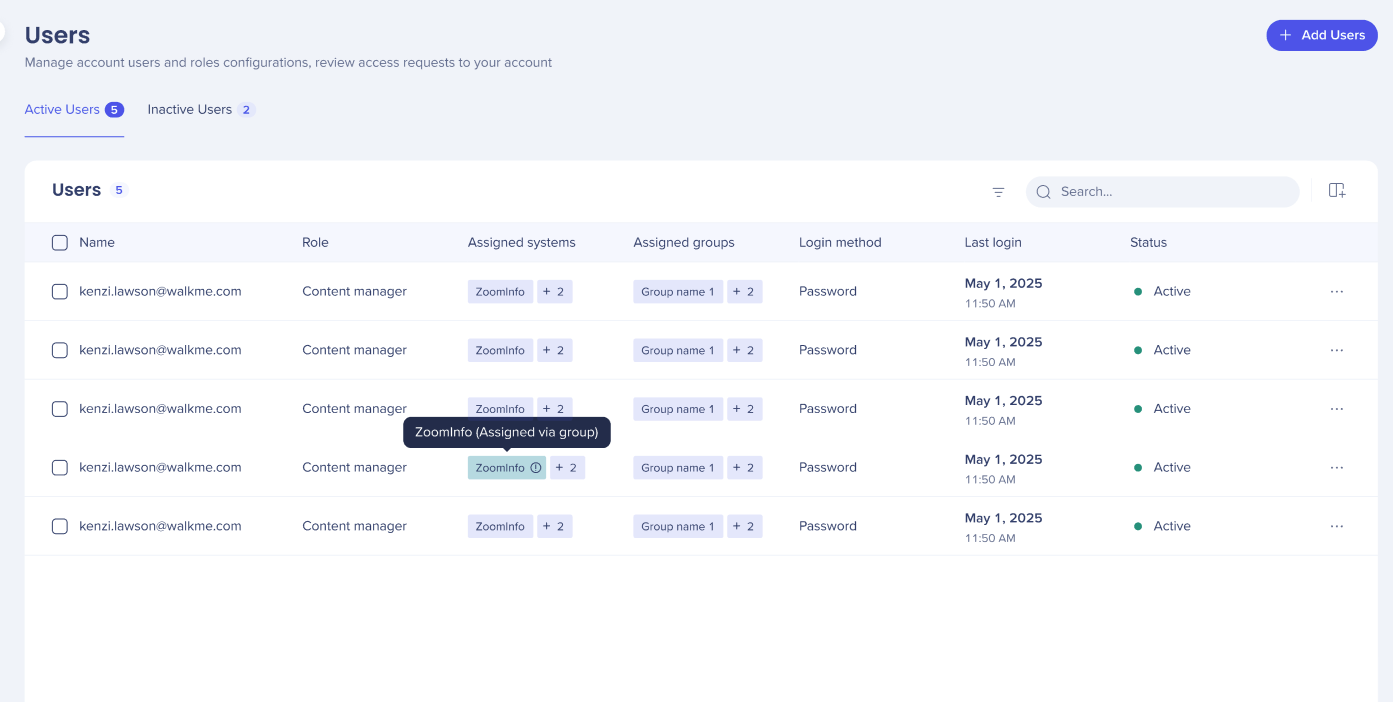
- Groups assigned via systems now display with a different colored tags from the regular groups for easy identification
Edit a group
Once a group has been created you can come back to it and make changes.
-
Click Edit Group to make changes in group description, enter details click Save.

- To Edit Group name enter new details. A error message displays if there is already a group with this name.
-
To Assign users to the Group, click + Assign Users. Click Save.

-
You can also assign users to the group by entering their email, selecting from the list or clicking Select All Users.
-
To link systems to a group, click + Linked systems, you can search for the system you want to connect the group to. Click Save.

You can filter parameters for assigning users to a group by Roles, Linked systems, User creation date and Status
Delete a group
To delete a group, either selet the checkbox next to the group or open the options menu and click Delete Group.

For bulk deletion of Groups the recommended method is to use checkboxes.


