
How to Use WebHooks with Zapier
Last Updated June 29, 2022
Brief Overview
WebHooks (AKA callbacks) allow you to build WalkMe directly into your workflows by triggering 3rd party APIs and/or adding WalkMe Event data into your analytics platform.
This article explains how to define webHooks for Zapier. To do so, it provides an end-to-end example of using webHooks to update Google Sheets.
End-To-End Example of Sending content to Google Sheets using WebHooks
Step 1: Open an account or log into Zapier
- Website address is: https://zapier.com/.
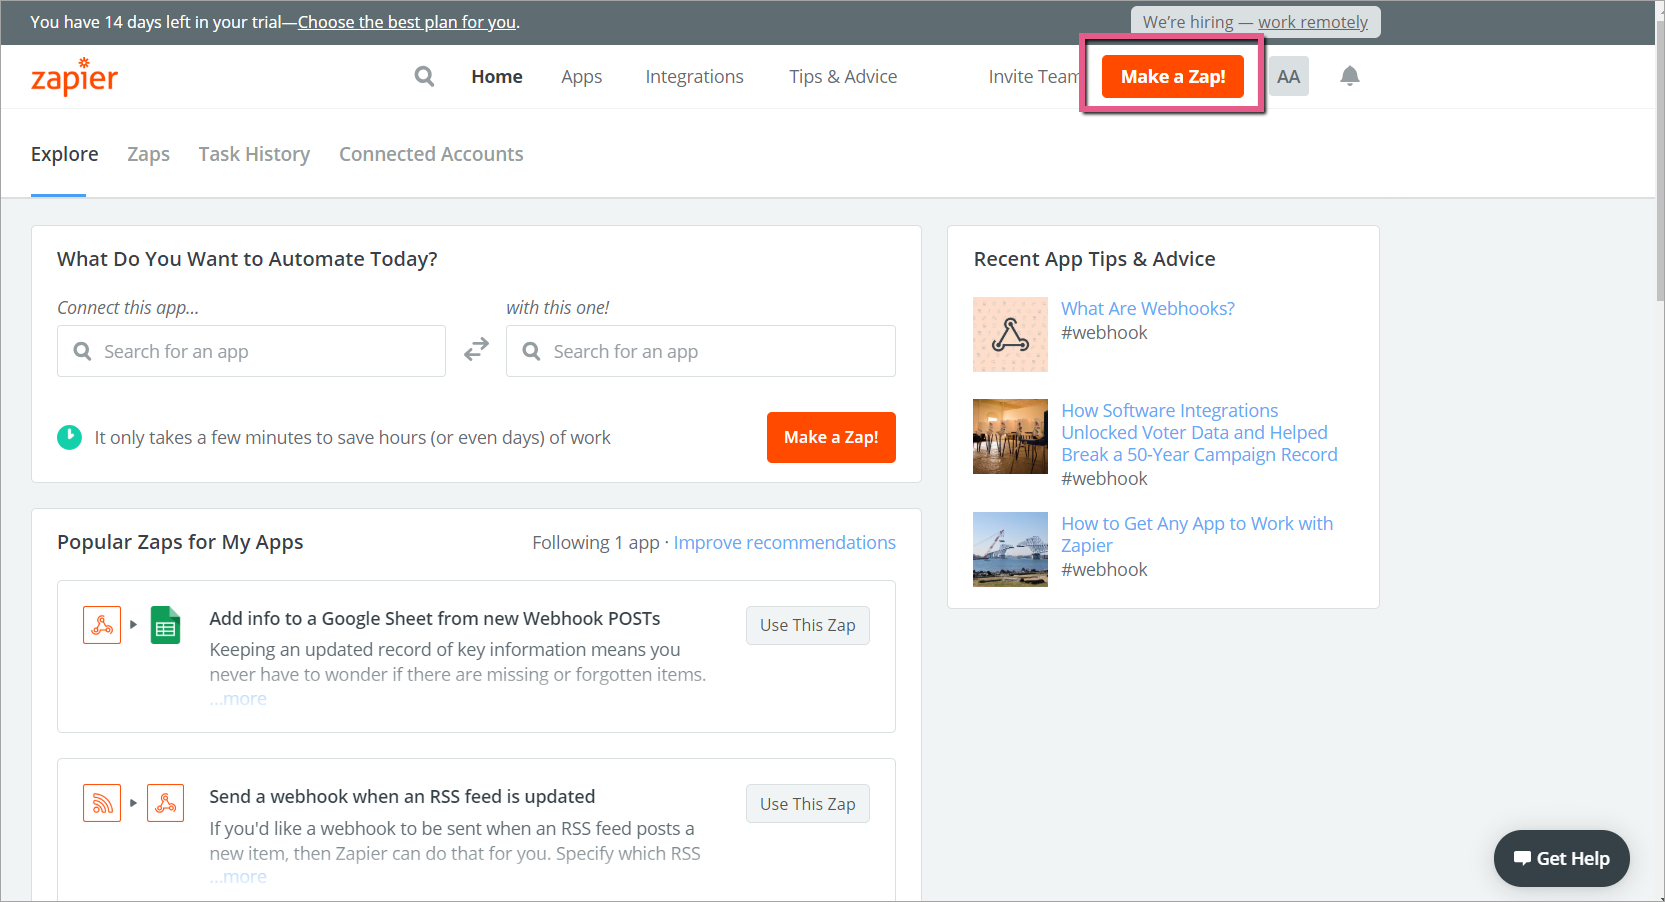
Step 2: Click Make a Zap!
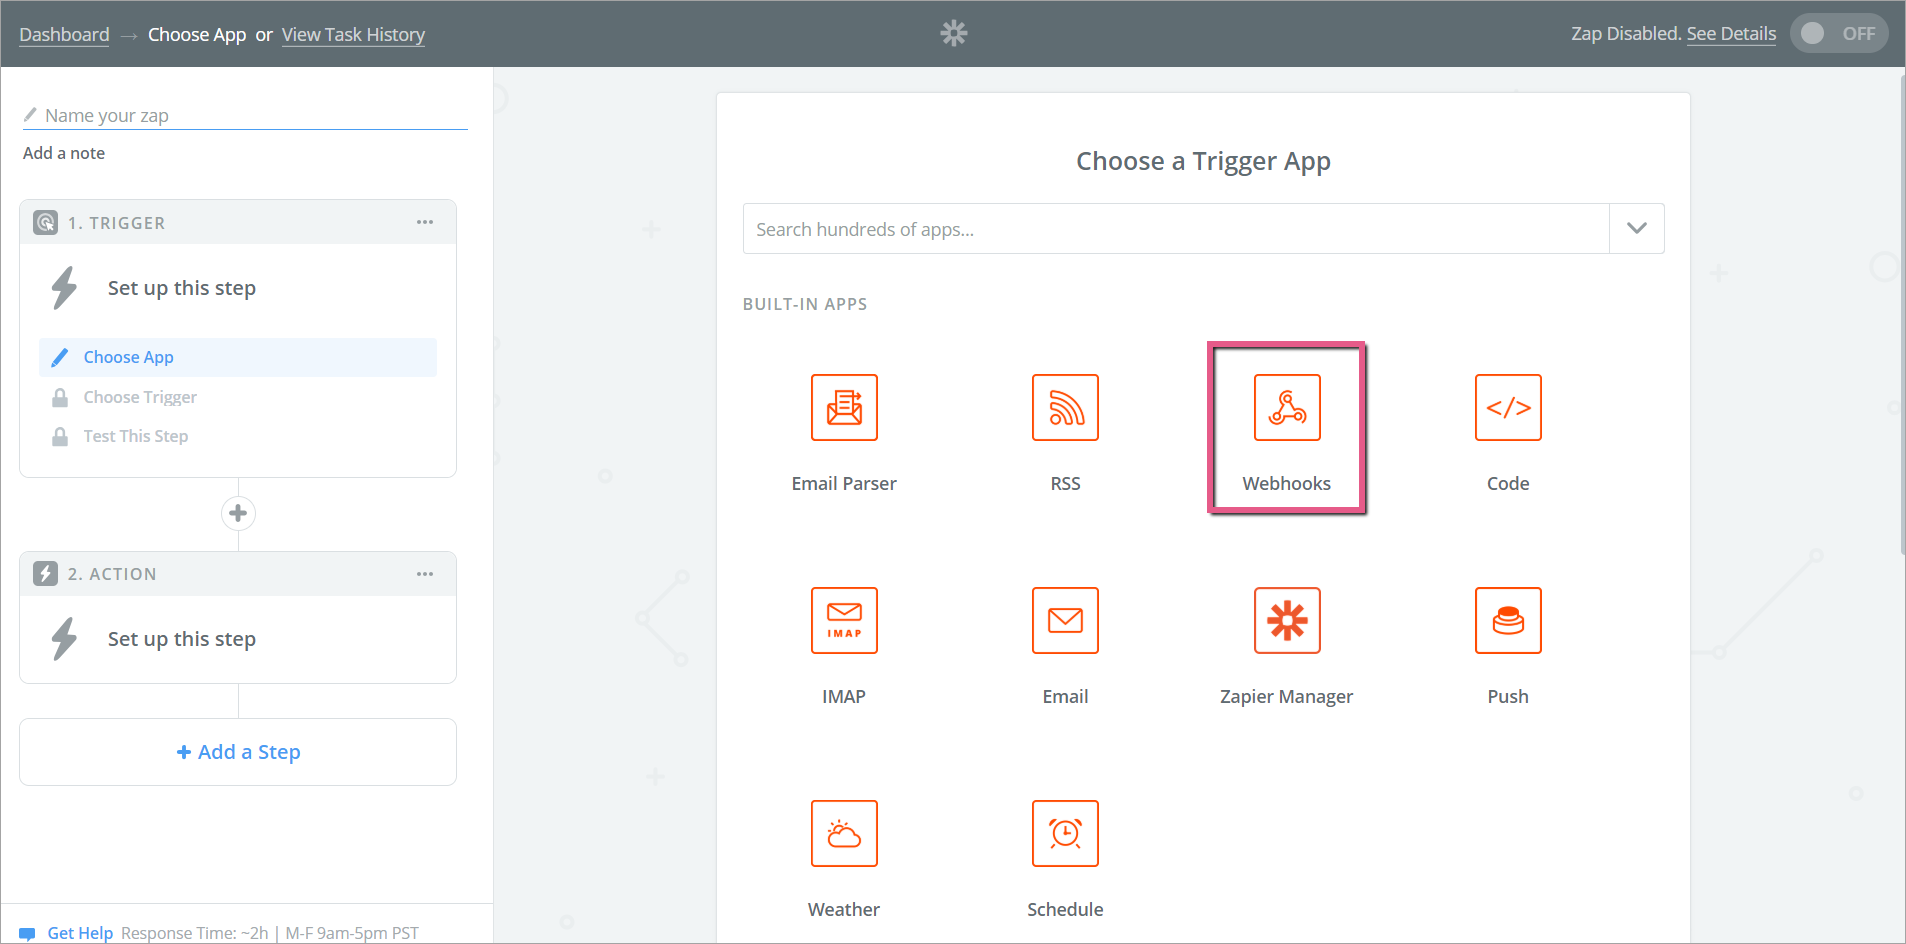
Step 3: Click Webhooks
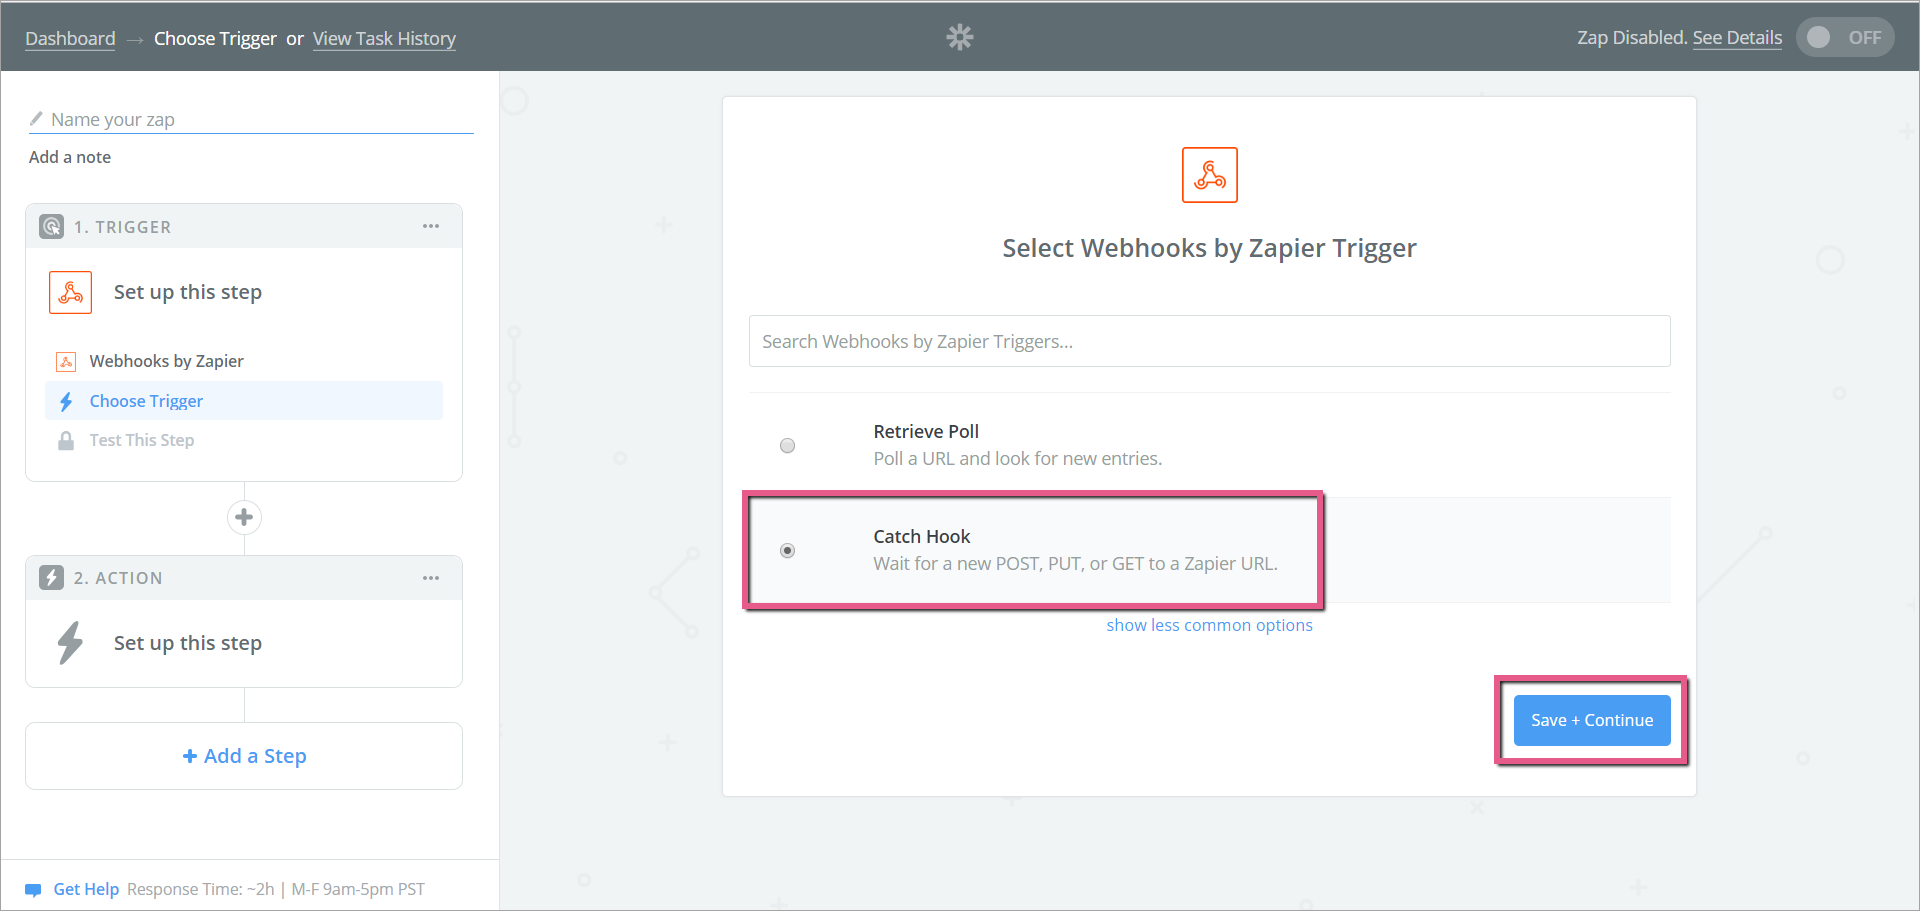
Step 4: Click the Catch Hook radio button and then click Save + Continue
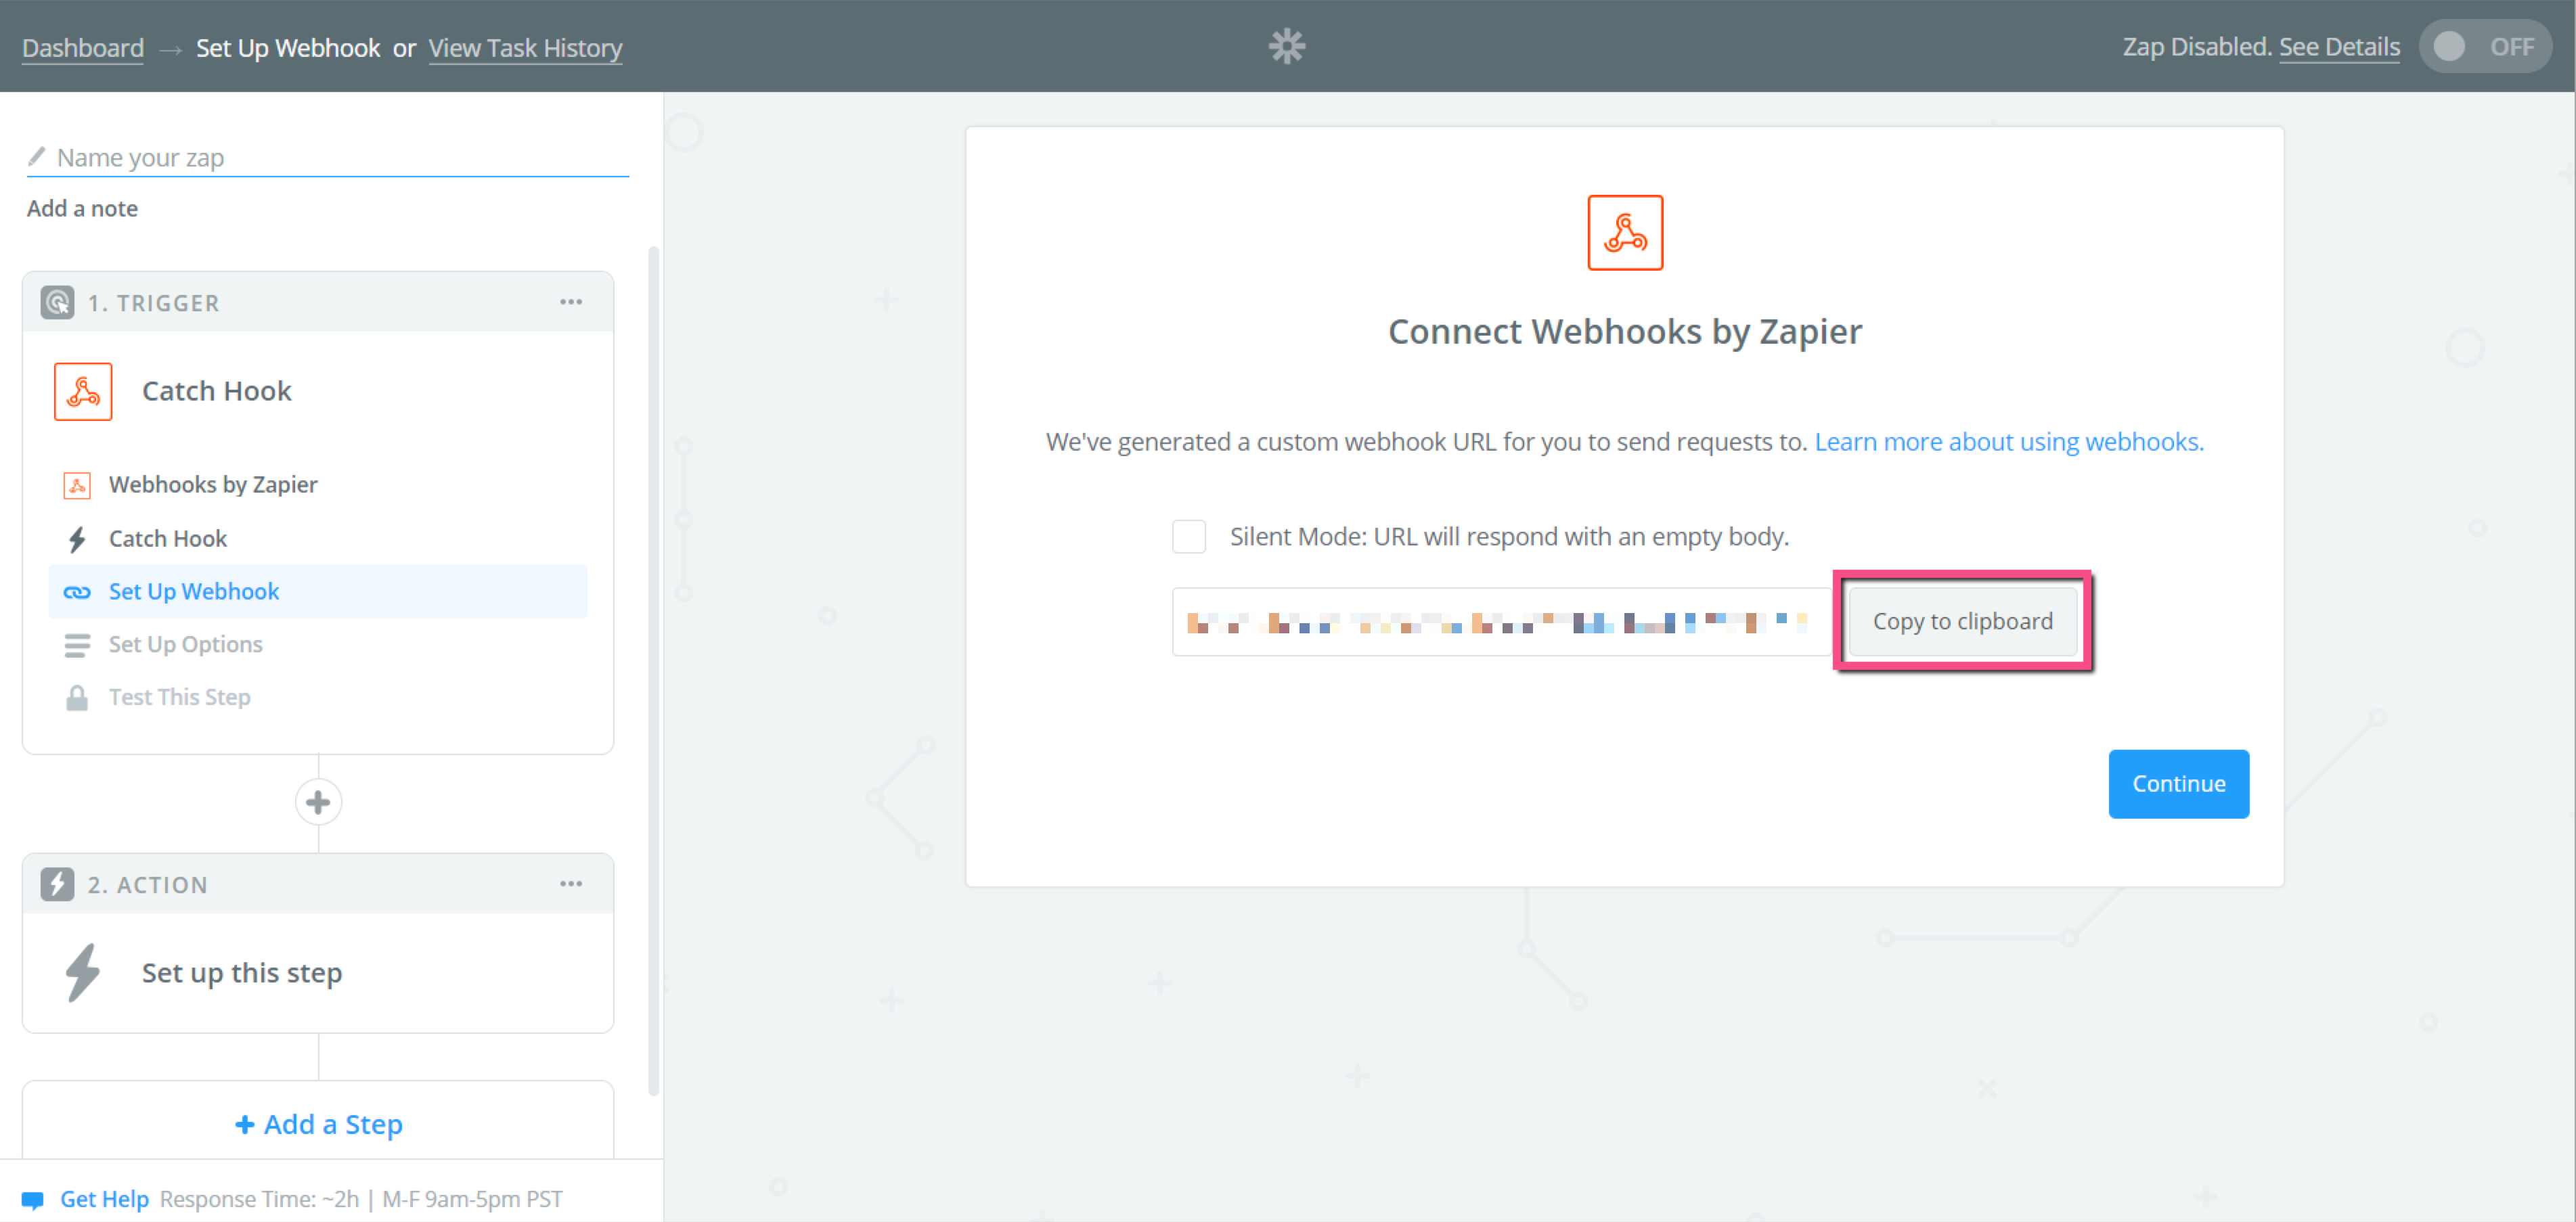
Step 5: Click Copy to clipboard
Step 6: Review 'How to Set Up a WebHook' article
- Please review the steps provided in our How To Send WalkMe Event Data To 3rd Party Systems Using Webhooks article.
- The steps that follow are specific to setting up webHooks for Zapier.
Step 7: Set up your WebHook in Insights using the Wizard
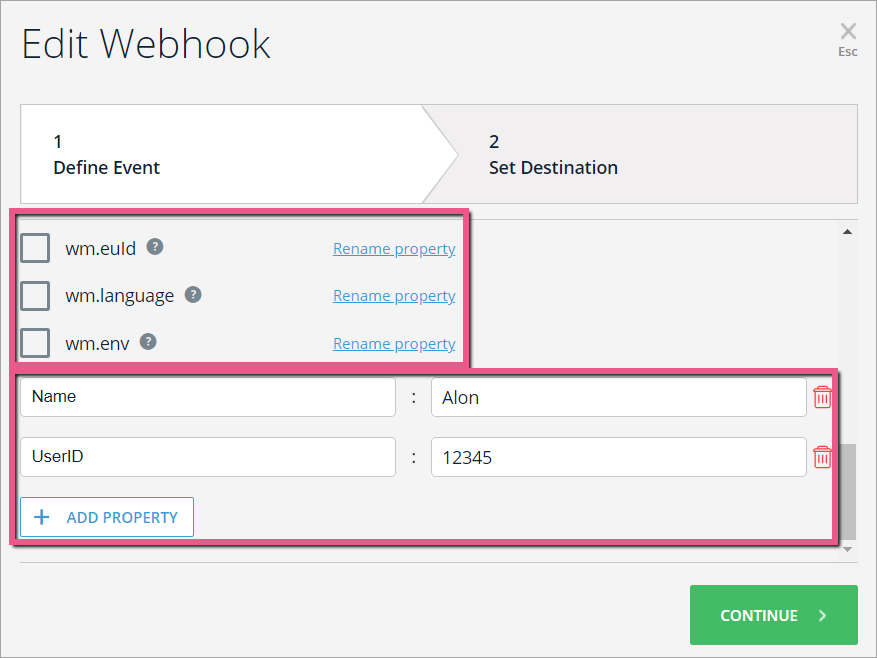
Wizard Step 1: Define event
Steps
- Select an Event to send to Zapier;
- Click Advanced to open the list of properties;
- You can select from the pre-defined properties on the top and rename them (make sure to mark the event as selected), or click ADD PROPERTY to send a property with specific value:
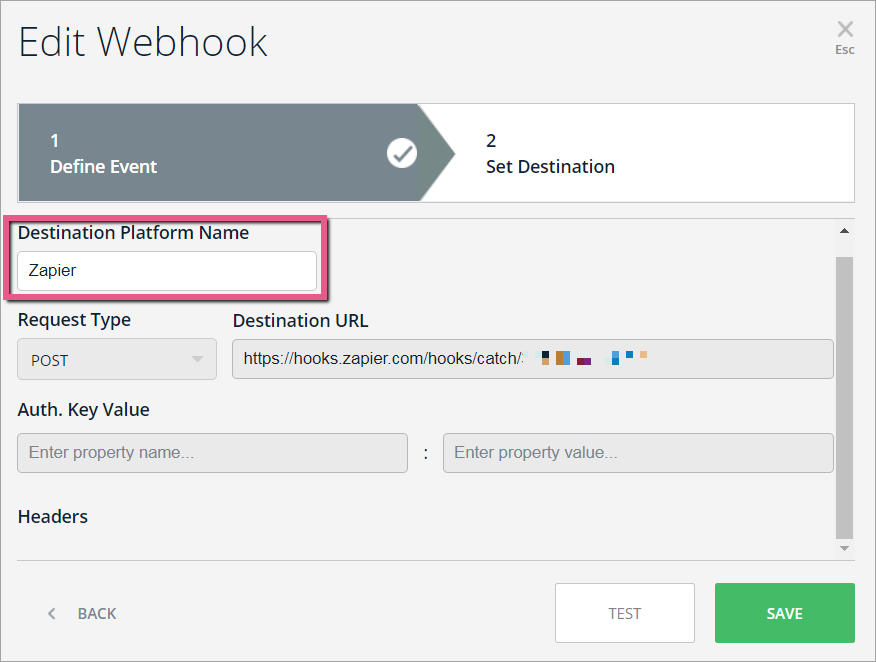
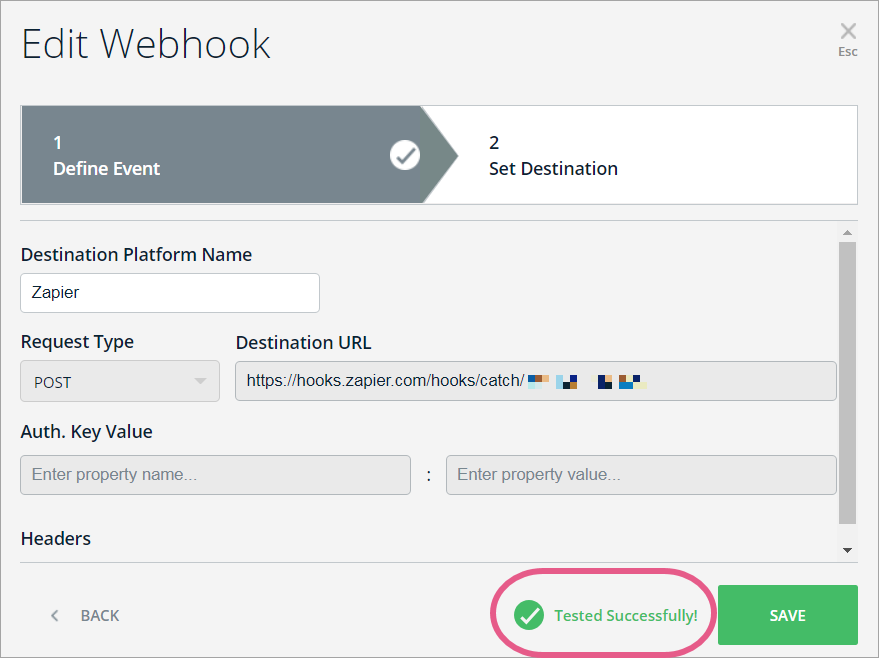
Wizard Step 2: Set destination
Steps
- Write in the Destination Platform Name. This name identifies the destination system (In this case Zapier):
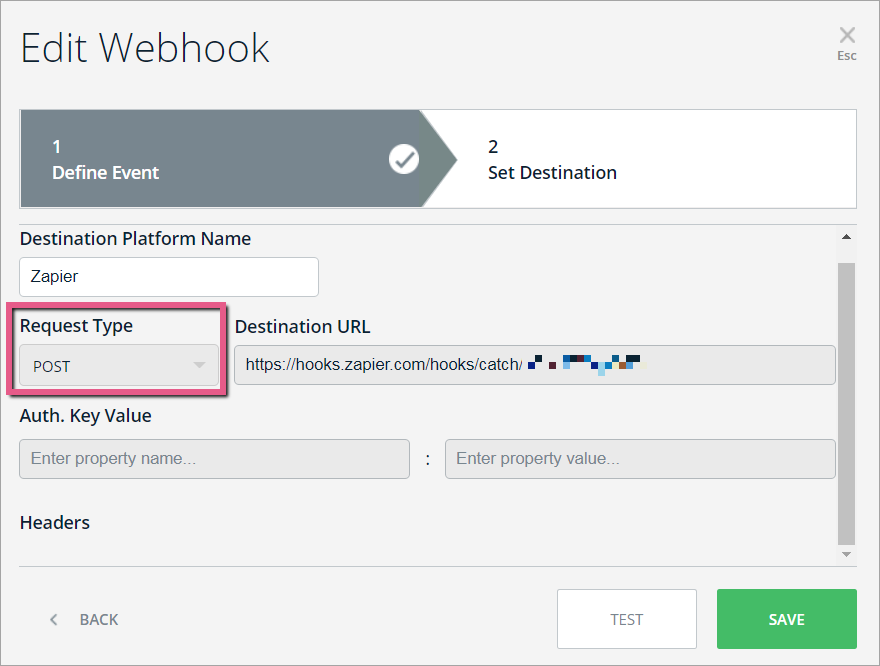
- Set Request Type to POST:
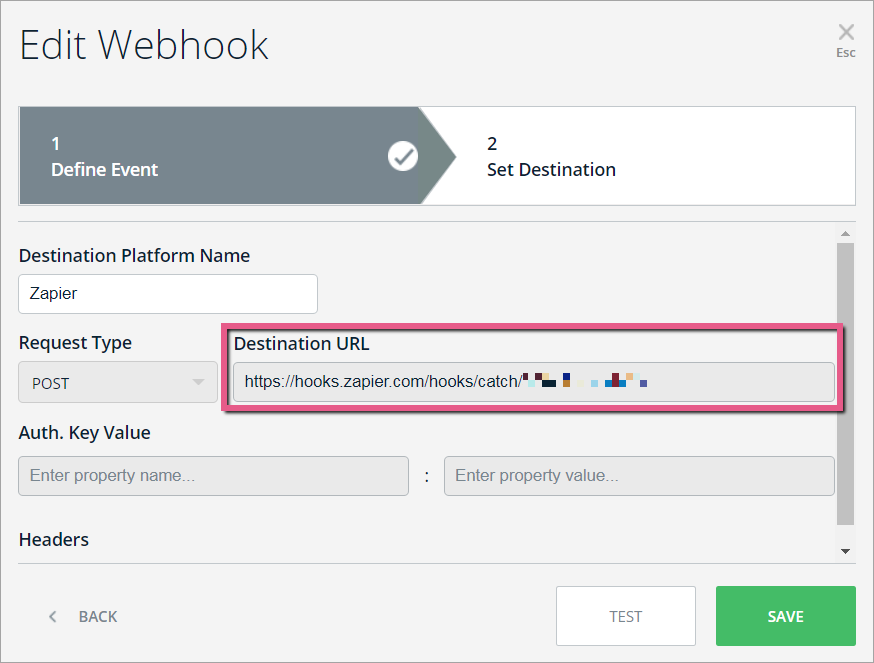
- Paste the Destination URL you copied in Step 5 above in the property field next to POST:
- Click TEST
- This will send the event that you defined in Wizard Step 1 to your destination platform to ensure that a connection successfully made.
- You should see the message: "Tested Successfully!":
 Pro-Tip: If you don't see the success message, check if all the mandatory properties are defined properly, per the instructions above.
Step 8: Return to the Zapier system and click Set up the step
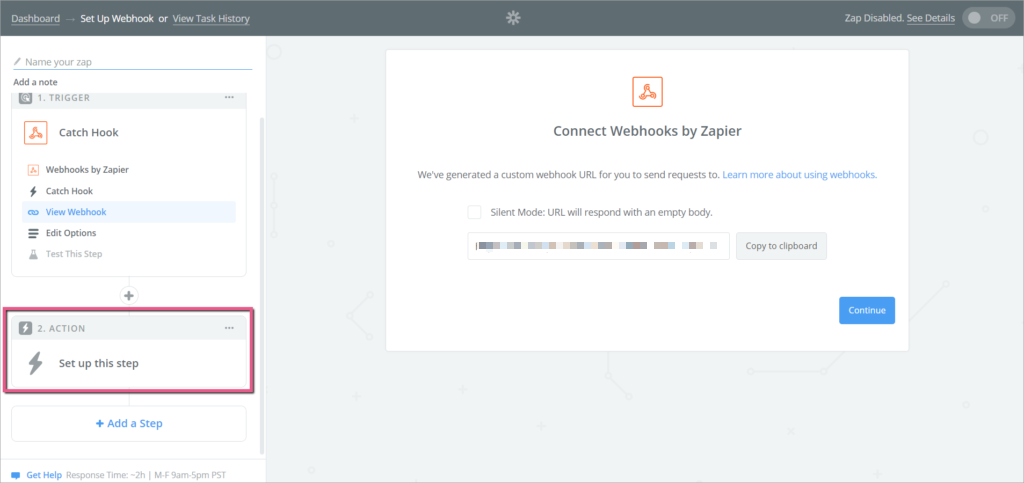
Step 9: Click Choose App

Step 10: Click the app you would like to connect via WebHook
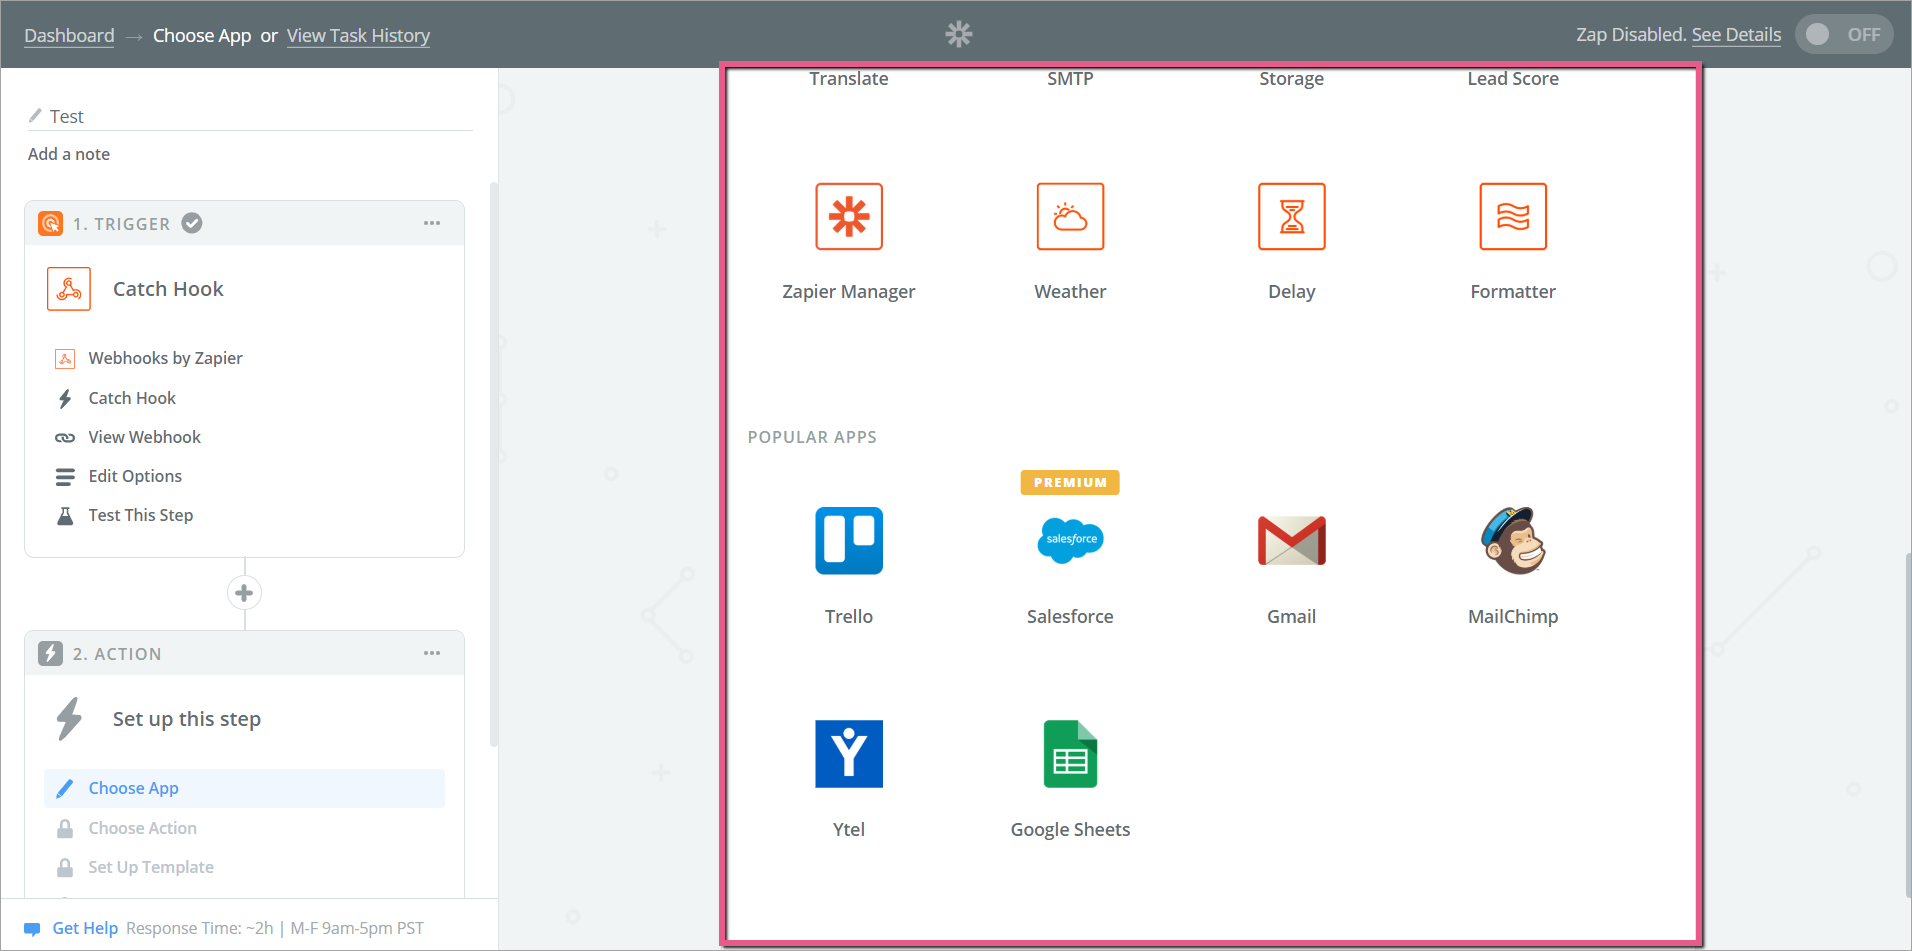
Step 11: Select Google Sheets as the system you want to connect

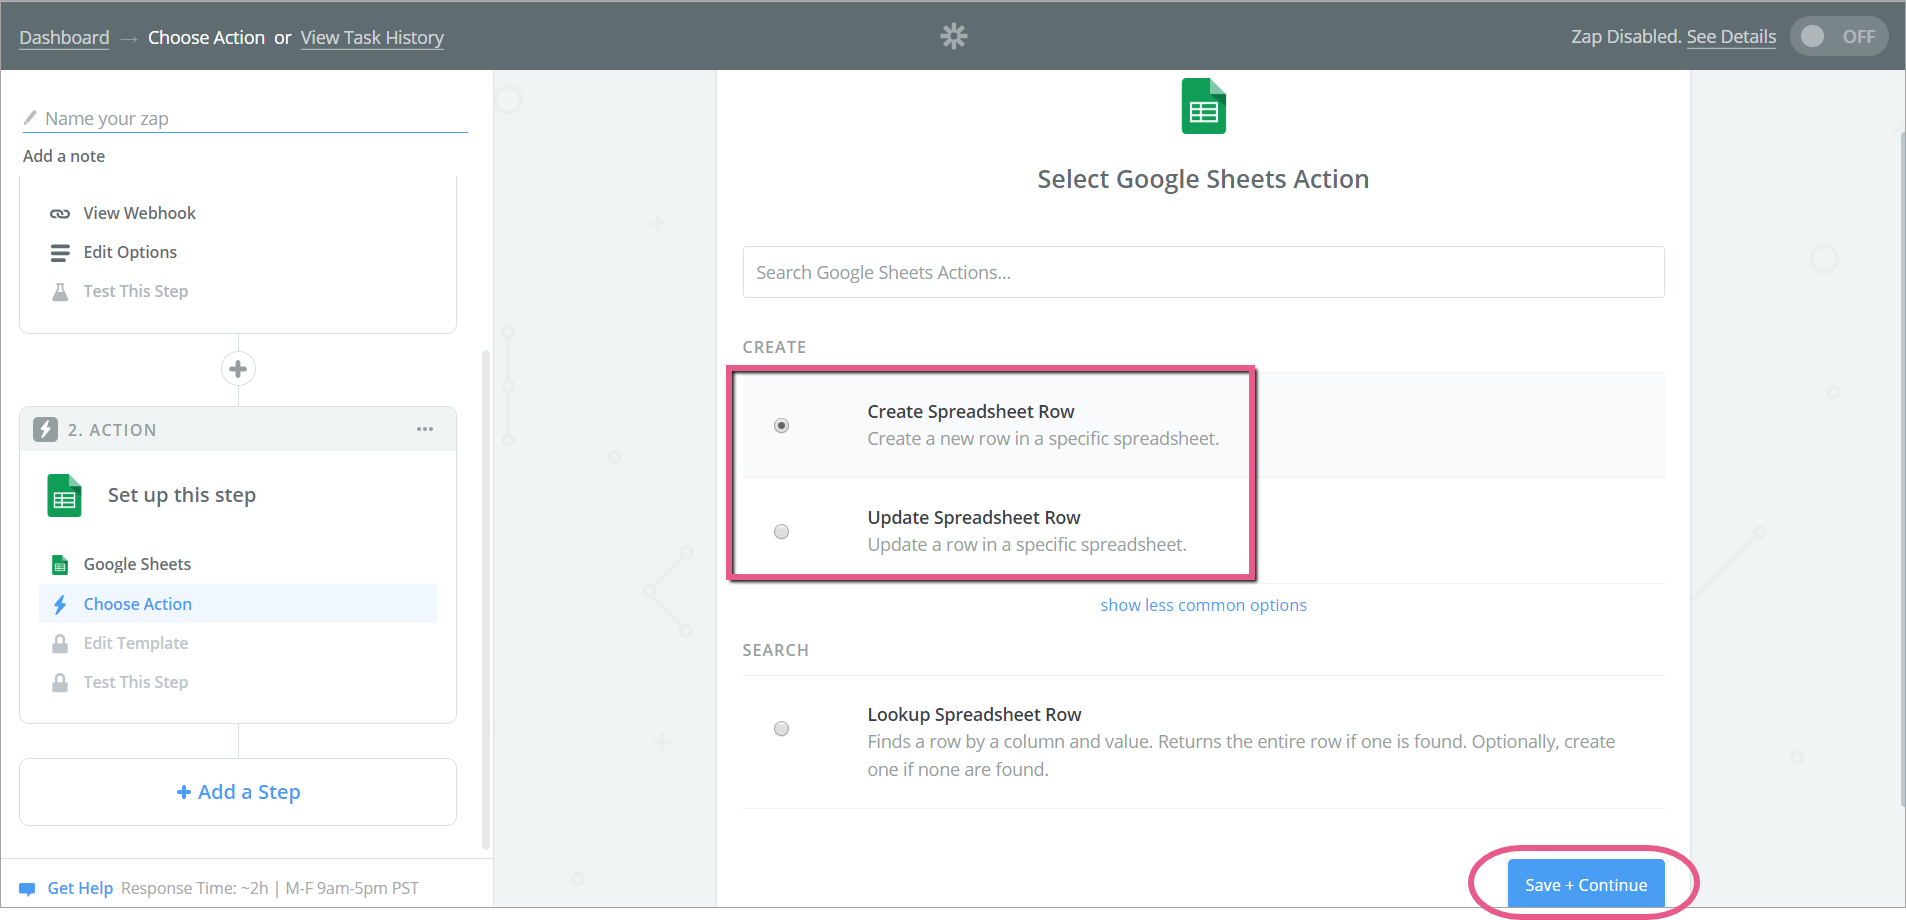
Step 12: Click the Create Spreadsheet Row radio button
Step 13: Click Save + Continue
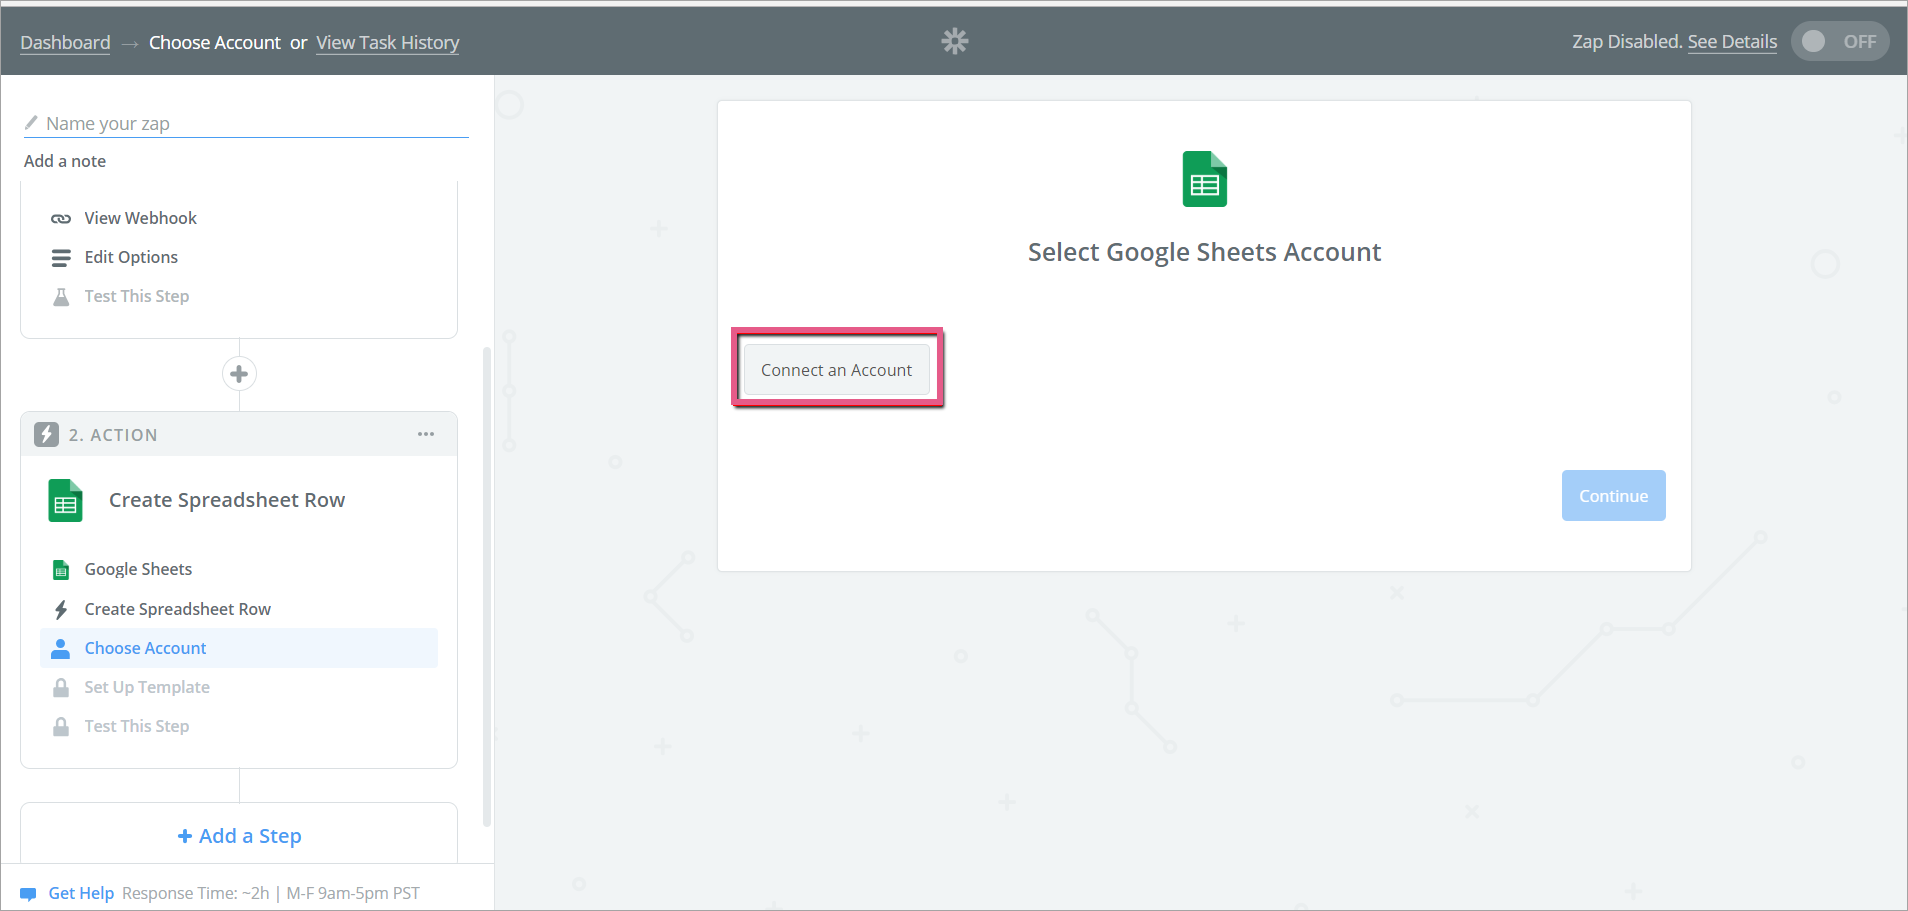
Step 14: Connect your Google account
- Or connect an account that contains the spreadsheet in which you want to create rows:
Step 15: Click Save + Continue again
Step 16: Select a Spreadsheet and Worksheet
- Select a spreadsheet from your Google account or create a new spreadsheet;
- Select a worksheet from the dropdown list;
- The list will show all of the available tabs of the spreadsheet.
- Make sure worksheet contains fields.

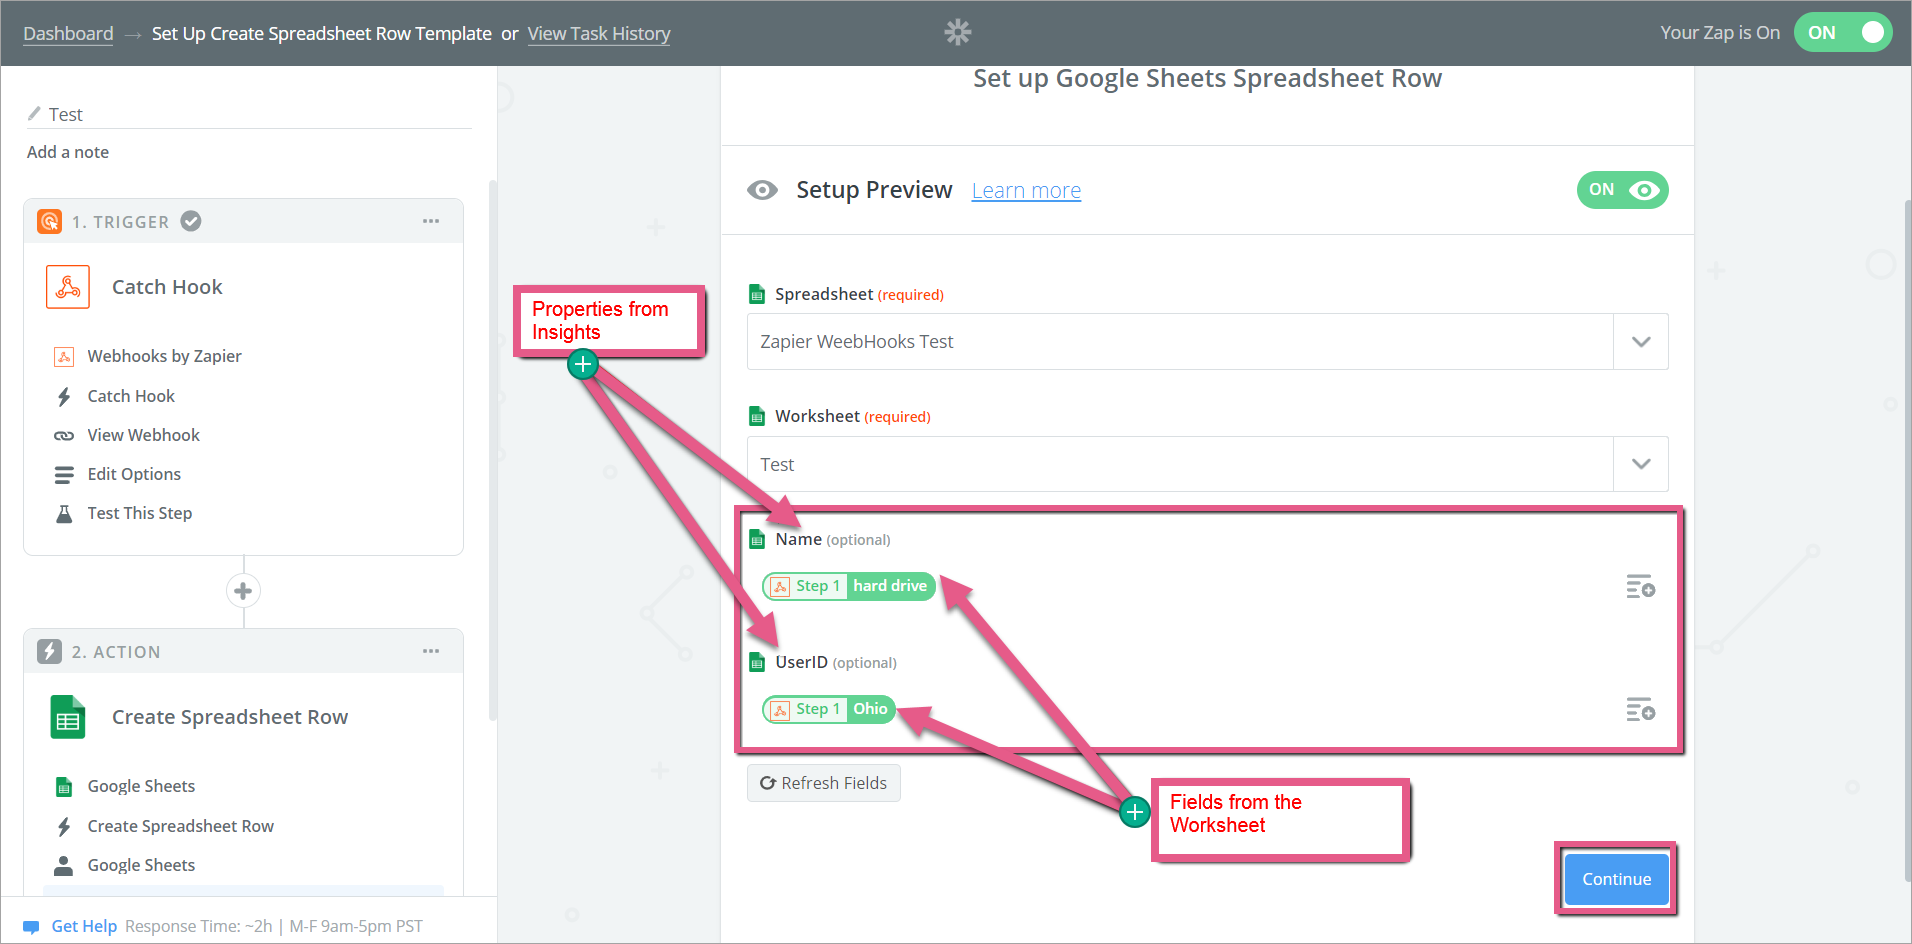
Step 17: Connect fields and click Continue
- Connect properties you have defined in Insights to the fields you created in the worksheet:
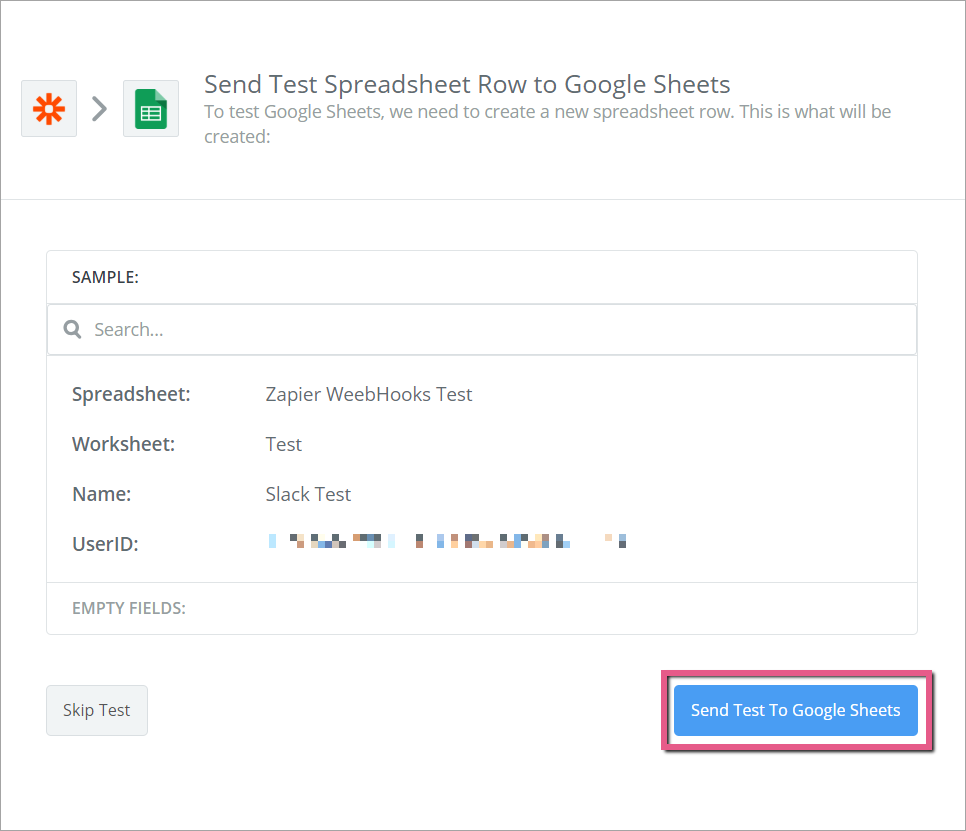
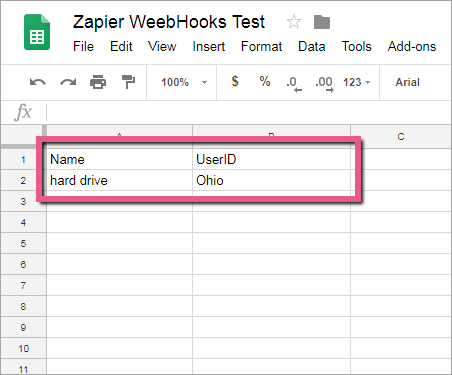
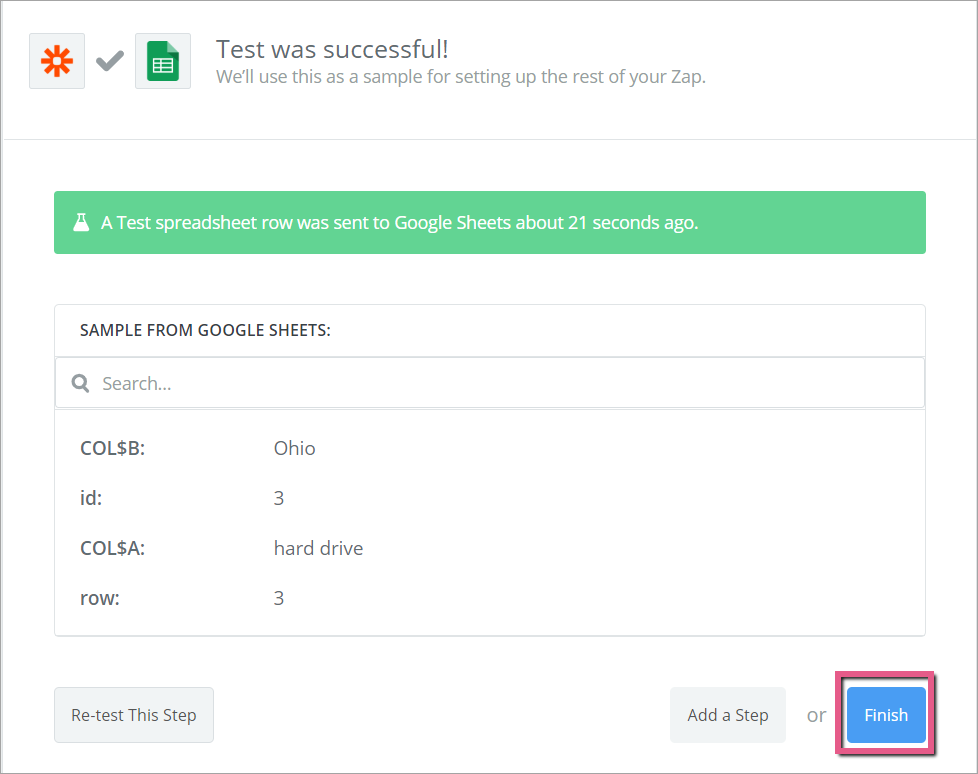
Step 18: Test the connection to the spreadsheet
- Click Send Test to Google Sheets and make sure you get the required result in the spreadsheet:
Step 19: Click Finish
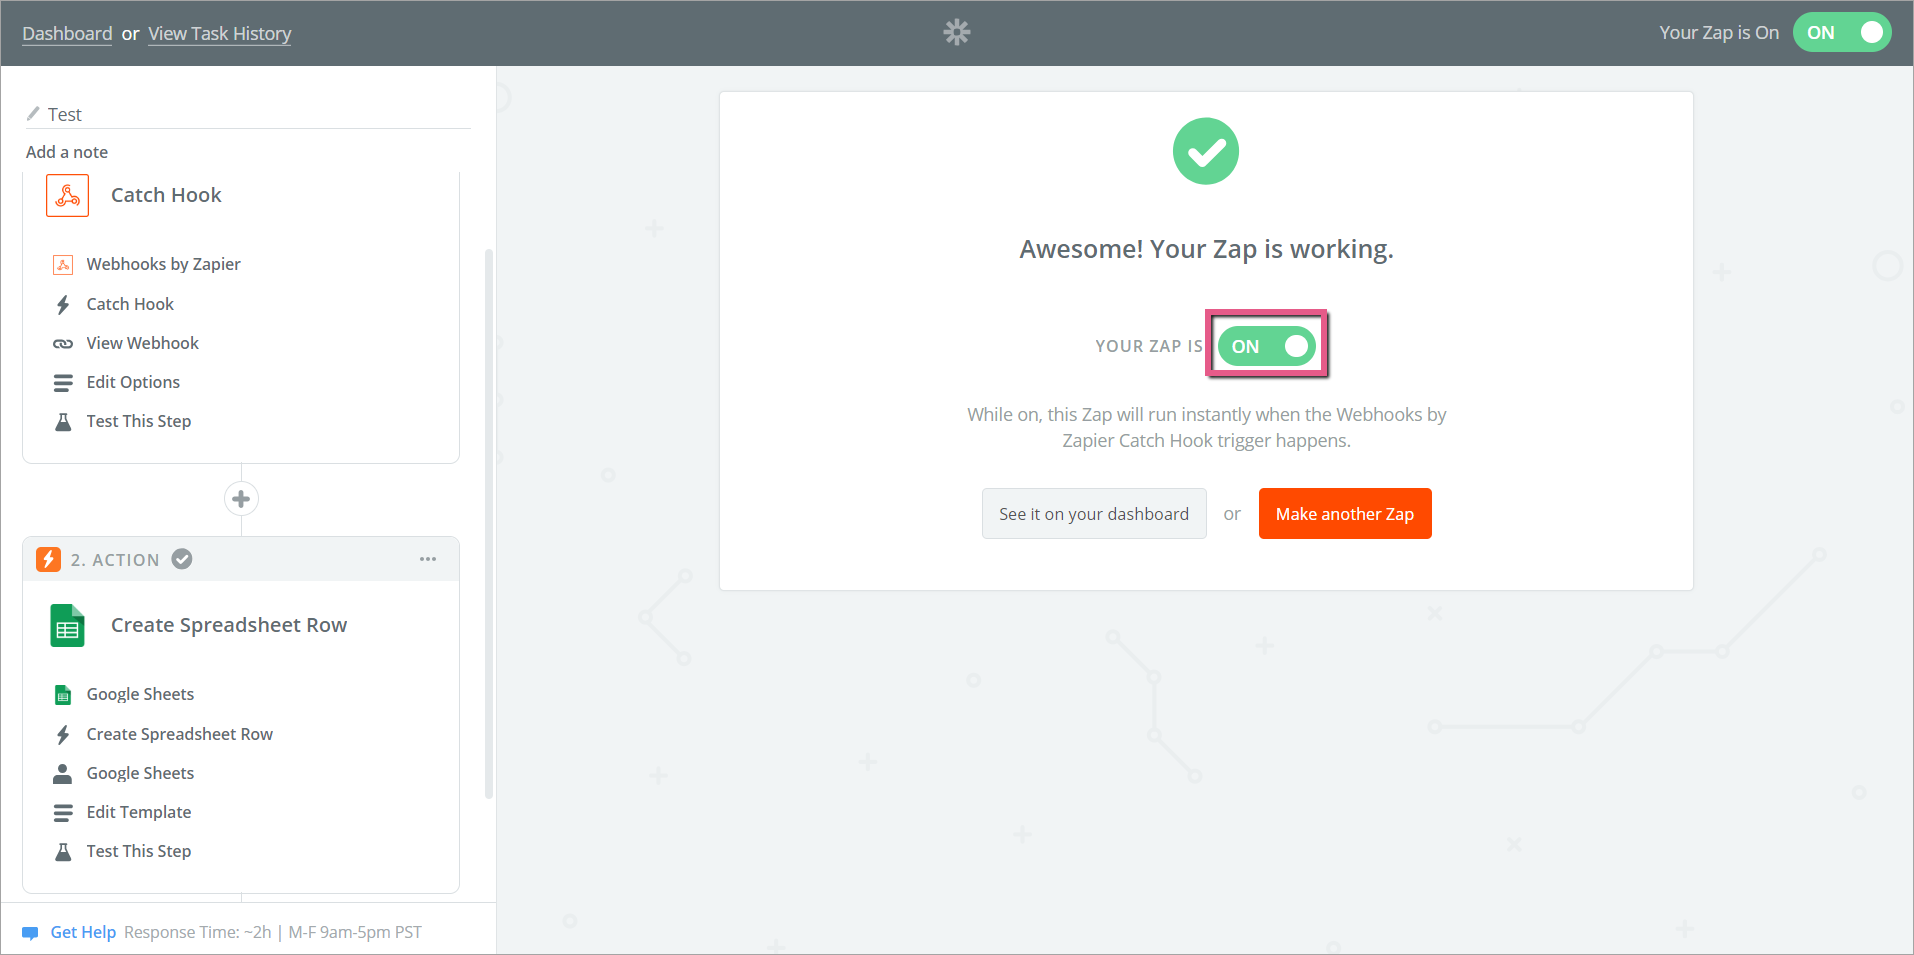
Step 20: Toggle your Zap ON
Was this article helpful?
Yes
No
Thanks for your feedback!