Welcome to the
WalkMe Help Center
Please log in to continue

Please log in to continue

WalkMe offers customer's a free in-editor Assets Library to upload, manage, and host the digital assets to be used across their WalkMe implementation.
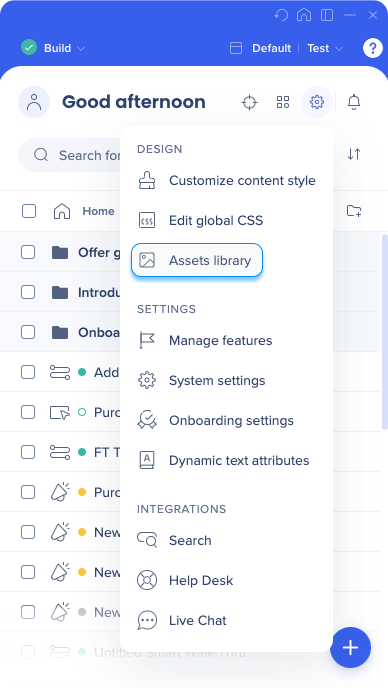
To upload a file, drag & drop it into the folder
You can drag & drop multiple items at once
Or click Upload Image
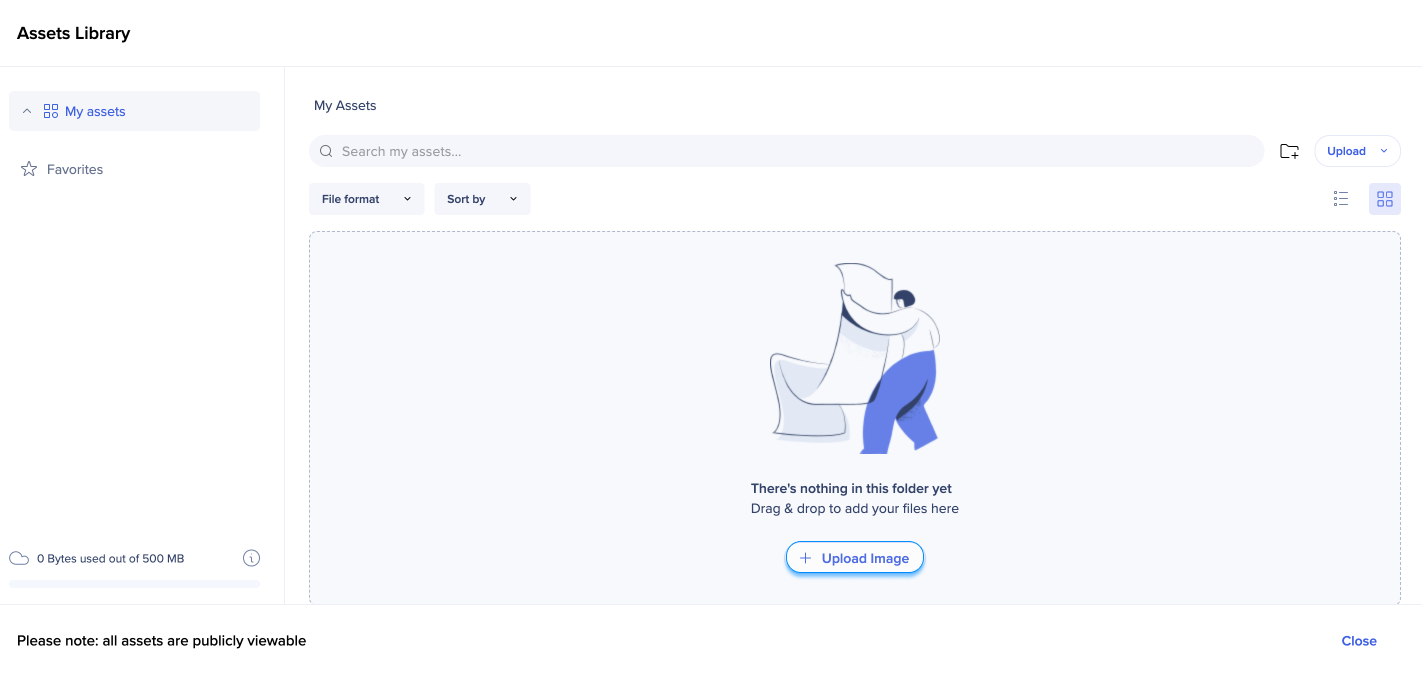
You can also click on the Upload button in the upper right corner and select from
Upload from computer
Upload by URL
Upload by URL is a new capability which allows to add a file from an external source
Files uploaded by URL won't take space in your asset library
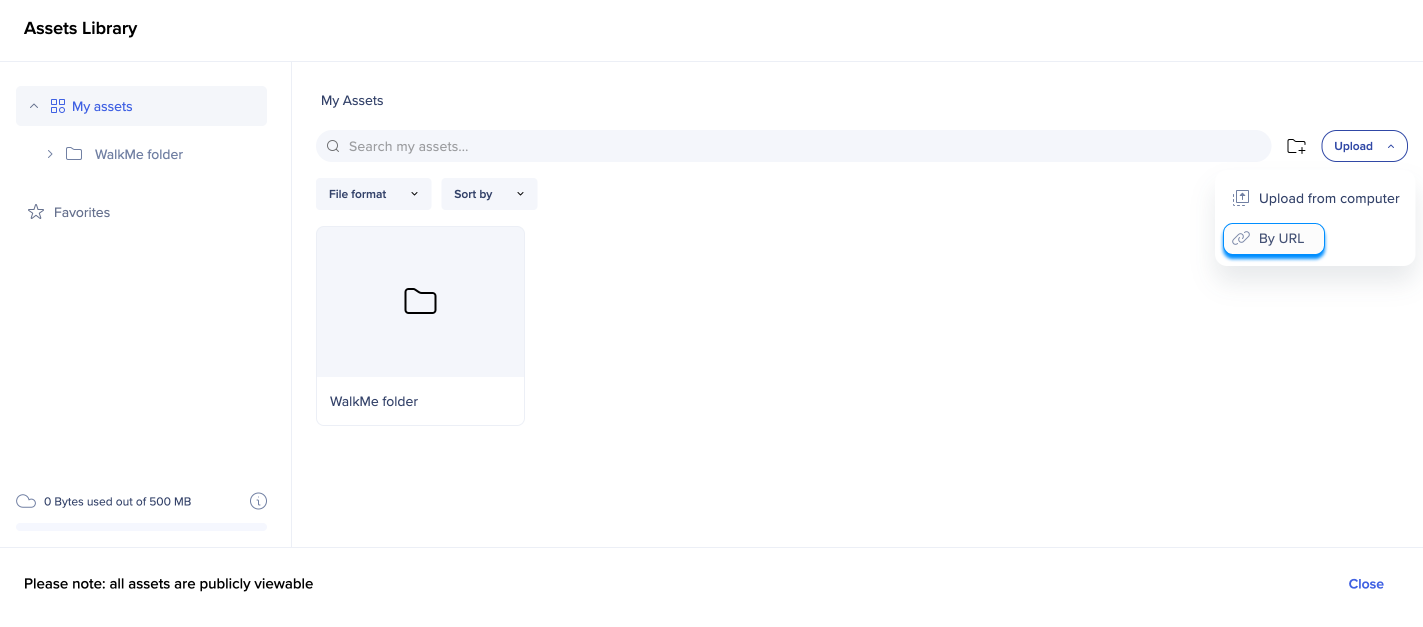
In the lower left corner you can see the amount of space you have left in your asset library
If you hover over the tooltip, you'll see the total number of assets you have uploaded to your library
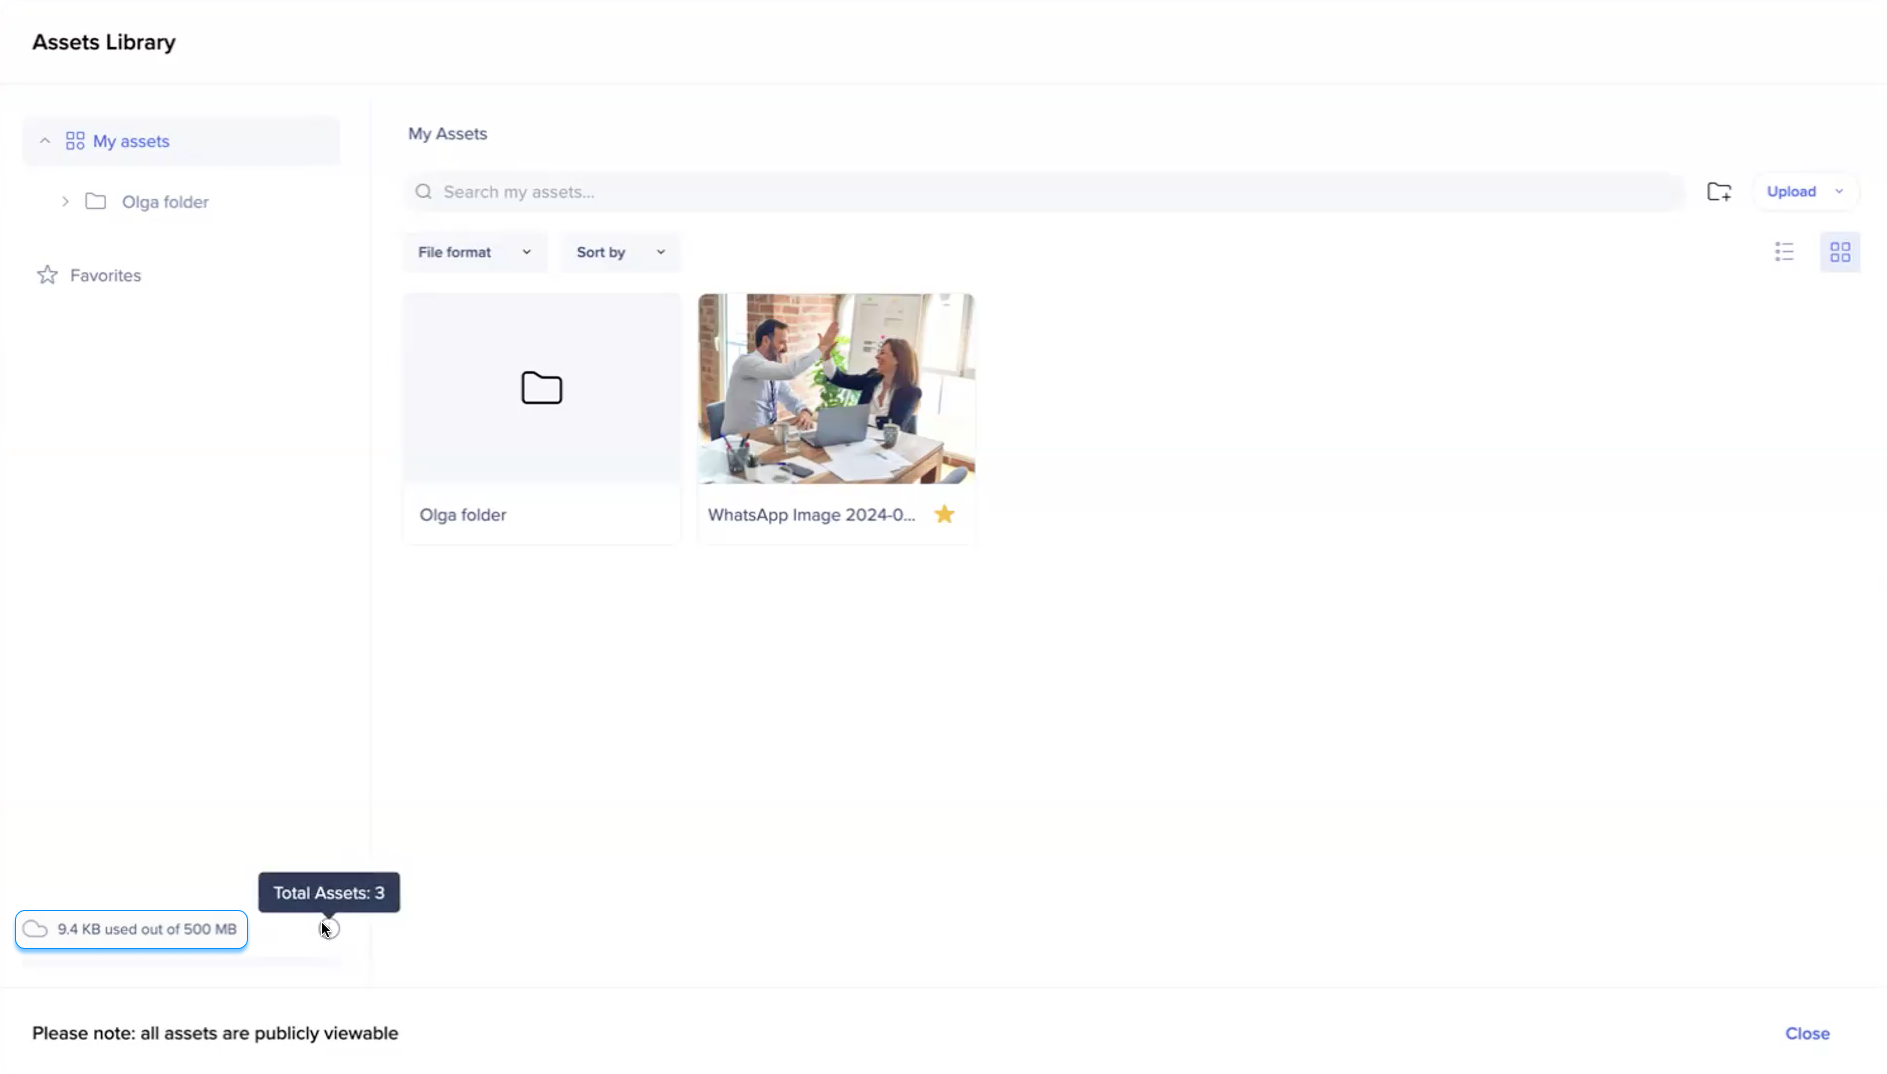
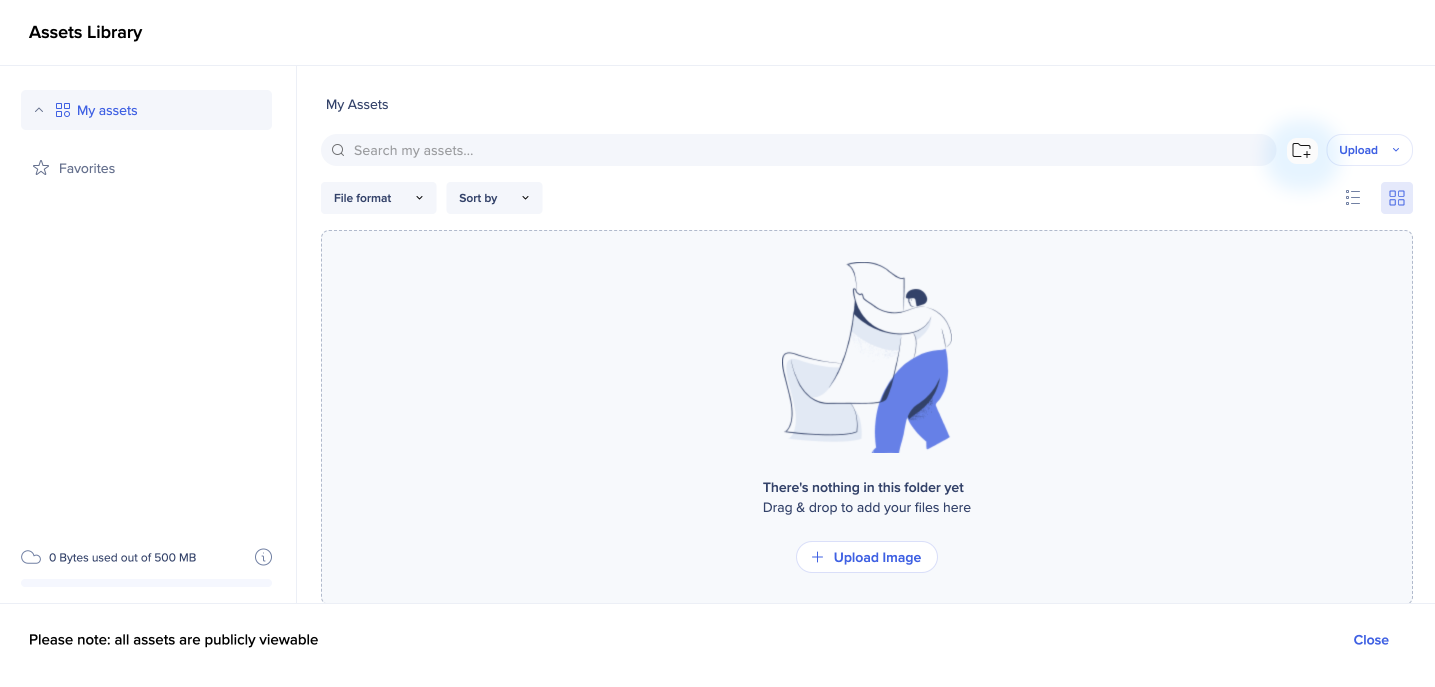
You can now organize your library content in folders
To create a folder, click on the folder+ icon in the upper right corner
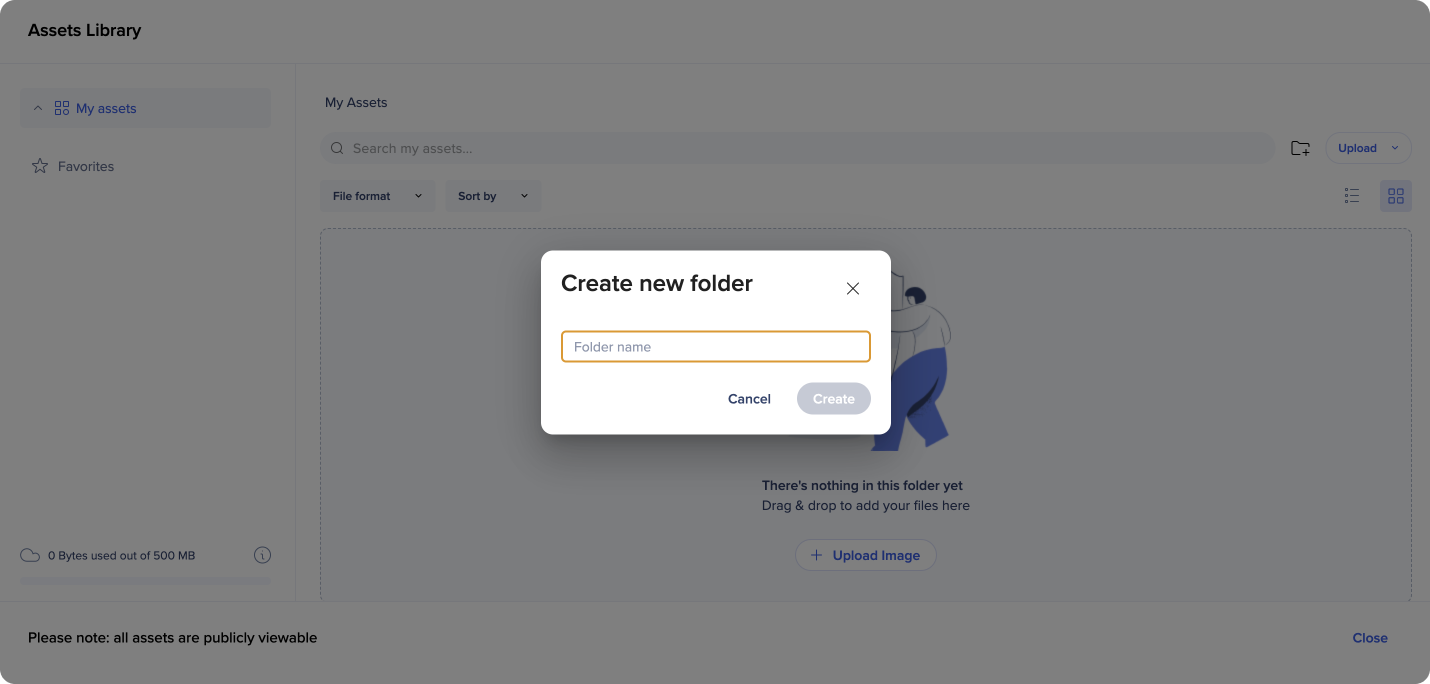
Name your folder and click Create
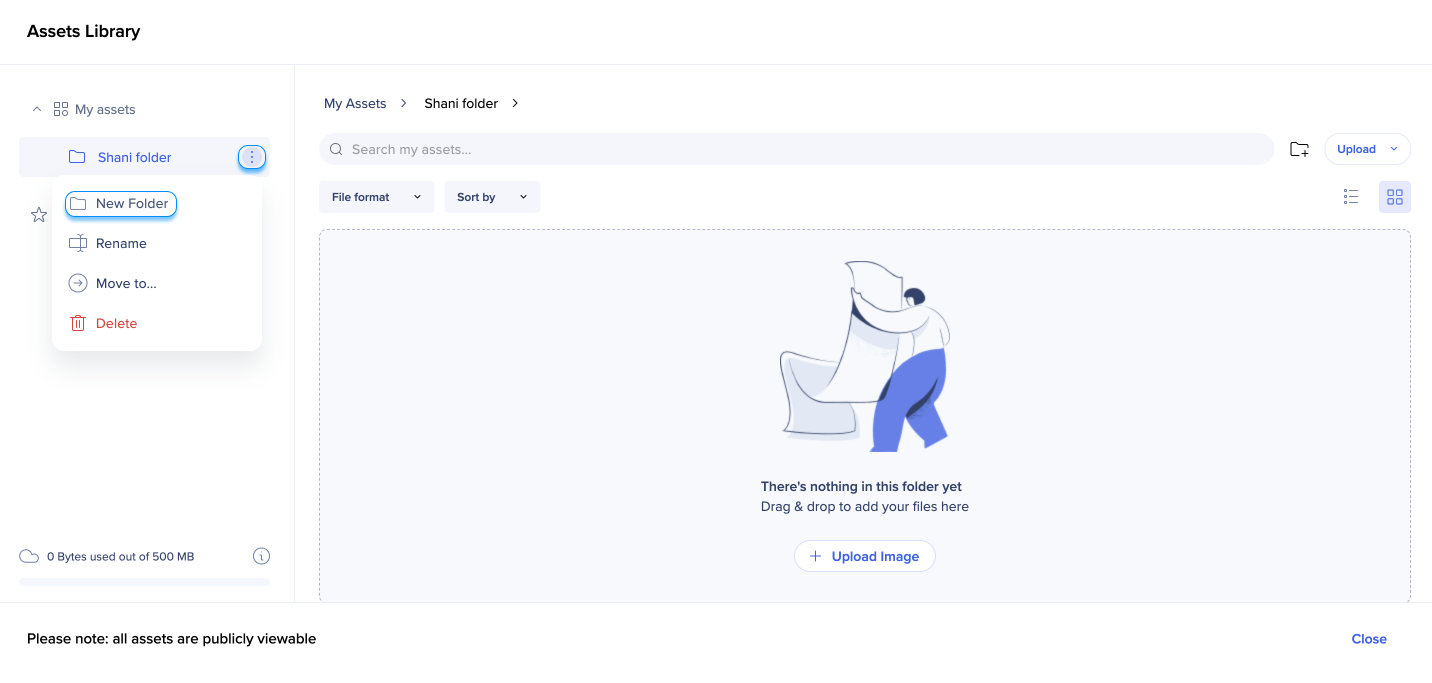
You can also create subfolders inside your folders
To create a subfolder, click on the 3 dots menu next to the folder name
Select New Folder
To rename a folder, simply click on its title
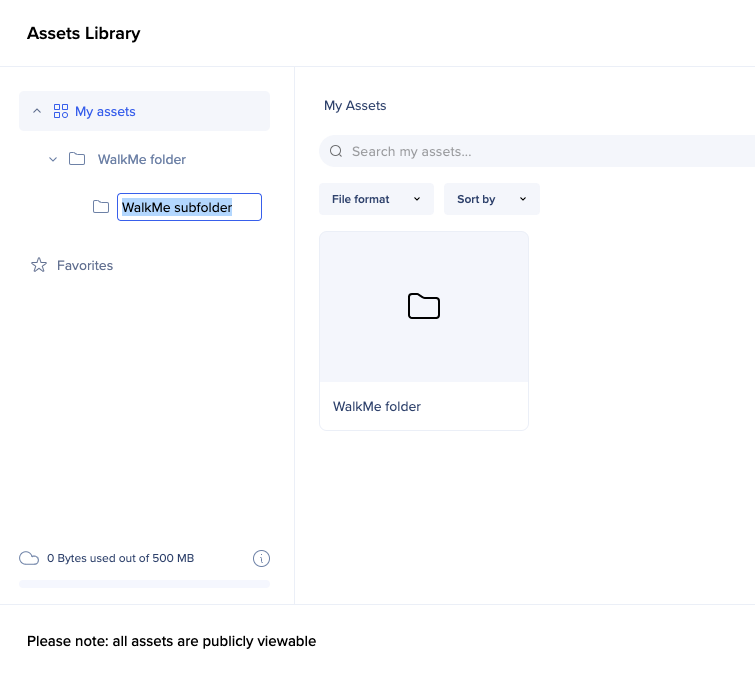
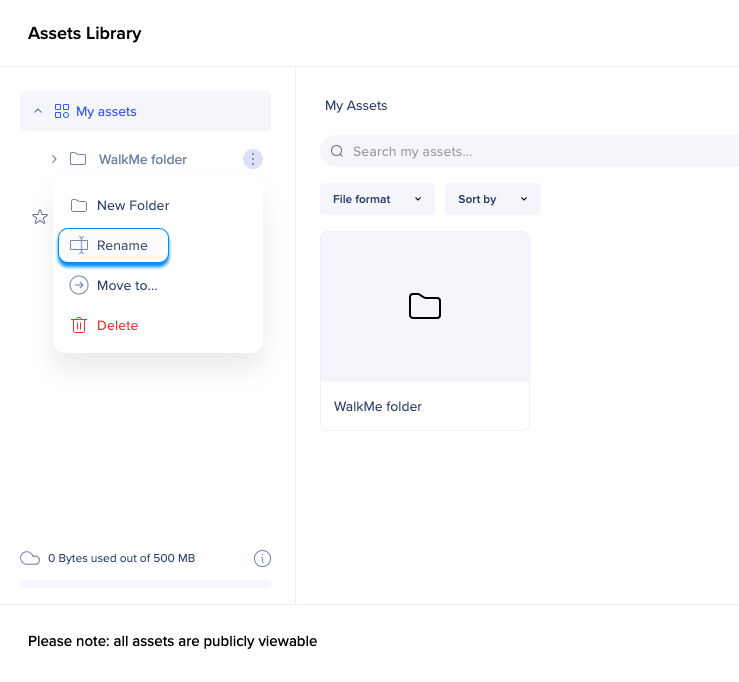
Or click on the 3 dots menu and select Rename
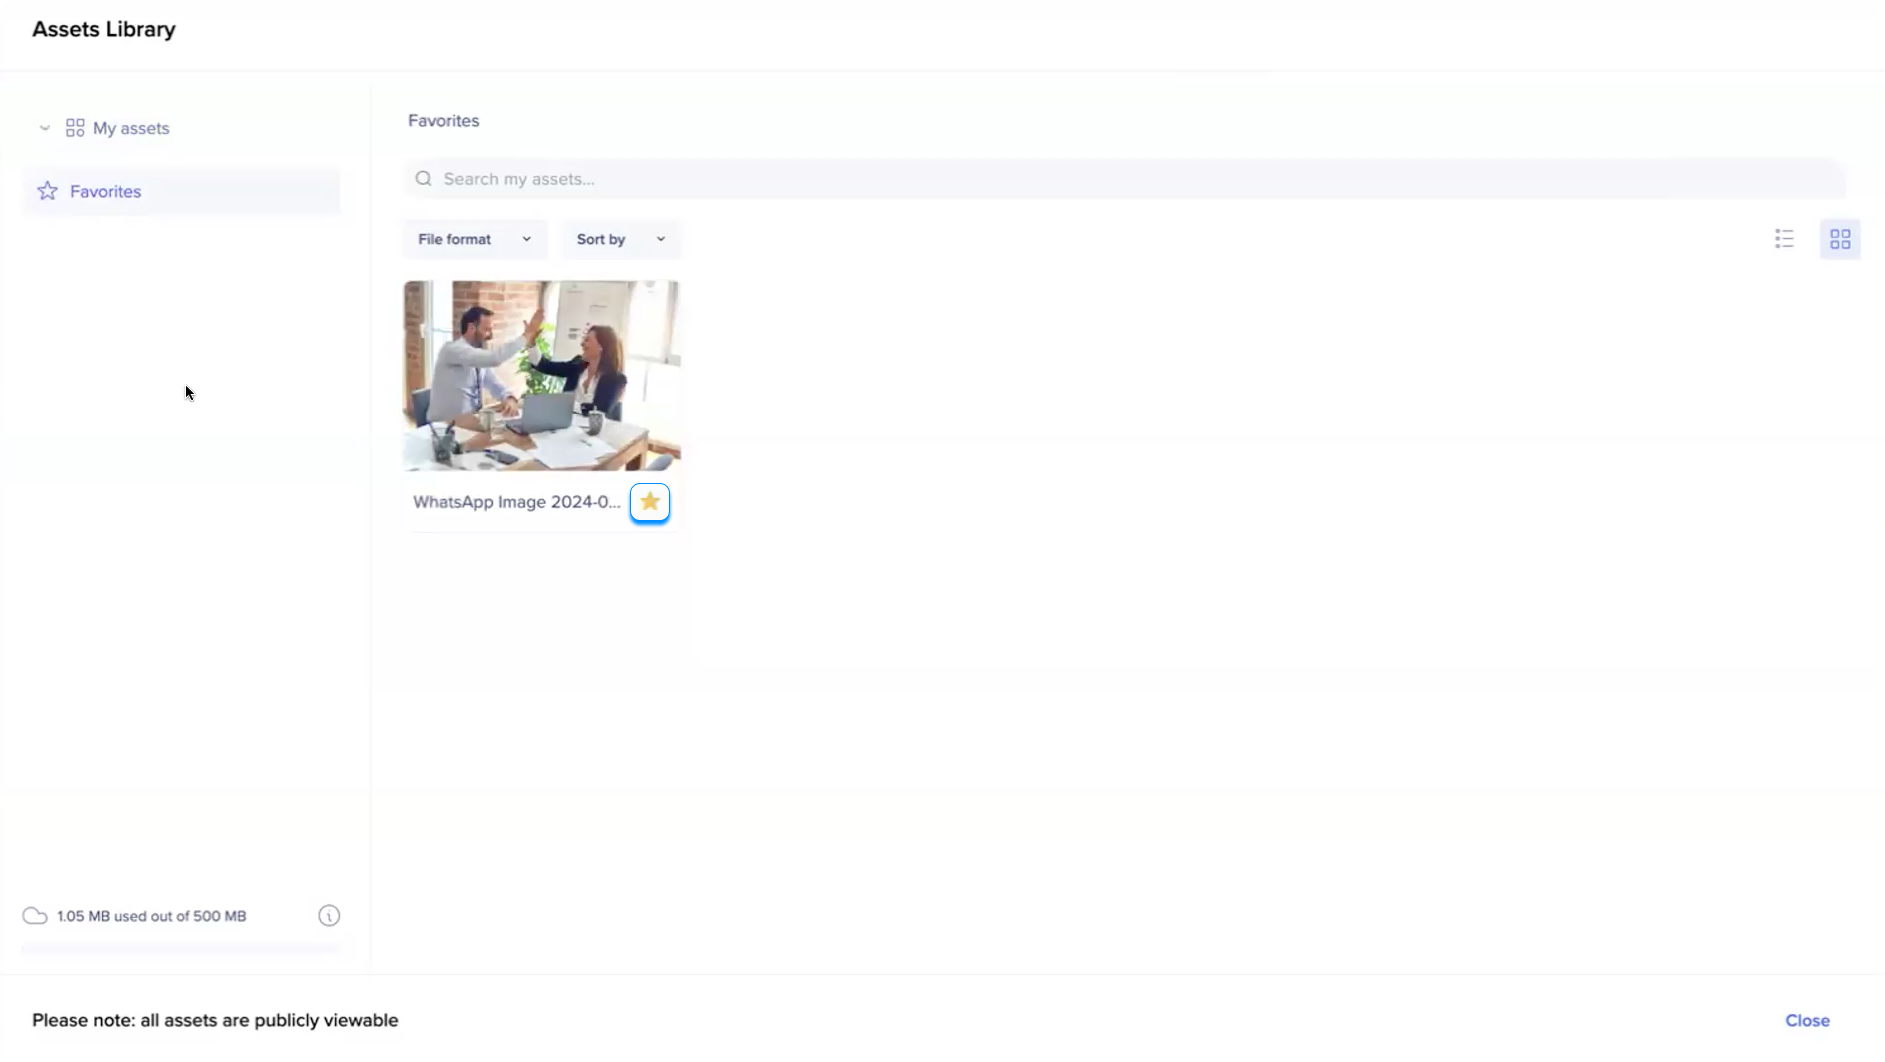
You can mark your images as favorite by clicking on the star icon below them
The images marked as favorites will be displayed in the dedicated folder (on the individual user level)
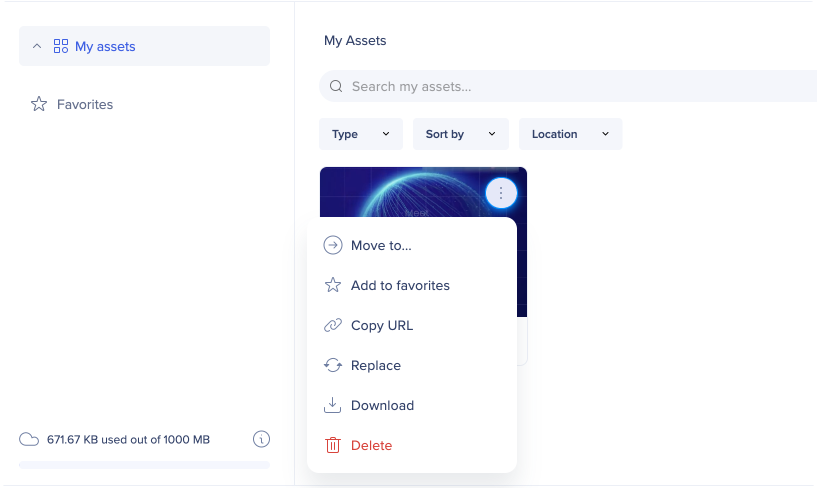
Click on the Options menu of an image to see the actions you can perform:
Move to
Add to favorites
Copy URL
Replace
Download
Delete
Replace action will update the file everywhere it's used in WalkMe, and the new file will have the same name as the old one
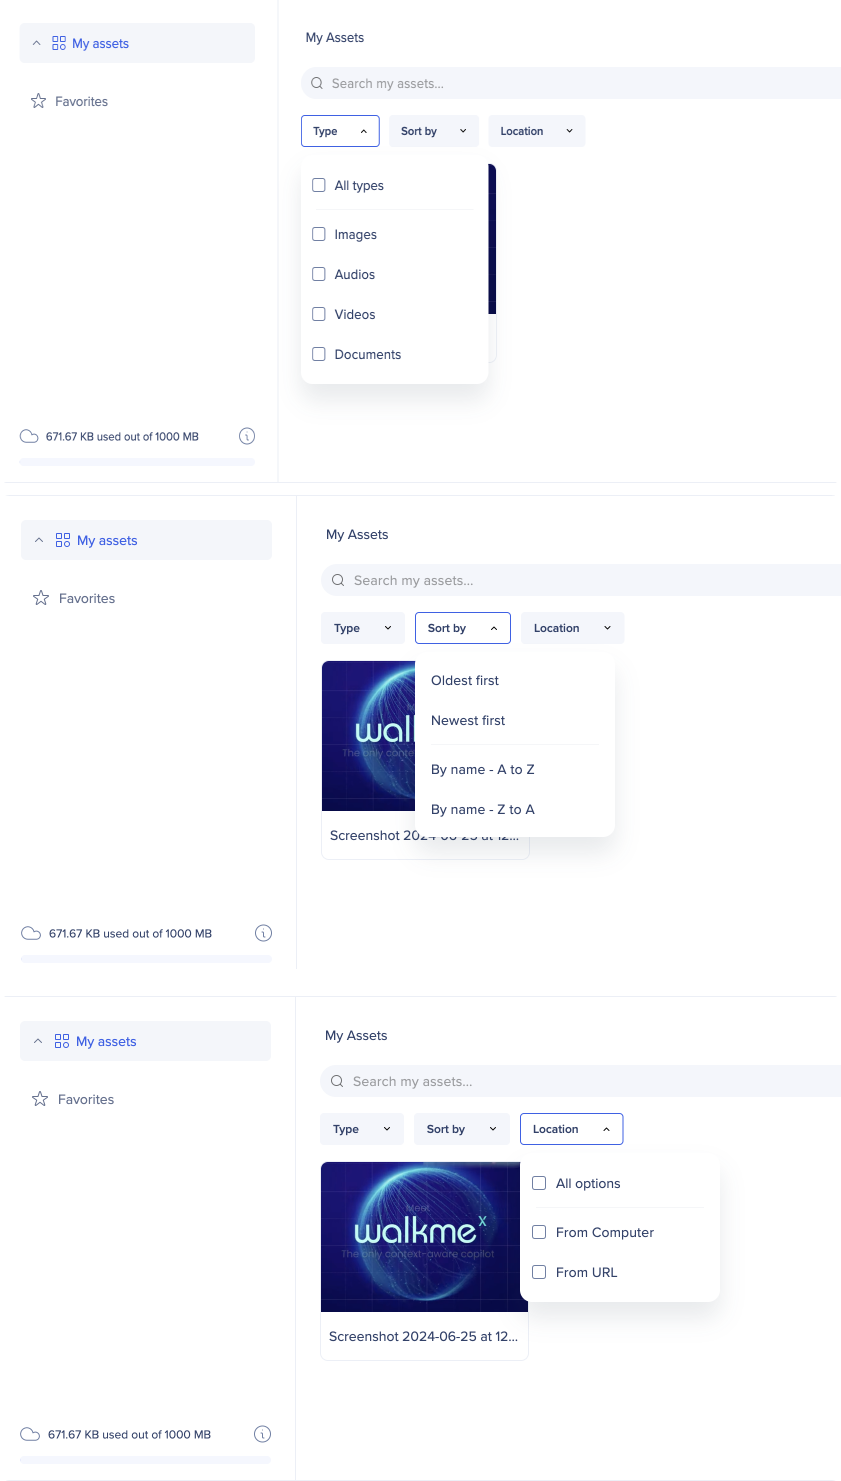
You can filter your assets by:
Type
Location
You can sort all your assets by
Oldest first
Newest first
Alphabetical order
Reverse alphabetical order
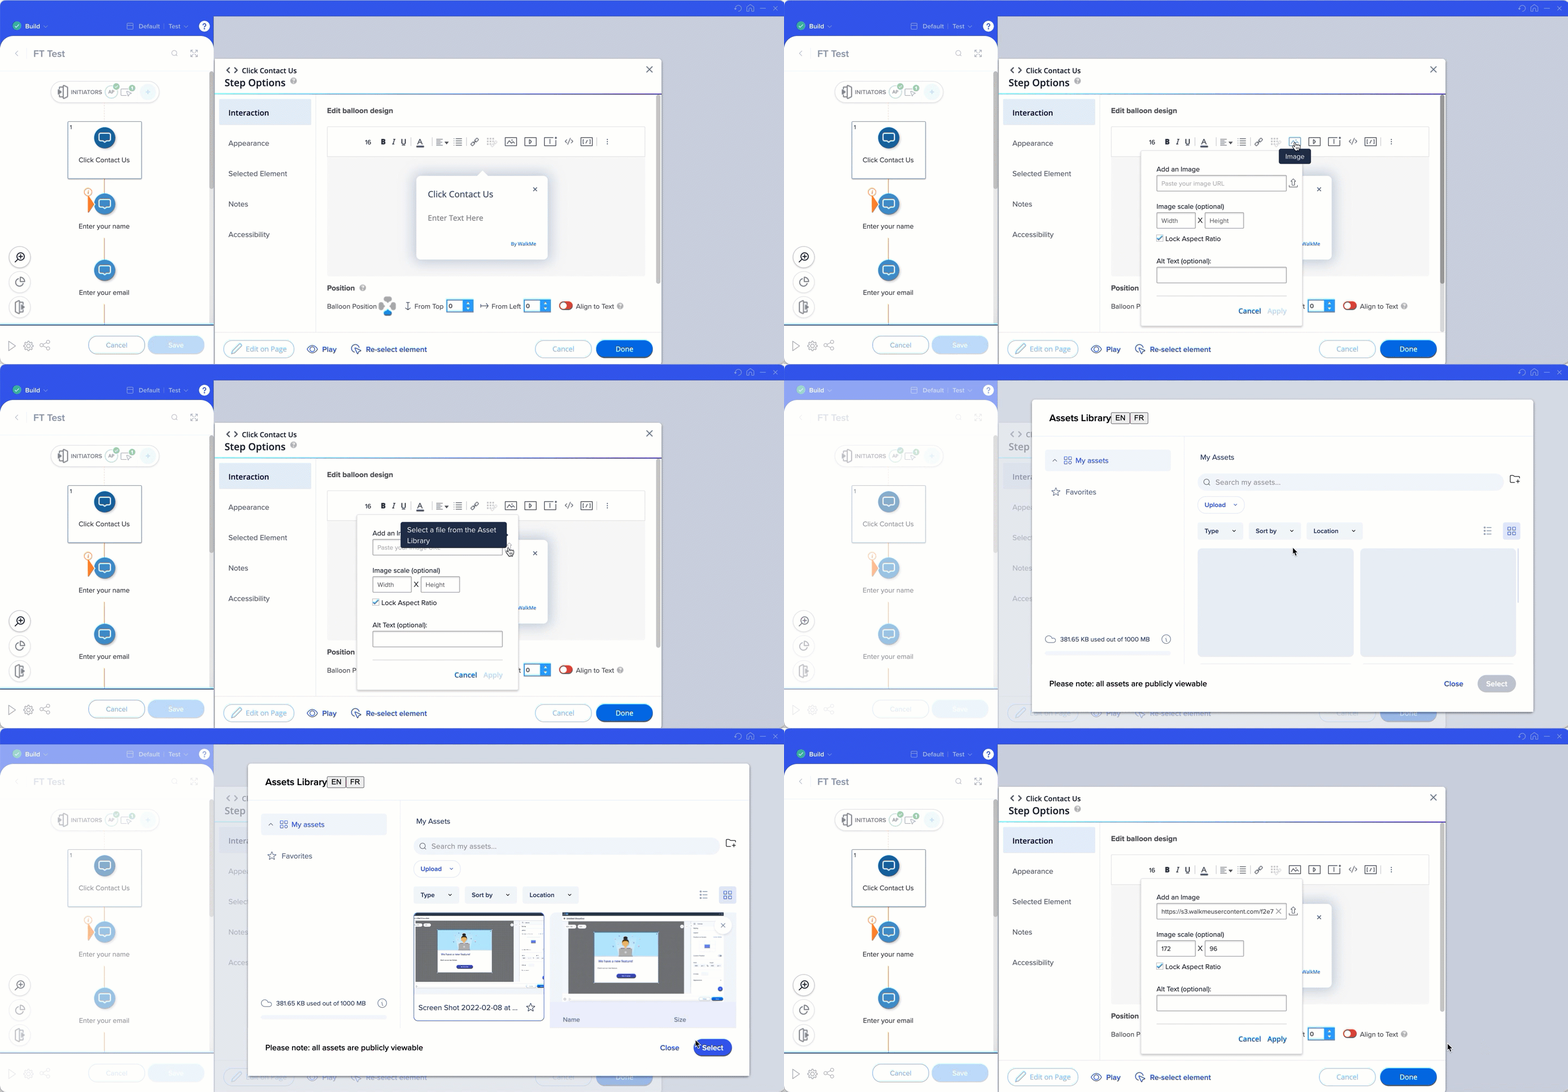
It is also possible to access the Assets Library and use uploaded files directly from Smart Walk-Thru steps and popup steps
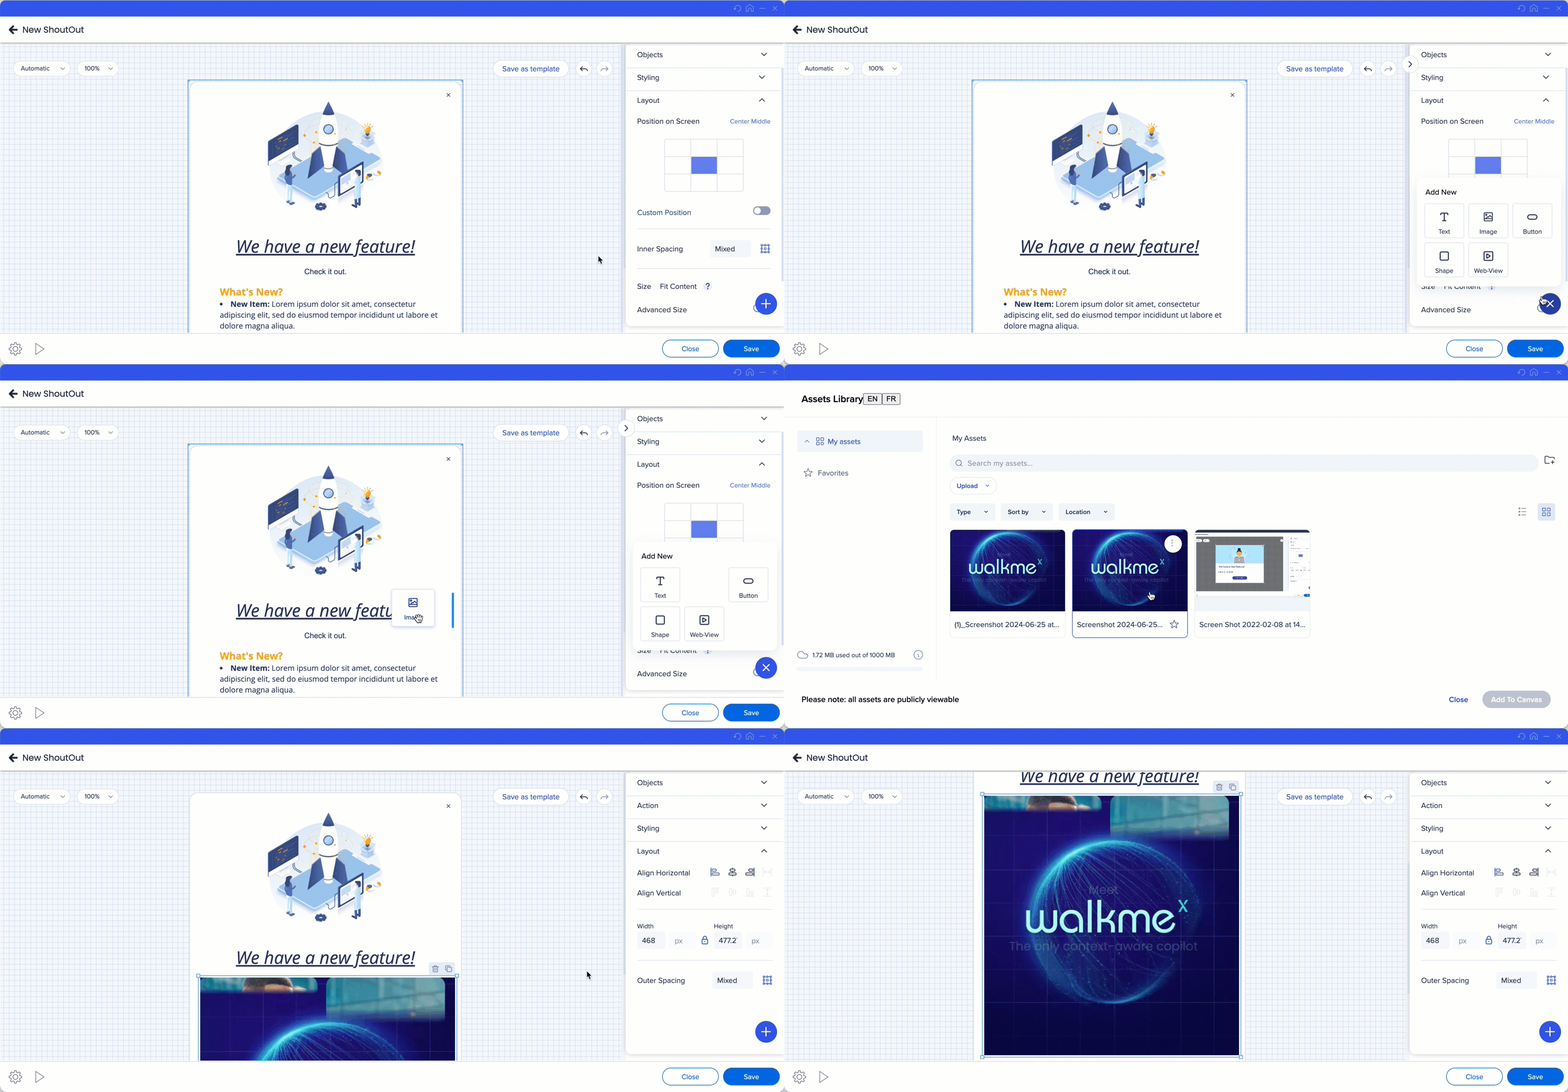
Assets Library can also be accessed from a ShoutOut in the Visual Designer:
Open a ShoutOut
Click Add+ button
Select Image, and drag&drop it to the canvas
Assets Library will open
Select an image and click Add to Canvas
Supported file types
Image: .JPG, .JPEG, .PNG, .GIF, .TIFF, .SVG
Videos: .mp4, .WebM
Documents: .DOCX, .PPTX
Audio: .mp3
Portable Document Format: .PDF
Supported languages:
Unsupported file types
.DOC
.PPT
.xlsx
Known limitations
Unavailable to "Limited Users"
Unavailable in the Self hosted package
Naming convention:
Following special characters are not supported - \:*?>'"<>|+@
Max file size per type: 25MB
Max total file size: 100MB
When you replace a file with a new one, the old file is kept in cache for a few hours. If you want to see the change reflected right away, clear cache and cookies.