Brief Overview
The Smart Highlights Console is where admins connect data sources and set up how highlights appear to users. Connect one or more data sources, choose which entities appear and where, customize the highlight cards (coming soon), and publish — all from the console.
Access
To access got to the WalkMe Console, select the Content category, then select the Smart Highlight page.
Smart Highlights Page Overview
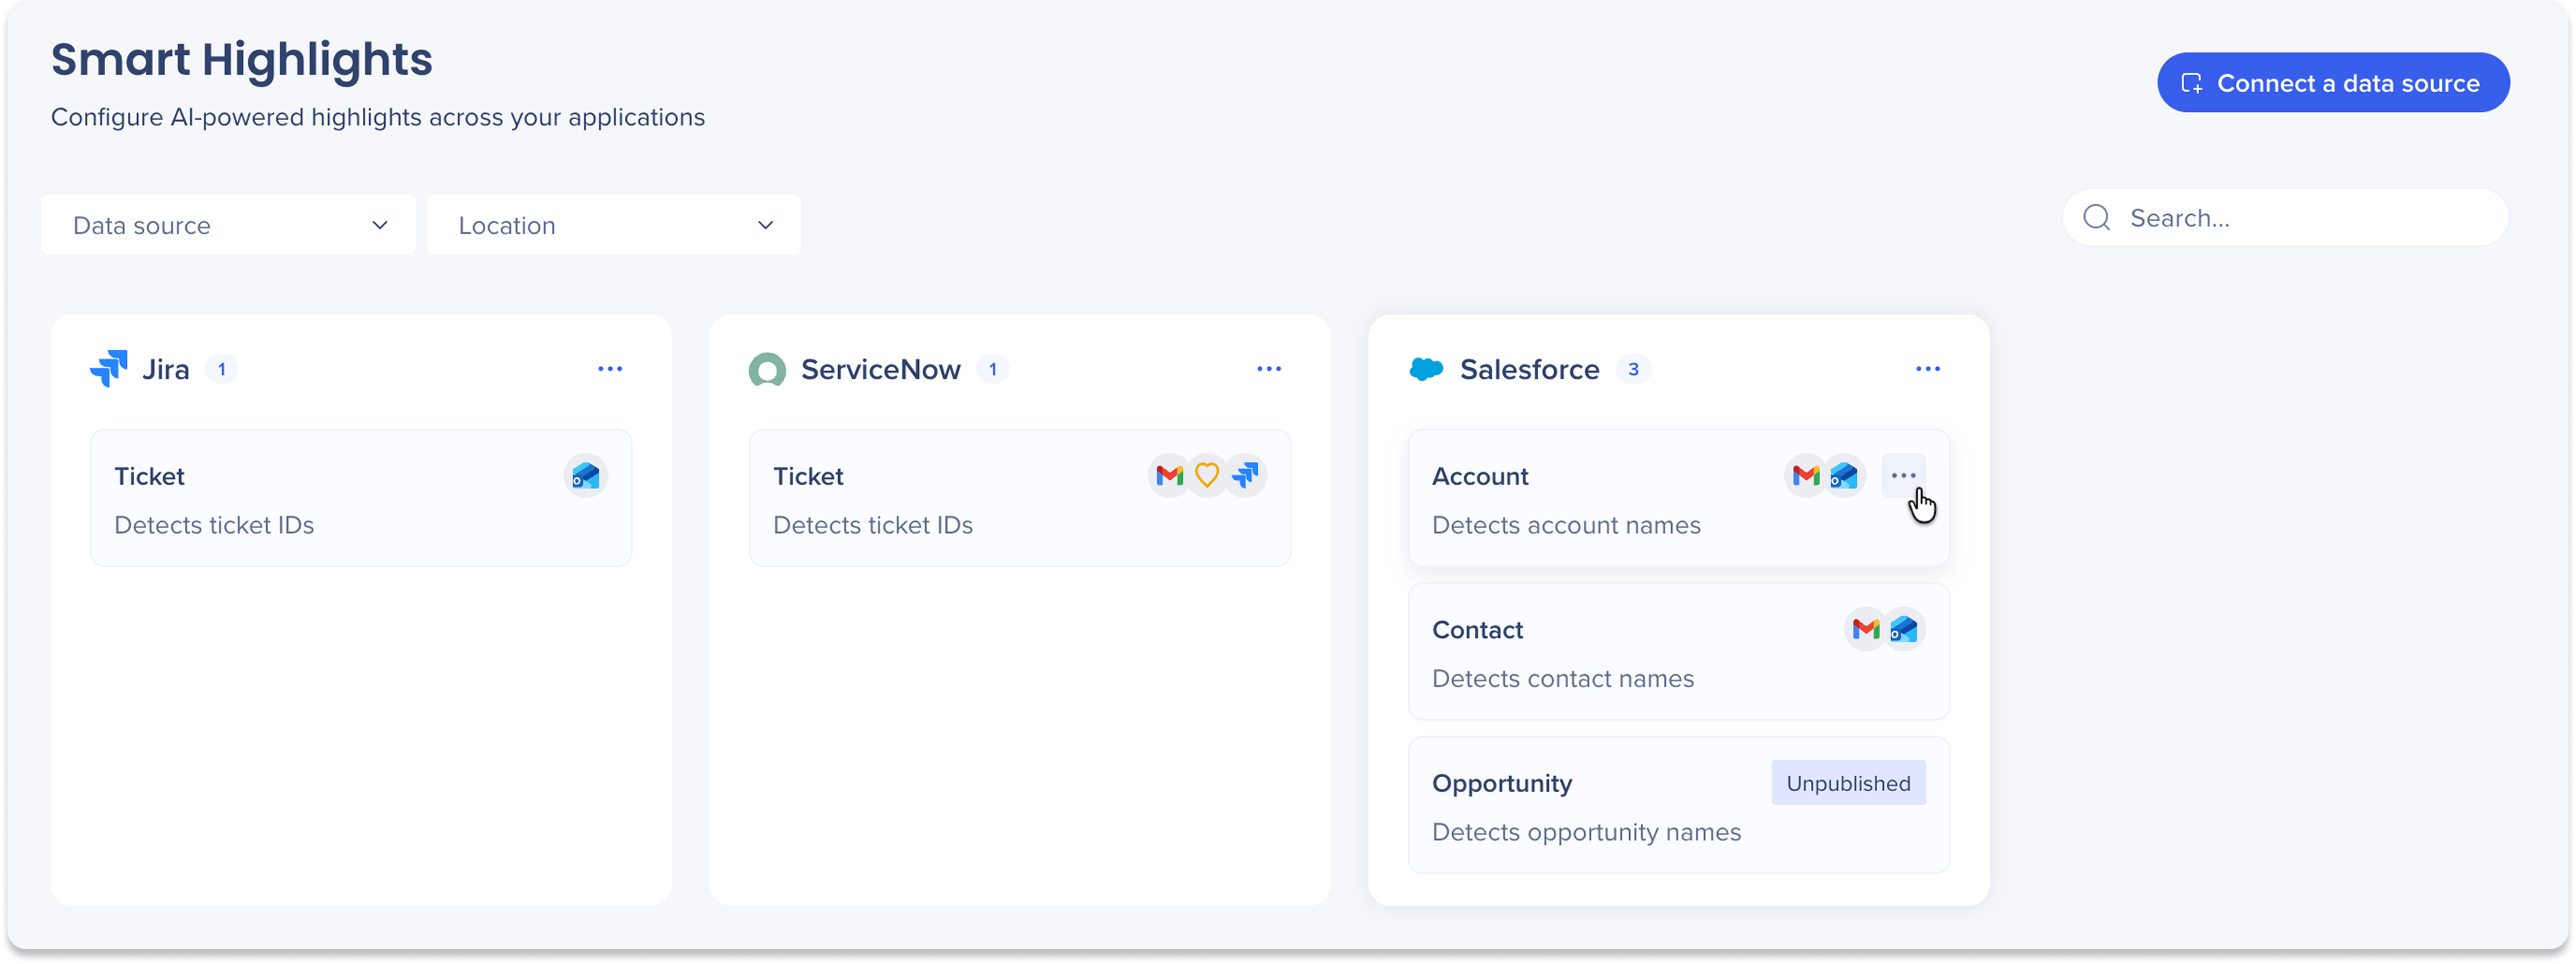
The Smart Highlights page in the console is organized around your connected data sources. Once you have at least one data source connection set up, each connected source application appears as its own section, showing all the entities available for that source and the display locations each one is active on.
Entity cards
Once a data source is connected, its entities appear as cards grouped under the data source name. Each card shows:
-
The entity name and what it detects (For example, Account: detects account names)
-
The display systems it is currently active on shown as app icons
-
An Unpublished status if the entity has not been activated on any location yet
Manage data source
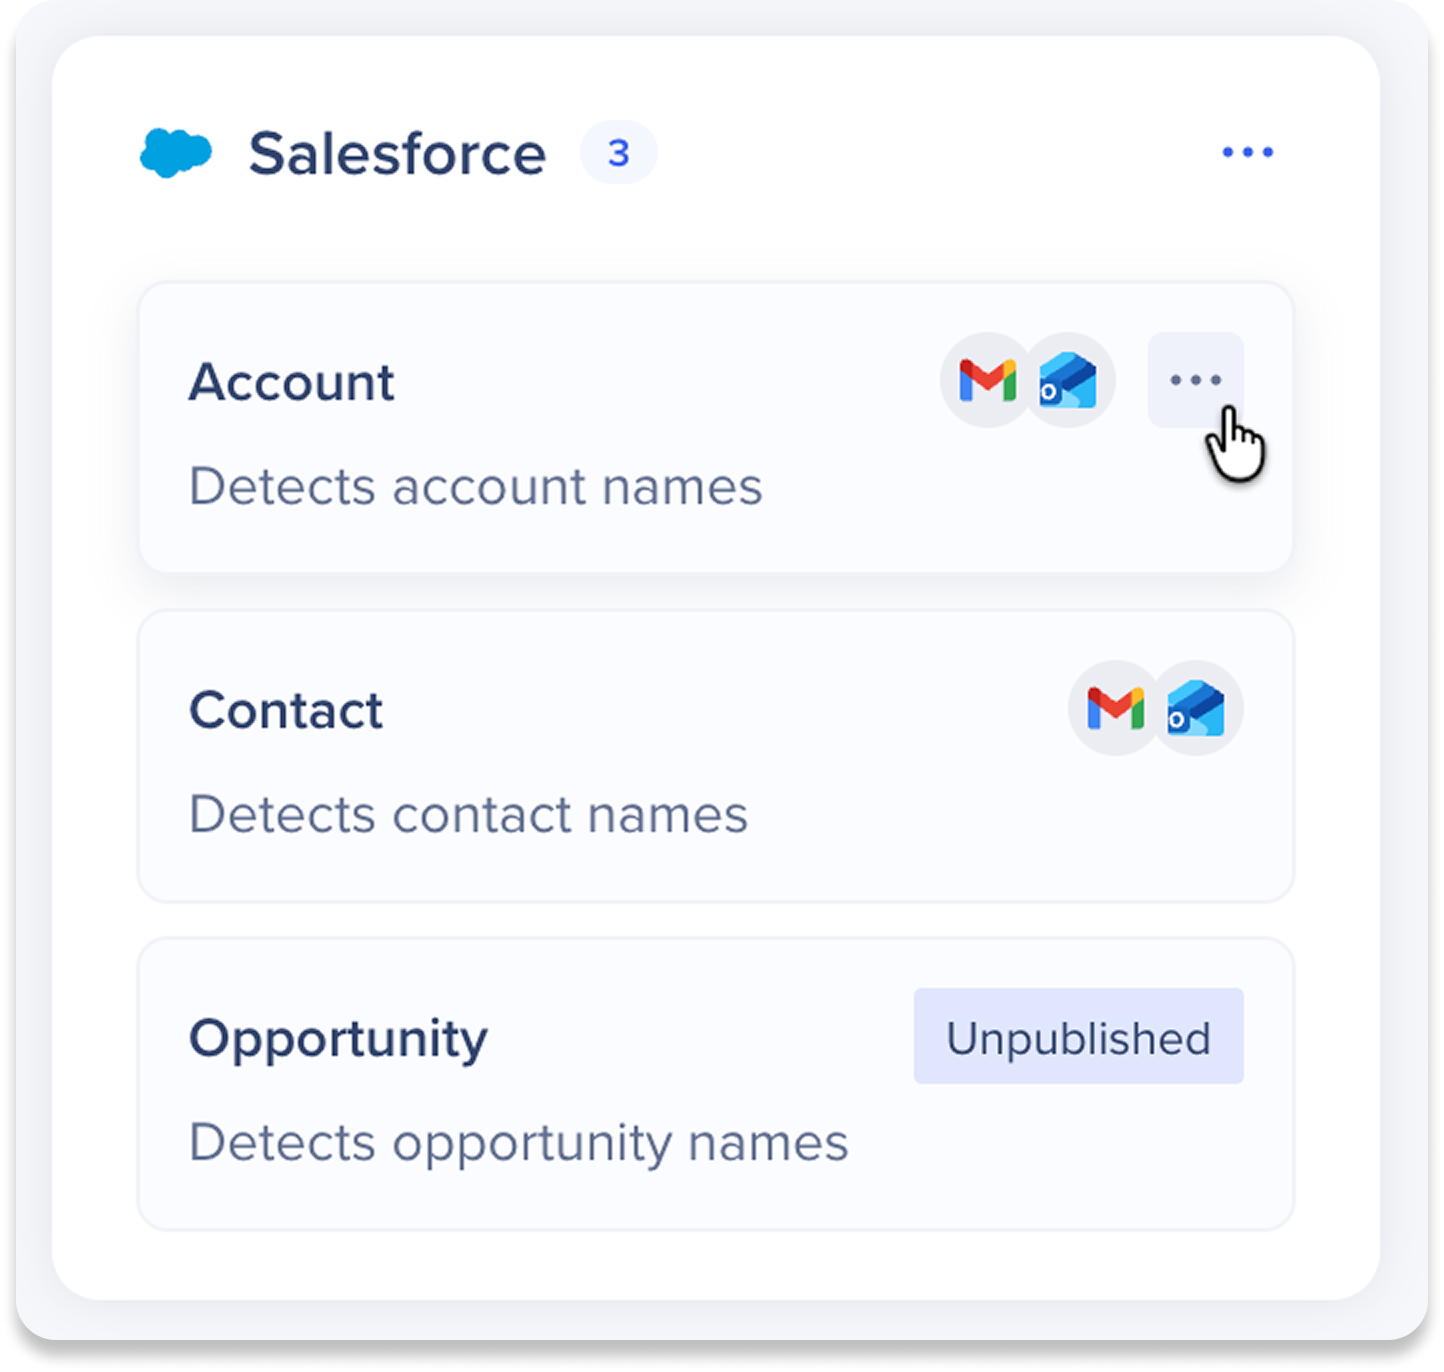
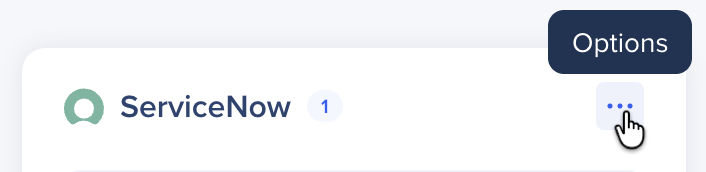
Select the Options icon to perform the following actions:
-
Edit: Update the credentials for your data source
-
Disable: Turn off all entities related to this data source to hide them temporary from your users, and reenable anytime
-
Delete: Remove the data source connection
Manage entities
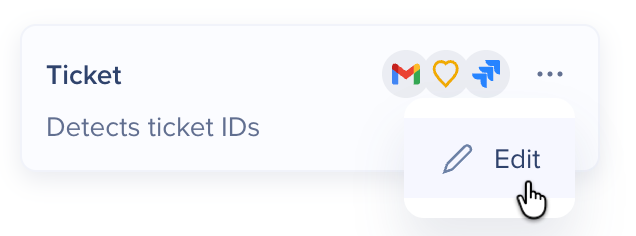
Hover over a specific entity and select the Options icon, then select Edit.
An entity opens with three pages:
-
Card setup: Customize what data appears on the card. Choose the fields to show, set a display name for each, and drag and drop to reorder. Smart Highlights: Entity Card Setup
-
Styling: The entity card can now match the your brand and is not restricted to our default look. Style the card so the look feels native to whatever app it appears in.
-
Locations: Choose the locations where this entity appears, and set the environment and segments for each.
Filters and search
- Source application filter: filters by the system the data is coming from, meaning the application where Smart Highlights pulls its data
- System filter: filters by the application the highlight appears on, meaning the tool your users are actually working in when they see the highlight
- Use the search bar on the right to find a specific entity

Connect a data source
Click the Connect a Data Source button to open the connection flow and request a new data source.

How It Works
Getting started
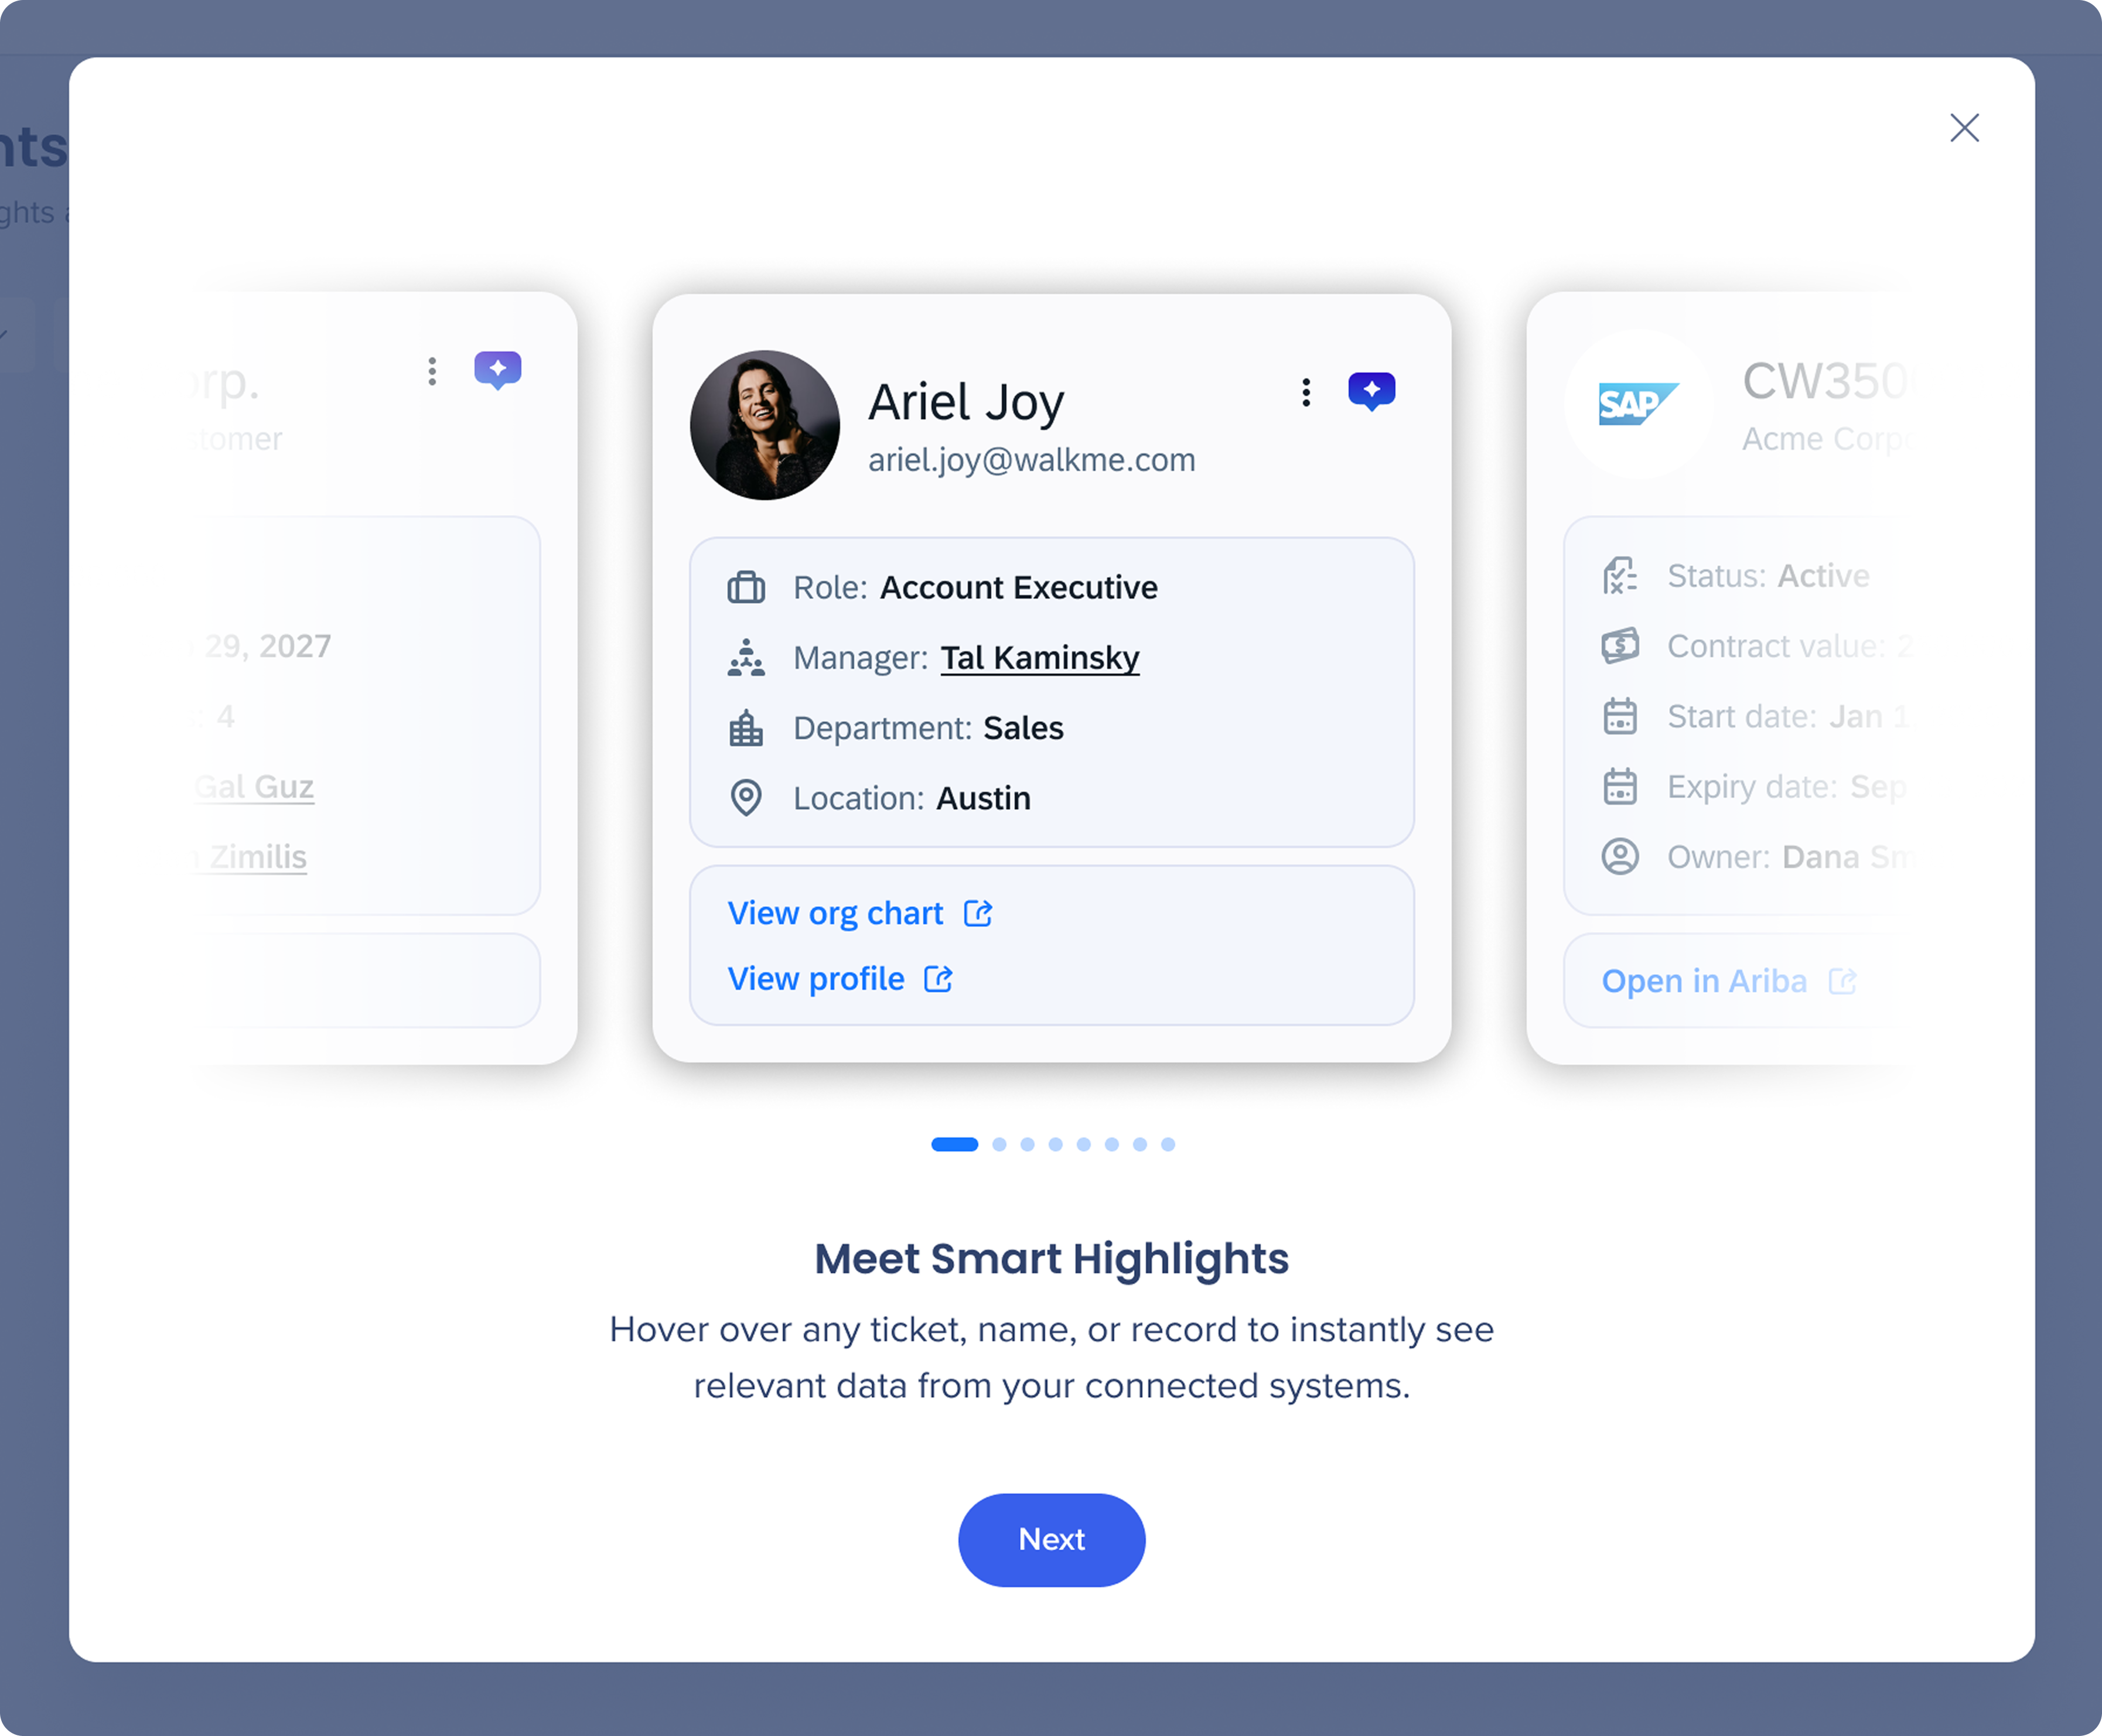
When you open Smart Highlights in the console for the first time, a short onboarding carousel walks you through the available entity types and what to expect from the setup process.
The first screen introduces Smart Highlights with a preview carousel showing the different entity card types your users will see (accounts, employees, contracts, and more).
Click Next to continue.
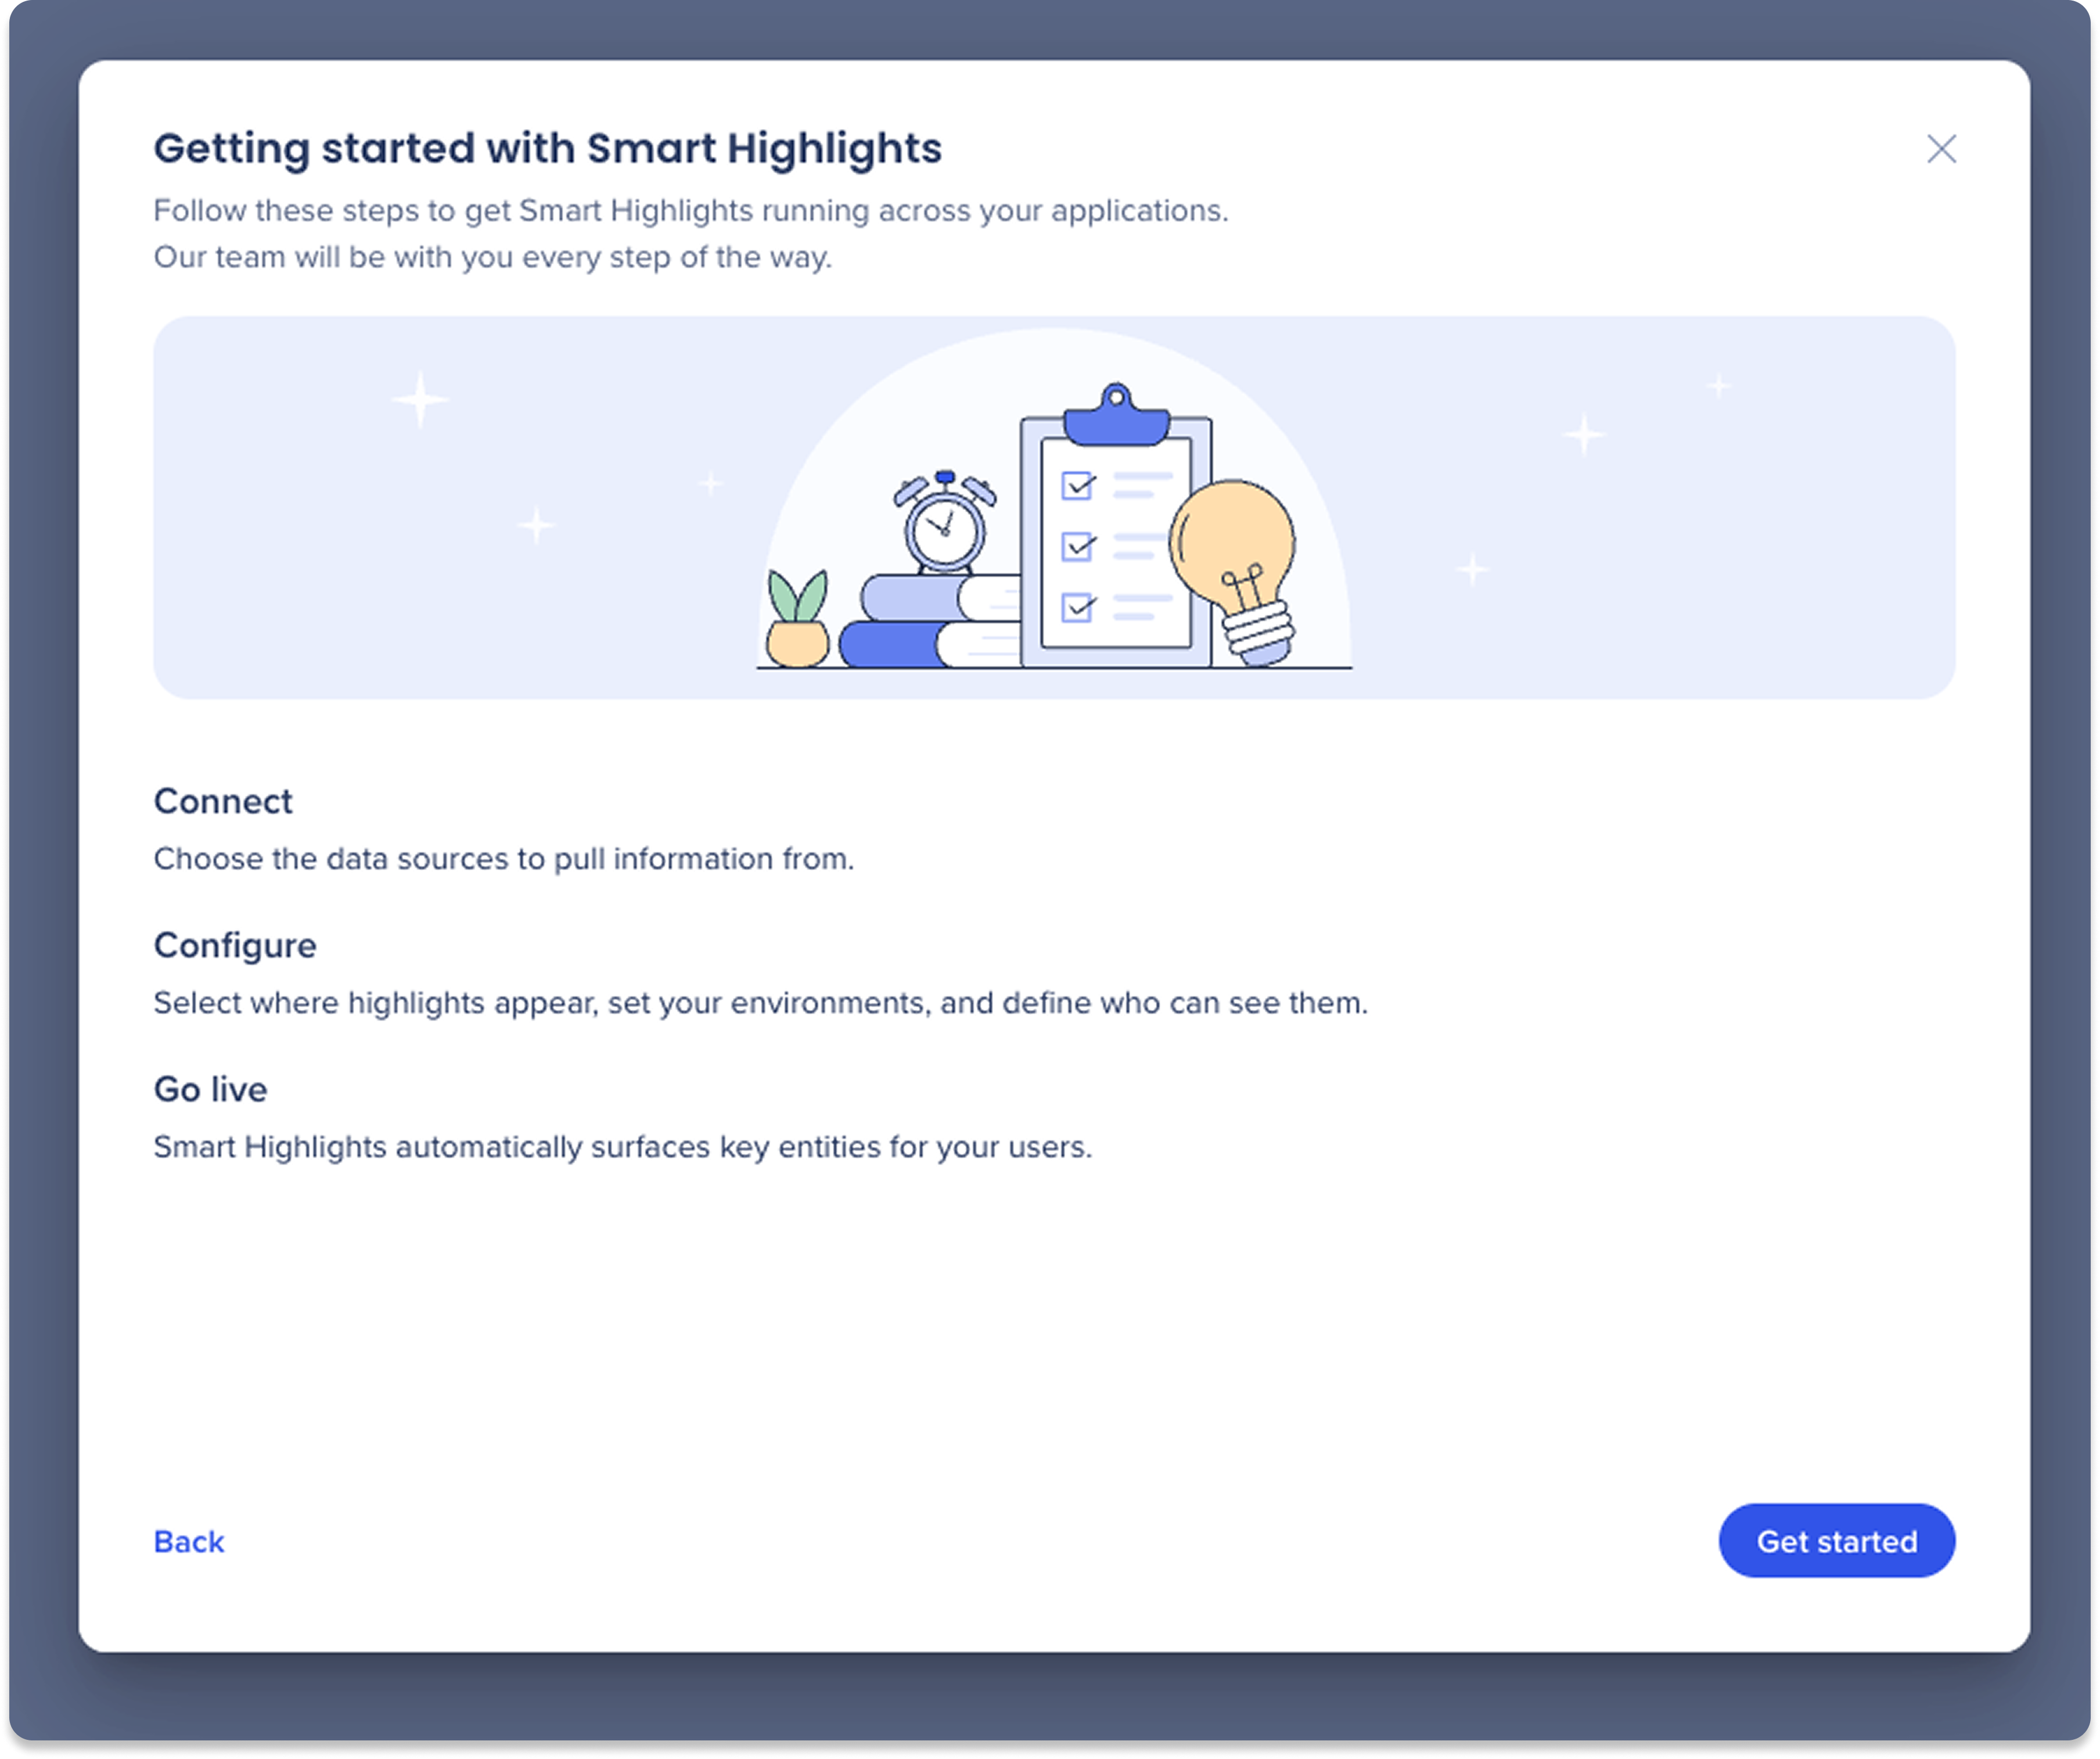
The second screen outlines the four steps to get Smart Highlights running. Click Get started to begin connecting your data sources.
-
Connect: Choose the data sources to pull information from
-
Configure: Select where highlights appear, set your environments, and define who can see them
-
Go live: Smart Highlights automatically surfaces key entities for your users
Connect your data sources
-
Click the Connect a Data Source button configure each data source provider you want to connect
-
Preview: Shows the highlight cards with sample data for the selected source
-
Supported sources: SuccessFactors, Salesforce, Jira, SAP S/4HANA, ServiceNow
-
Click the + Plus icon to enter credentials and verify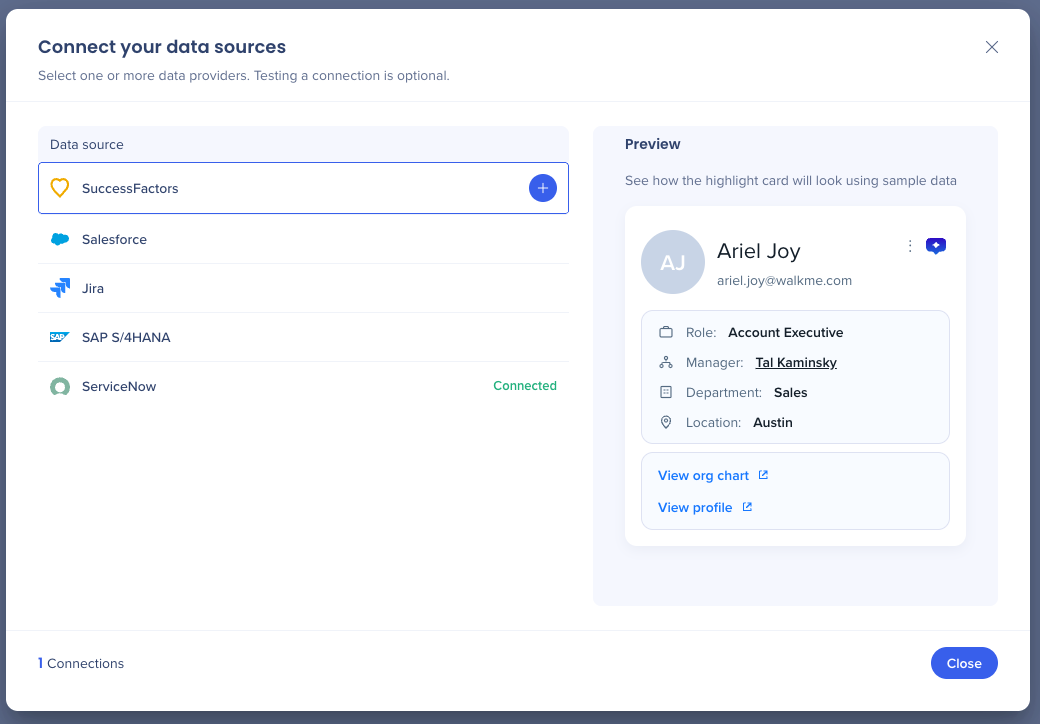
-
Enter the following account details to set up the connection:
-
Connection name: Enter a name for this data source connection for internal use (won't be seen by end-users)
-
Application main URL: The URL used to access your data source environment
-
Advanced settings (optional)
-
SSO login URL: The login URL provided by your identity provider (For example, Okta, Azure AD)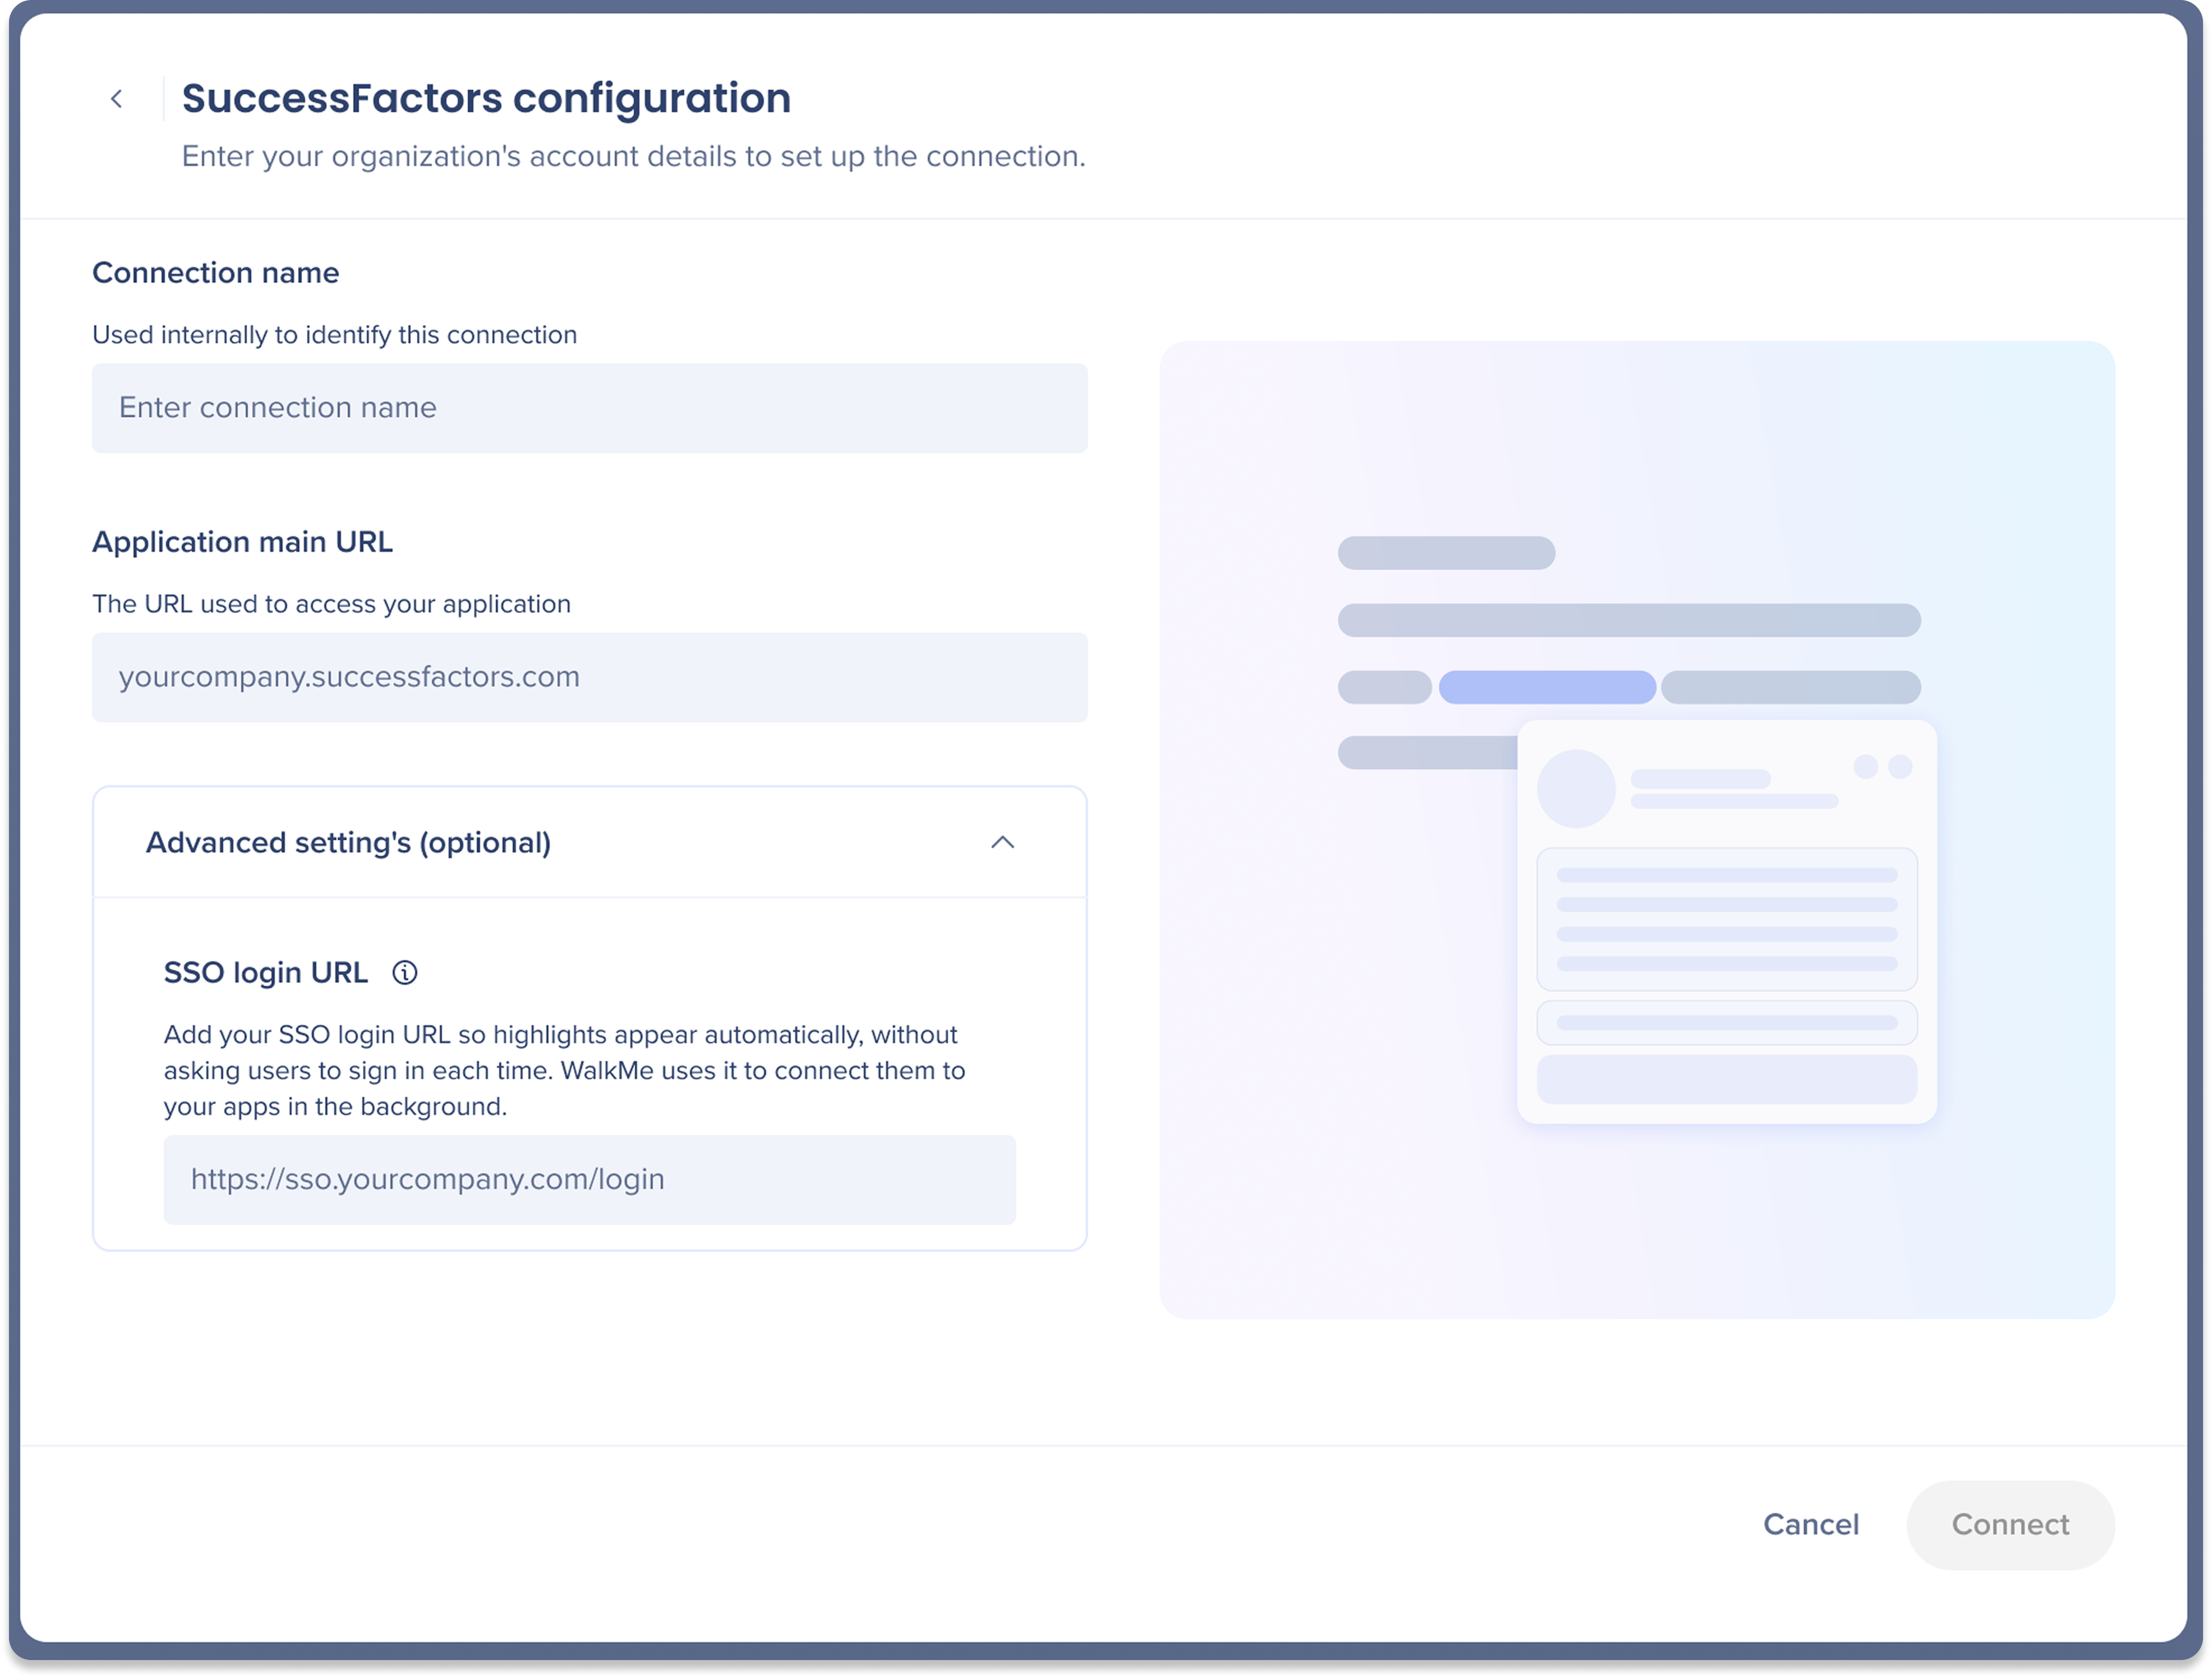
SSOログインURLを追加するタイミング
Smart Highlights loads data using each user's existing SSO session, so in most setups highlights appear automatically and this field can be left blank. Add your SSO login URL if your identity provider requires a redirect to sign in, or if highlights prompt users to sign in instead of loading automatically.
It tells Smart Highlights where to authenticate in the background so users aren't interrupted, and applies to this background authentication only. It doesn't change how users normally sign in to your applications.
5. 「接続」をクリックして接続を検証します
6. 認証情報が有効な場合、確認メッセージが下部に表示されます
7. 「公開」をクリックします
8. 公開が現在の設定を拡張機能に適用することを知らせるポップアップが表示されます
9. 「公開」をクリックします
10. 接続が有効になりました! エンティティを追加してハイライトを表示し始めます
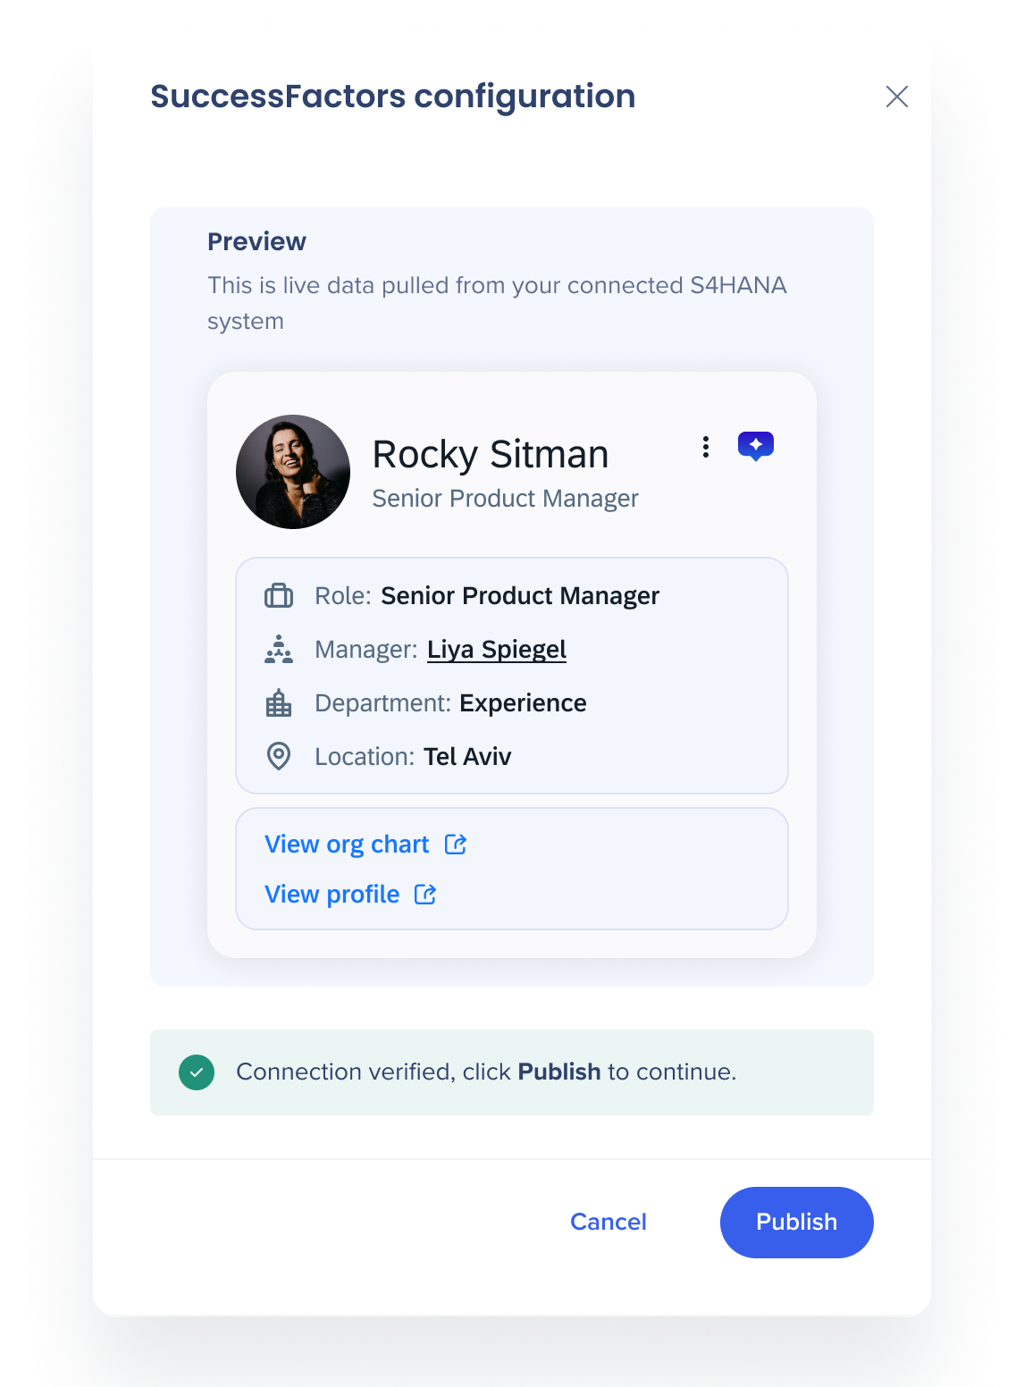
エンティティ設定
特定のエンティティにカーソルを合わせ、オプションアイコンを選択し、編集を選択します。
各エンティティには、3つのタブがあります:
-
カードの設定
-
スタイリング
-
Locations(場所)
カードの設定
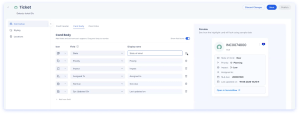
カードの設定タブは、ハイライトカードに表示されるデータと表示方法を決定する場所です。 各カードは、接続されているデータソースからライブデータを取得するため、すべてのユーザーと表示されるすべてのレコードについて自動的に更新されます。
カードは3つのタブで構築し、右側にライブプレビューが表示されます:
-
カードヘッダー:カードの上部 — 画像、タイトル、サブタイトル
-
カードの本文:ヘッダーの下に表示されるフィールド。 最大6つのフィールドを追加し、各フィールドにアイコンと表示名を設定し、ドラッグアンドドロップで並べ替え
-
カードリンク:ユーザーがカードから開くことができるボタン(「S/4HANAで開く」など)。 各リンクのURLとラベルを設定します
カード設定の詳細についてはこちらをご覧ください:スマートハイライト:エンティティカードの設定
スタイリング
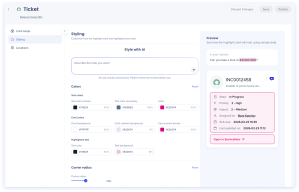
「スタイリング」タブでは、ハイライトカードとハイライトテキストの外観をカスタマイズできるため、デフォルトのWalkMeの外観ではなく、カードが表示されるアプリに馴染むデザインにすることができます。
AIでスタイルを設定
平易な言語で希望の外観を説明すると、スマートハイライトがスタイリングコントロールを設定します。
色
色を手動で設定するか、AIが設定する値を調整します。 各色には不透明度のパーセンテージがあります:
-
テキストの色:プライマリテキストの色、セカンダリテキストの色、リンクの色を設定します
-
カードの色:カードの背景、カードコンテンツの背景、カードコンテンツの境界を設定します
-
強調表示されたテキスト:ページで強調表示された要素のテキスト色とテキスト背景を設定します
色をデフォルト値に戻すには、リセットを選択します。
コーナー半径
「コーナーの半径」スライダーをドラッグして、カードの角の丸め具合を設定します。 「リセット」を選択して、デフォルトに戻します。
プレビュー
右側のプレビューパネルは、サンプルデータを使用して、ハイライトカードとページ内のハイライトがどのように見えるかを示します。 スタイリングコントロールを変更すると、更新されます。
Locations(場所)
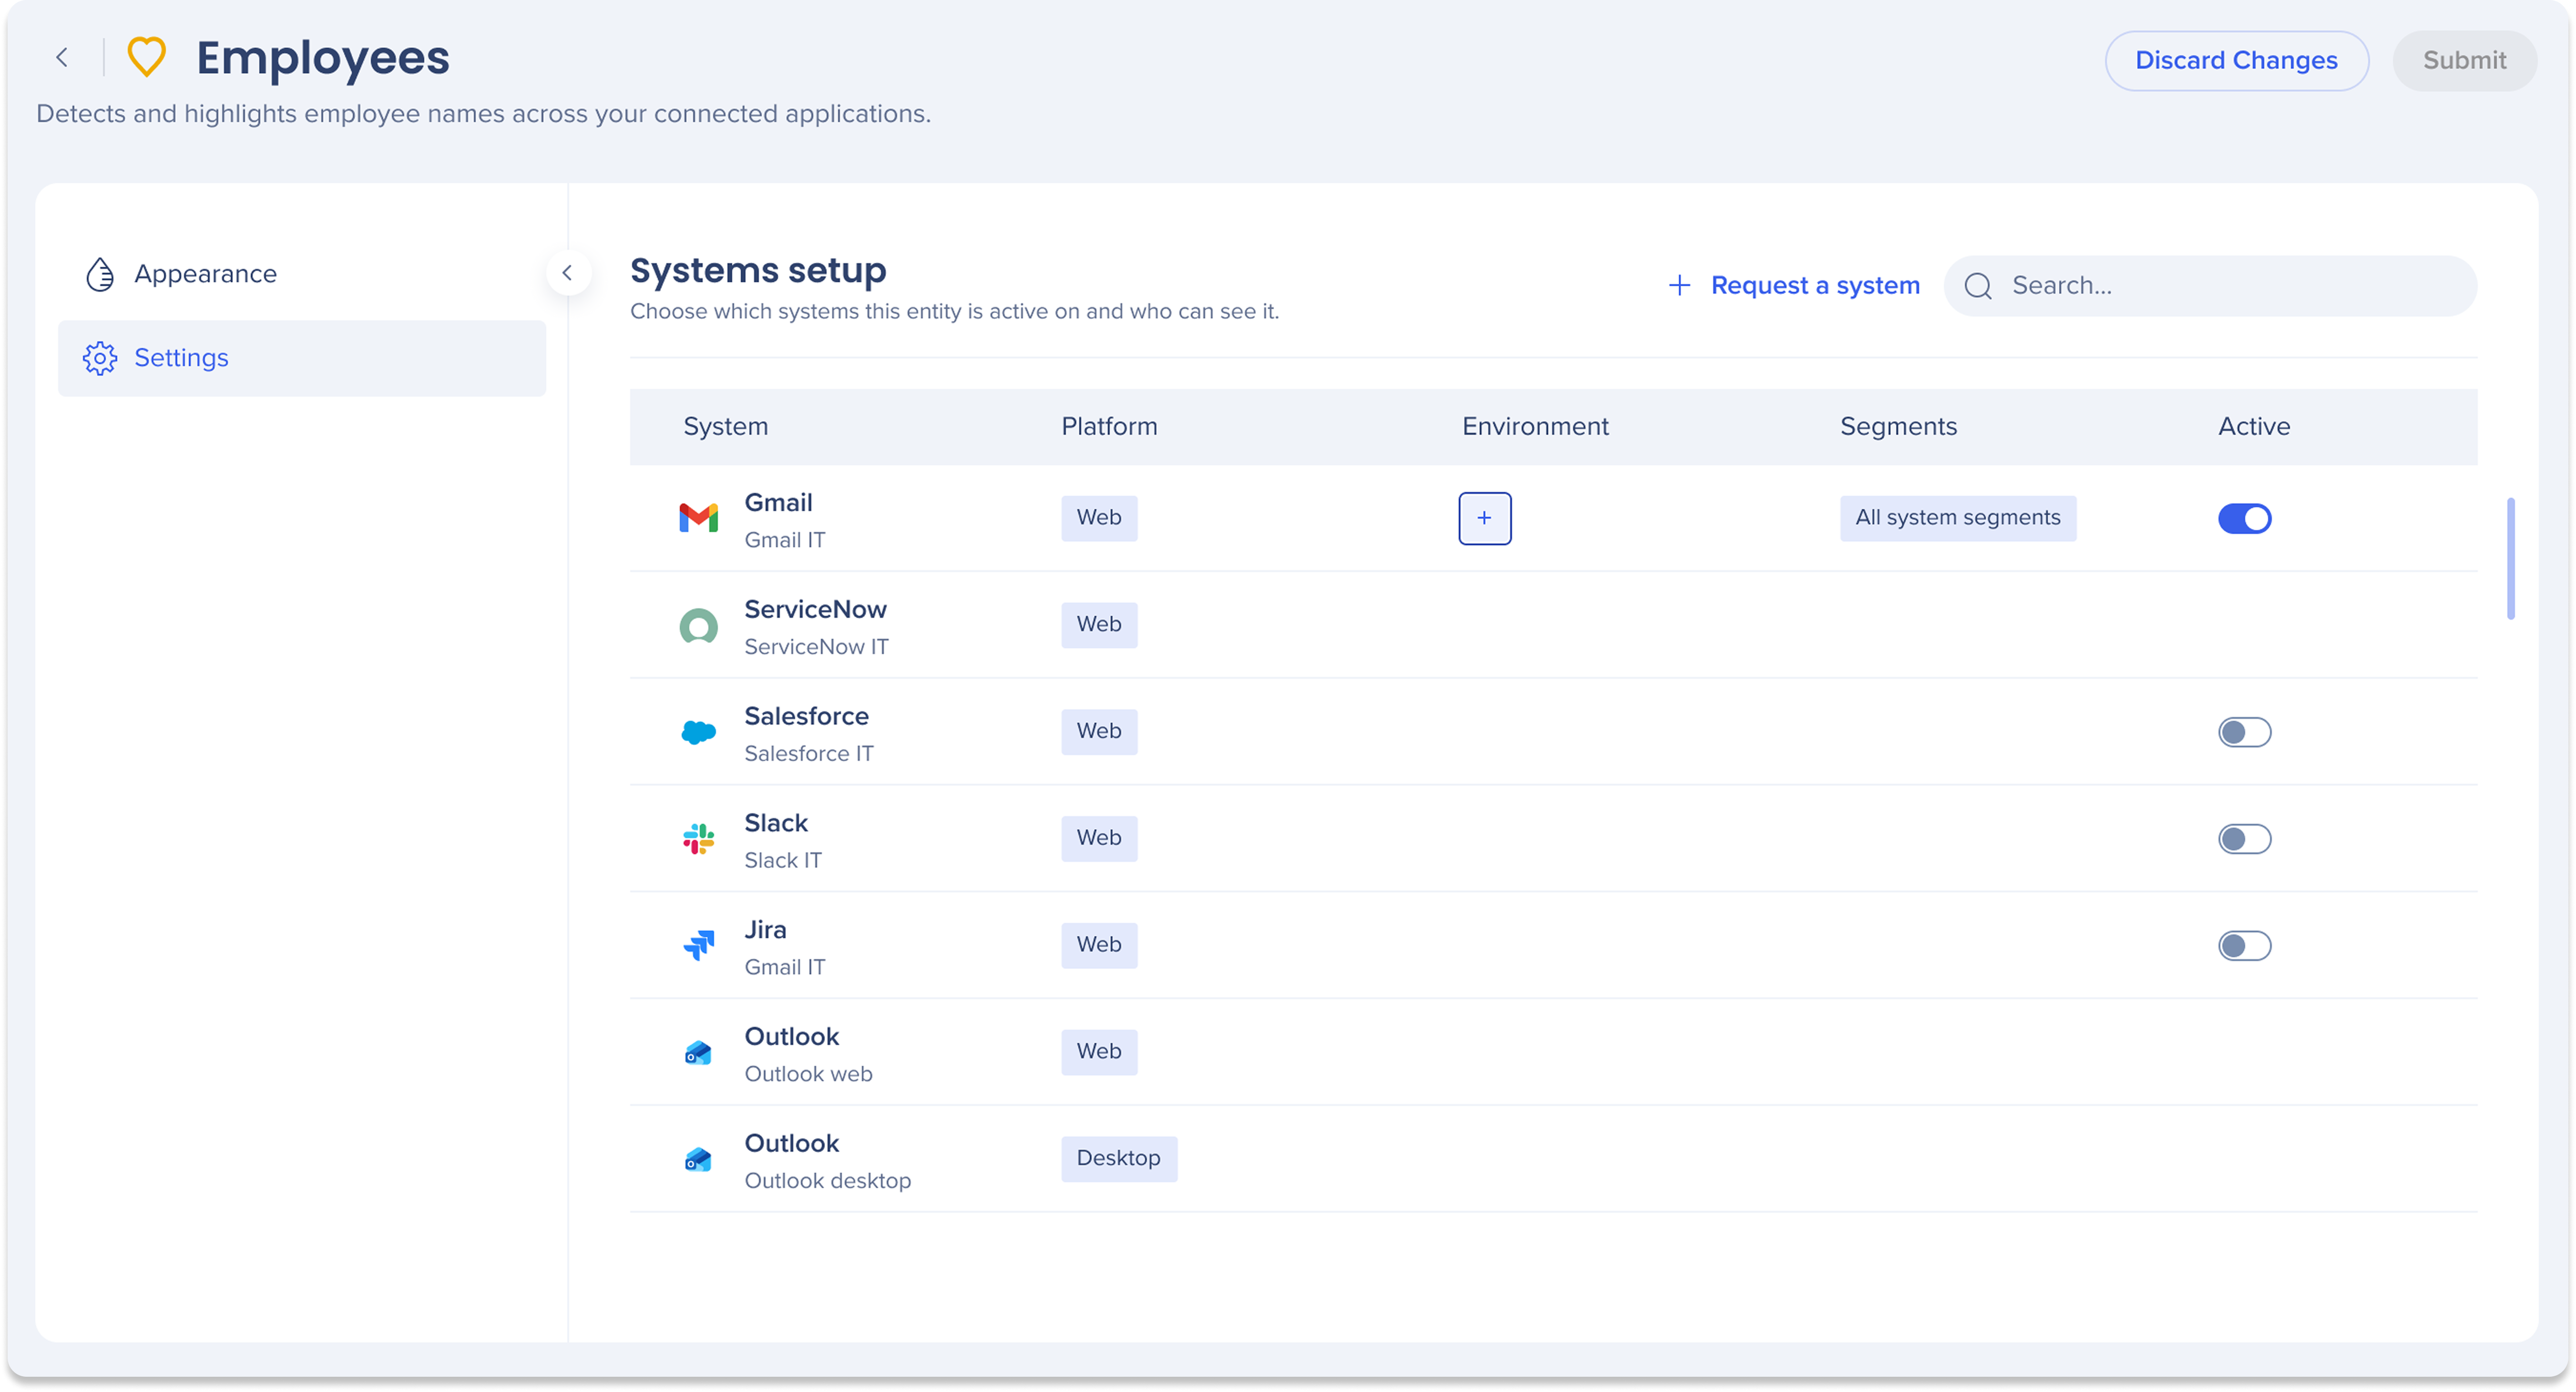
このエンティティがアクティブになっているディスプレイシステムと、それを閲覧できるユーザーを選択します。 各システムについて、次のように設定します:
-
システム:ハイライトが表示される表示アプリケーション
-
プラットフォーム:システムがウェブ上で実行されるかデスクトップ上で実行されるか
-
環境: 各システムについて、このエンティティをアクティブにしたい環境を選択します。
-
セグメント:このハイライトを表示できるユーザーセグメントはどれですか?
-
アクティブ: システムごとにハイライトをオンまたはオフにします。
サポートされていないシステムをリクエストする
必要なシステムがリストにない場合は、「 + システムをリクエスト」をクリックしてリクエストを送信してください。 WalkMeチームはそれに応じてレビューを行い、フォローアップを行います。
Technical Notes
- Lite systems: If you are not licensed for a specific display system listed but still want Smart Highlights to appear there, a lite system provides a pathway to enable it.
-
-
Full WalkMe content is not supported on lite systems
-
Who needs it: If you are on an ELA or DAP plan, you can create any system freely and do not need a lite system. For all other account types, the lite system is the required method to enable Smart Highlights on an unlicensed system


