Brief Overview
The Smart Highlights Console is where admins connect data sources and set up how highlights appear to users. Connect one or more data sources, choose which entities appear and where, customize the highlight cards (coming soon), and publish — all from the console.
Access
To access got to the WalkMe Console, select the Content category, then select the Smart Highlight page.
Smart Highlights Page Overview
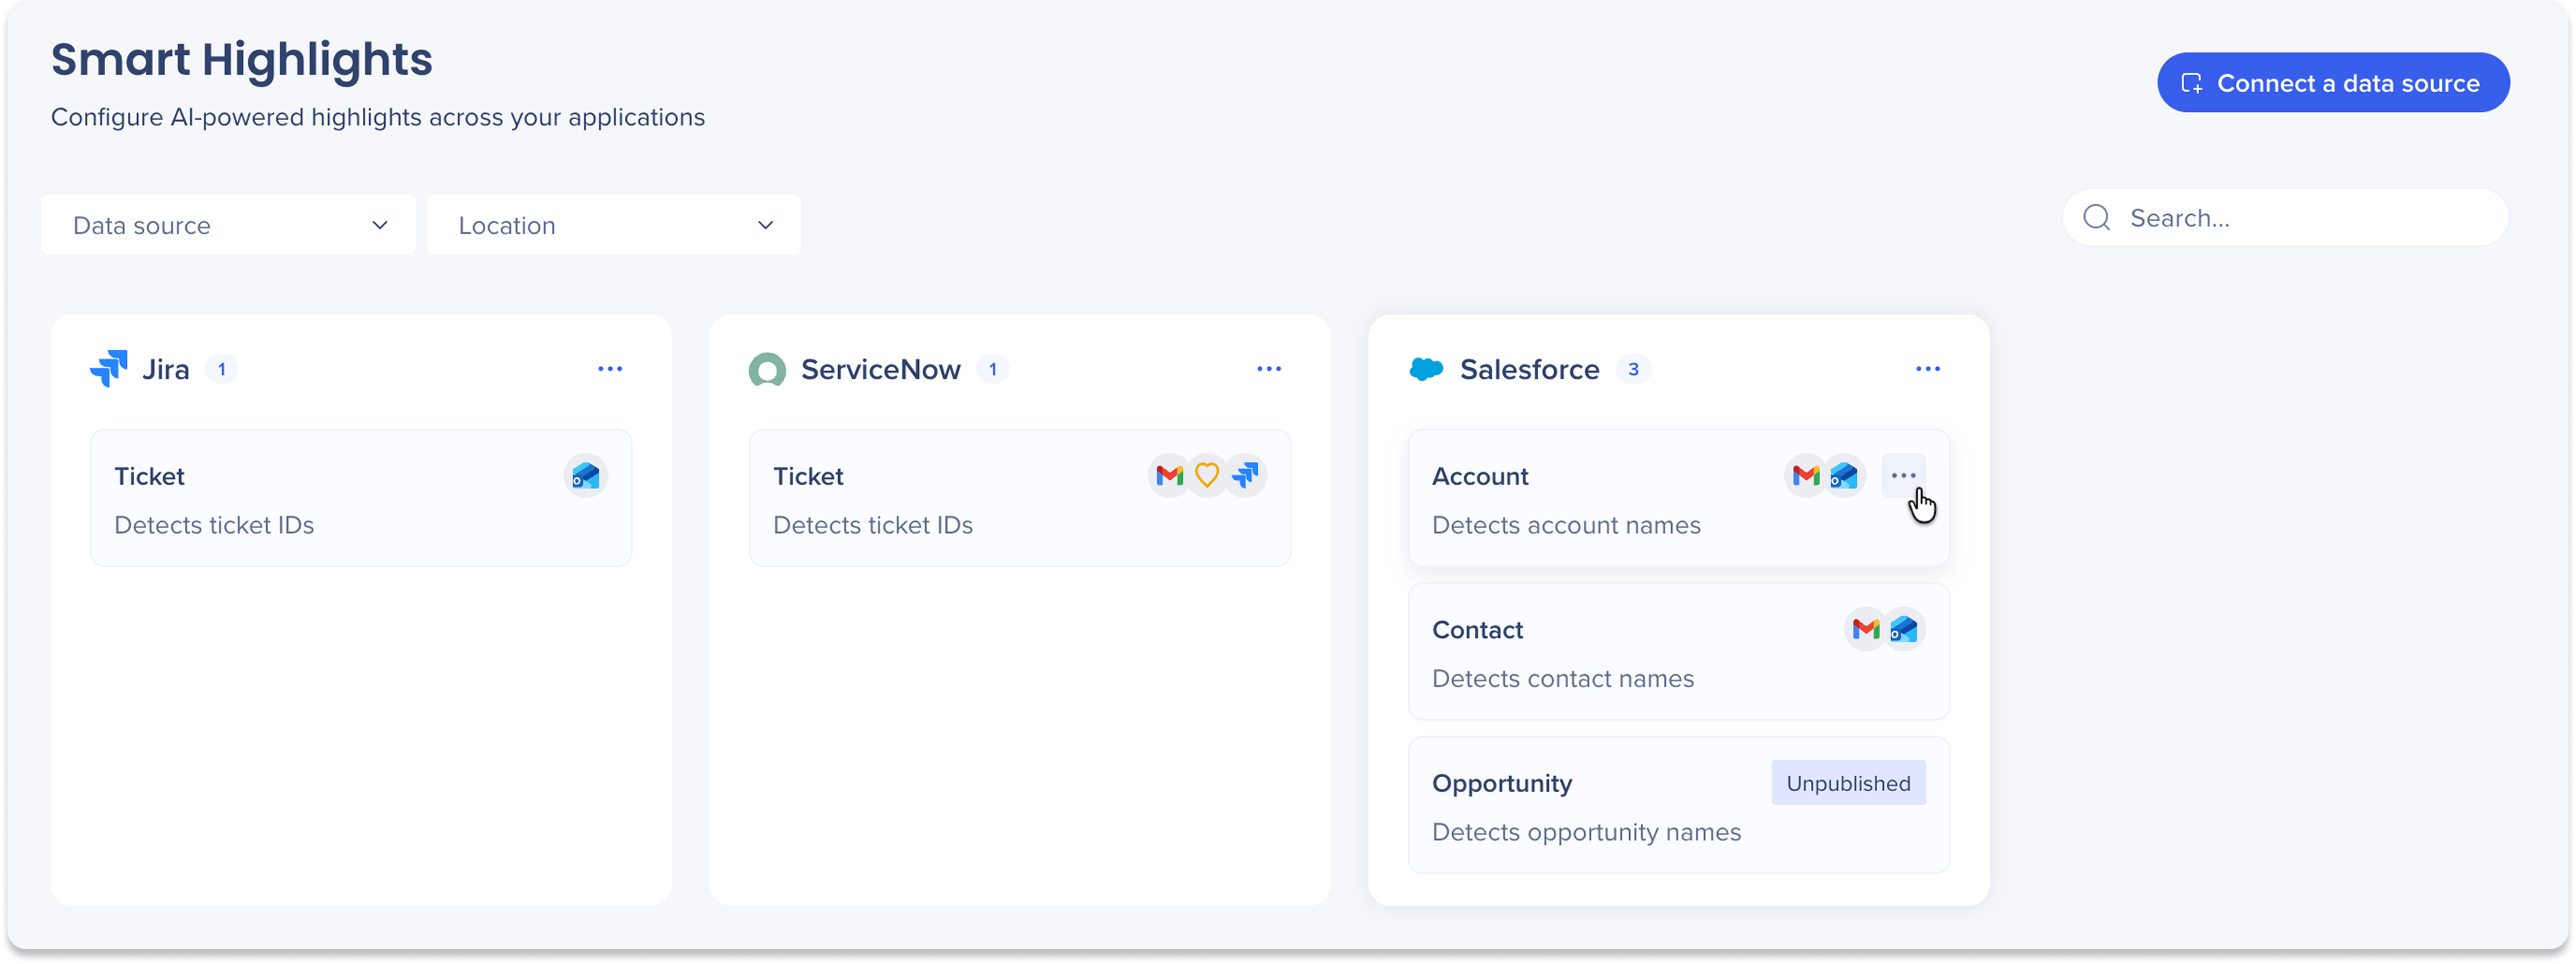
The Smart Highlights page in the console is organized around your connected data sources. Once you have at least one data source connection set up, each connected source application appears as its own section, showing all the entities available for that source and the display locations each one is active on.
Entity cards
Once a data source is connected, its entities appear as cards grouped under the data source name. Each card shows:
-
The entity name and what it detects (For example, Account: detects account names)
-
The display systems it is currently active on shown as app icons
-
An Unpublished status if the entity has not been activated on any location yet
Manage data source
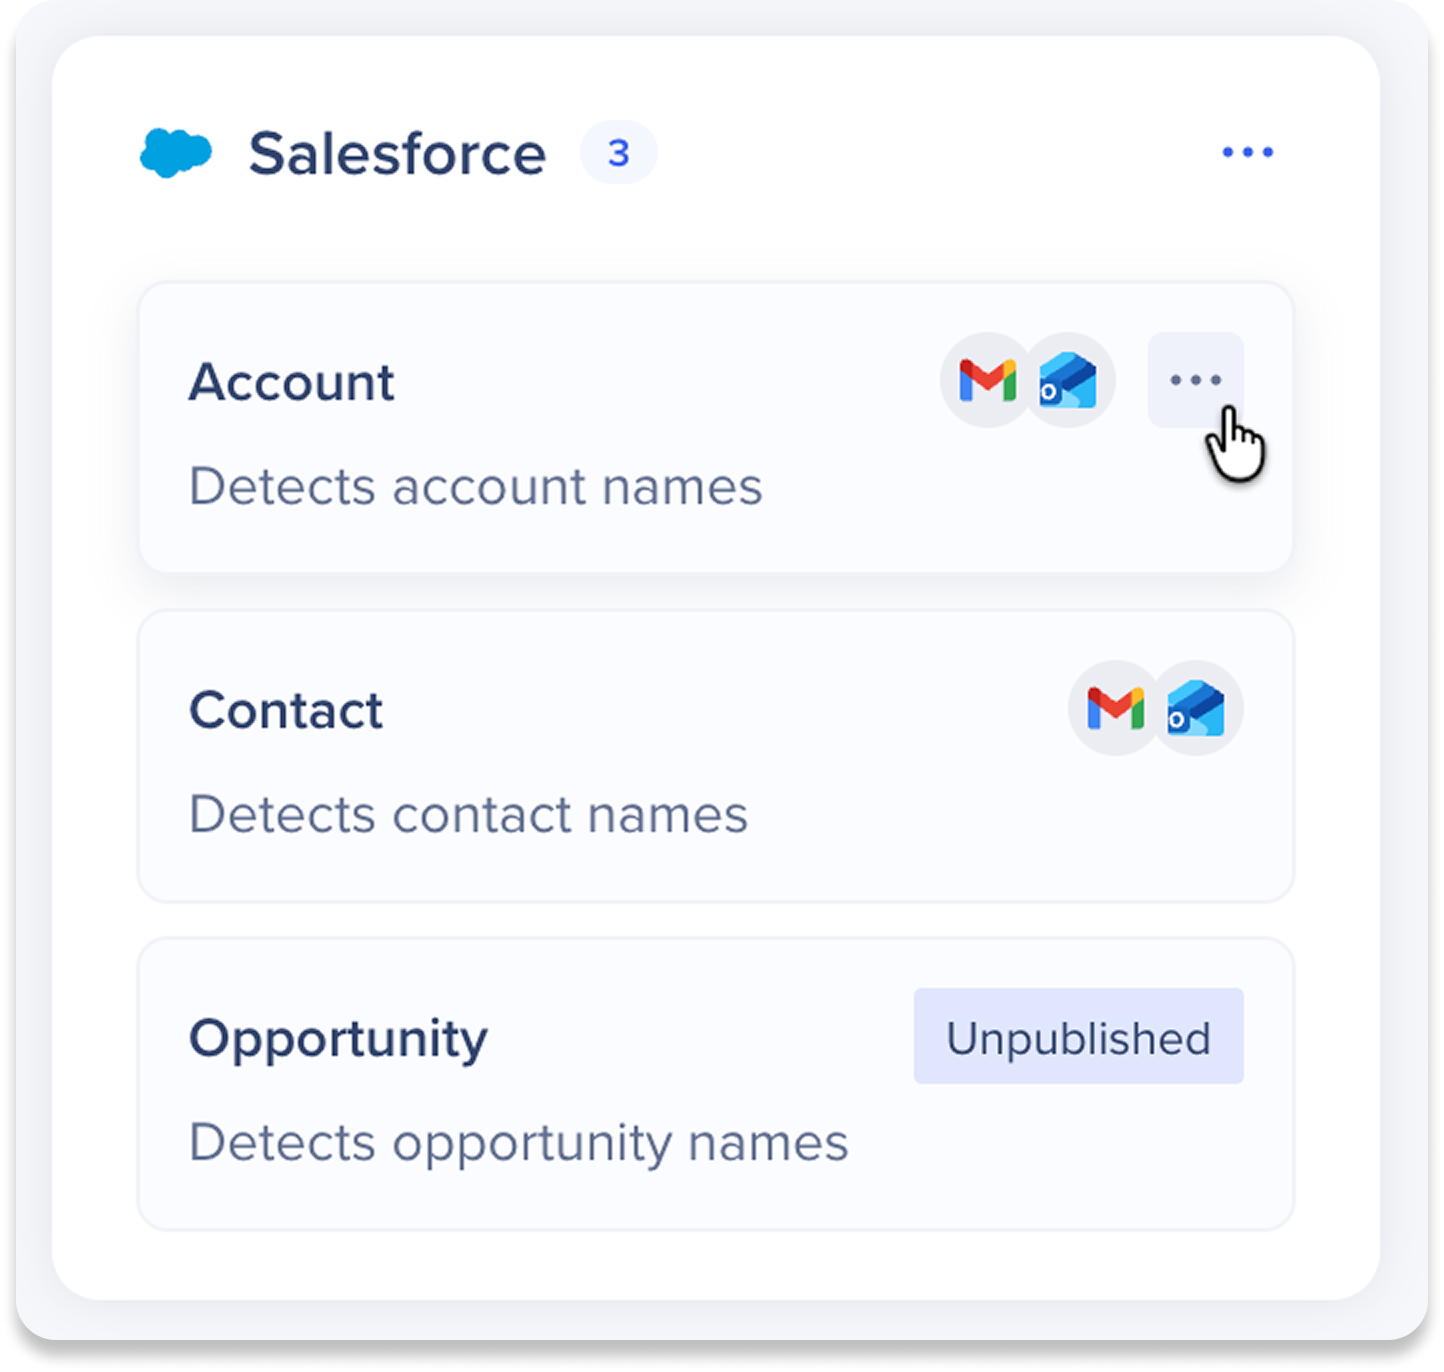
Select the Options icon to perform the following actions:
-
Edit: Update the credentials for your data source
-
Disable: Turn off all entities related to this data source to hide them temporary from your users, and reenable anytime
-
Delete: Remove the data source connection
Manage entities
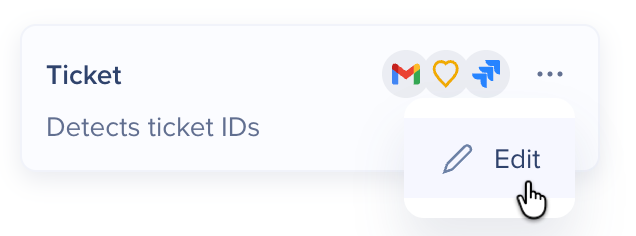
Hover over a specific entity and select the Options icon, then select Edit.
An entity opens with three pages:
-
Card setup: Customize what data appears on the card. Choose the fields to show, set a display name for each, and drag and drop to reorder. Smart Highlights: Entity Card Setup
-
Styling: The entity card can now match the your brand and is not restricted to our default look. Style the card so the look feels native to whatever app it appears in.
-
Locations: Choose the locations where this entity appears, and set the environment and segments for each.
Filters and search
- Source application filter: filters by the system the data is coming from, meaning the application where Smart Highlights pulls its data
- System filter: filters by the application the highlight appears on, meaning the tool your users are actually working in when they see the highlight
- Use the search bar on the right to find a specific entity

Connect a data source
Click the Connect a Data Source button to open the connection flow and request a new data source.

How It Works
Getting started
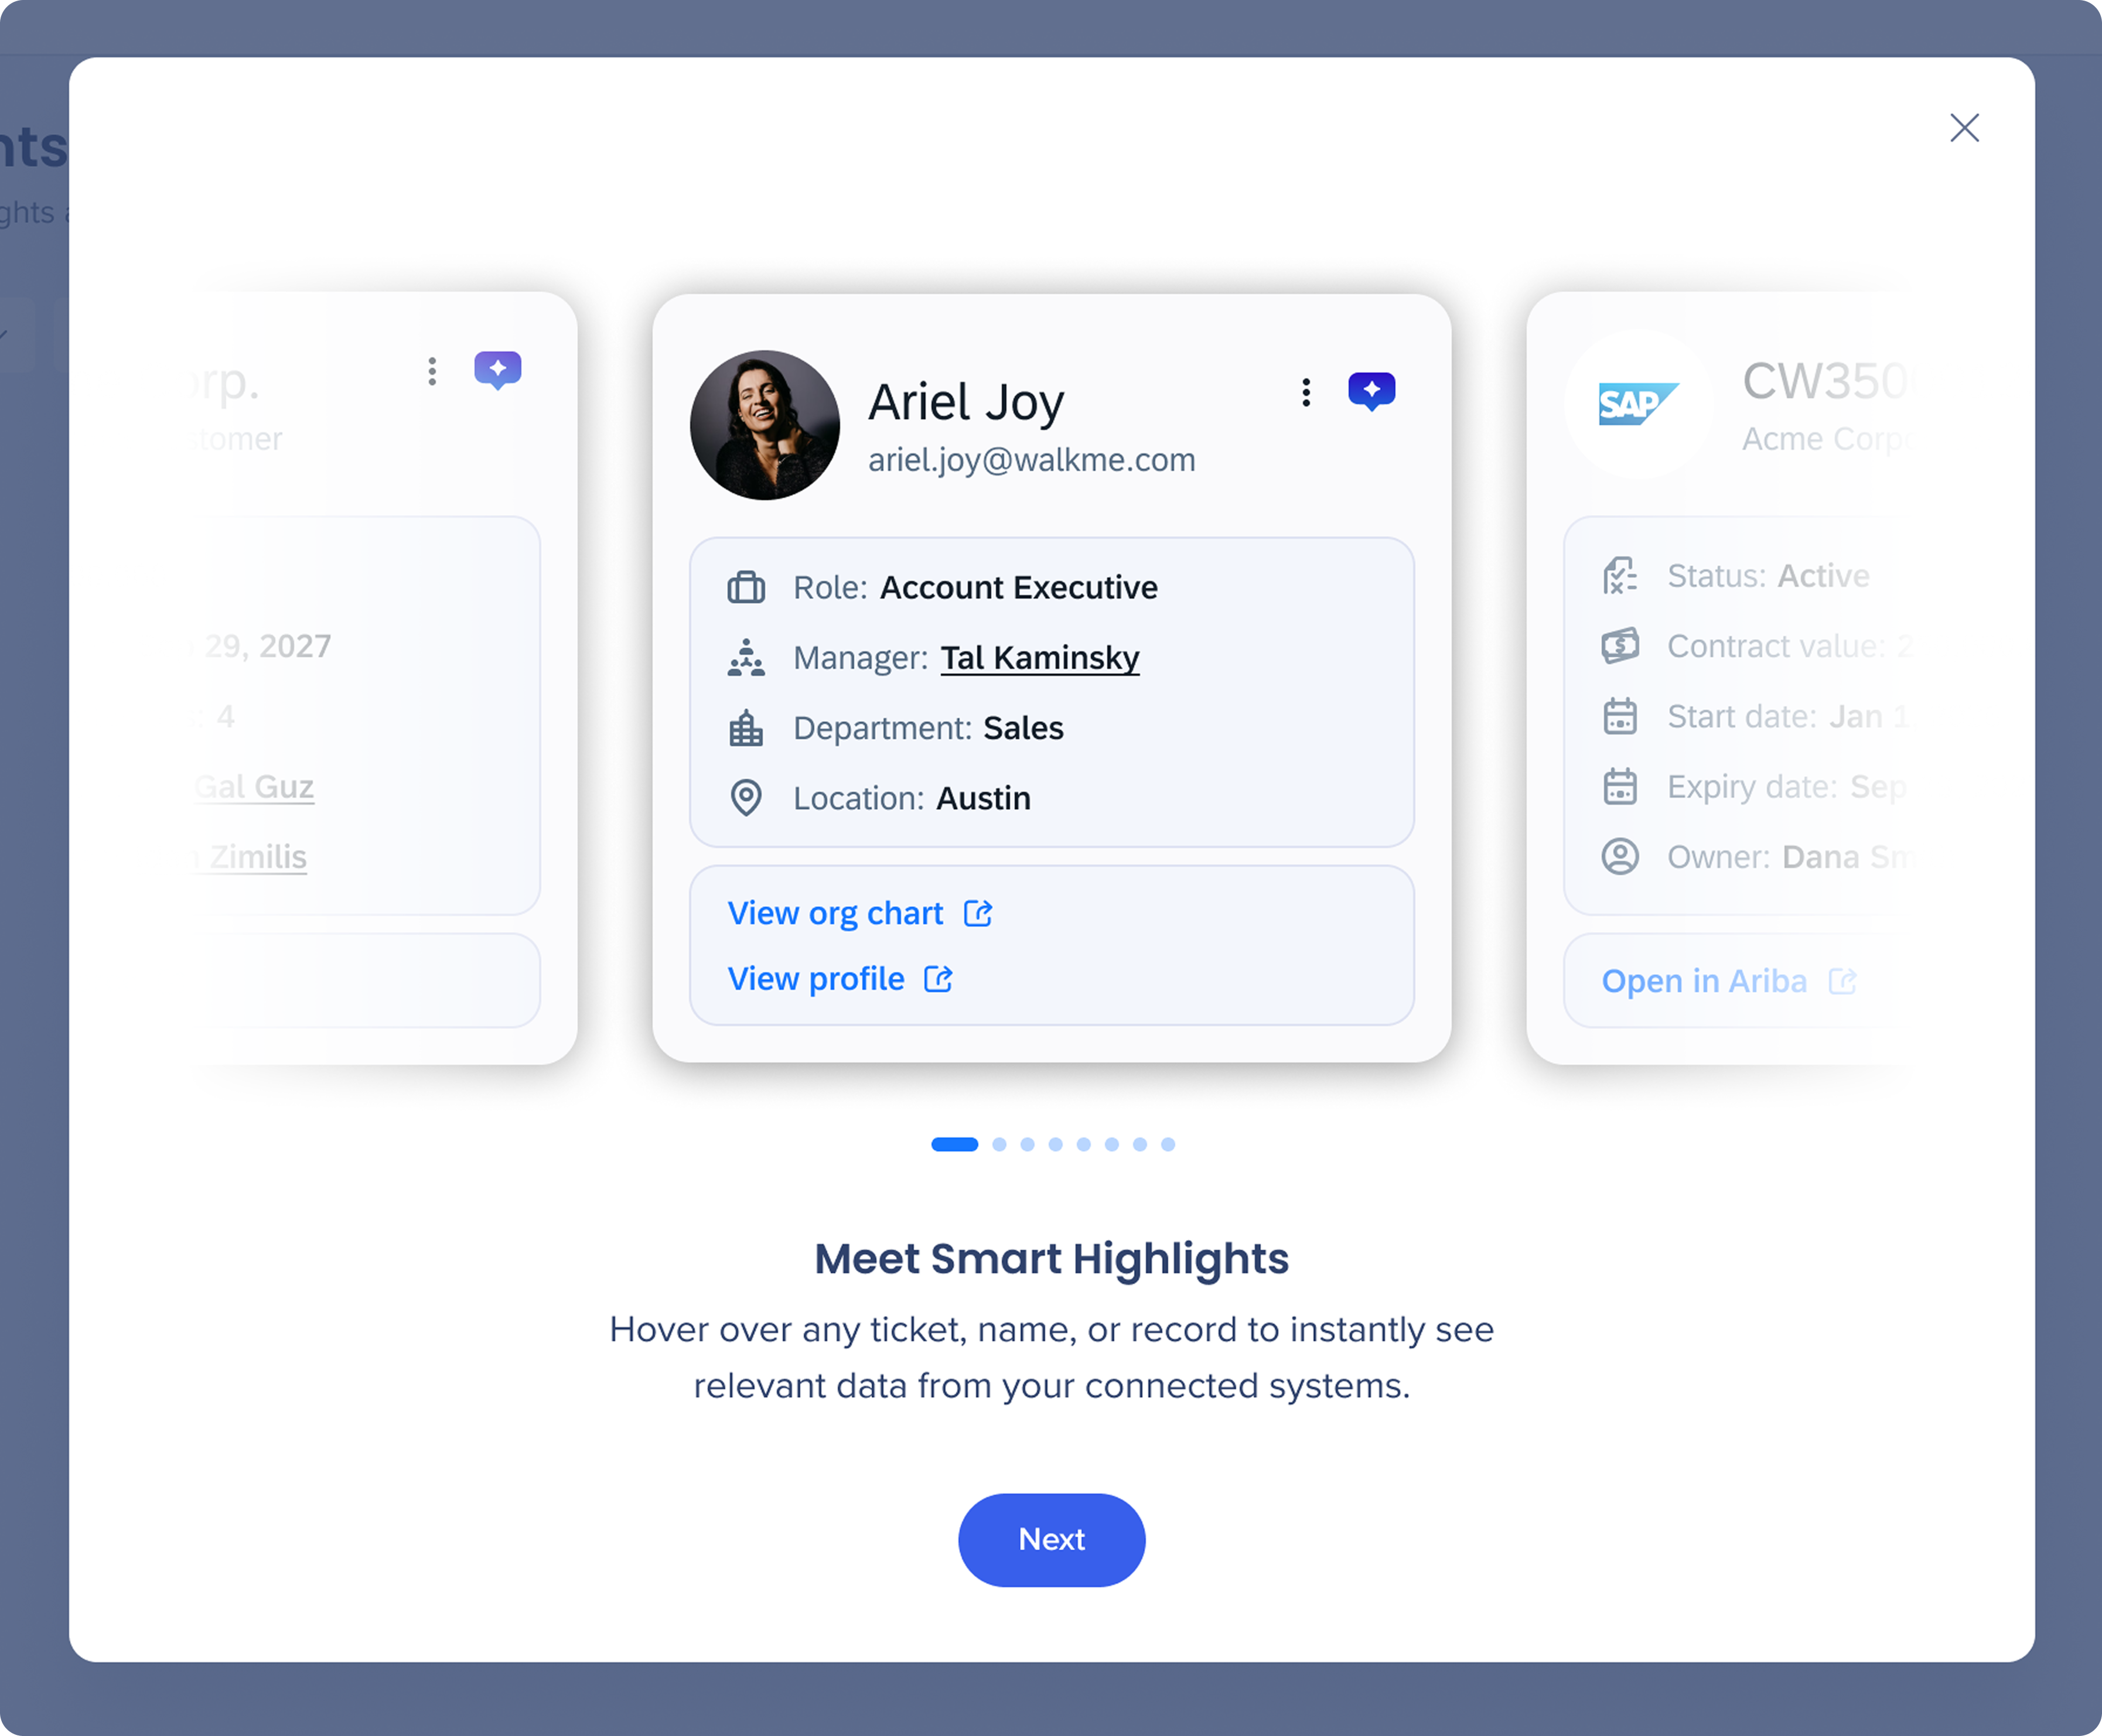
When you open Smart Highlights in the console for the first time, a short onboarding carousel walks you through the available entity types and what to expect from the setup process.
The first screen introduces Smart Highlights with a preview carousel showing the different entity card types your users will see (accounts, employees, contracts, and more).
Click Next to continue.
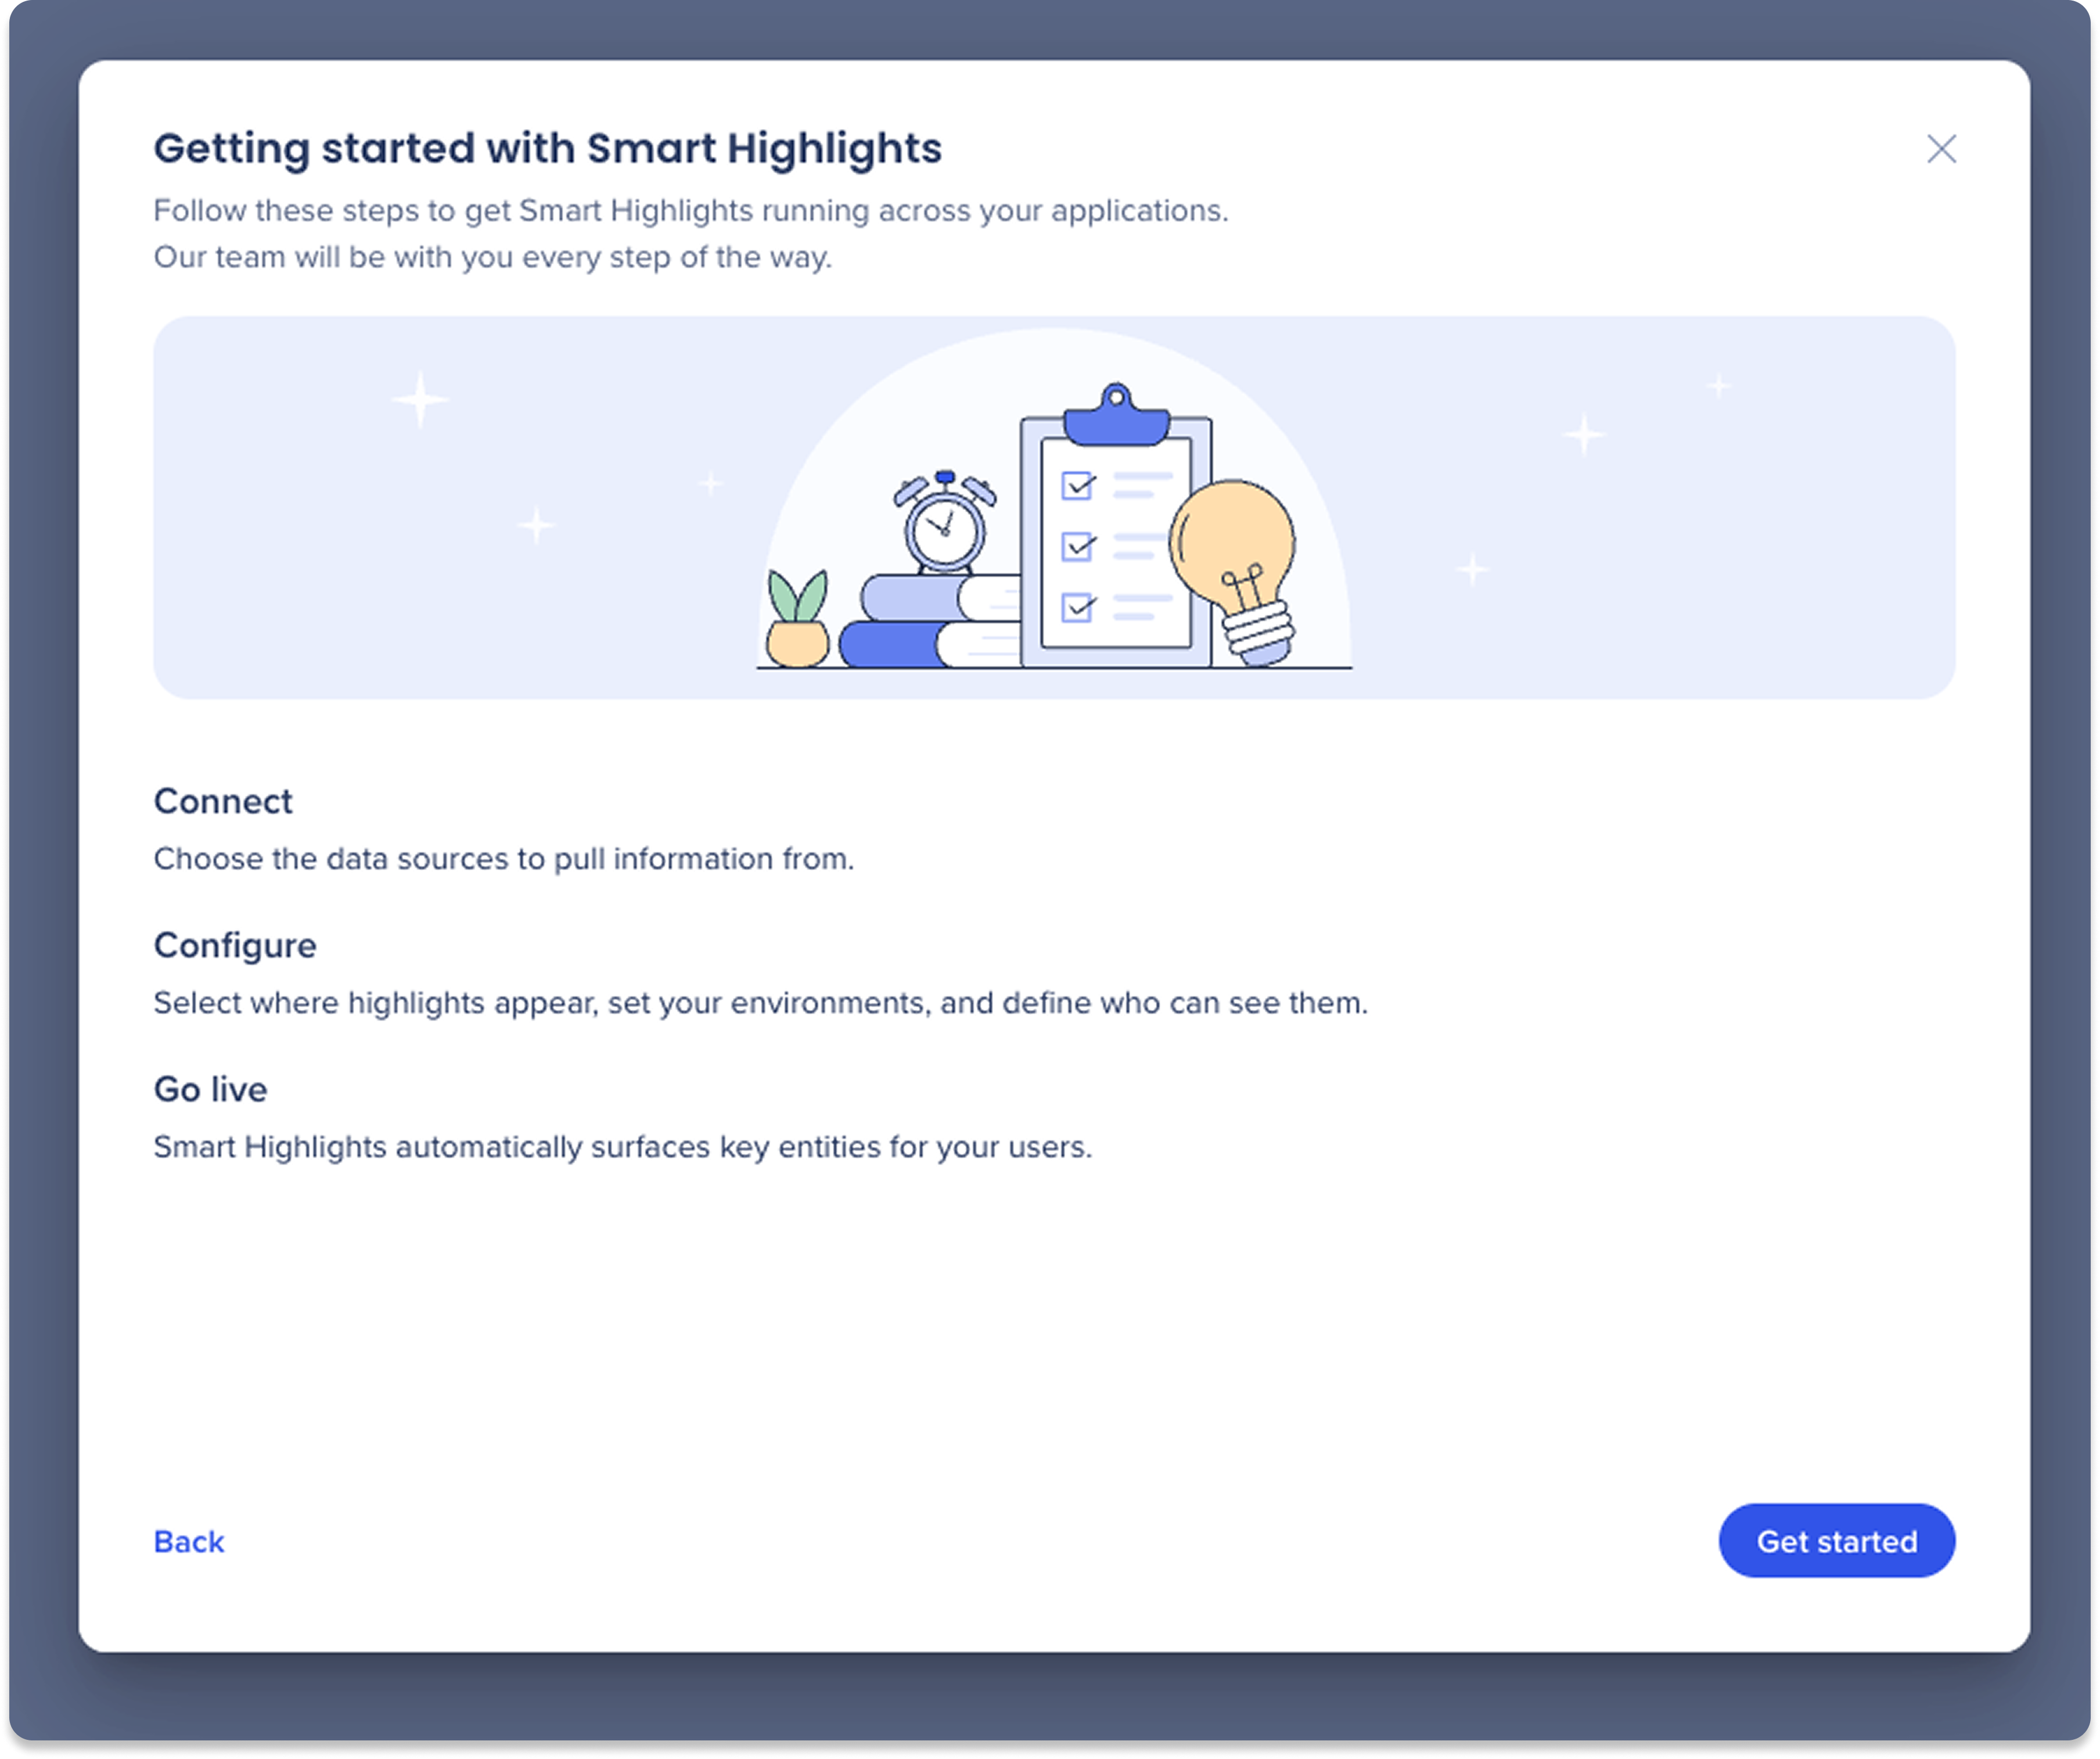
The second screen outlines the four steps to get Smart Highlights running. Click Get started to begin connecting your data sources.
-
Connect: Choose the data sources to pull information from
-
Configure: Select where highlights appear, set your environments, and define who can see them
-
Go live: Smart Highlights automatically surfaces key entities for your users
Connect your data sources
-
Click the Connect a Data Source button configure each data source provider you want to connect
-
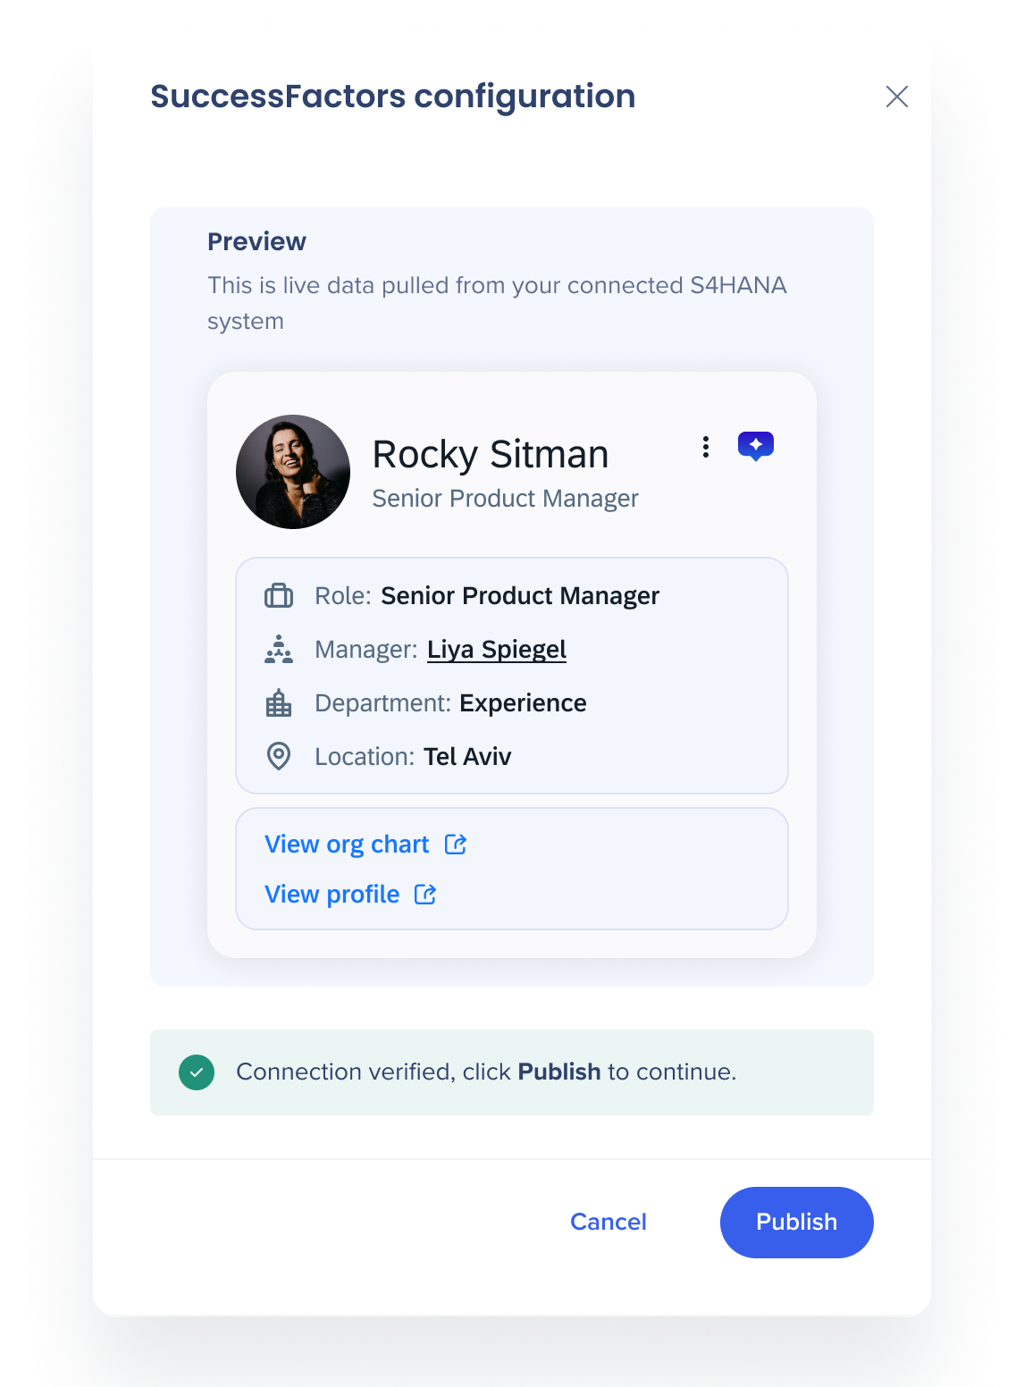
Preview: Shows the highlight cards with sample data for the selected source
-
Supported sources: SuccessFactors, Salesforce, Jira, SAP S/4HANA, ServiceNow
-
Click the + Plus icon to enter credentials and verify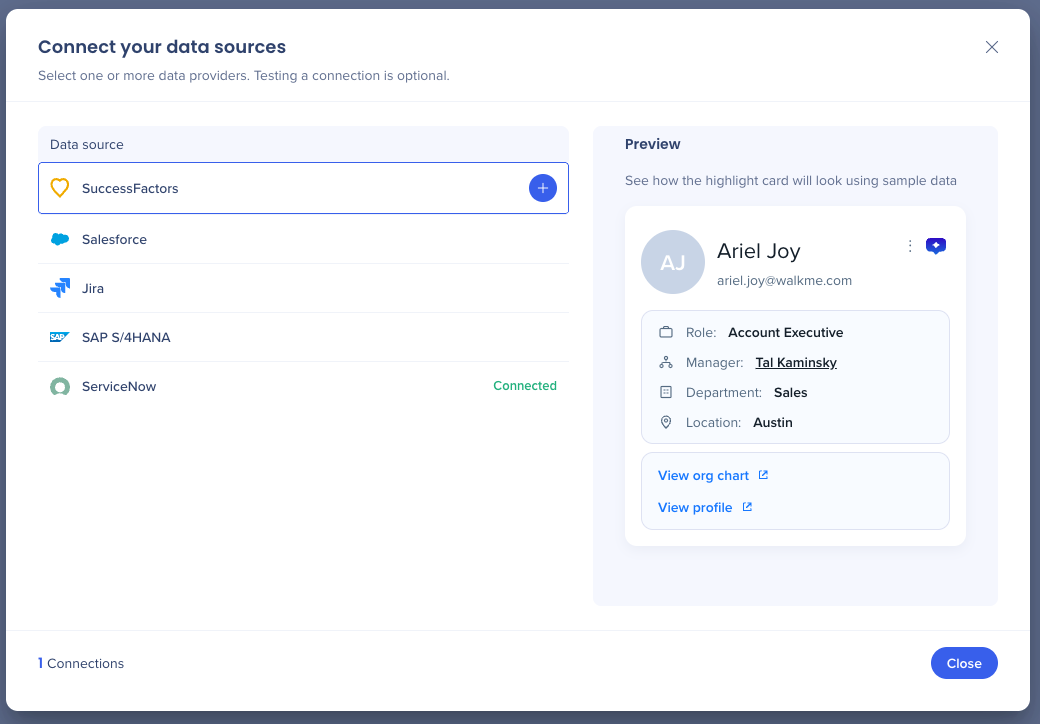
-
Enter the following account details to set up the connection:
-
Connection name: Enter a name for this data source connection for internal use (won't be seen by end-users)
-
Application main URL: The URL used to access your data source environment
-
Advanced settings (optional)
-
SSO login URL: The login URL provided by your identity provider (For example, Okta, Azure AD)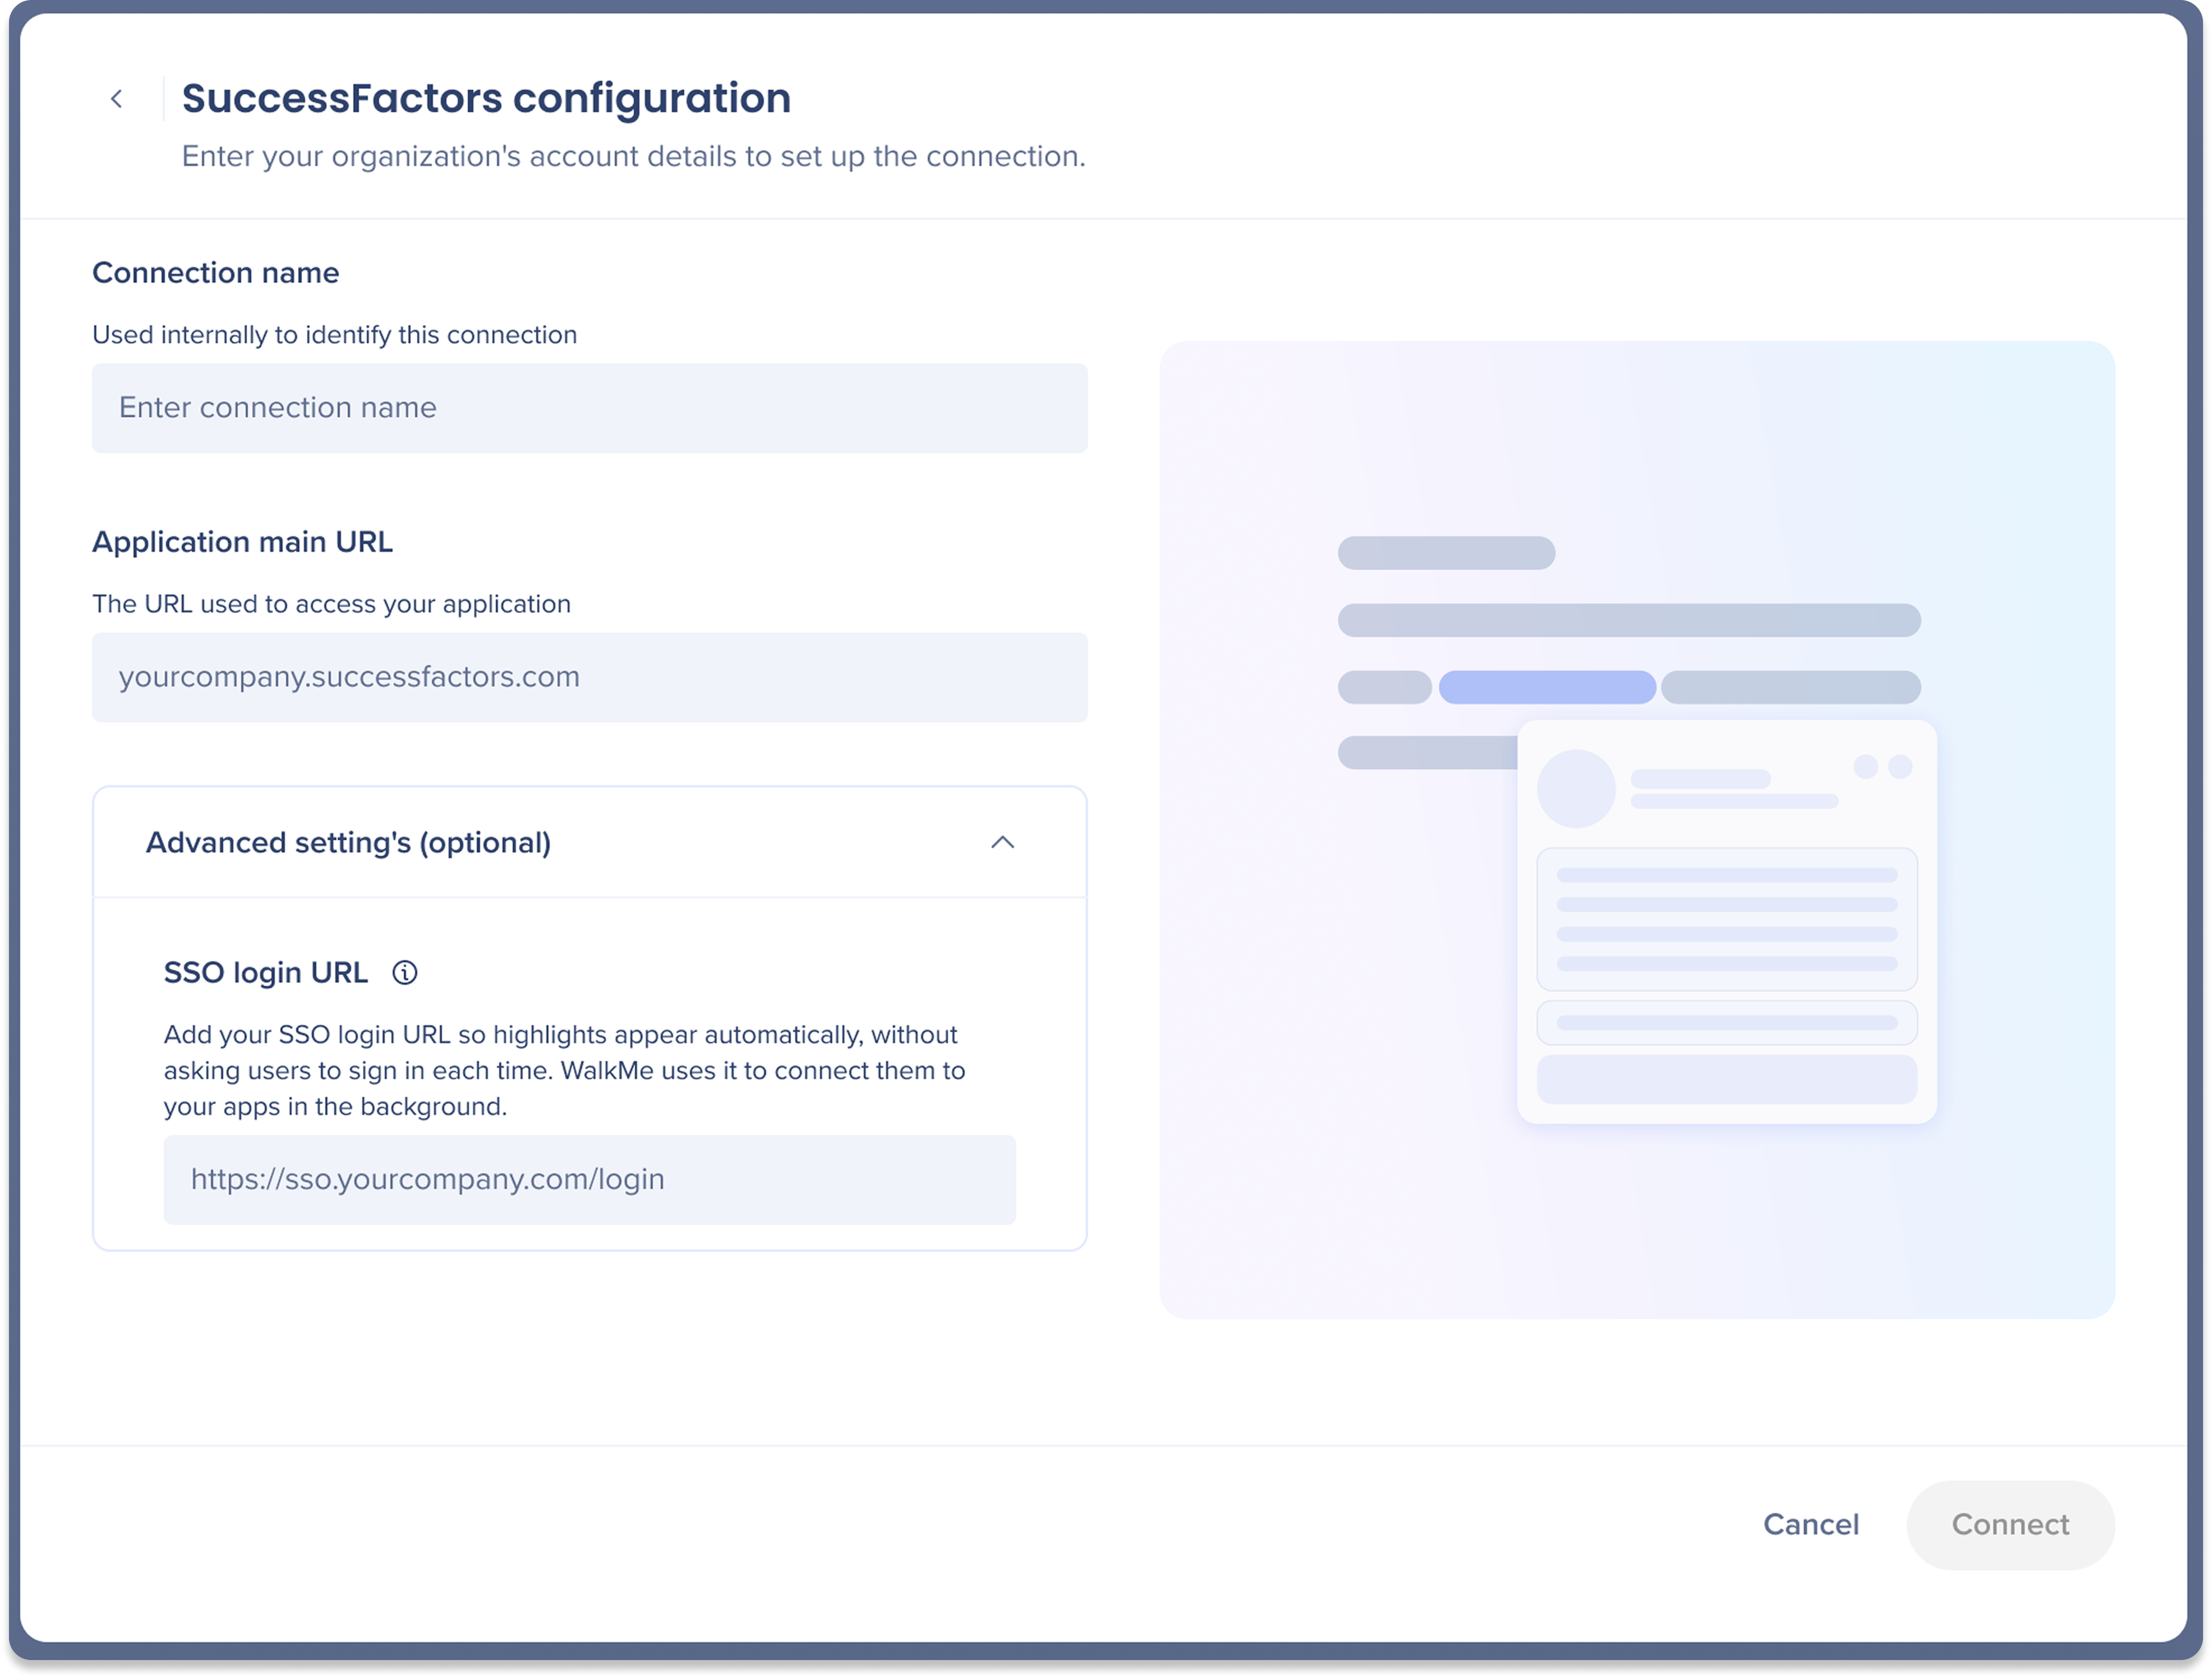
Cuándo añadir una URL de inicio de sesión de SSO
Smart Highlights loads data using each user's existing SSO session, so in most setups highlights appear automatically and this field can be left blank. Add your SSO login URL if your identity provider requires a redirect to sign in, or if highlights prompt users to sign in instead of loading automatically.
It tells Smart Highlights where to authenticate in the background so users aren't interrupted, and applies to this background authentication only. It doesn't change how users normally sign in to your applications.
5. Haz clic en Conectar para verificar la conexión
6. Un mensaje de confirmación aparece en la parte inferior cuando tus credenciales son válidas
7. Haz clic en Publicar
8. Aparecerá un Popup que te informará que la publicación aplicará tus Ajustes actuales a la extensión
9. Haz clic en Publicar
10. ¡Tu conexión ahora está activa! Añade entidades para comenzar a mostrar el resaltado
Ajustes de la entidad
Pasa el cursor sobre una entidad específica y selecciona el icono Opciones y luego selecciona Editar.
Cada entidad tiene tres pestañas:
-
Configuración de tarjetas
-
Estilo
-
Ubicaciones
Configuración de tarjetas
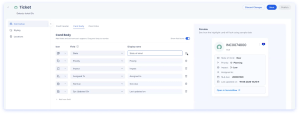
La pestaña Configuración de tarjetas es donde decides qué datos aparecen en una tarjeta resaltada y cómo se ve. Cada tarjeta extrae datos en vivo de tu Target de datos conectada, por lo que se actualiza automáticamente para cada usuario y cada registro en el que aparece.
Creas la tarjeta en tres pestañas, con una vista previa en vivo a la derecha:
-
Encabezado de la tarjeta: la parte superior de la tarjeta — su imagen, título y subtítulo
-
Cuerpo de la tarjeta: los campos que se muestran debajo del encabezado. Añade hasta 6 campos, establece un icono y un nombre para mostrar para cada uno y arrastra y suelta para reordenarlos
-
Enlaces de tarjeta: botones que los usuarios pueden abrir desde la tarjeta, como Abrir en S/4HANA. Establece la URL y la etiqueta para cada enlace
Tienes más información sobre la configuración de tarjetas aquí: Smart Highlights: configuración de tarjetas de entidad
Estilo
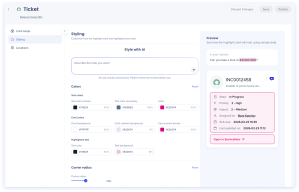
La pestaña Estilo te permite personalizar la forma en que se ve la tarjeta de resaltado y el texto resaltado, para que la tarjeta se sienta nativa para la aplicación en la que aparece en lugar de utilizar el aspecto predeterminado de WalkMe.
Estilo con IA
Describe el aspecto que deseas en un lenguaje sencillo y Smart Highlights establecerá los controles de estilo por ti.
Colores
Establece los colores manualmente o ajusta los valores que la IA establece para ti. Cada color tiene un porcentaje de opacidad:
-
Colores de texto: establece el color del texto principal, el color del texto secundario y el color del enlace
-
Colores de la tarjeta: establece el fondo de la tarjeta, el fondo de Contenido de la tarjeta y el borde del Contenido de la tarjeta
-
Texto resaltado: establece el color del texto y el fondo del texto para el elemento resaltado en la página
Selecciona Restablecer para devolver los colores a sus valores predeterminados.
Radio de esquina
Arrastra el control deslizante del radio de esquina para establecer qué tan redondeadas son las esquinas de la tarjeta. Selecciona Restablecer para volver a los valores predeterminados.
Vista preliminar
El panel Vista previa de la derecha muestra cómo se verá la tarjeta de resaltado y el resaltado en la página utilizando datos de ejemplo. Se actualiza a medida que cambias los controles de estilo.
Ubicaciones
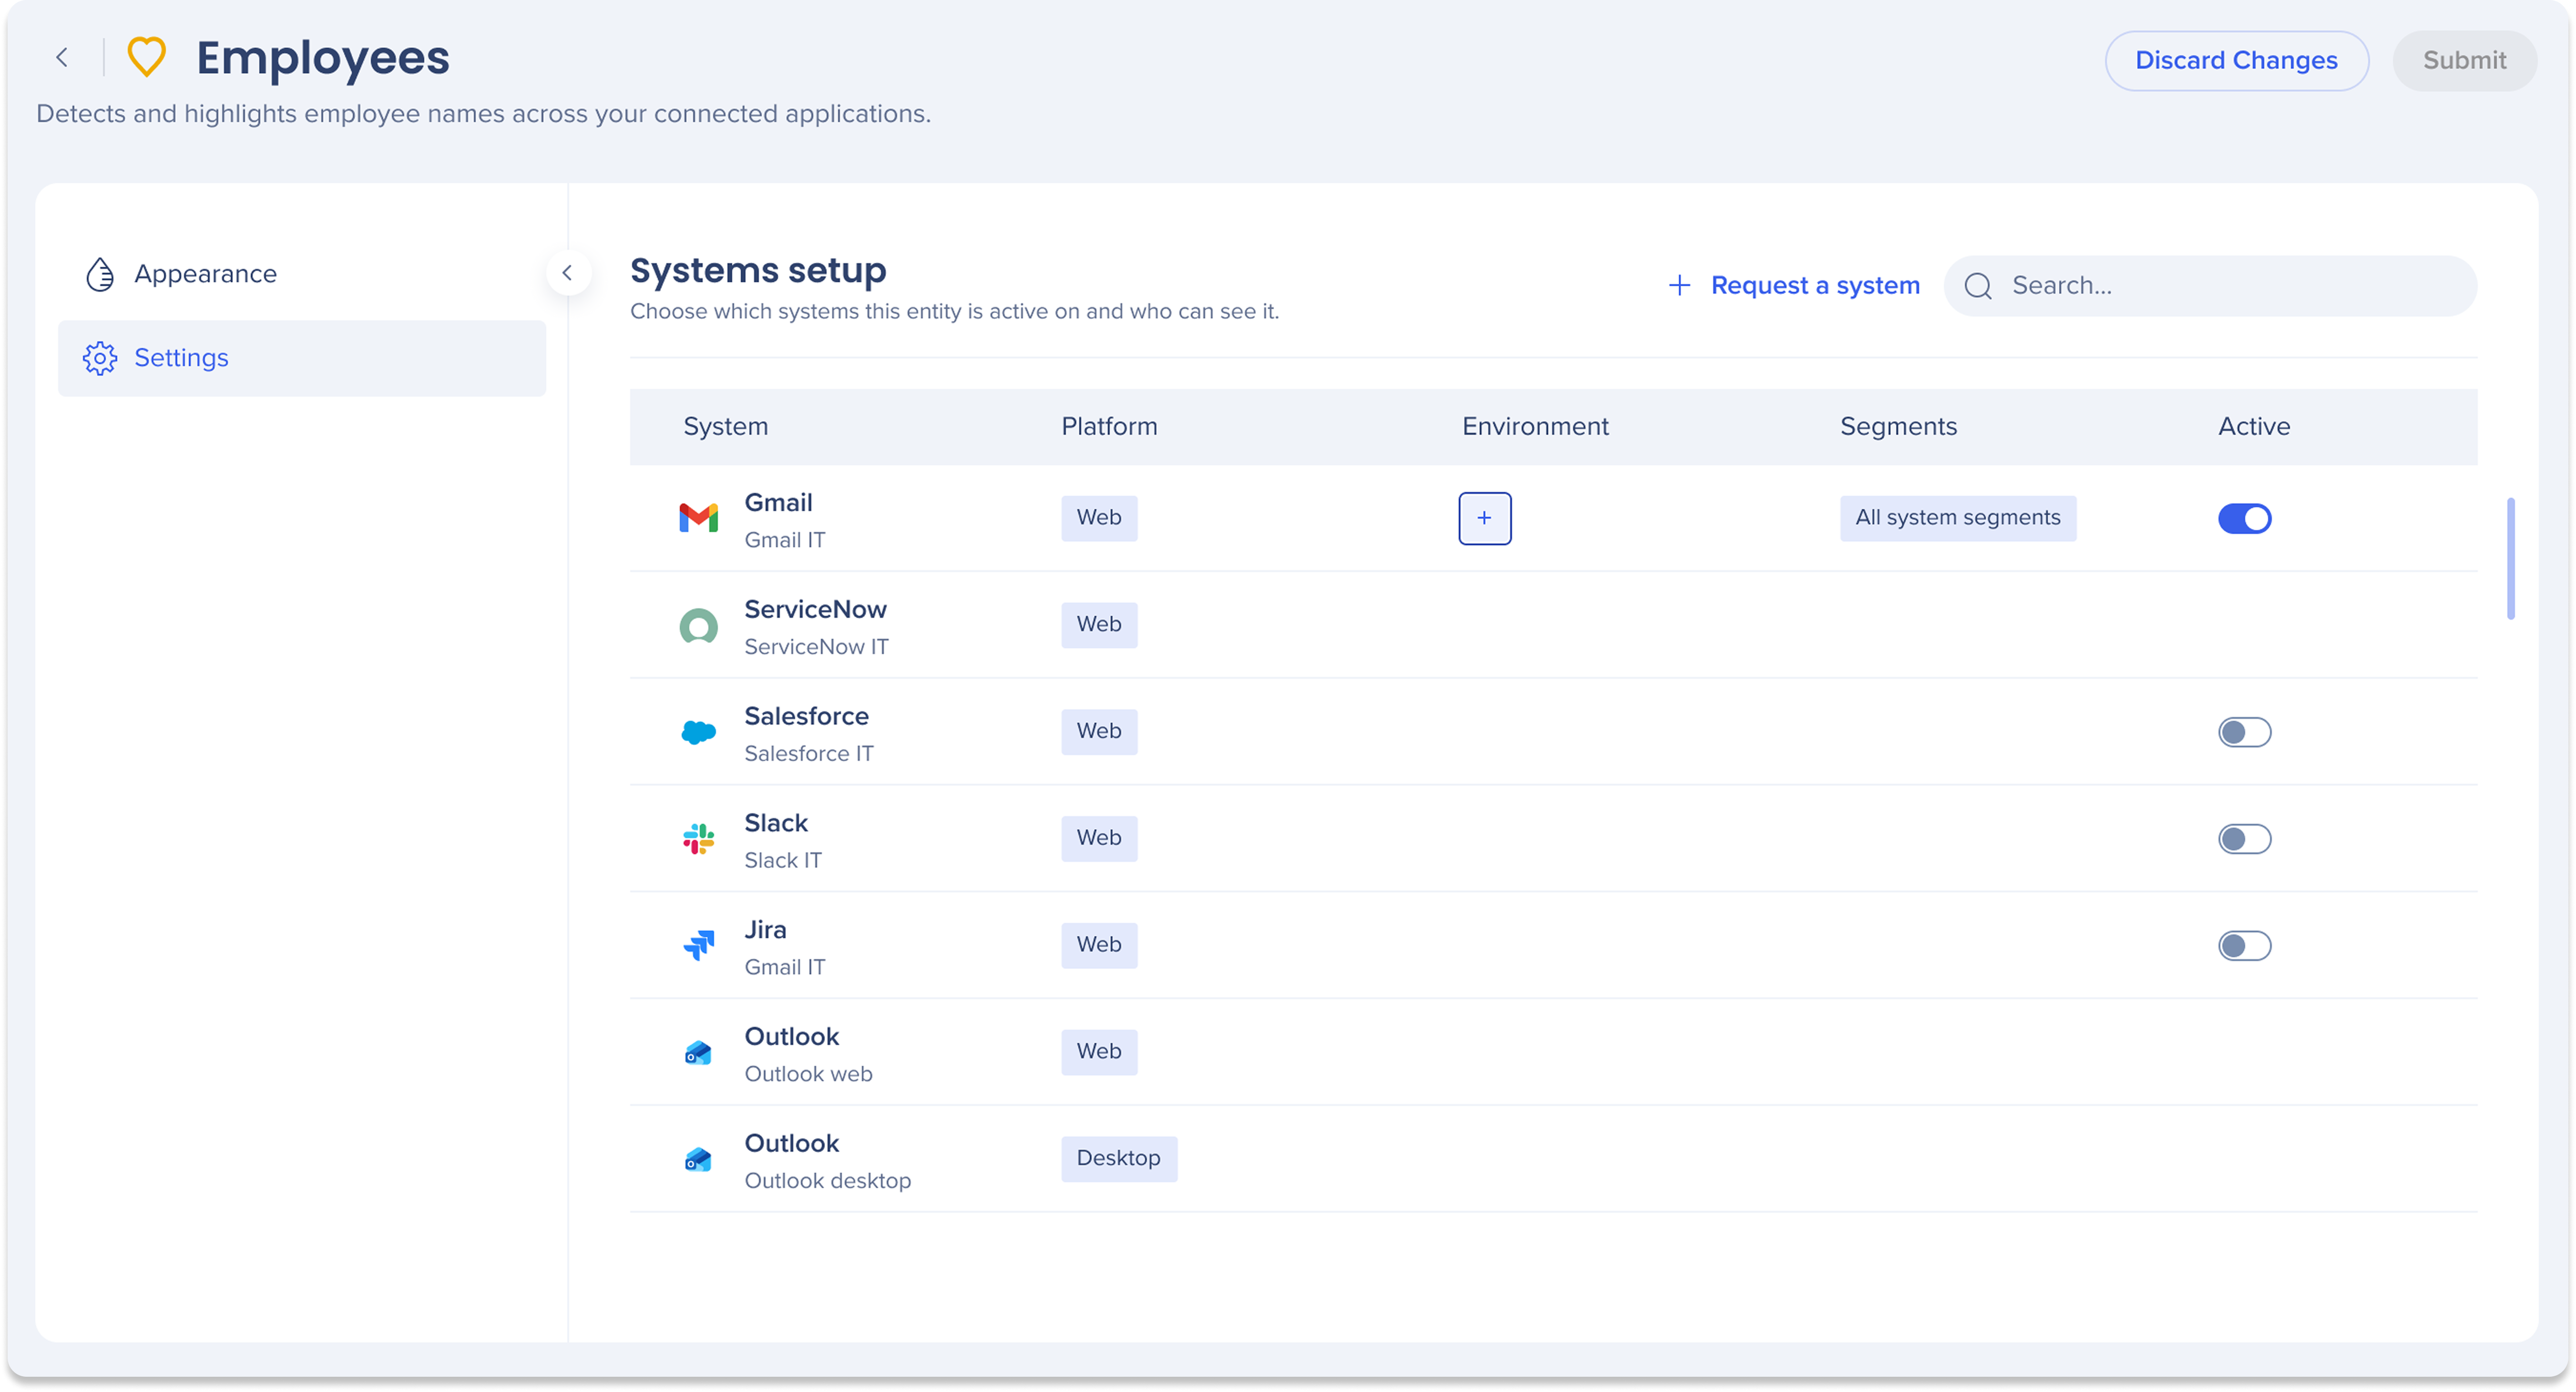
Elige en qué sistemas de visualización está activa esta entidad y quién puede verla. Para cada sistema, configura lo siguiente:
-
Sistema: la aplicación de visualización donde aparecerá el resaltado
-
Plataforma: si el sistema se ejecuta en la web o en el escritorio
-
Entorno: para cada sistema, selecciona el entorno en el que deseas que esté activa esta entidad
-
Segmentos: qué segmentos de usuarios pueden ver este resaltado
-
Activa Todos los segmentos para aplicarlo automáticamente a todos los segmentos existentes y futuros, o elige los específicos manualmente
-
Ten en cuenta que los segmentos recién creados deberán añadirse manualmente si utilizas la opción de segmentos específicos
-
Activo: activa o desactiva el resaltado por sistema
Solicitud de un sistema no compatible
Si un sistema que necesitas no está en la lista, haz clic en + Solicitar un sistema para enviar una solicitud. El equipo de WalkMe revisará y hará un seguimiento en consecuencia.
Technical Notes
- Lite systems: If you are not licensed for a specific display system listed but still want Smart Highlights to appear there, a lite system provides a pathway to enable it.
-
-
Full WalkMe content is not supported on lite systems
-
Who needs it: If you are on an ELA or DAP plan, you can create any system freely and do not need a lite system. For all other account types, the lite system is the required method to enable Smart Highlights on an unlicensed system


