Welcome to the
WalkMe Help Center
Please log in to continue

Please log in to continue

WalkMe's AI Chat Configuration in the console puts the power of conversational AI in your hands. Whether you want to deliver a seamless multi-chat bot experience using our unified chat experience, or isolate support scenarios with independent chat bots, this guide walks you through everything you need to know.
From setting up smart chat bot routing to customizing your chat's appearance, you'll learn how to design a branded, scalable, and intelligent support experience for your users across desktop, mobile, and web.
Access
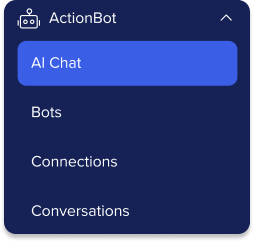 To access the AI Chat page, navigate to the ActionBot app in WalkMe console:
US Data Center: WalkMe Console
EU Data Center: WalkMe Console
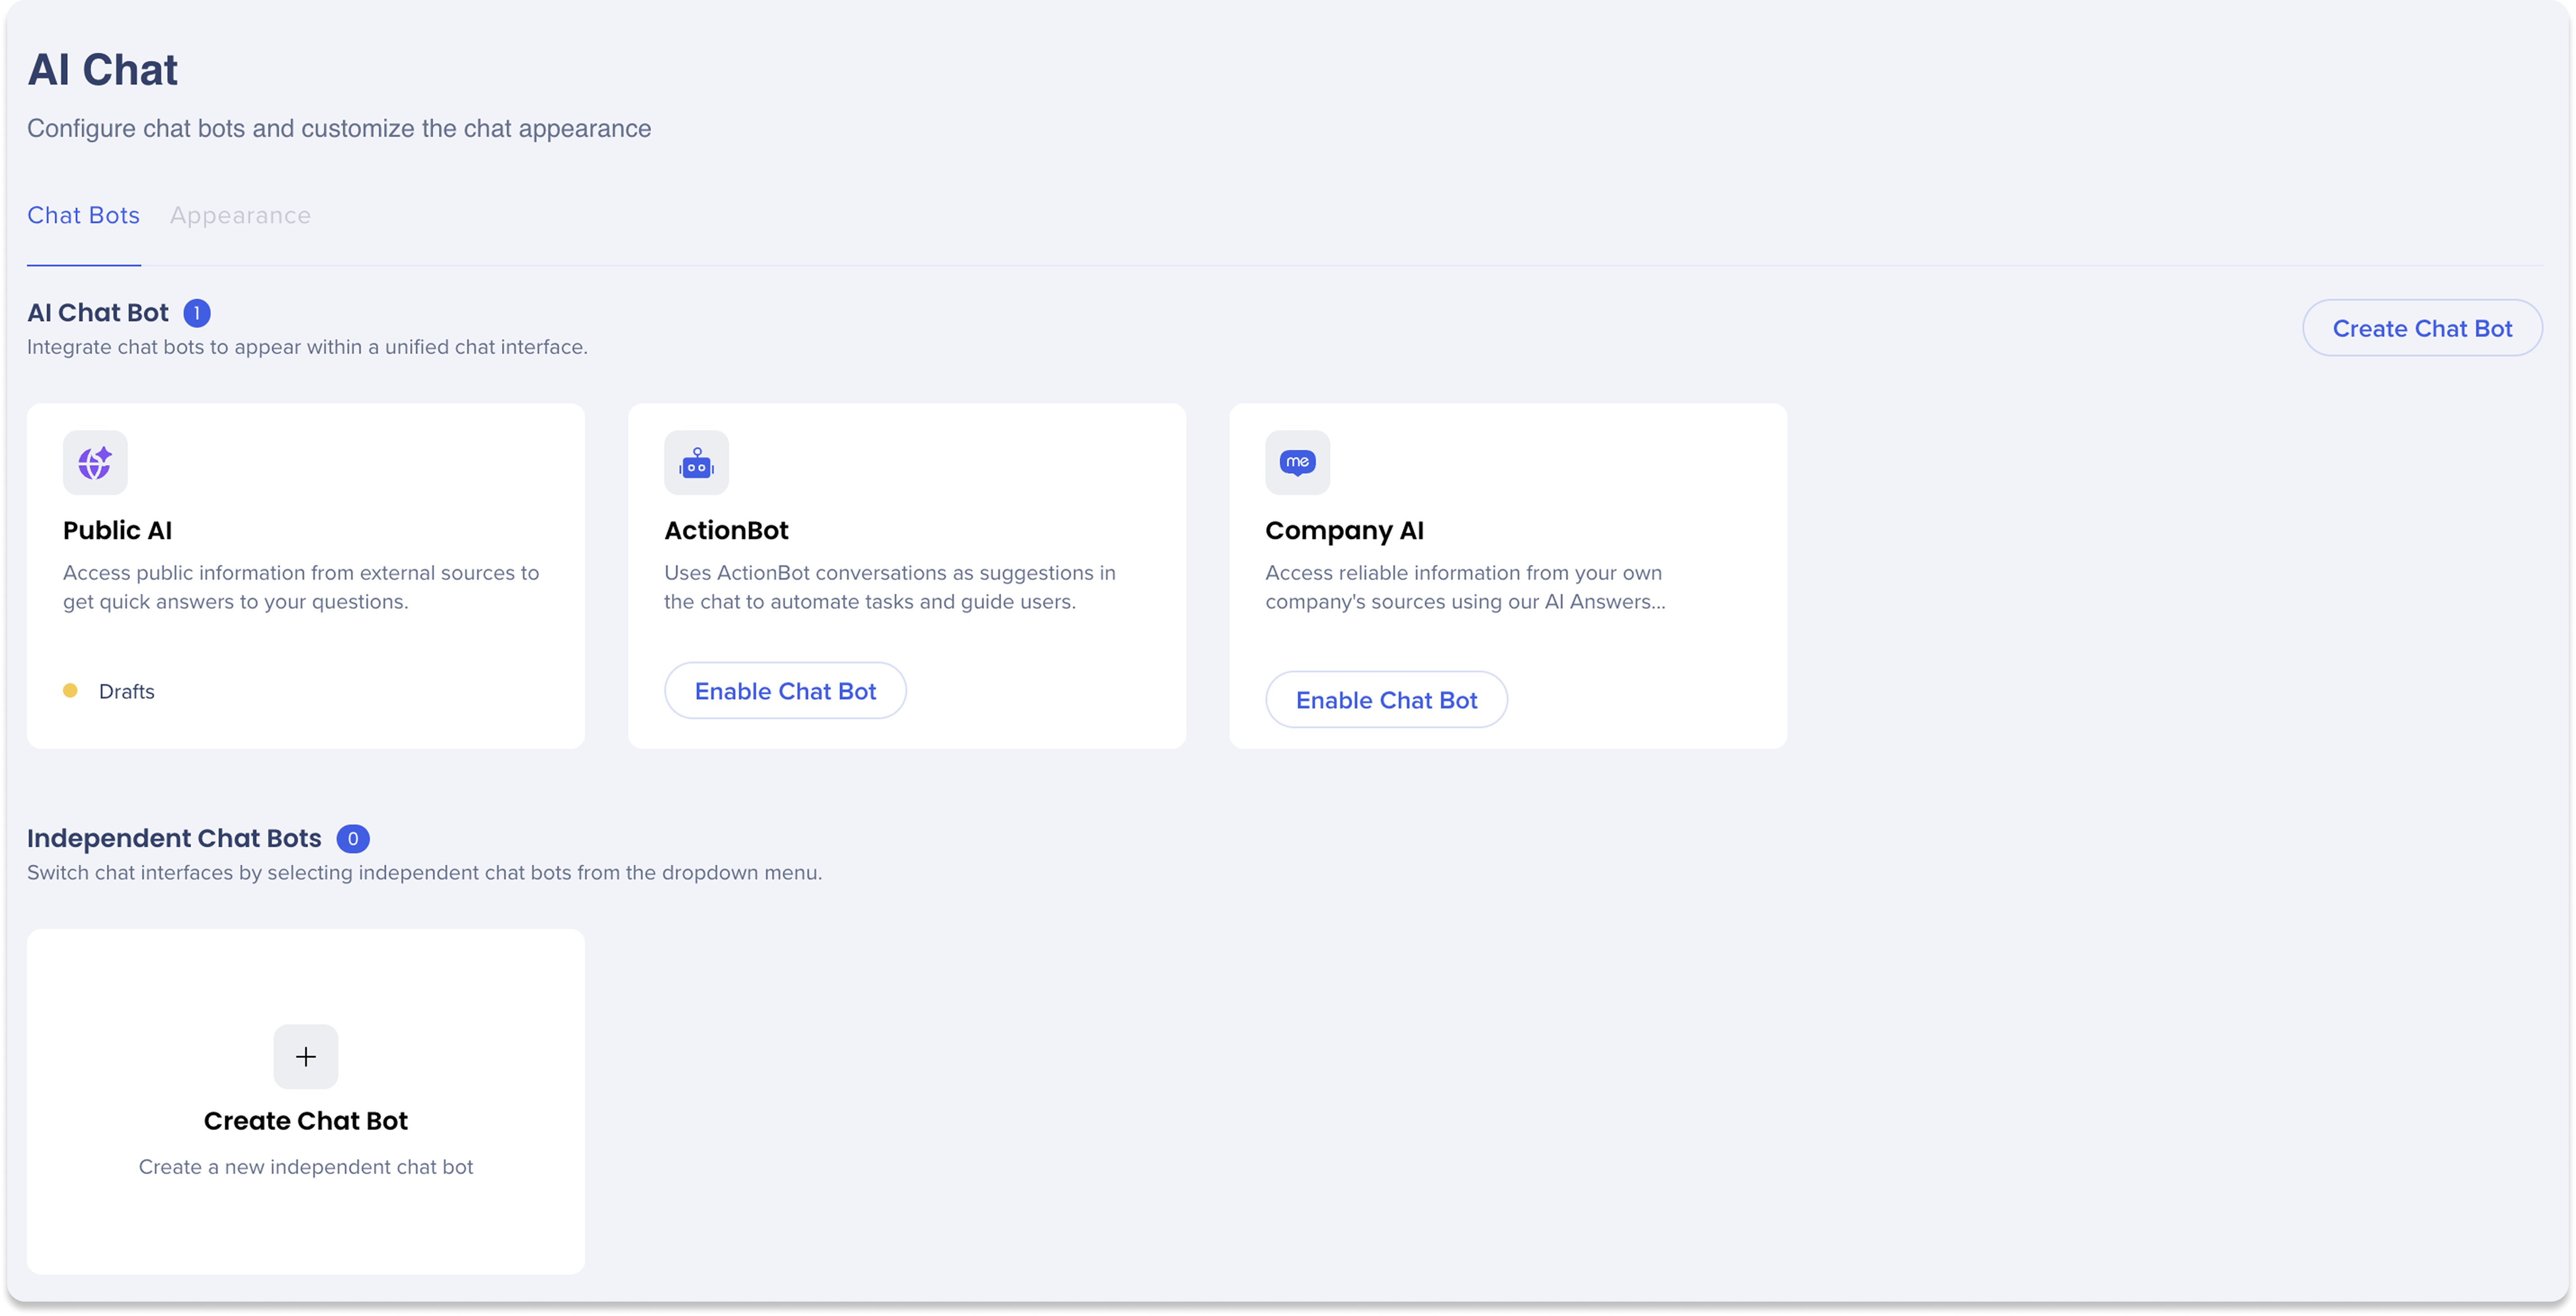
The AI Chat tab in the console allows you to configure and manage the chat experience across two main tabs: Chat Bots and Appearance.
The Chat Bots tab lets you create and manage AI chat bots that power the chat interface, either as part of unified chat or as standalone independent chat bots
The Appearance tab lets you control the look and feel of the chat interface, including welcome messaging and logo branding
AI Chat Bot (also referred to as Unified Chat) brings multiple AI chat bots into a single interface, allowing you to create one cohesive chat experience for your users. Instead of requiring them to choose a specific assistant, AI Chat intelligently routes their question to the best chat bot based on the request's intent.
You can connect multiple chat bots—such as ActionBot, Company AI, and Public AI—under one AI Chat interface.
Key Benefits
One interface, multiple chat bots
Automated smart routing to the best source
Maximize answer quality by leveraging all available chat bots

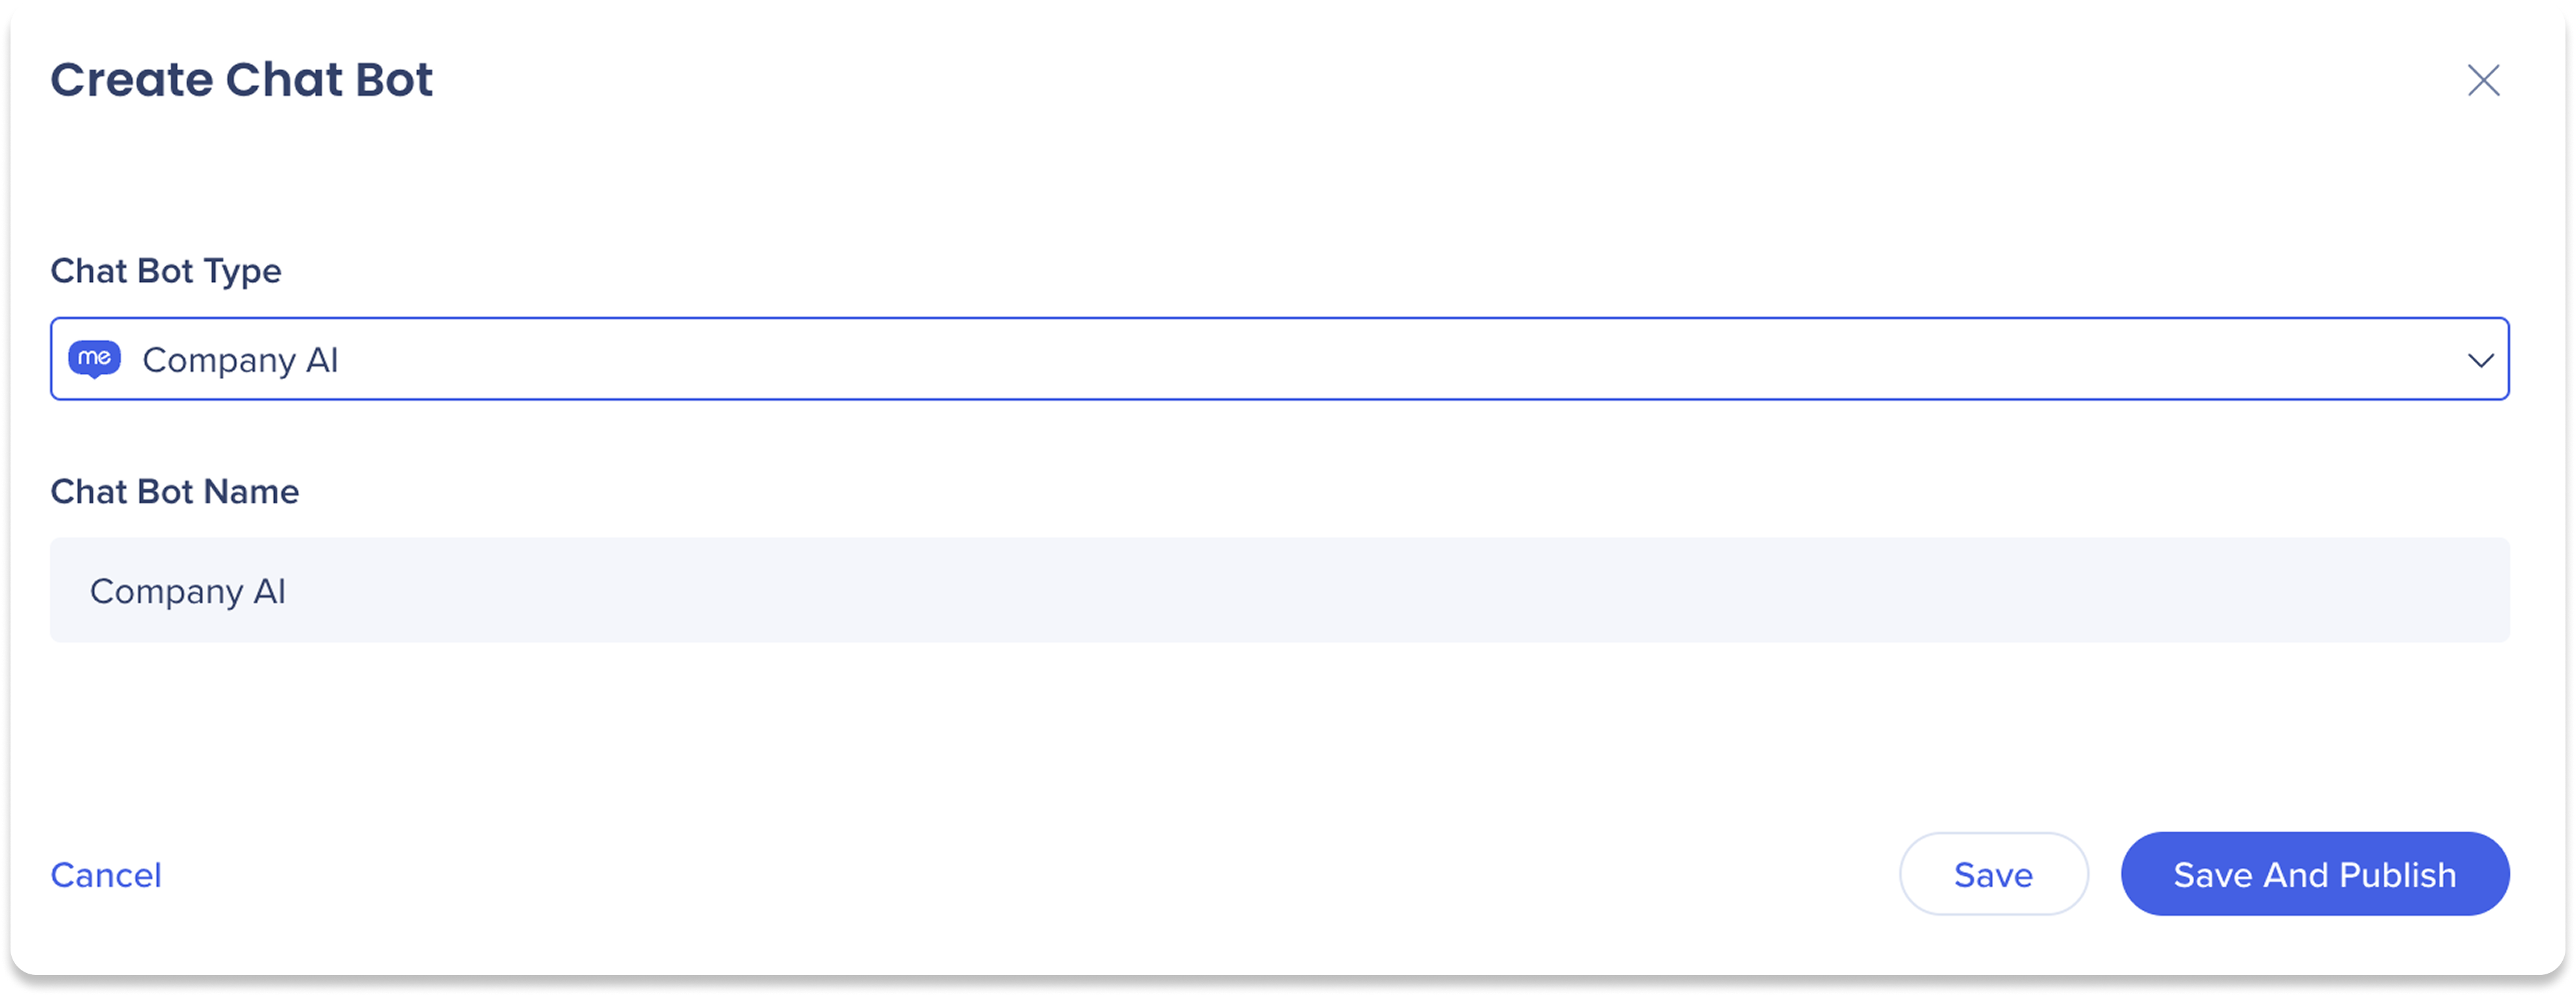
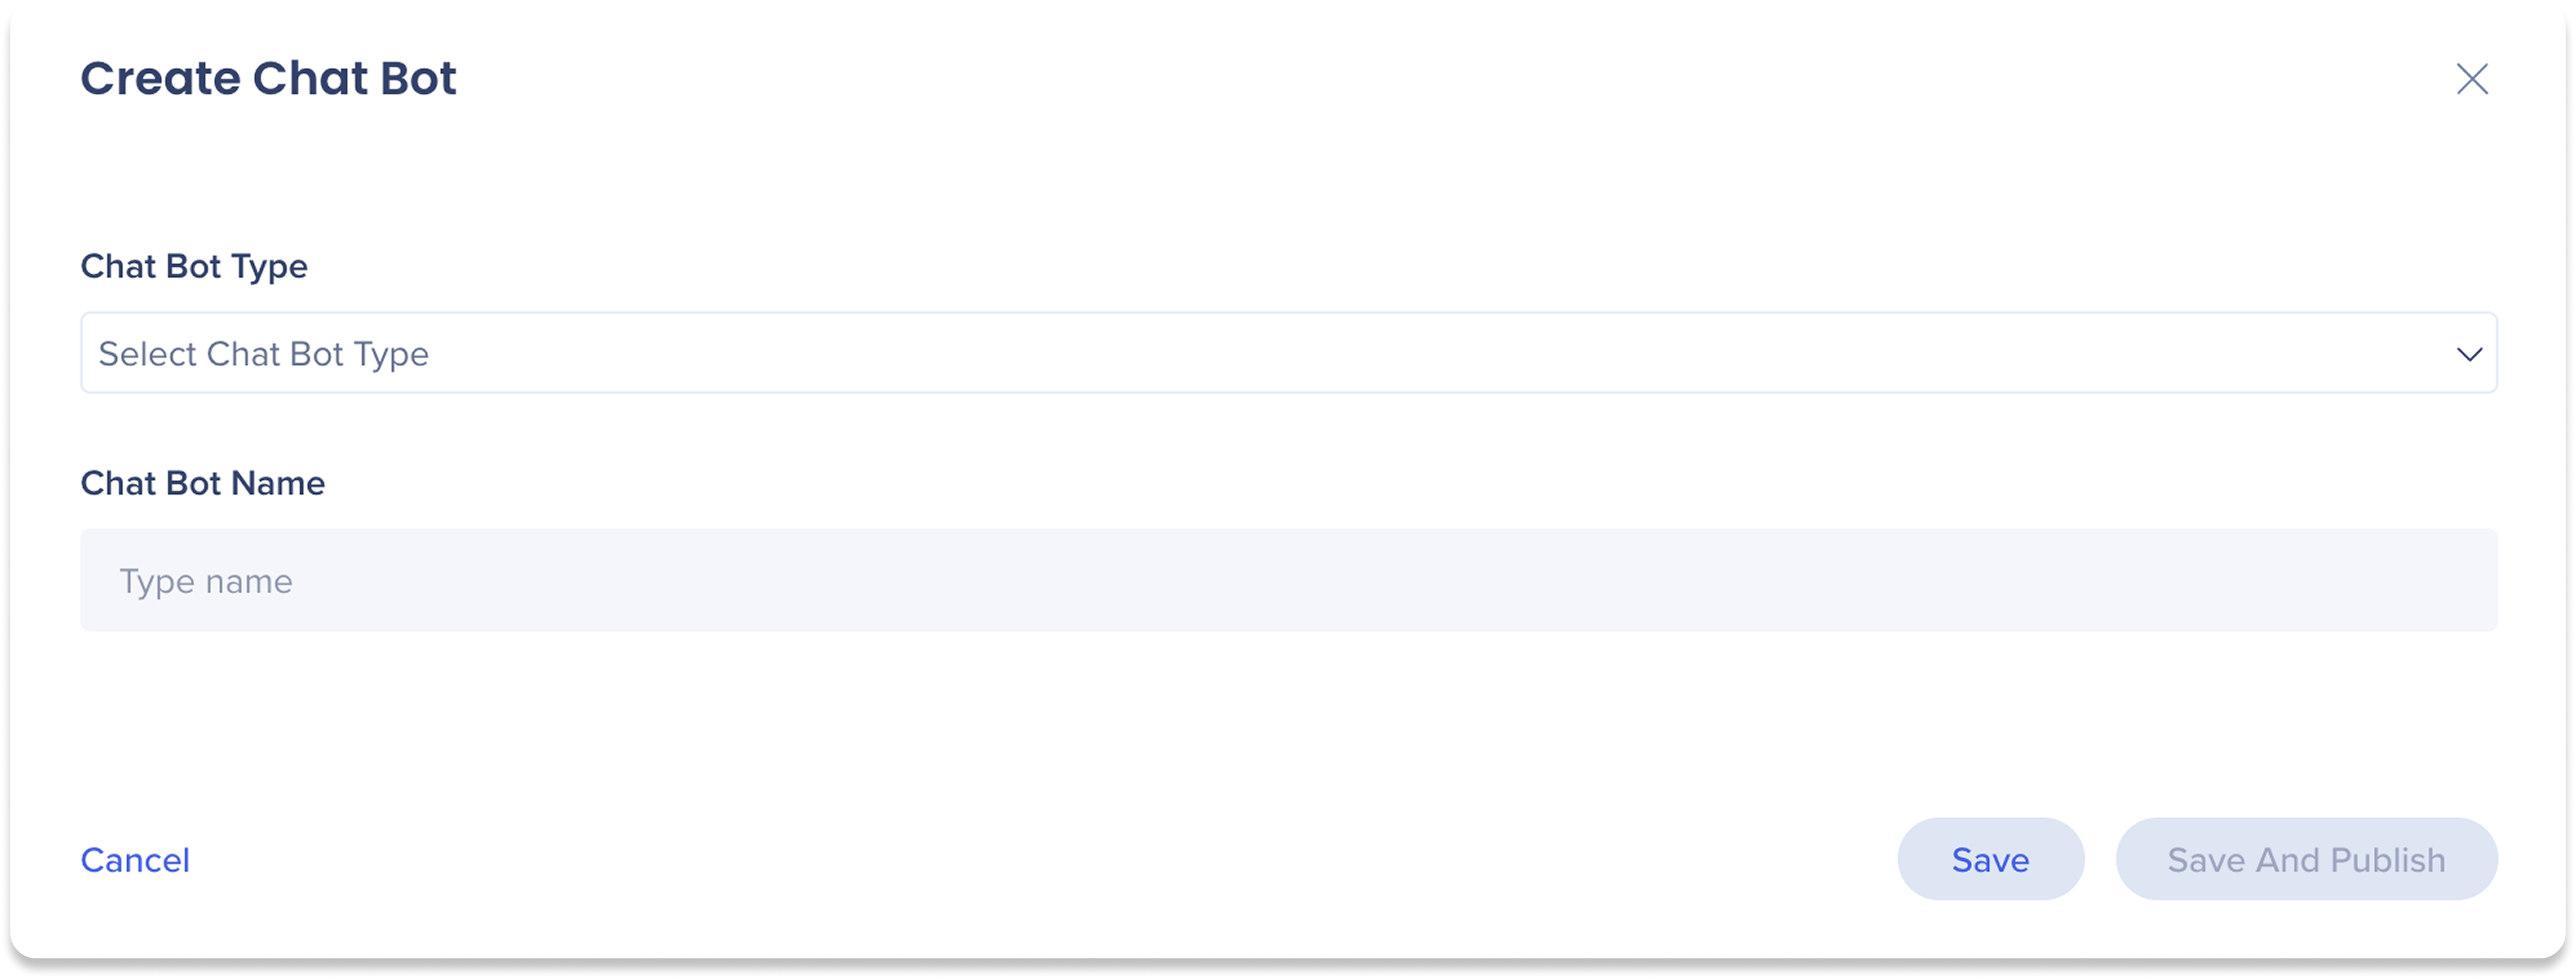
Under the AI Chat Bot section, click Create Chat Bot![]()
Select the chat bot you want to configure from the Chat Bot Type dropdown
Enter a Chat Bot Name to label the chat bot in the chat
Click Save & Publish to activate the chat bot, or Save to make it a draft to configure it later
Once published, the chat bot will appear under AI Chat Bot, where you can click Edit, Disconnect, or Delete
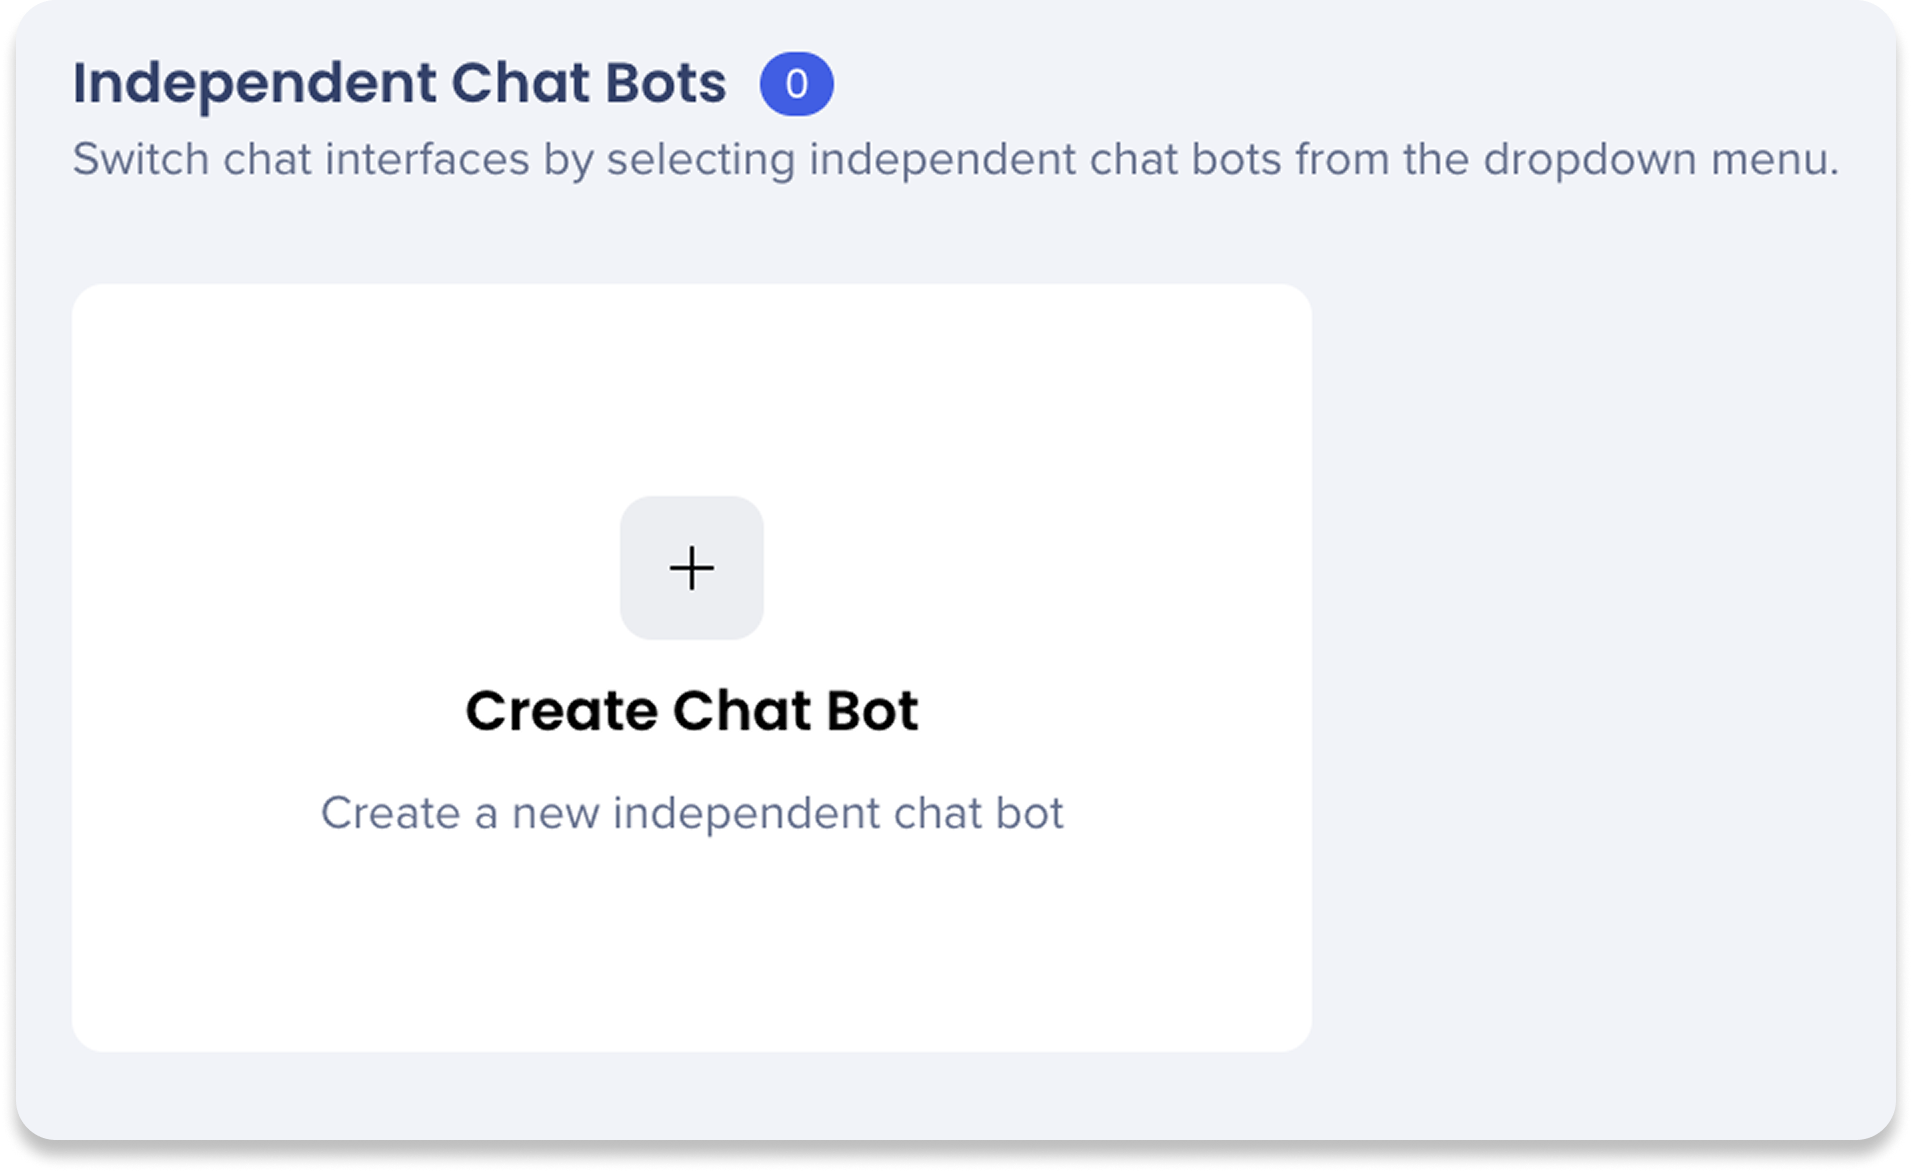
Independent Chat Bots let you configure and expose AI chat bots as stand-alone chat interfaces outside of the unified chat experience. This allows you to switch between different chat bots using a dropdown menu in the chat window.
Key Benefits
Offers direct, isolated chat bot control
Limit what sources your audience can access
Test new chat bots before rolling them into the unified experience
The Appearance tab allows you to personalize the AI Chat for each chatbot. You can customize the welcome message and company logo that appear in the chat window, helping create a branded and user-friendly interaction. Settings can be applied to the general AI Chat interface or to independent chat bots.
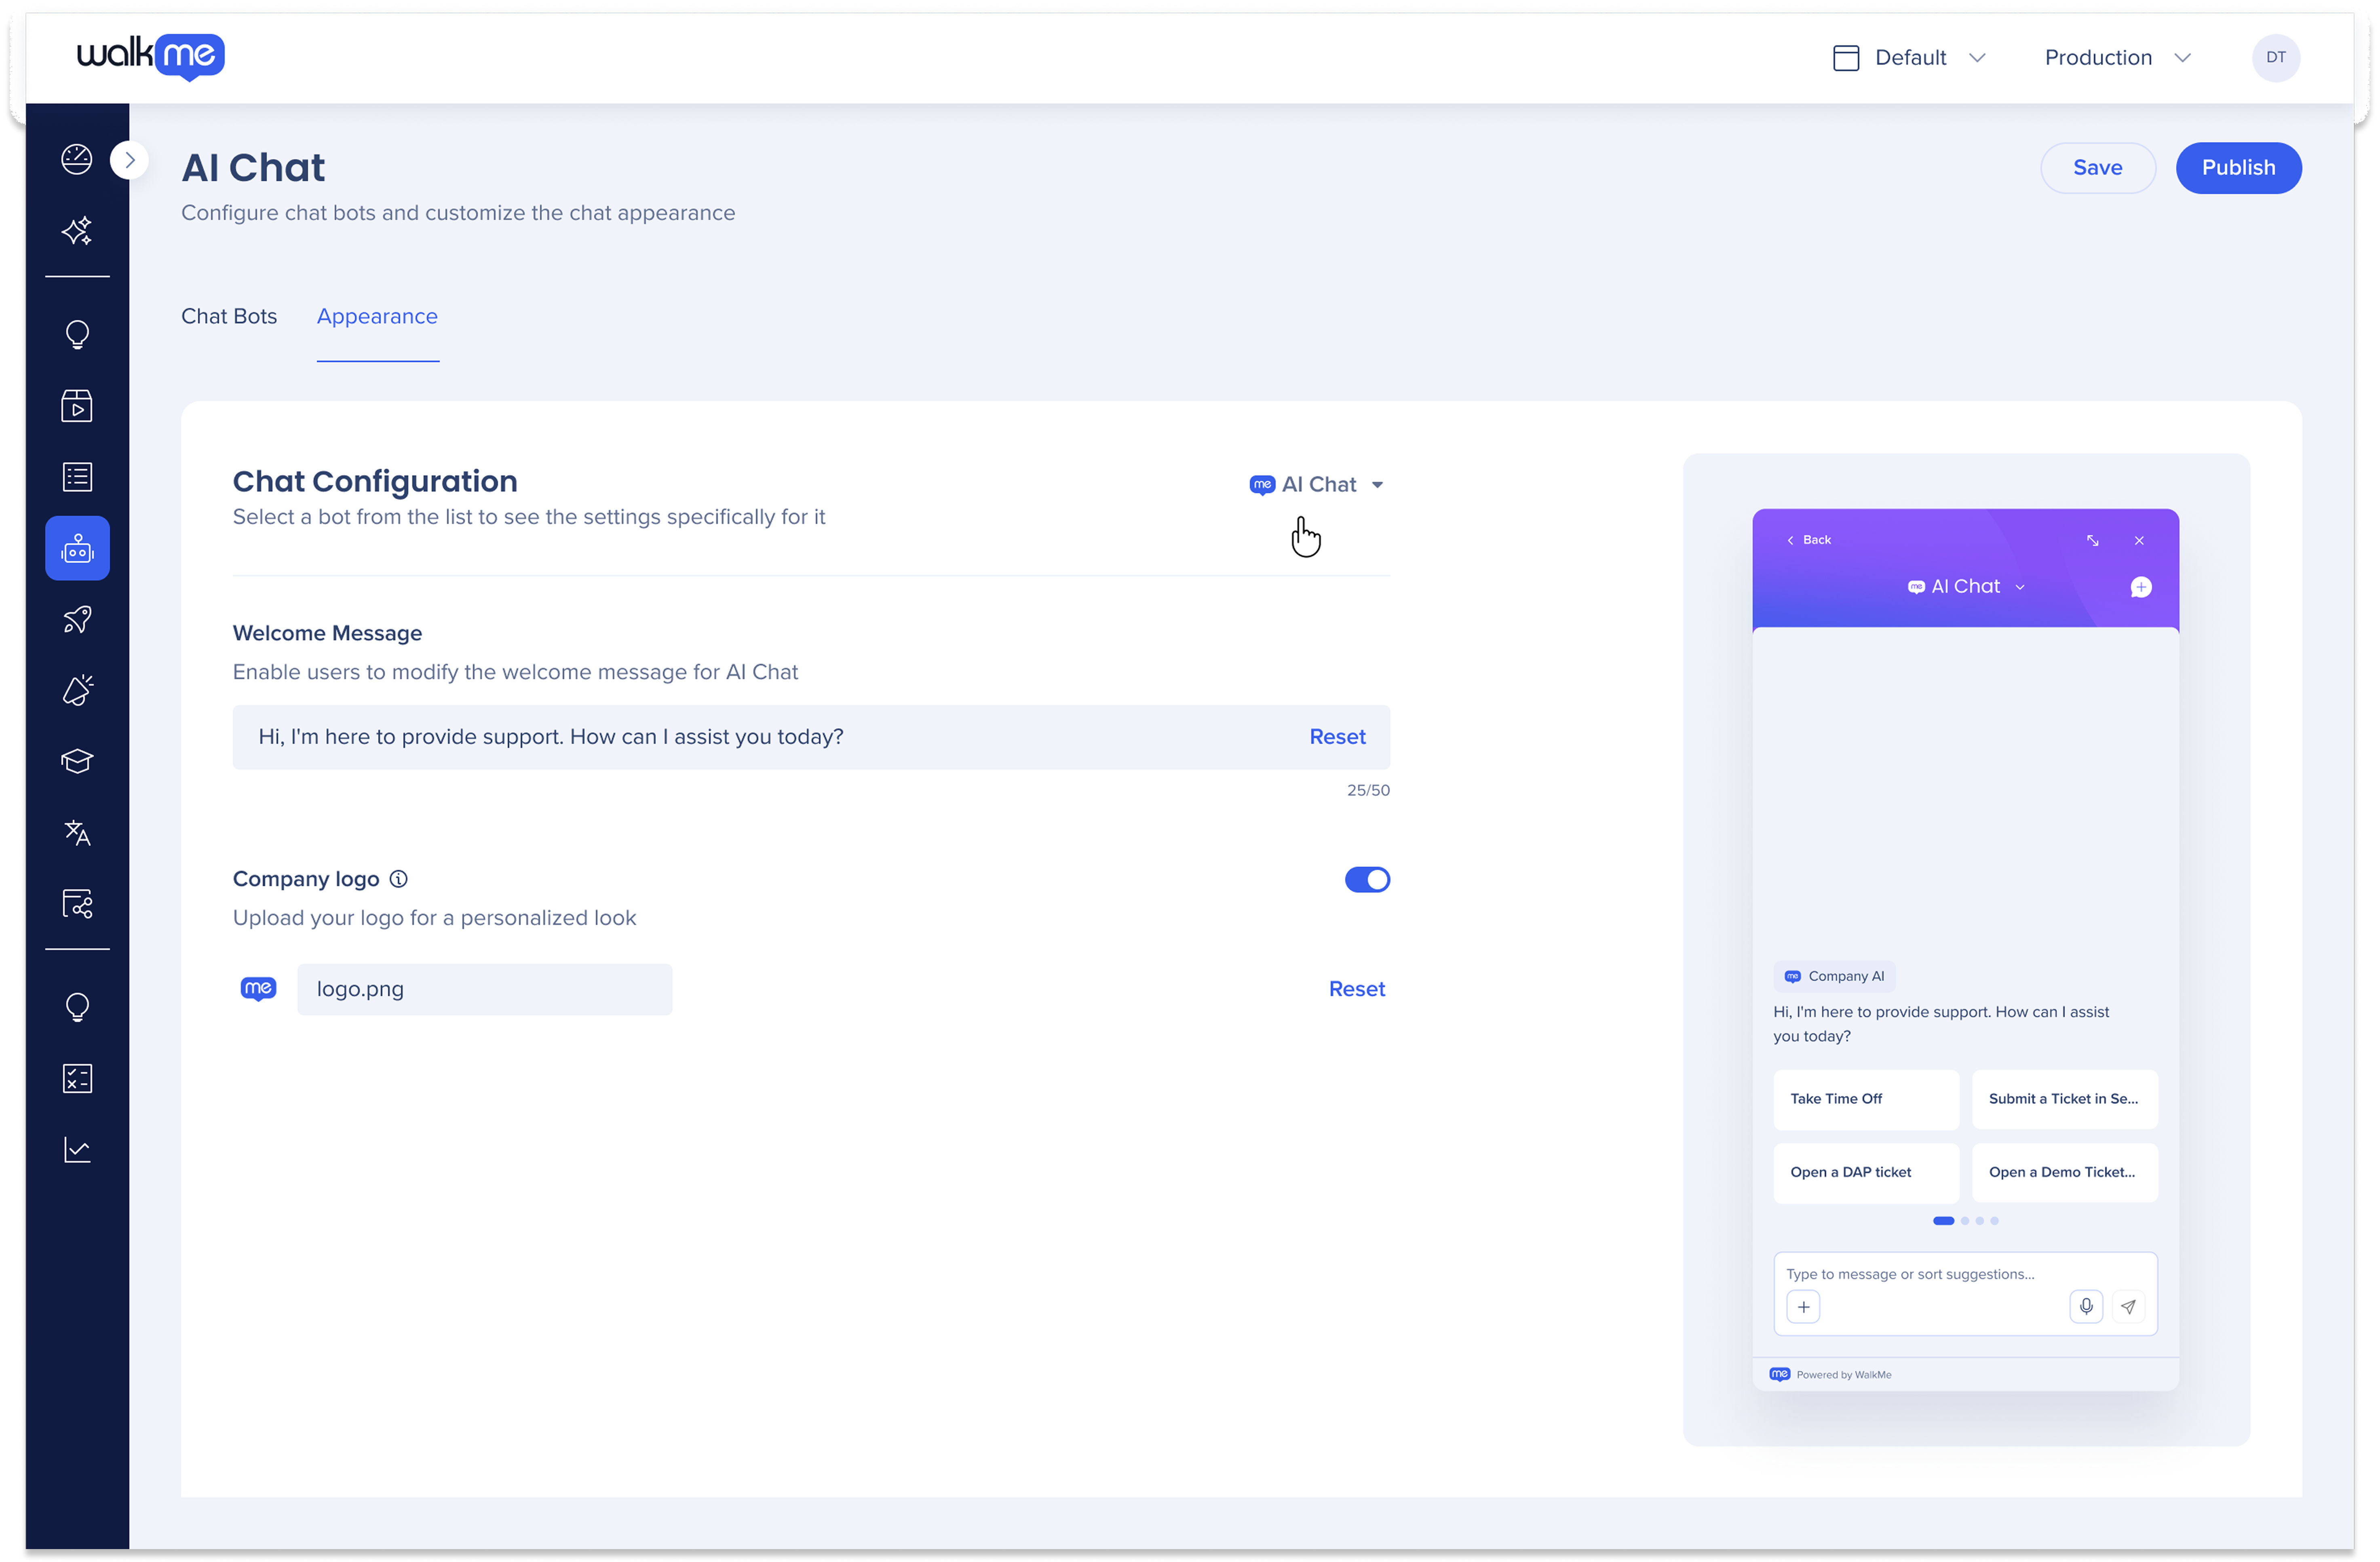
Use the dropdown to select which chat bot you want to configure
In the Welcome Message field, enter a custom message (up to 50 characters) to greet users in the chat
Turn on the Company logo toggle
Under Company logo, click Upload or Replace image to set a logo for this agent
Adjust Opacity and Zoom sliders to fine-tune how the logo appears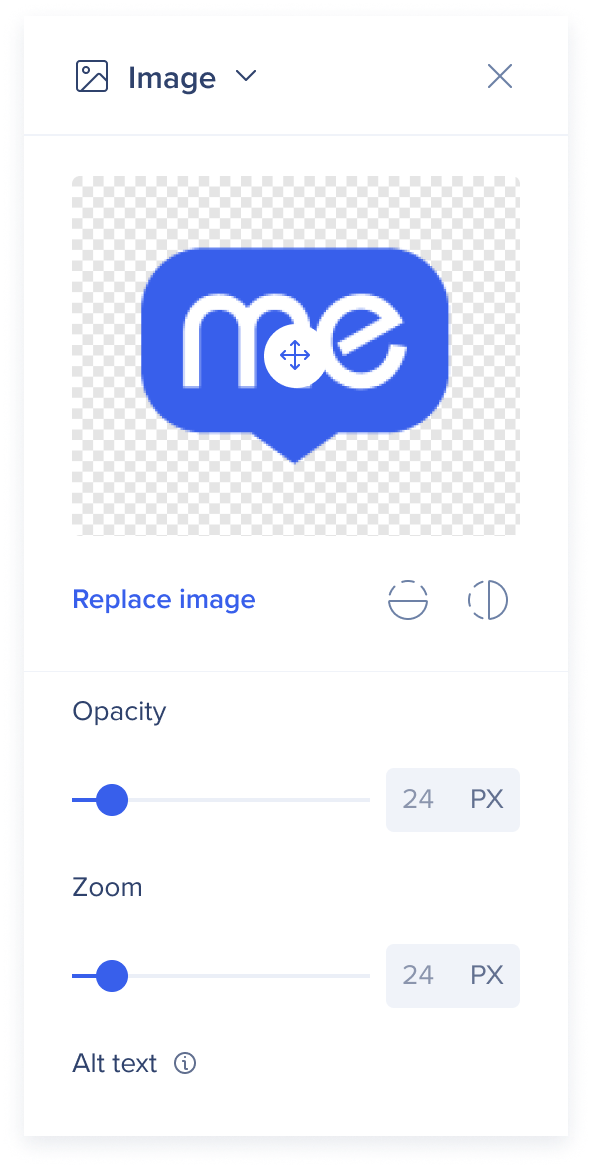
Only one unified chat interface can be active at a time