Welcome to the
WalkMe Help Center
Please log in to continue

Please log in to continue

This article is a comprehensive guide to building a WalkMe ActionBot, a chat interface that improves user engagement and simplifies the customer service experience on your web application. By following this article, you can create the bot in the WalkMe Console and place it on any web application using a Launcher.
The WalkMe ActionBot serves as a container that holds and selects the appropriate conversation for the user based on their intent. You can easily create a container for all your bot conversations and tailor the chat interface to meet your users' needs.
Bots are created in the WalkMe Console > ActionBot tab > Bots tab
Navigate direction through URL:
US Data Center: WalkMe Console
EU Data Center: WalkMe Console
On the bots page, click the Create Bot button to open the bot building process
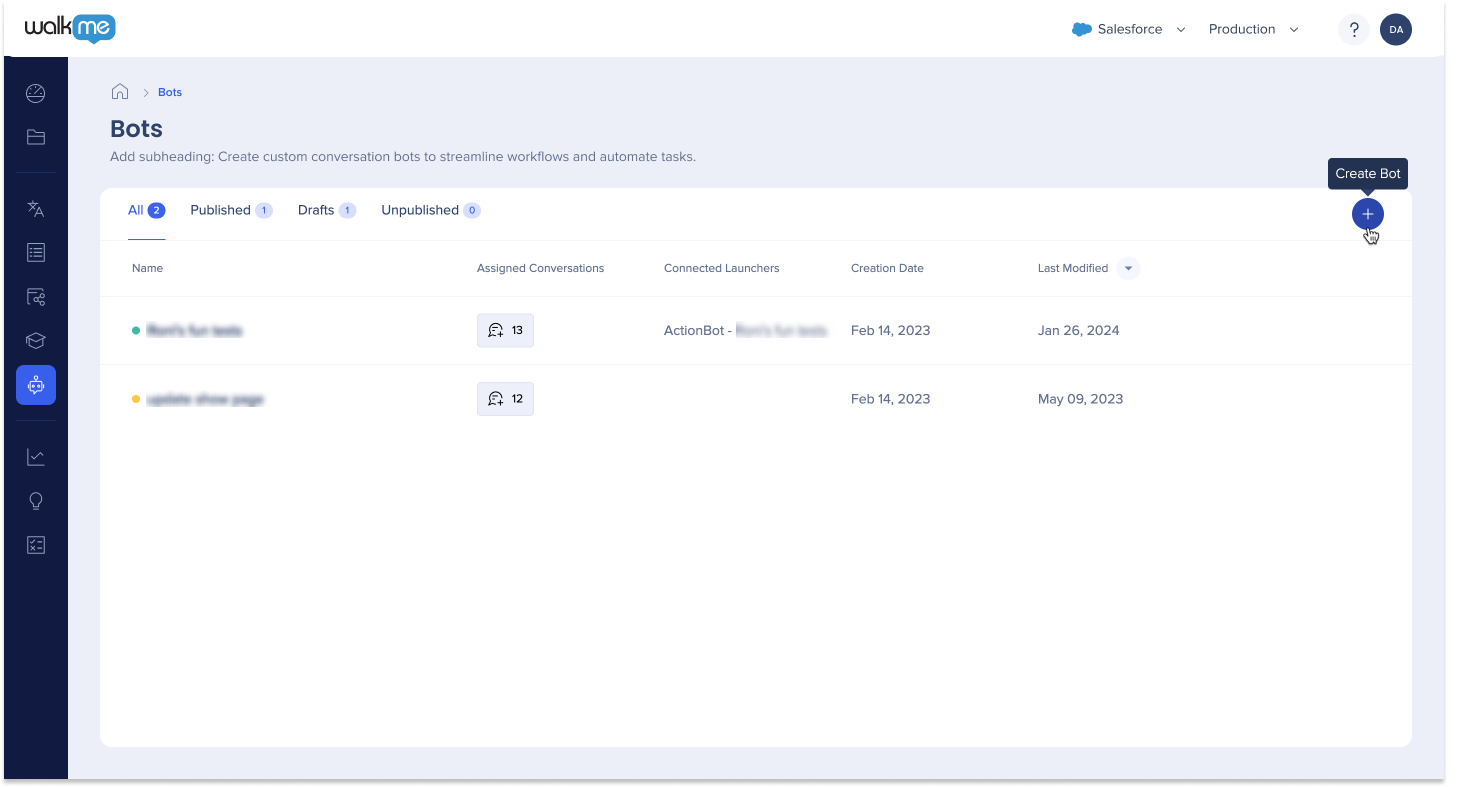
WalkMe Console now offers a user-friendly bot building process. After clicking the Create Bot button in the console and a side panel will open with five customizable tabs to create and perfect your bot.
To get started, you'll need to fill out the mandatory fields located on the General tab. These fields are required for your bot to function properly, so you must complete them before proceeding to other customization.
This section covers all the tabs in bot building. It aims to equip you with the knowledge and insights needed to navigate the process with confidence, regardless of your experience level.
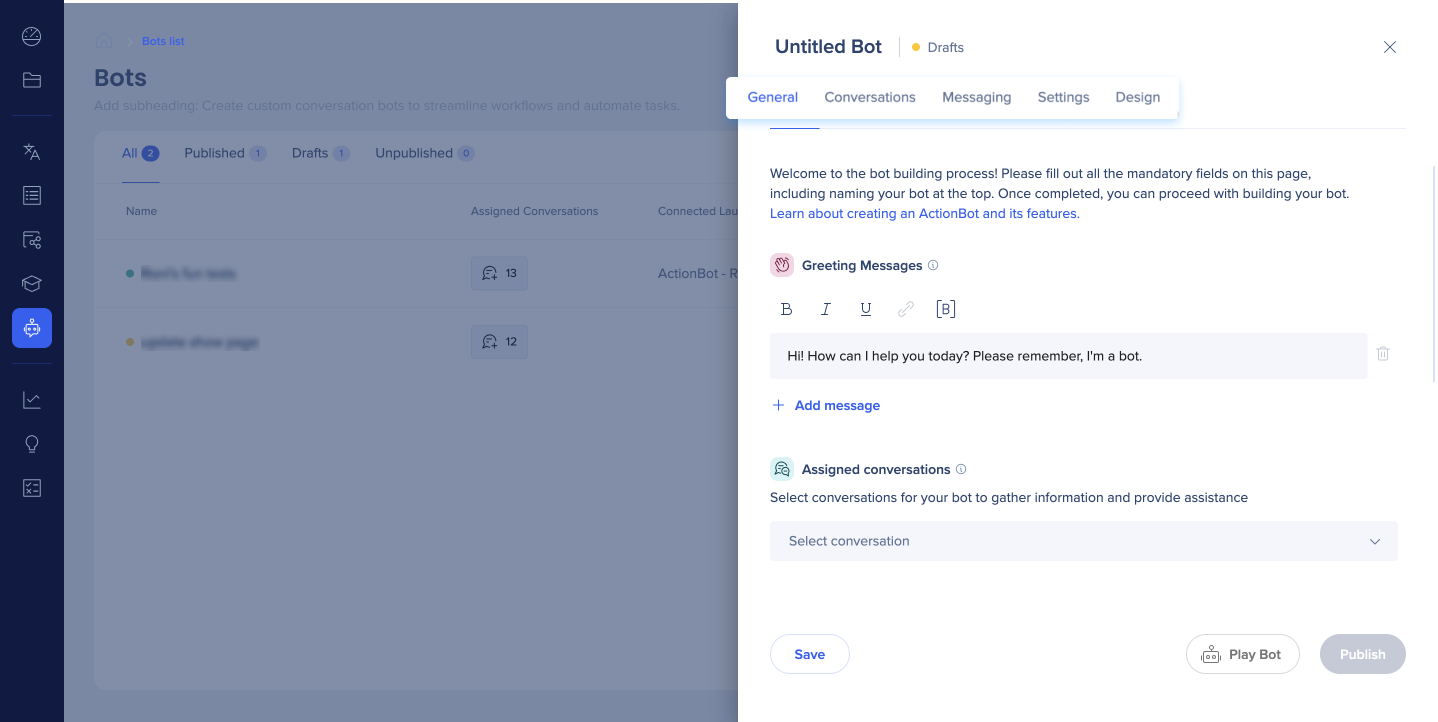
The initial step in building a bot leads users to the General tab, which consists of mandatory fields that need to be filled out before proceeding with further customization and settings.
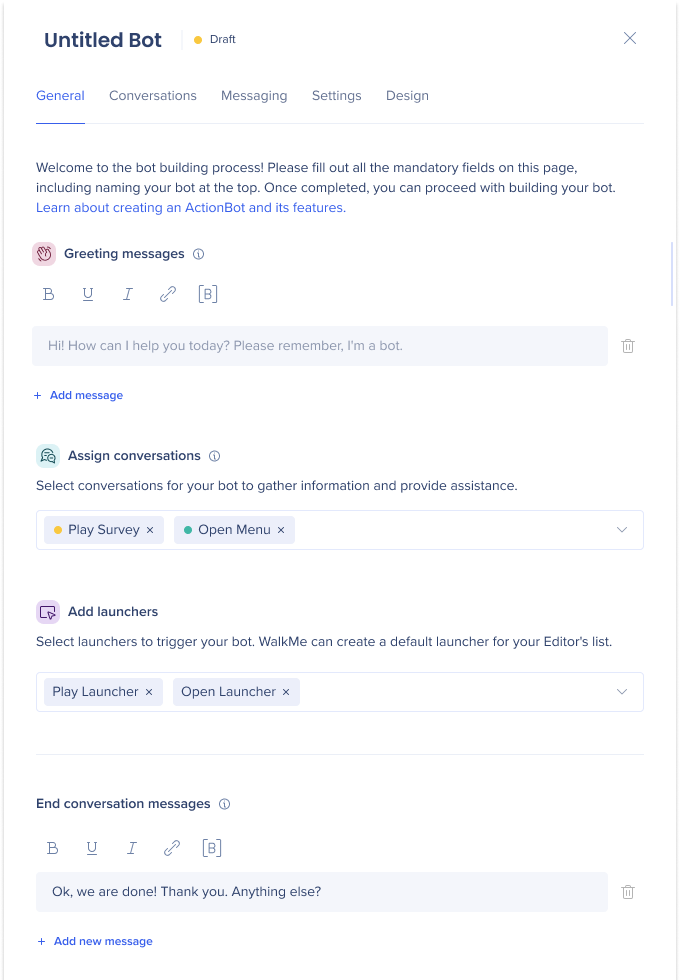
Enter a name for your bot at the top of the page in the Untitled Bot field.
This serves as an identifier for you, end-users will not see this name
This will be the first message to the user when the bot is initiated. Once the greeting message is displayed, the bot tries to match a conversation to the end-user's input.
You can use the default message that's already in the field or create your own custom message
Click Add message to create multiple greeting messages
If more than one greeting message is entered, the bot will choose a greeting message randomly
Select conversations that are relevant to the Bot. The bot will search these conversations and try to match one of its assigned conversations to the end-user's input.
On publish, a validation will occur to ensure that at least 1 conversation is assigned to the bot
Make sure that the bot and its assigned conversations are published to the same environment in order to see them in the bot
Tags within the Bot Settings tab are now color-coded and reflect the Conversation's publish status
Select launchers to trigger the ActionBot.
A launcher can only trigger one bot
You can create a default launcher from the Add launchers selection or customize one from the WalkMe Editor. Once created, assign the action to open ActionBot and choose your desired bot. Optional: select your desired conversation
This message appears when the conversation has ended successfully and the Bot has performed an action, or presented the final conversation node.
You can use the default message that's already in the field or create your own custom message
Click Add message to create multiple end conversation messages
If more than one message is entered, the bot will choose a message randomly
Once you've completed the General tab's required fields, you can begin customizing your bot and adding additional features from the additional tabs.
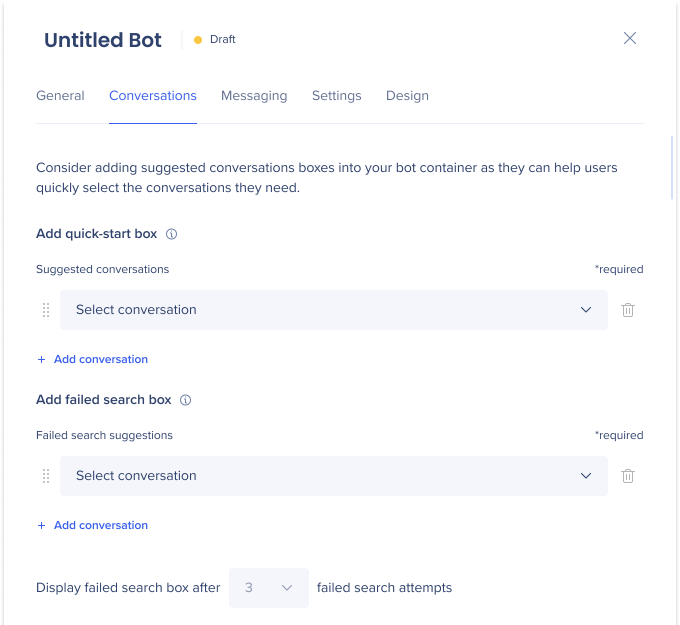
The Conversations tab allows you to configure a suggested conversations box, which is displayed to end-users in your bot. The box corresponds to the assigned conversations and is designed to guide users towards the appropriate conversation.
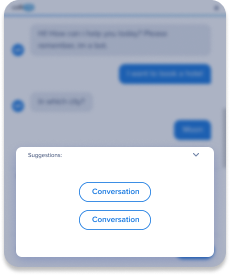
There are two use cases for a suggested conversations box:
Provides users with pre-assigned conversation options upon opening the bot, eliminating the need to type a message.
Select a conversation from Select conversation dropdown
Up to 4 suggestions will be visible at a given moment to the end-users
The end-users can either start typing to filter the suggested conversations or scroll to see more
Provides users with pre-assigned conversation options after unsuccessful user searches. These conversations will appear to end-users after a defined number of failed search attempts to help the user find what they may be looking for.
Up to 4 suggestions will be visible at a given moment to the end-users
Define how many search failures will prompt the failed search box (default is 3 attempts)
The Messaging tab allows you to customize your bot's messages, buttons, headings, and input field texts, giving you the power to create a unique and personalized brand experience.
Type your custom text in the fields to override the default texts. If a default text is not replaced with custom text, the bot will display the default text.
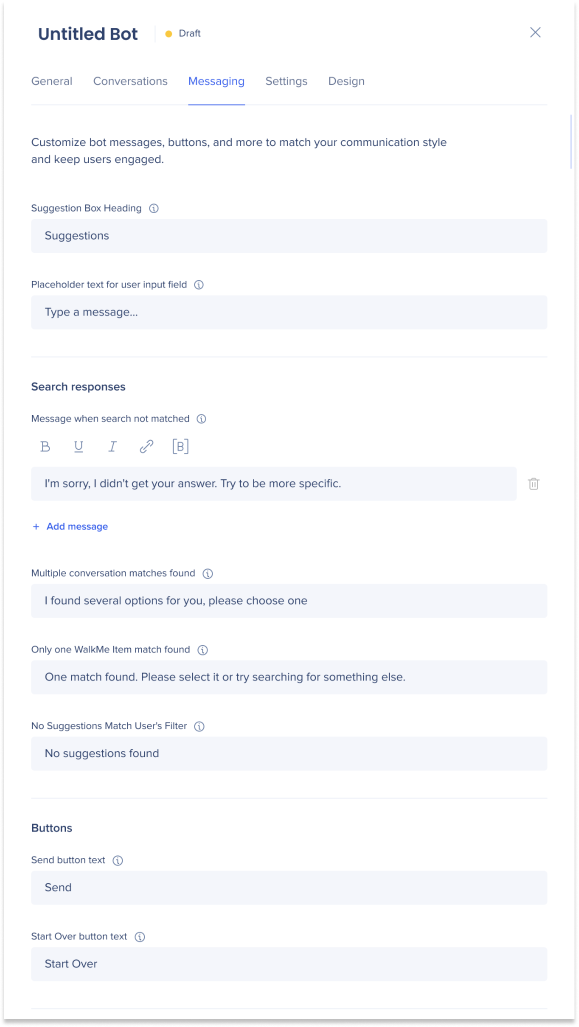
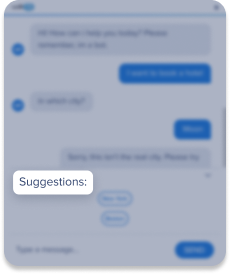
Suggested conversations box heading: This is a heading that appears when suggestions are presented to the end-user
Placeholder text for user input field: This is placeholder text prompting the user to input their query
This only appears when the input field is not disabled (see Settings tab below for more information)
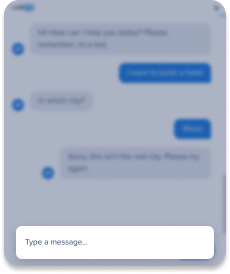
Message when search not matched: If the bot cannot find a relevant WalkMe item based on the user's response, this message will be displayed
Click Add message to create multiple greeting messages
If more than one message is entered, the bot will choose a message randomly
Multiple conversation matches found: This message appears when the bot found several conversations that meet the user's search
In this case all matched conversations will appear as suggestions to encourage the end-user to pick from the conversations list
Only one WalkMe Item match found: When only one matching WalkMe Item is found,
this custom message will appear along with the selectable WalkMe Item
No suggestions match user's filter: This appears when a user has typed to filter through a list of suggested conversations and no suggested conversations match
Send button text: This button allows the end-user to submit their answer to the bot
Start Over button text: This button allows the end-user to start a new conversation
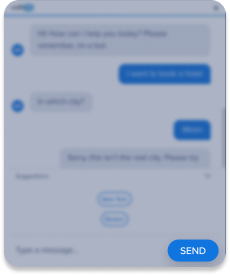
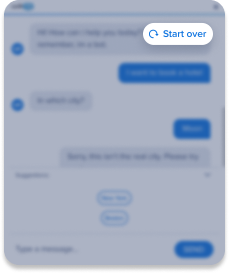
For more advanced messaging options and customization, click the Advanced messaging settings toggle.
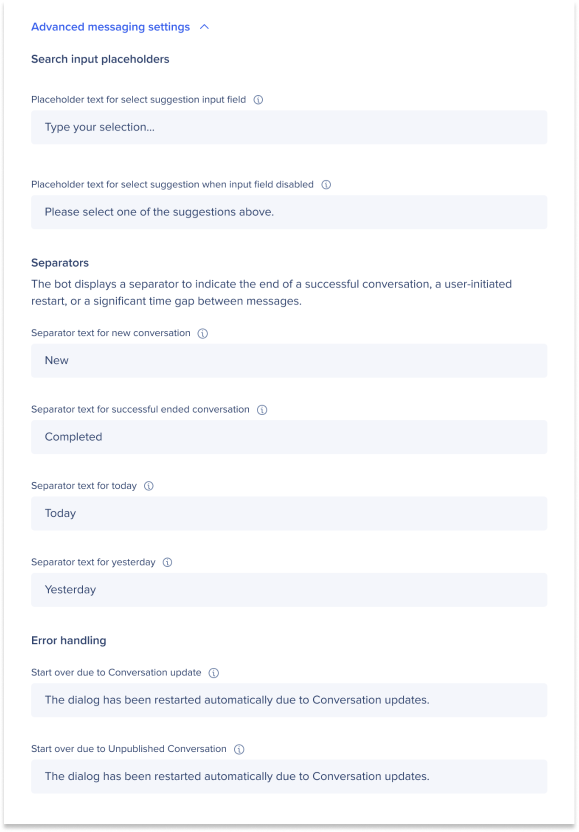
Placeholder text for select suggestion input field: This text instructs the user to type which suggested conversation they'd like to select to filter through the conversations list
Placeholder text for select suggestion when input field disabled: This text instructs the user to choose from the available suggestions
This message is appears when the typing field for filtering conversations is disabled
The bot displays a separator to indicate the end of a successful conversation, a user-initiated restart, or a significant time gap between messages.
Separators are useful because it can bring clarity for users returning to their bot conversations and gives your bot a more polished look.
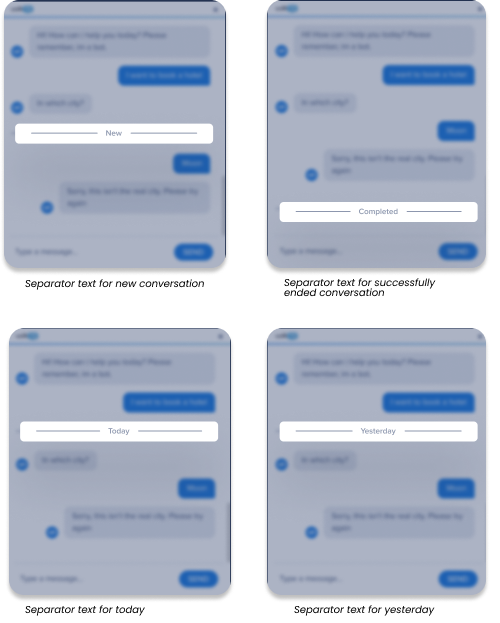
Start over due to conversation update: This text that appears when changes are made to the conversation version while the end-user is interacting with the bot
Start over due to unpublished conversation: This text that appears when a conversation has been unpublished while the end-user is interacting with the bot
The Settings tab allows you to customize your bot's functionality by enabling or disabling features, obtaining permalink access, and adding live chat capabilities.
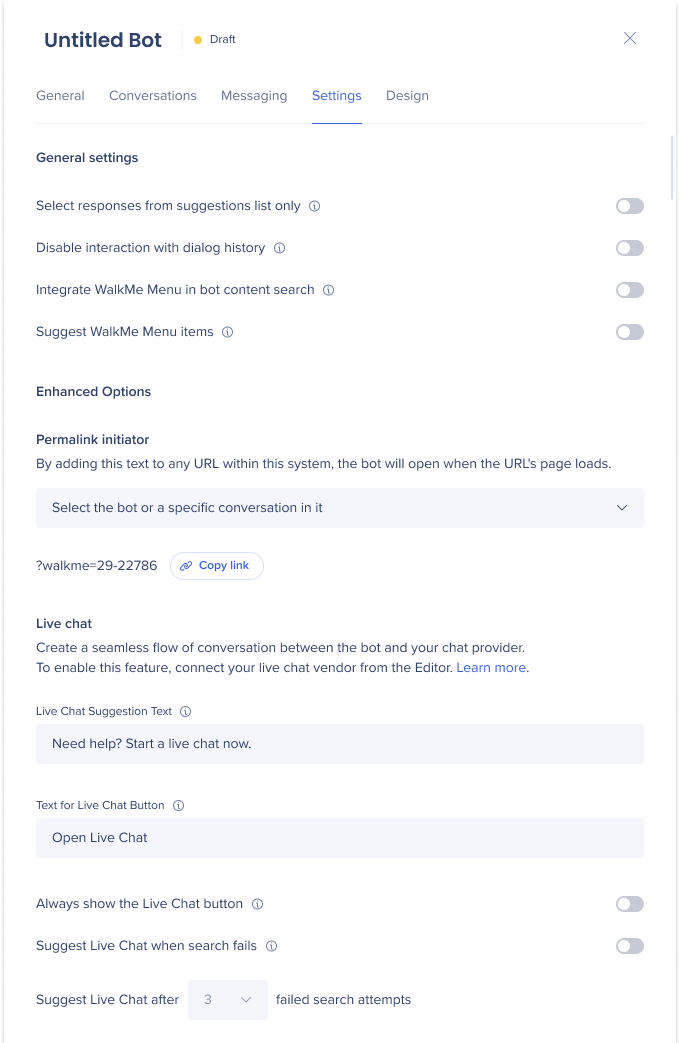
Select responses from suggestions list only: If you prefer your end-user to avoid making mistakes or input answers you can't expect, you can disable the users' ability to type to the bot and force them to choose one of the suggested conversations by turning on this toggle
Disable interaction with dialog history: Toggle on to disable the end-user's ability to continue a conversation after closing the ActionBot window
Integrate WalkMe Menu in bot content search: Toggle on to allow the bot to search for more WalkMe content from the WalkMe Menu in addition to assigned conversations
Suggest WalkMe Menu items: Toggle on to allow the bot to suggest WalkMe Menu items that were added to the End-User panel in the Menu Organizer
Using a permalink enables the ActionBot to open automatically when a webpage loads, making your ActionBot even more likely to reach your end-users.
How to use:
Select the bot or a specific conversation within the ActionBot for the selection
A permalink text will appear
Click Copy link to copy the text
Add this text to any URL within your ActionBot's system and the bot will open when the URL's page loads
Adding a live chat feature to your ActionBot creates a natural conversation flow, provides immediate support, and may boosts customer satisfaction. To enable this feature, connect your live chat vendor from the WalkMe Editor.
Live chat suggestion text: Customize the text that appears in a suggested conversations box to prompt users to initiate a live chat
Text for Live chat button: Customize the button text that appears to launch a live chat with your provider
Always show the Live chat button: Toggle on to always display the Live Chat
button in the bot container
Suggest Live chat when search fails: Toggle on to prompt the end-user to initiate a Live Chat session after an unsuccessful attempt to start a conversation
Define how many search failures will prompt the Live chat (default is 3 attempts)
The Design tab allows you to enhance the overall look and feel of your bot. It gives you the flexibility to customize the layout and theme to align with your brand image, making your bot uniquely your own.
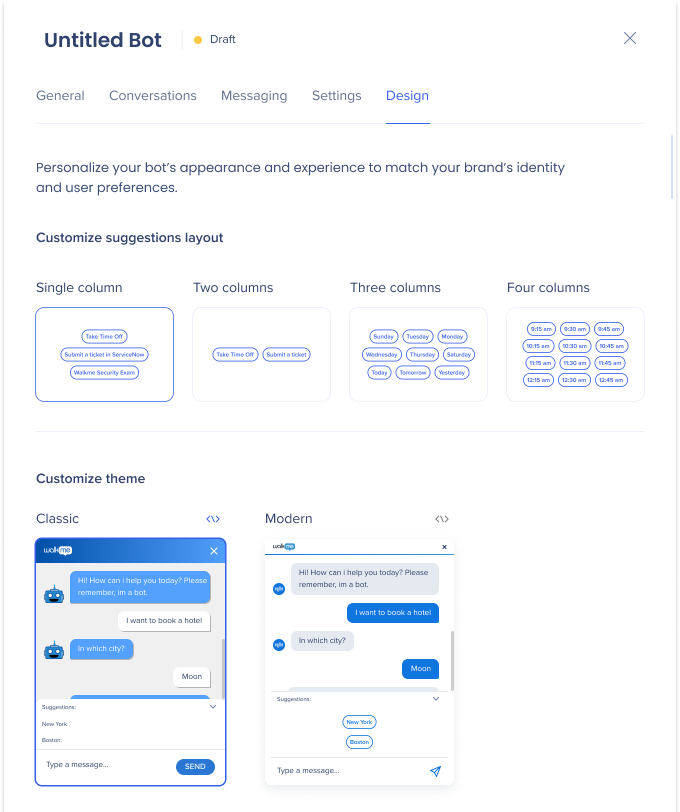
If you are using a suggested conversation box, you can choose the layout for how the conversations will be displayed within the box.
Select a theme, Classic or Modern, that matches your preference to ensure that the look and feel of your bot matches your desired aesthetic.
The ActionBot's appearance can be further customized using CSS.
How to use:
Click the </> icon on the right-hand side of the chosen theme
A popup to make CSS changes in the design will appear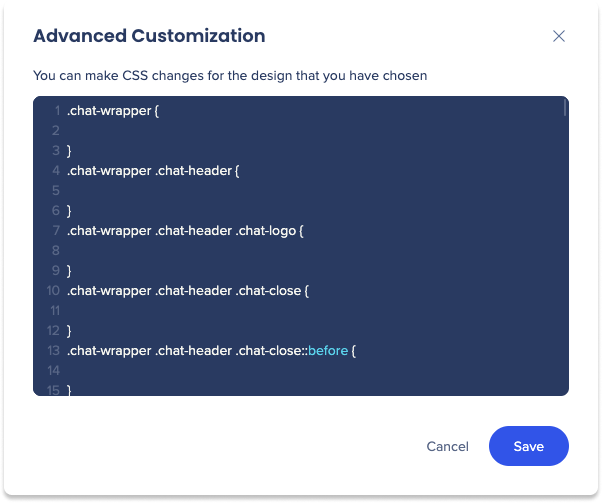
At the bottom of the tabs pages you'll find action buttons where you can save, play, and publish your bot.

