
Creating General Tracked Events in Insights Classic
Brief Overview
This article explains how to create a Tracked Event to track user engagement with your website or application in Insights Classic.
How It Works
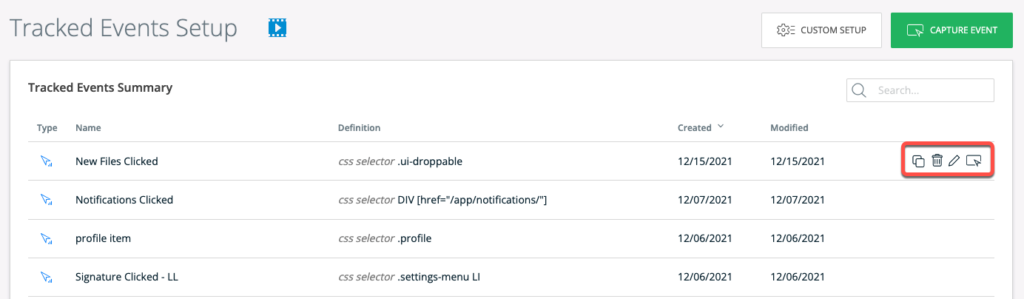
Tracked Events Setup page
To create a Tracked Event, go to the Tracked Events Setup page in Insights, accessible at insights.walkme.com.
Make sure that you have the correct system open.
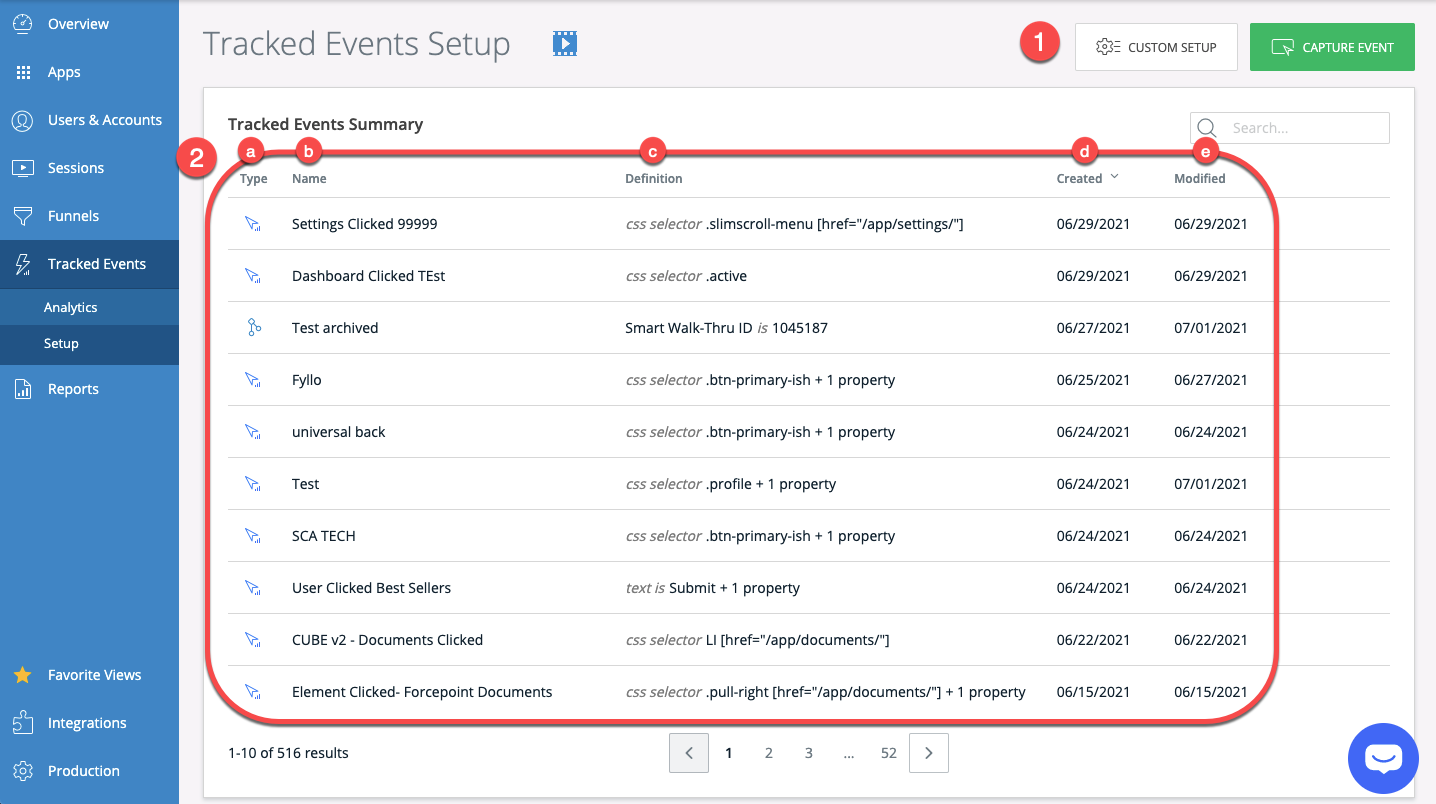
- + NEW EVENT
- CUSTOM SETUP button
- CAPTURE EVENT button
- Tracked Events Summary Table
- Type: Each event has a different icon that corresponds to its type
- Name: This is the name the event's creator gave to the Tracked Event
- Definition: This is the criterion that must be met before the Tracked Event is considered to have occurred
- Created: This is the date the Tracked Event was created
- Modified: This is the date the Tracked Event was last modified
Creating a Tracked Event
Method 1 - Capture Event
Prerequisites
- The WalkMe Editor Extension and Editor app are installed
- You are logged into the WalkMe Editor with your Insights user account
- A settings publish was performed
Instructions
- Go to the Tracked Events Setup page in Insights
- Click CAPTURE EVENT
- Note: If the "Capture Event" button is greyed out, this means that DXA is not yet enabled on the account. Please reach out to your Admin to have the setting turned on so you can begin using this feature. Refer to this article for more information: Insights Digital Experience Analytics (DXA) Level
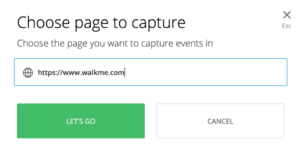
- Enter the URL of the page where you want to capture the element and click LET'S GO
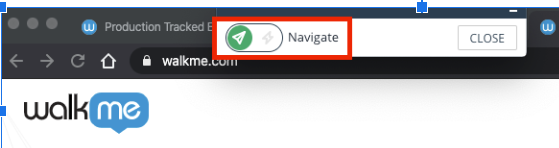
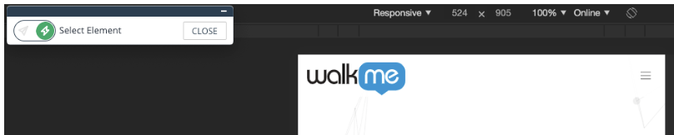
- Capture the target element
- Review the data provided about the captured element and make changes to the settings if needed
- Note: You will see a message indicating whether or not data already exists matching the definition
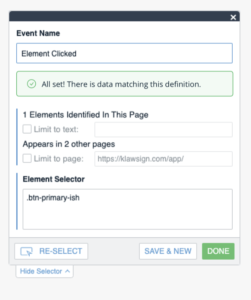
- Note: You will see a message indicating whether or not data already exists matching the definition
- Click DONE
You will be automatically redirected to Insights, where you will see your new Tracked Event.
Method 2 - Custom Setup
You can manually create a Tracked Event by clicking CUSTOM SETUP.
- Enter a name for your Tracked Event
- Tip: Use a naming convention that indicates the user action the Event represents
- Select a definition from the drop down menu
- Select any desired properties to help define the Event
- Click + ADD PROPERTY under the Event Properties section
- Optional: Only available for click or input-type events
- Click SAVE
The new Tracked Event will be available to use in funnels and filters.
Editing a Tracked Event
When you hover over a Tracked Event you will see the following options:
- Copy button: Duplicate and create a new, similar Tracked Event
- Trash icon: Delete a Tracked Event
- Pencil icon: Edit an existing Tracked Event
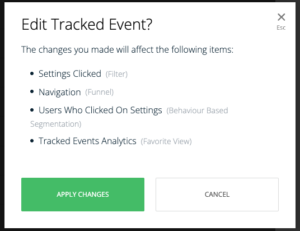
- You will be prompted to confirm you want to apply changes if there are items that will be affected by the changes
- You will be prompted to confirm you want to apply changes if there are items that will be affected by the changes
- Recapture Tracked Event button: Edit the Tracked Event by recapturing the target element
Available Event Types
Click/Tap
Filter by an element that is clicked or tapped.
Elements can be identified using the following:
- Text is: Identify the clicked element by its content
- ID: Identify the clicked element by its unique element identifier
- Class: Identify the clicked element by one or more classes
- For more precise results use spaces to also identify a parent element's class
- For example, ".shippingForm .saveBtn "
- CSS selector: Read more below
Page view
Filter by a specific URL a user visits.
Input
Filter by input fields a user interacts with.
Input fields can be identified using the following:
- Name is: Identify the input element by the input field name
- Label is: Identify the element by the input field name
- Class: Identify the input element by one or more classes
- ID: Identify the input element by its unique element identifier
- CSS selector: Read more below
Creating Event Properties
For certain types of Tracked Events, such as click/tap and input-type events, you can add event properties. Event properties record what URL the user is on when the event in question occurs (excluding the Page View event type, which already filters events by what URL the user is on).
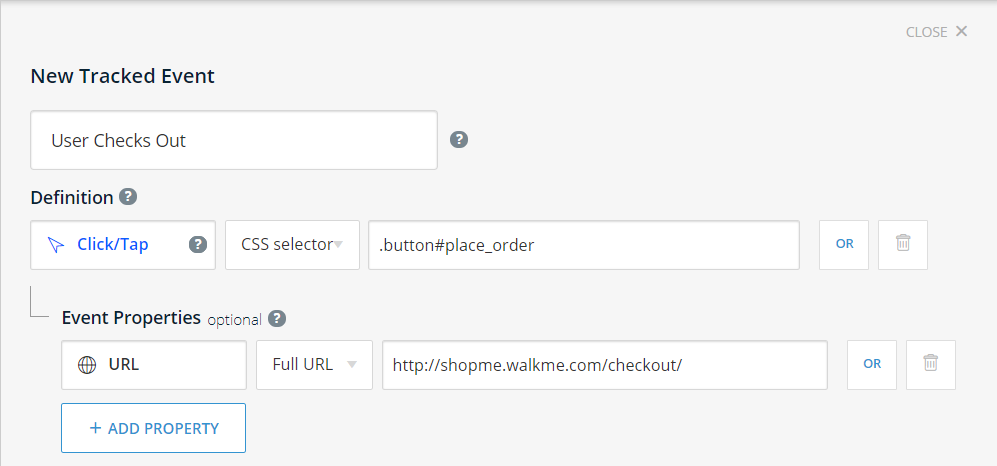
For example, imagine you've created a new Tracked Event called “User Completed Purchase,” and you've defined the event as occurring when a user clicks the Place Order button with the HTML ID attribute of “place_order,” which is available on multiple pages.
You can now add an event property that checks whether the page on which the event occurred contains a particular URL, e.g.: "http://shopme.walkme.com/checkout."
This way the Tracked Events will only count clicks occurring on this element on this specific page only. Otherwise, clicks from all pages would be counted toward the Tracked Event.
CSS Selectors
CSS selector allows a precise definition of an element to be tracked. CSS selectors allow you to identify elements in the HTML structure based on their characteristics such as id, class, type, attributes, or values of attributes.
How It Works
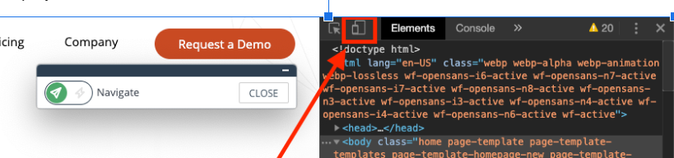
- Find the element in the HTML by right-clicking on the element and selecting Inspect Element
- The element will be highlighted on the screen and in the developer panel
- Identify the element's unique characteristics, such as location, class, or ID
- Once identified, build your CSS selector
Supported CSS Attributes and Syntax
ID: The hash selector is used to specifically define an element based on its id attribute
- #IdName
Class: The dot is used to specifically define an element based on its class attribute
- .className
Additional attributes [attribute='value']: The attribute selector is used to specifically define an element based on any of its HTML attributes (tagName, src, href, type, name, Role, Text)
- Equals: [attribute=a]Contains: [attribute*=b]
- Begins with: [attribute^=a]
- Ends with: [attribute$=c]
Tag name: Name of the tag
- Name
Space – Elements hierarchy: The space is used to define hierarchy between elements
- '.className .className'
Combination of the above: #idName. className. className
- Example: #idName. className. className
Testing Your CSS Selector
- When defining a Tracked Event, Insights will immediately generate a preview of the results from the past 30 days until now, meaning it gets updated by the minute. This allows you to understand if any events have already been captured for this definition.
- To verify you identified the correct event as a Tracked Event, you should review the past months' usage for this definition. If you receive zeros as your results, something in the definition might be faulty.
- You can also simulate the event on your website and verify it was tracked in real-time.
- When Sessions Playback is enabled, you can simply watch a session that the event appears in.
Tip Tuesday Video
WalkMe Insight Events to Analyze Content Effectiveness