Welcome to the
WalkMe Help Center
Please log in to continue

Please log in to continue

Menu content and integrations can be managed externally from the menu via the WalkMe Console. The Integrations page on the WalkMe Console is a powerful tool for menu admins to seamlessly connect work apps to the menu across your organization.
After configuring an integration, admins can manage access and add audiences to the integration, allowing for targeted content to specific user groups.
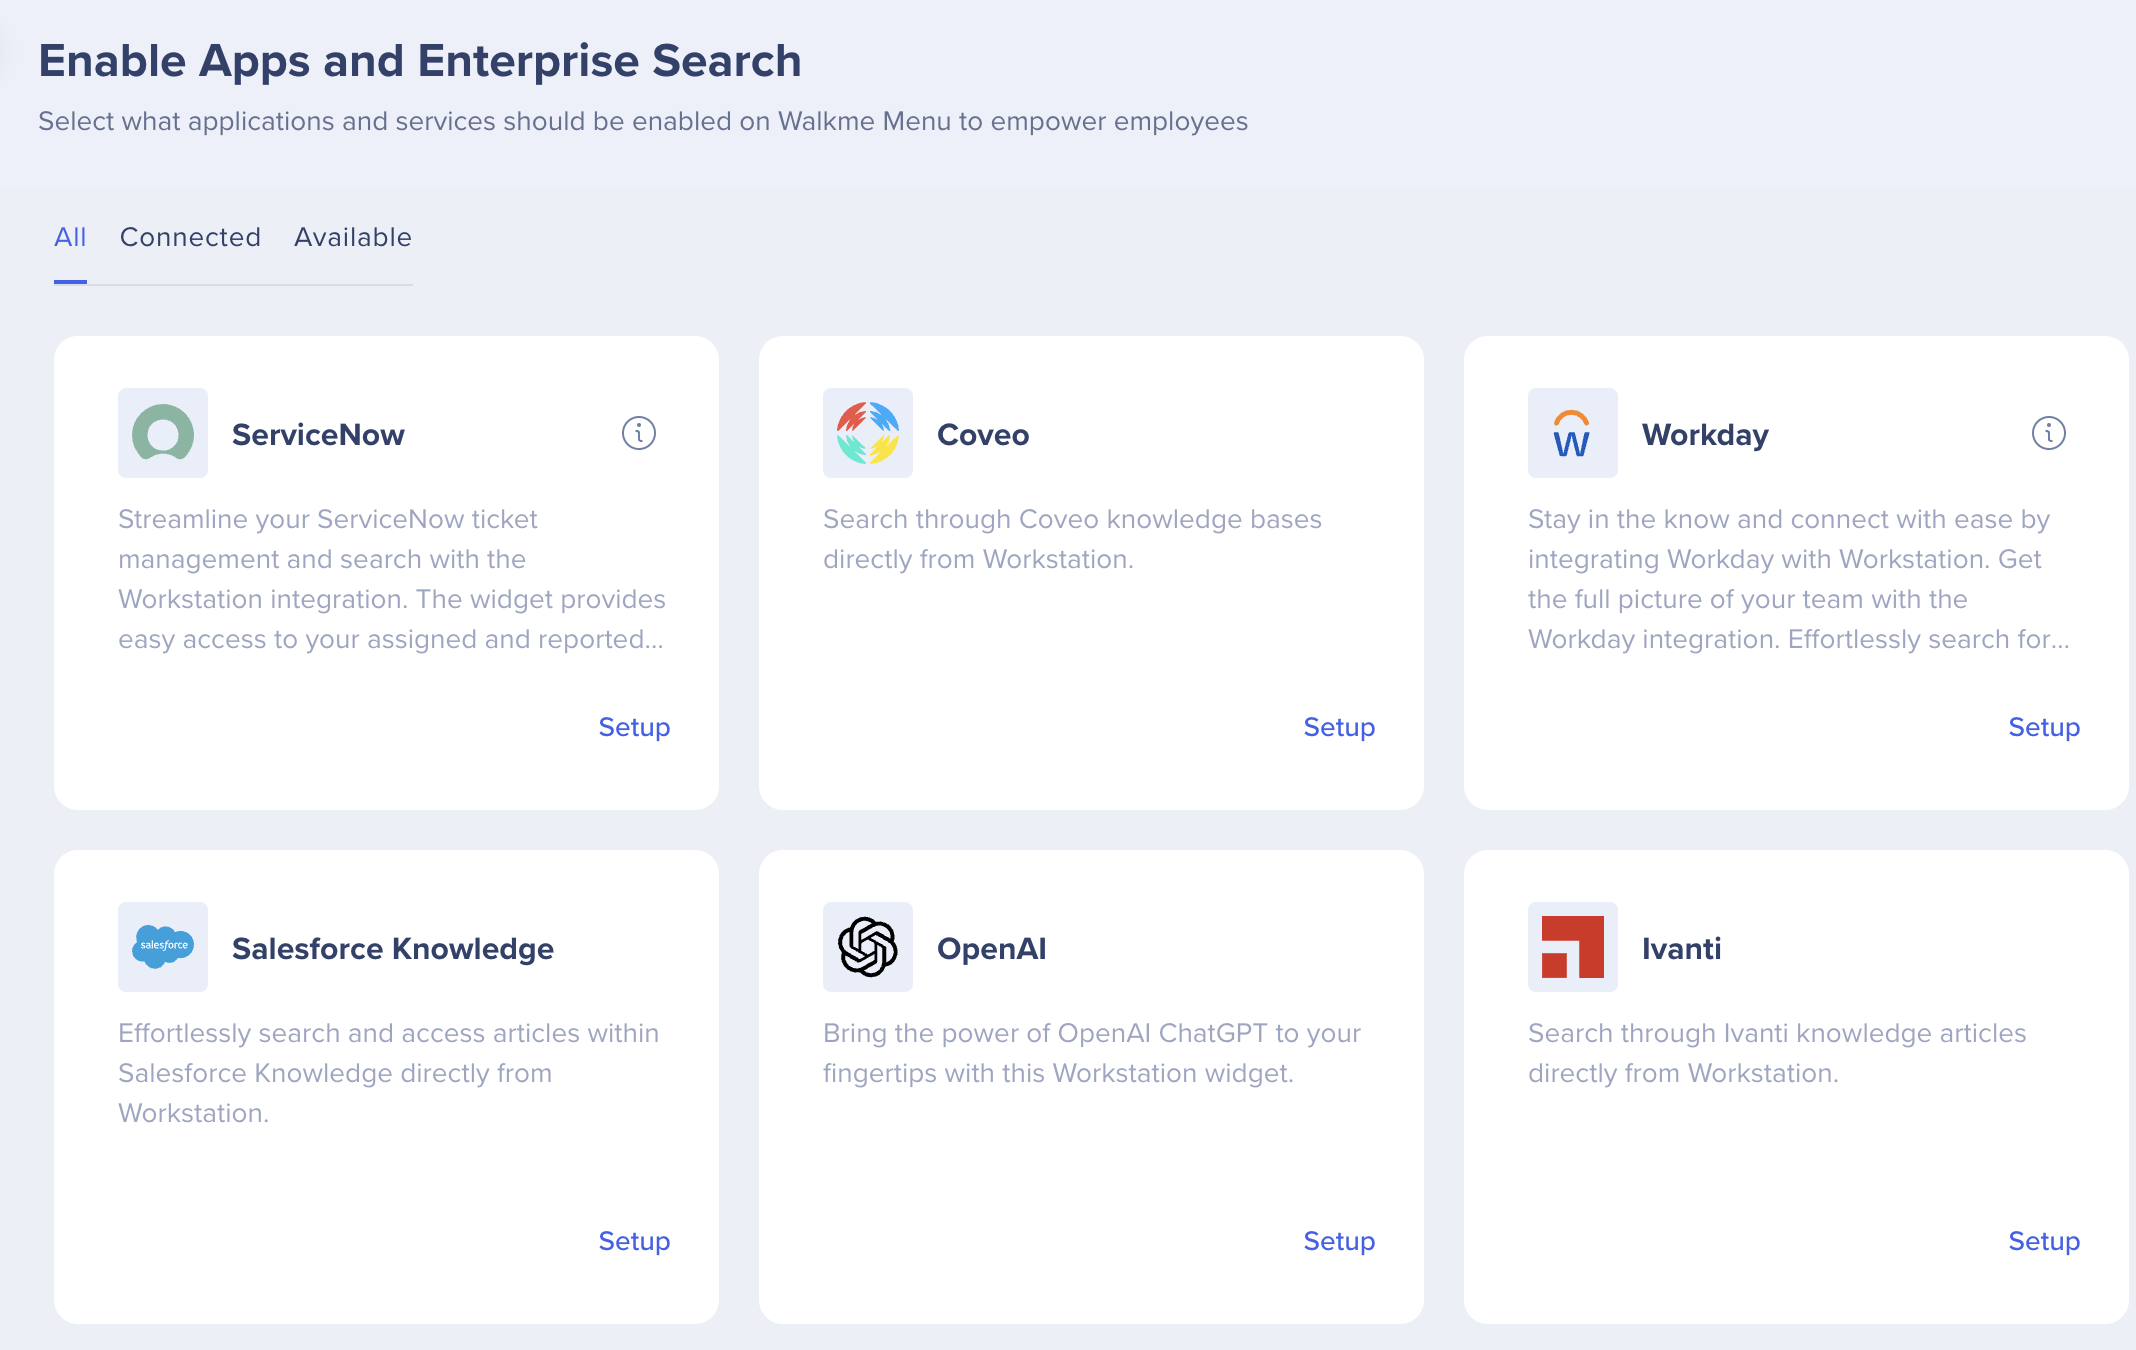
From the menu Integrations page, you can manage which applications are available on the menu across your organization.

Integrations are organized in 3 tabs:
Some Integration Cards have a tag to indicate:
If the integration requires an API key, a “Setup” button will appear. Each app has different instructions for setting up. If an API key is required, go to that app's integration overview to get set up instructions. Here is a list of available integrations and their articles.
After all needed configuration is there, click the now available Enable button and the app becomes available for users.
If the integration authorization type is OAuth2.0 then no further set up is required. Click Enable to make the integration available to your organization.
Integrations can be segmented using ComCenter audiences and individual recipients.
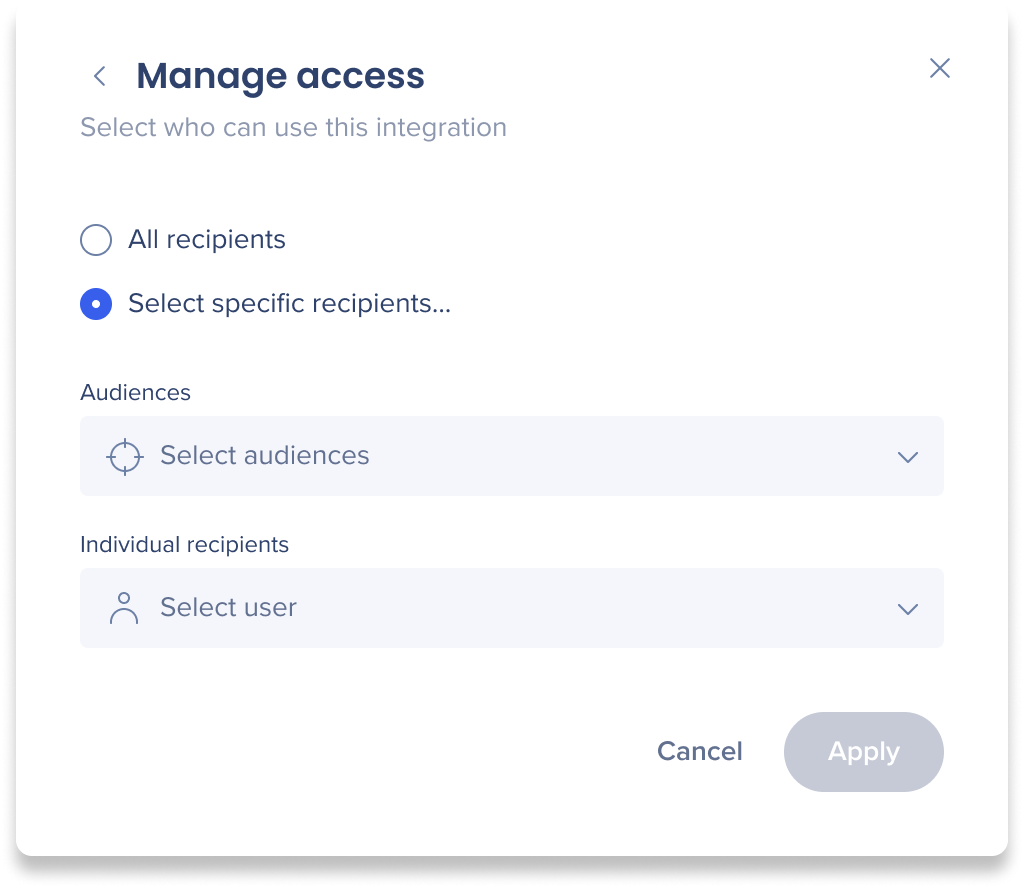
After an integration has been configured, the next step in the process is to manage access and add audiences. Learn more about audiences and how to create them.

If you don't need to segment the integration, select All recipients and click apply. The integration will be available to everyone.
If you want to segment the integration:
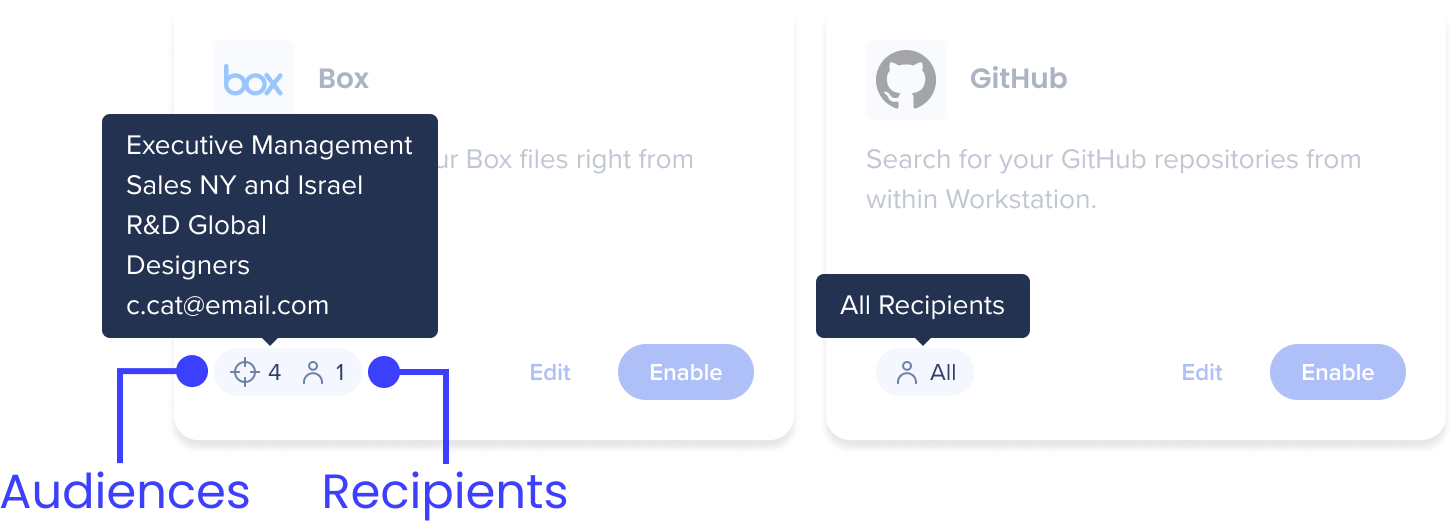
The integrations card on the main page will indicate whether that app was segmented or not. Hover over the corner to see a list of the recipients or audiences that this app is available to. If the integrations wasn't segmented, then there will be an "All".
Click on the icons to change the segmentation.

If an integration is enabled and you no longer want it available, click Disable and the app will be removed from all menus in your organization.