Brief Overview
Segments allow you to make your WalkMe content visible to some user groups, but not others. If WalkMe items aren't relevant to certain users or under certain conditions, they can be hidden using segmentation. This will allow your users to focus on the available tasks and reduce clutter on the screen and in the Widget.
- Segment WalkMe content to specific users for more targeted guidance
- Organize your content using the Segmentation Center to create dedicated Desktop Application folders
Segmentation
Active Directory Segmentation
Supported since Version 3 for Windows
WalkMe Desktop allows segmentation using active directory.
Example: Using Active Directory Segmentation on ShoutOuts
- Open your ShoutOut and click on the Settings icon
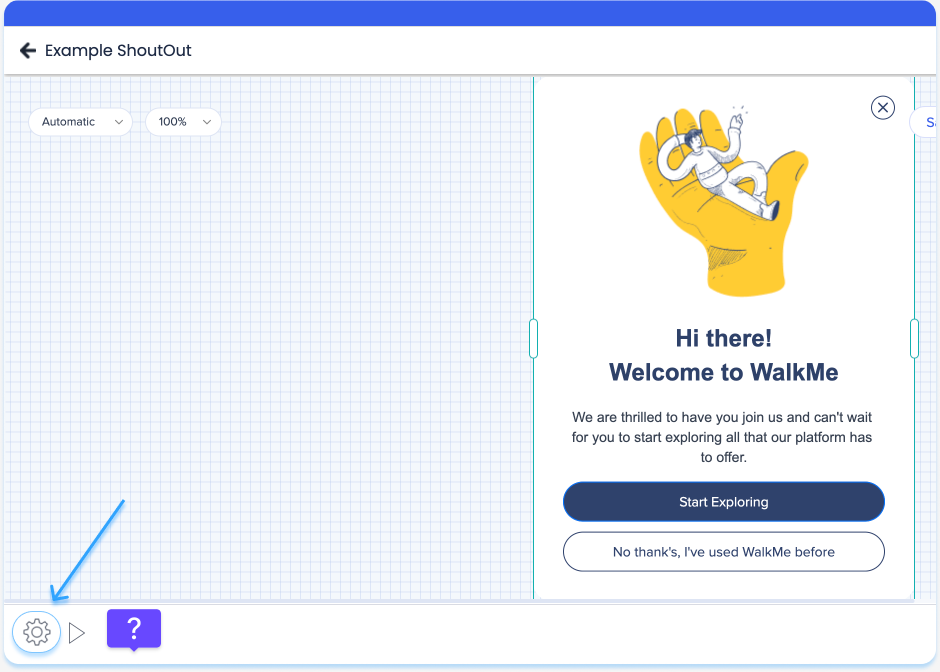
- In the Engagement tab, select Play according to a rule
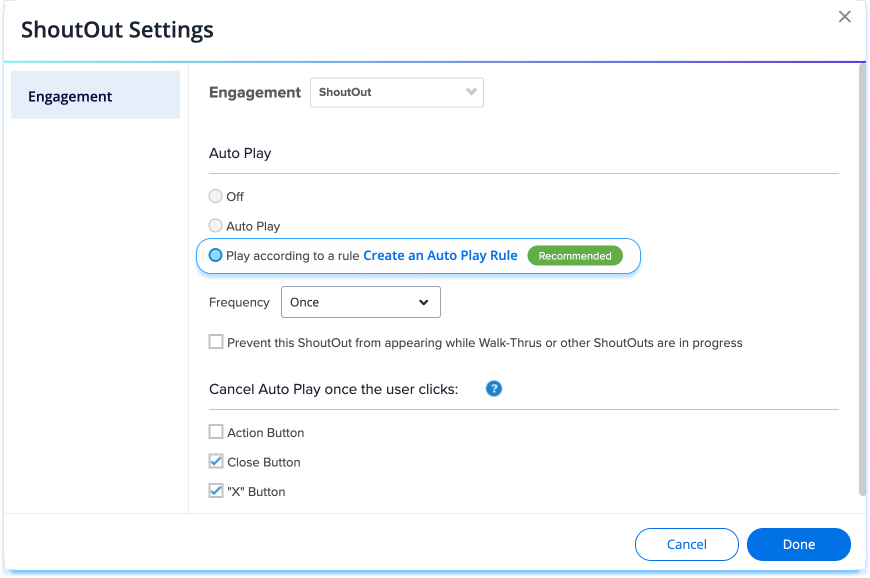
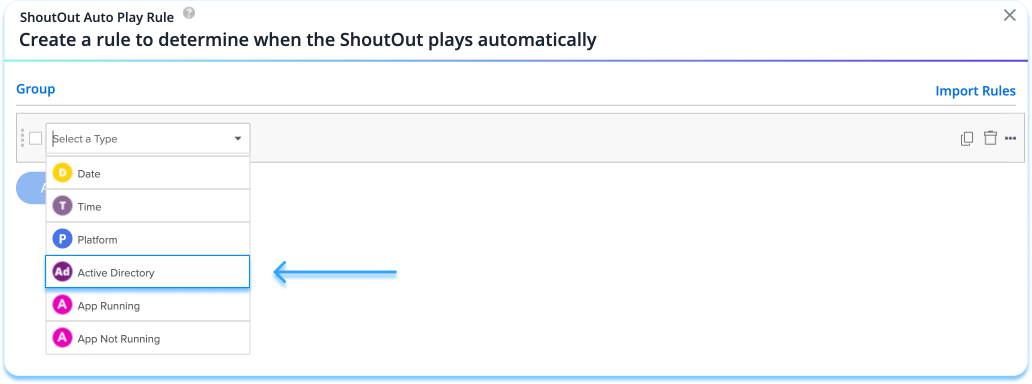
- Create a rule using Active Directory
When using Active Directory users are assigned to Security Groups and Organizational Units (OU).
This system allows you to create a rule either by the user's assignment to an OU ("User is / (Not) under OU") or user's belonging to a group ("User Member / (Not Member) of Group").
For example, A user in 'DepartmentX' may be assigned to the following groups:
- Domain Users
- Everyone
- NY-Office
To segment a ShoutOut for this user, you should create an Active Directory rule type, choose User Member of Group as a condition, and enter DepartmentX in the variable field.
As a result, the ShoutOut will only appear for users in DepartmentX.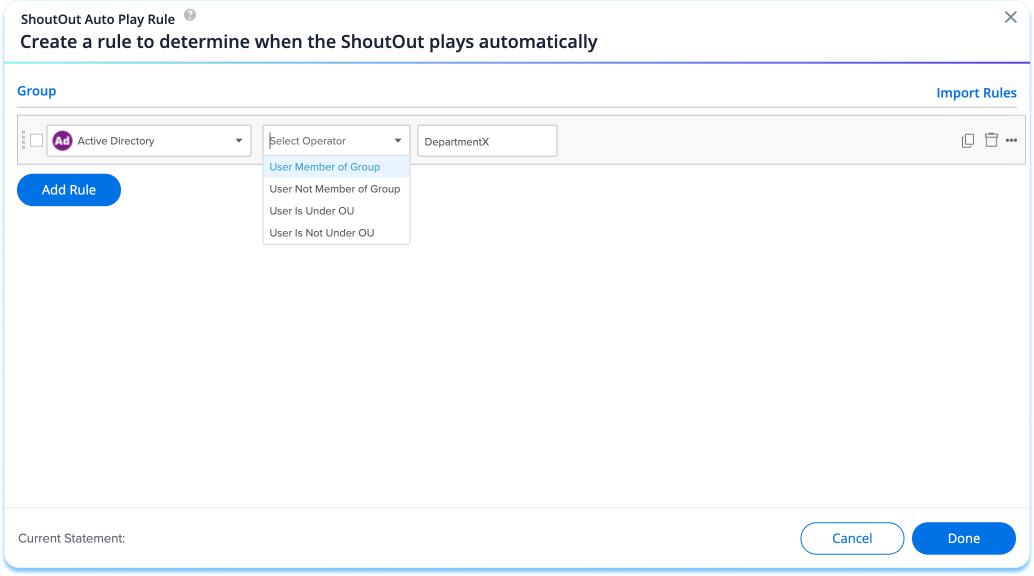
Note
To assign users to groups and organizational structure in Active Directory, please contact your IT department.
ShoutOut Limitation
Only ShoutOuts with "Free" layout behavior are supported when using Desktop Legacy.
Segmentation with IDP
Segmentation is also available using IDP data. Before this can be enabled an integration must be configured from Insights to your chosen system. After this is completed, please contact your Customer Success Manager or WalkMe contact to have it enabled.
IDP Integration