Surveys: Getting Started Guide
Brief Overview
WalkMe Surveys allow you to ask your users questions and collect feedback from their responses. The survey data can then be analyzed for your use in Insights.
Create a Survey
- Click the blue + button in the editor to create a new survey
- Give the survey a name and click Continue
- Add a question or message to your survey

- Message: Click the blue + button with an "M" if you want to add a general message to the survey
- Question: Click the blue + button with a "Q" to add a question
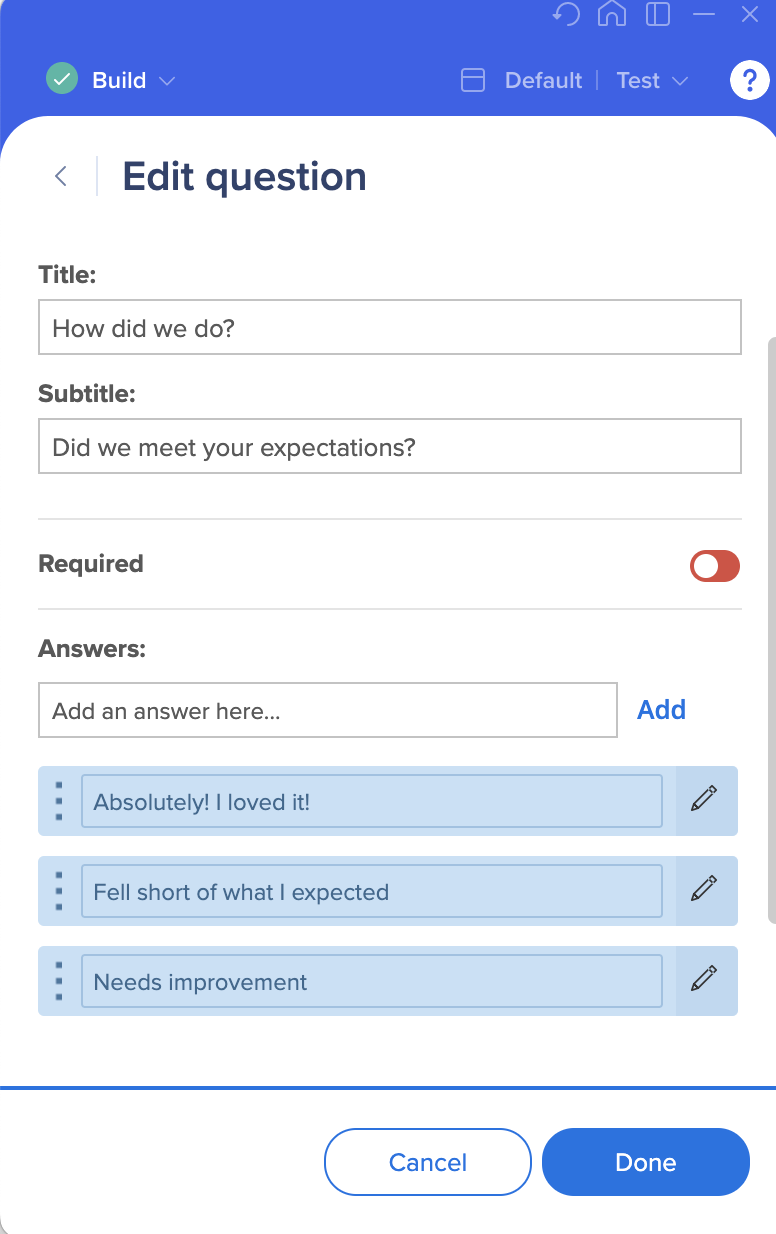
- Add your question in the Title field and include optional subtext in the Subtitle field
- The format of answers will vary depending on the question type
- Learn about the supported question types
- Click Done
- Continue adding messages and questions
- Click Save once your survey is complete
Question Types
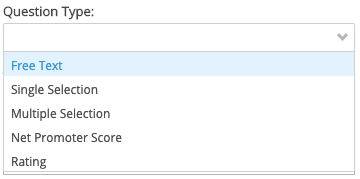
There are multiple question types available to support the use case for your survey.
Free Text
- Users will see a question and text box to fill in the answer of their choice
- Add your question in the Title field and include optional subtext in the Subtitle field
Single Selection
- Users will see a multiple choice question and can only select one option by clicking the radio button next to the answer
- Add your question in the Title field and include optional subtext in the Subtitle field
- Type each answer option individually and click Add
Multiple Selection
- Users will see a multiple choice question and can select as many options they want by clicking the radio buttons next to the answers
- Add your question in the Title field and include optional subtext in the Subtitle field
- Type each answer option individually and click Add
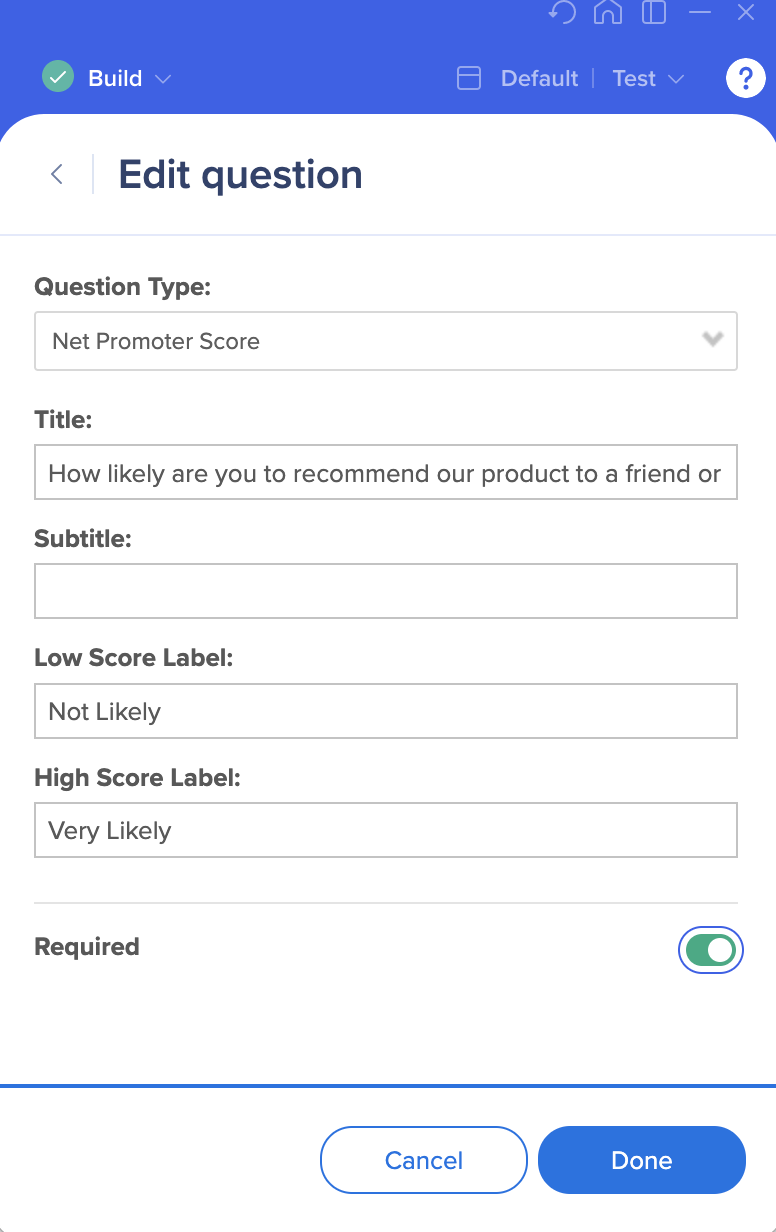
Net Promoter Score
- Users will see a standard NPS question and can choose from a scale of 0-10
- Add your question in the Title field and include optional subtext in the Subtitle field
- Edit the Low Score and High Score labels to reflect how you want to measure your scale
Rating
- Users will see a question that they can rate on a scale of 1-5
- Add your question in the Title field and include optional subtext in the Subtitle field
- Choose the icon type and adjust the color or emoticon style
- Edit the Min and Max labels to reflect how you want to measure your scale
- Turn on the Comment Box if you want to allow the user to add free text notes to their answer
- Type the hint that will be presented to the end-user before they start to type their comment
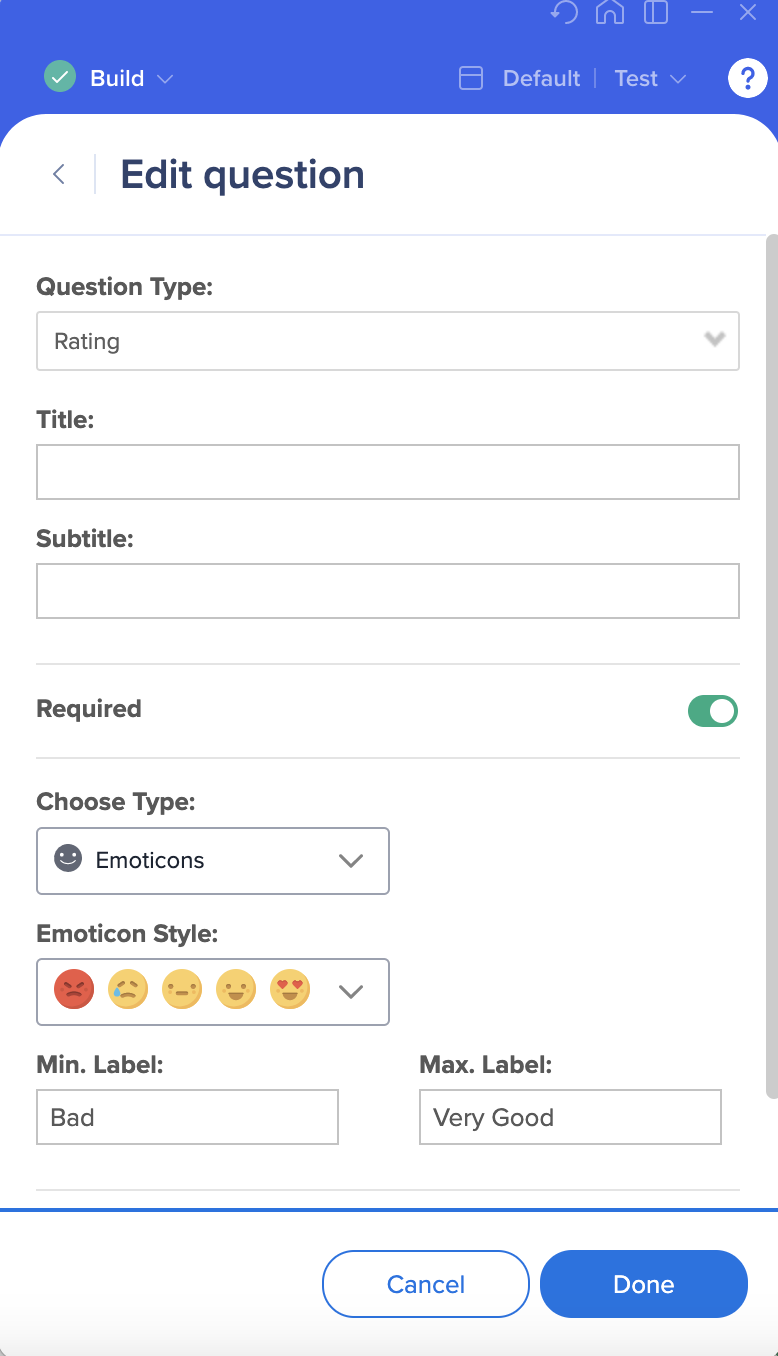
Required questions
Turn on the "Required" toggle if you want to make survey questions mandatory for users.
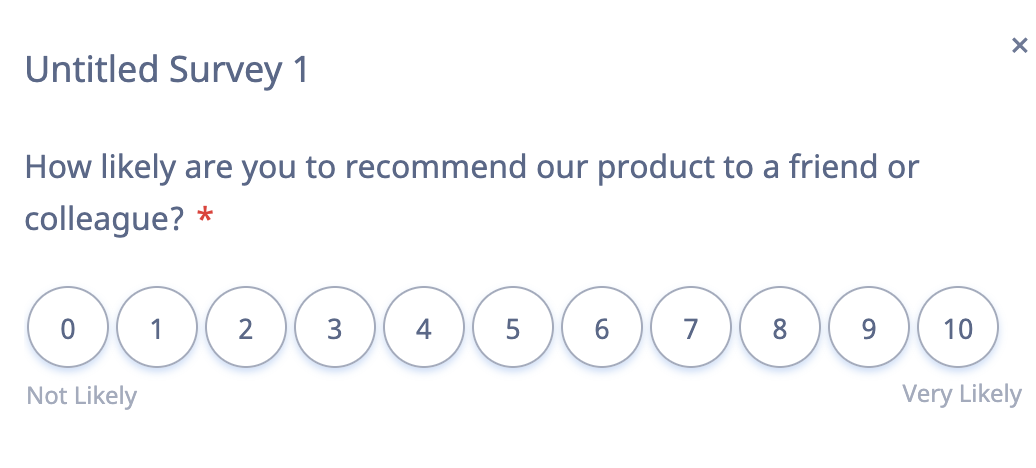
Design
It's possible to customize your survey design using CSS.
Survey Settings
After creating a survey, open the settings to configure how the survey will appear and how users interact with it.
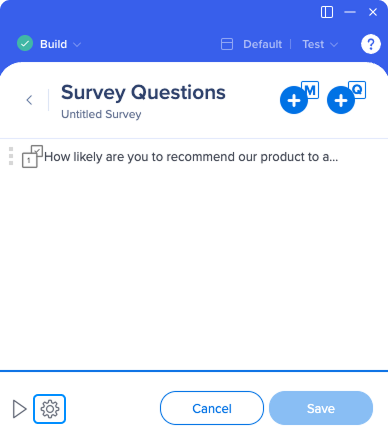
Behavior tab
In the Behavior tab, you can set how the survey will be displayed to your users.
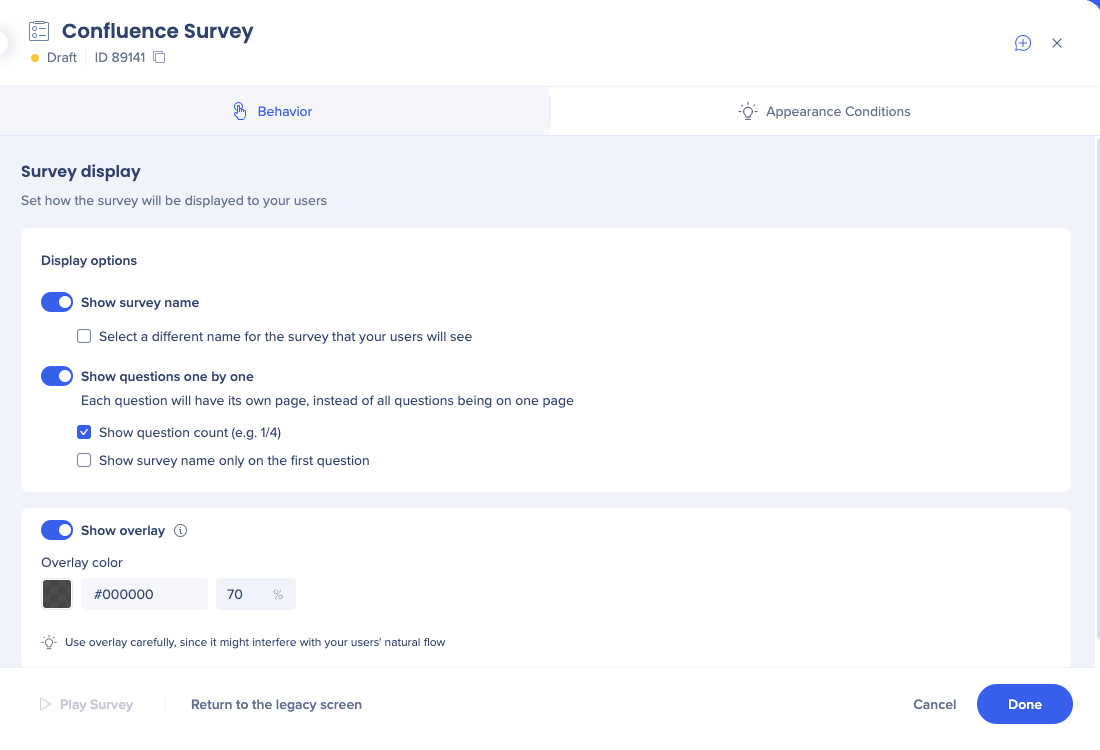
Show survey name:
- Choose whether you want your users to see the survey name
- Select the checkbox if you want the users to see a different name from the current one
Show question one-by-one:
- If turned on, only one question displays at a time with Next/Back buttons
- If turned off, all questions will display as one form in the order they are listed in the editor
- Show Survey name only on first question: The user will only see the survey's name on the first question
- This option will be disabled if you've elected to hide the survey name from the user
- Show question count: Show users how many questions are left in the survey
Show overlay:
- Highlight the survey by adding an overlay on the whole screen behind it
Appearance Conditions tab
This tab contains settings related to user-survey interaction. This includes auto-play, replay, and more.
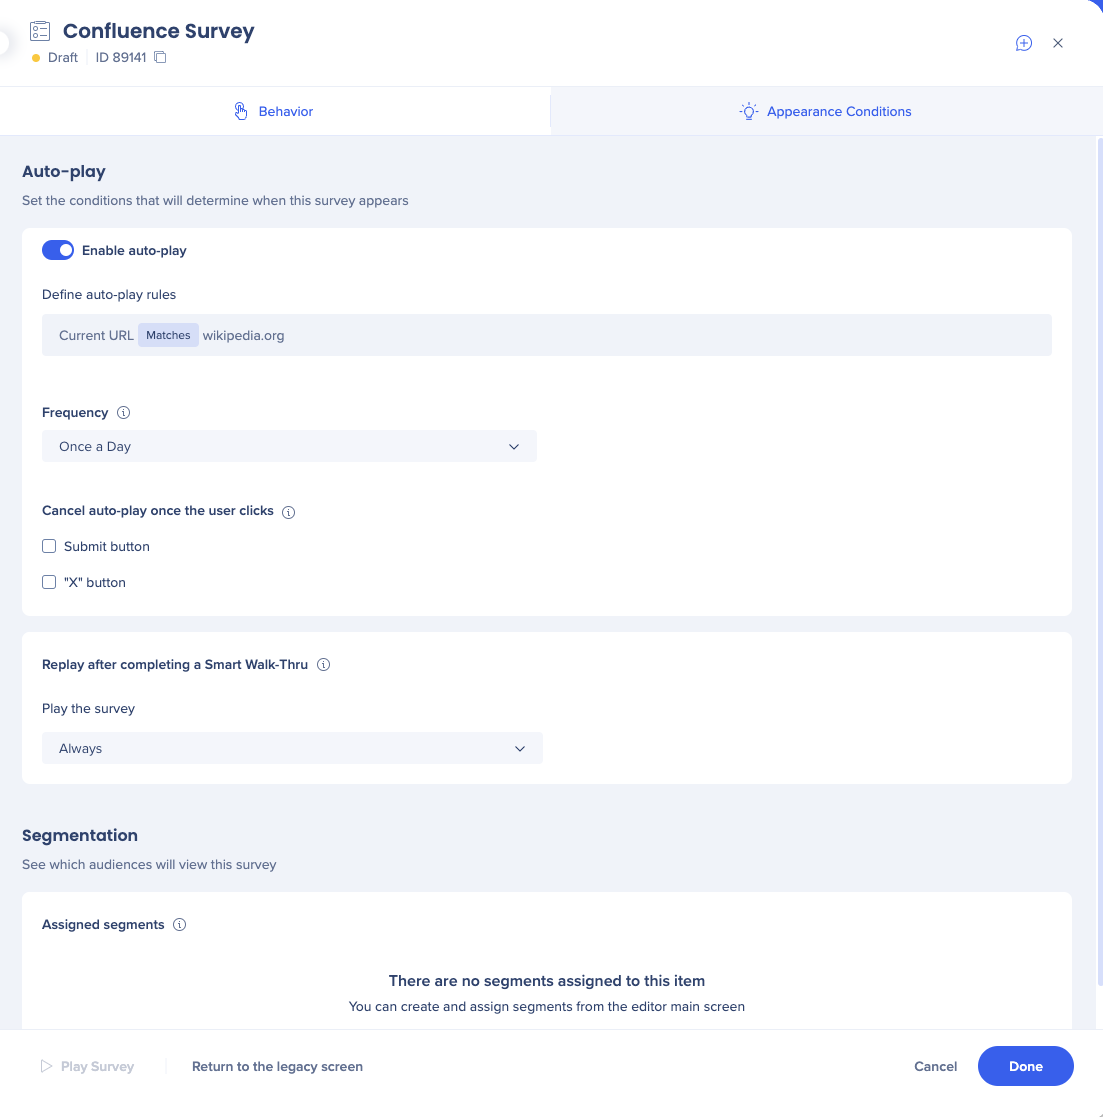
Enable auto-play
- Select whether to use auto-play to launch your survey. If you don't use auto-play, you can instead begin the survey from a launcher, ShoutOut, or Smart Walk-Thru.
- Create an auto-play rule: Display a survey automatically according to a rule
- Frequency: Select how often you want the survey to play; If you select Custom, you can decide to set a unified time zone for all the users
- Cancel auto-play when user clicks: Choose whether you want to cancel the auto play rule you created (and not show the survey to the user again) when these conditions are met:
- The user clicks the Submit button
- The user clicks the “X” button
- Both of the above occur (you can check both boxes)
Replay after completing a Smart Walk-Thru
- Set a maximum number if times the user will be exposed to the survey after completing a Smart Walk-Thru (Once, Once a day, or Always)
Surveys in Smart Walk-Thrus
From the Smart Walk-Thru Initiators & End Experience menu, a survey may be configured to automatically play either when the final step of a Smart Walk-Thru is completed, or when the user stops playing the Smart Walk-Thru.
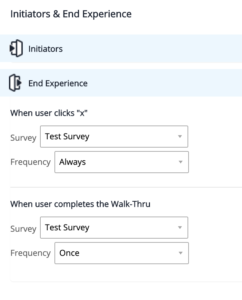
When user clicks "X"
- Select the survey you want to play when the user clicks an "X" button in one of the Smart Walk-Thru balloons
- Select the frequency in which this survey will play after the user clicks an "X"
When user completes the Walk-Thru
- Select the survey you want to play when the user completes the Smart Walk-Thru
- Select the frequency in which this survey will play
This configuration does not affect the auto play settings and frequency listed at the top of the Survey Settings Menu.
Play a Survey from the Menu
In order to add a survey to the WalkMe Menu, add the survey to the end of a one-step Smart Walk-Thru (End Experience).
- Create your survey
- Create a new Smart Walk-Thru
- The Smart Walk-Thru name you choose will be the survey's name in the menu
- Click Continue
- Add a Wait for Step that waits for 0 seconds
- At the bottom left of your Smart Walk-Thru, you'll see an option for End Experience
- Note: The End Experience button only displays when there is at least one step in the Smart Walk-Thru, which is why it's necessary to have the 0 second Wait for Step
- Click on that and it will open the menu where you'll see available options for Initiators & End Experience
- Under "When user completes Walk-Thru" select your survey from the dropdown
- Set Frequency = Always
Survey Results
In order to see your survey results, go to Insights, at insights.walkme.com. Make sure you are viewing the correct system and go to the Survey app page.

