Brief Overview
WalkMe's built-in advanced search feature allows you to search for item's name, captured elements data, jQuery selection data, condition data, goal data, tag data, and segmentation data within their WalkMe implementation.
How it Works
WalkMe's advanced search feature allows users to quickly locate, update, and maintain Element Selections within a WalkMe implementation by Id, class, text, URL, and more.
In addition, advanced search enables users to replace one or more searched item's string value or type across the entire implementation.
An item Element can be searched and replaced by Id, Class, Element Text, Host name, Path URL, jQuery selector, content, or on-screen element (via Capture Element mode.)
Activation
To launch the advanced search modal

Note
If the WalkMe implementation contains a large amount of deployable/element selection data, the first time advanced search is opened, it may take up to 10 seconds to display; this is due to the Editor database caching and passing data to advanced search's client for the first time.
How to Use "Field" Search
With the advanced search modal open:
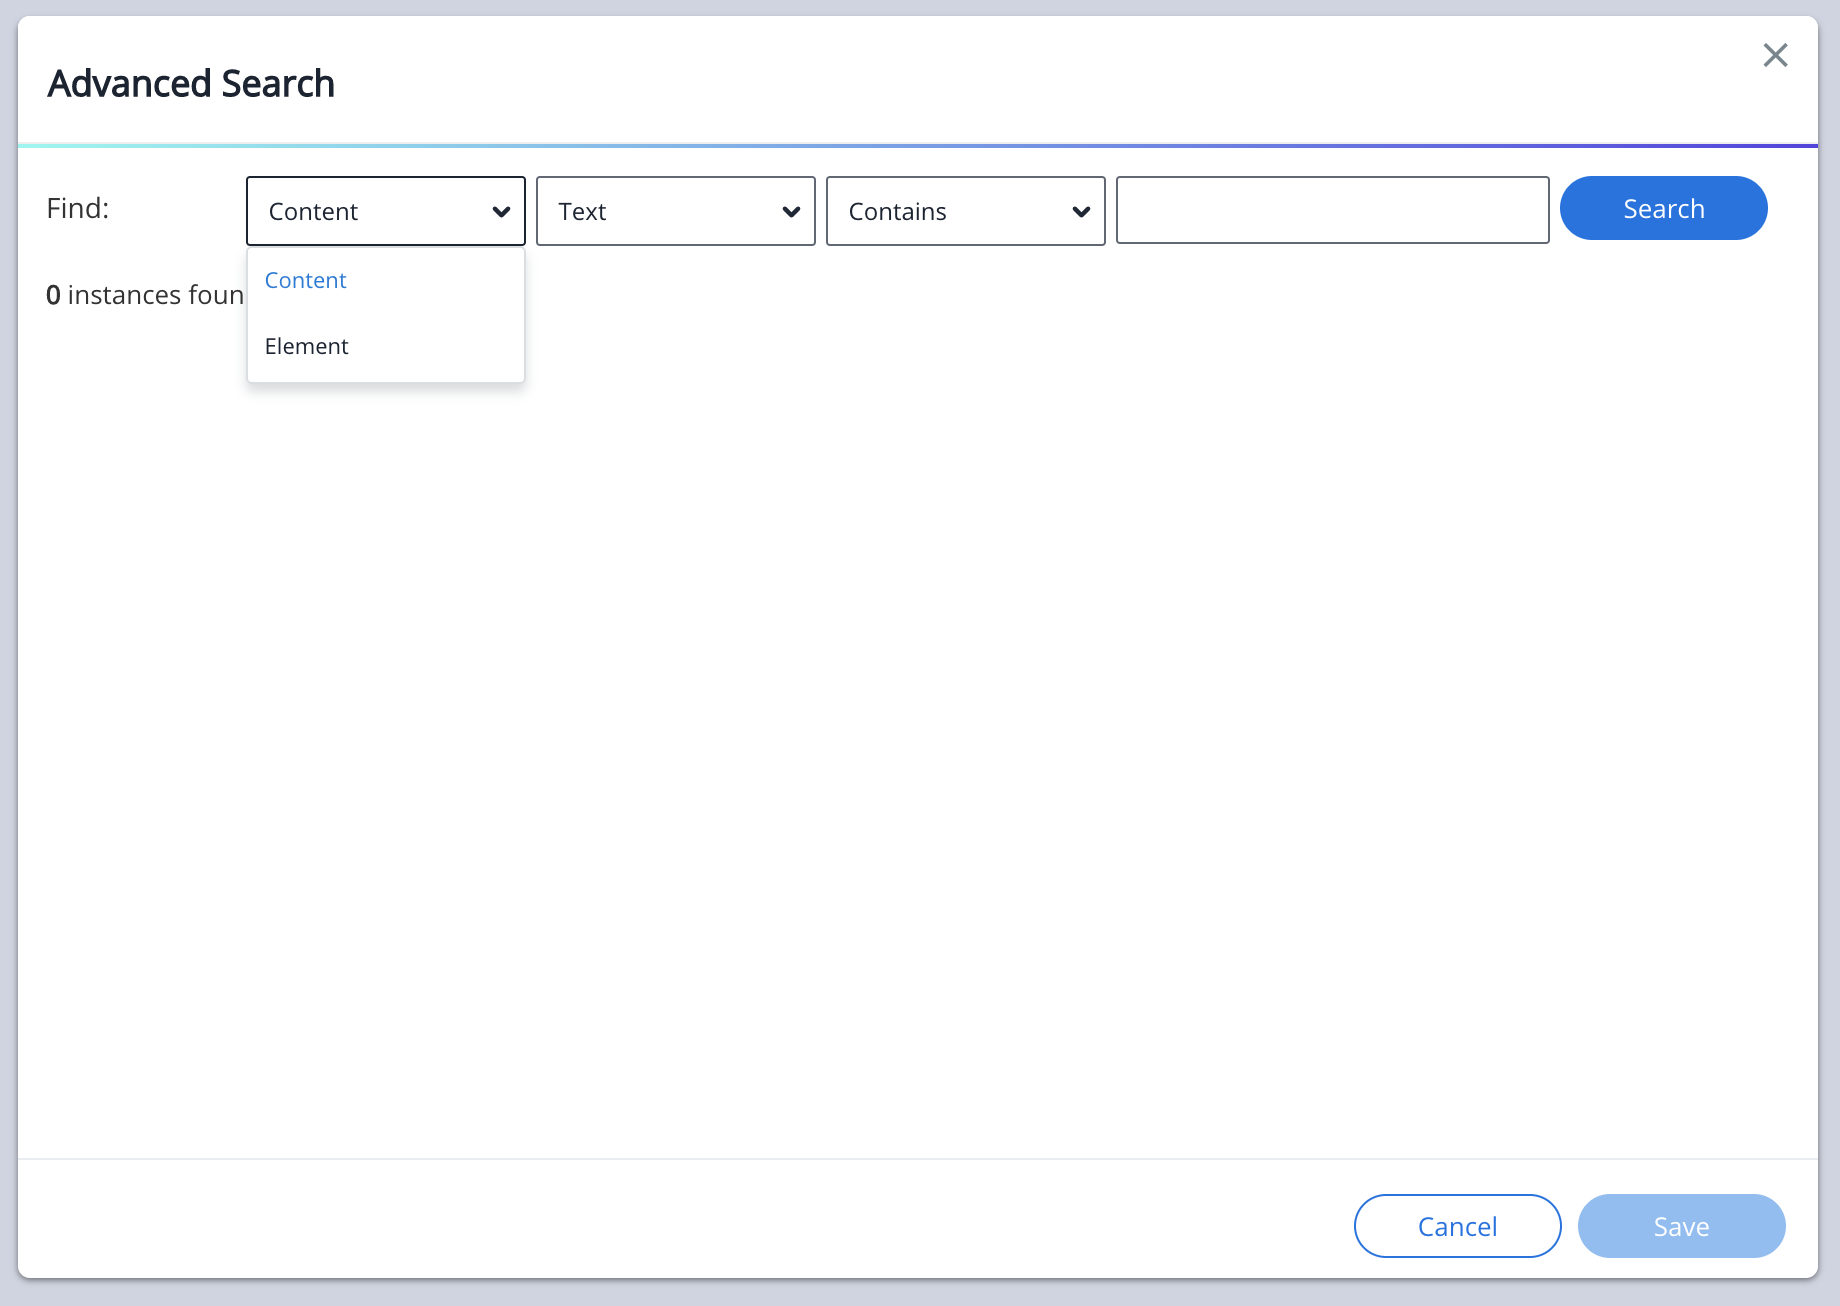
First, click the Context Description Property dropdown (defaulted to “Content”).
- Select a single Context Description Property from the dropdown list:
- Content
- Find text content within a Deployable item
- Element
Next, click the Element Description Property dropdown.
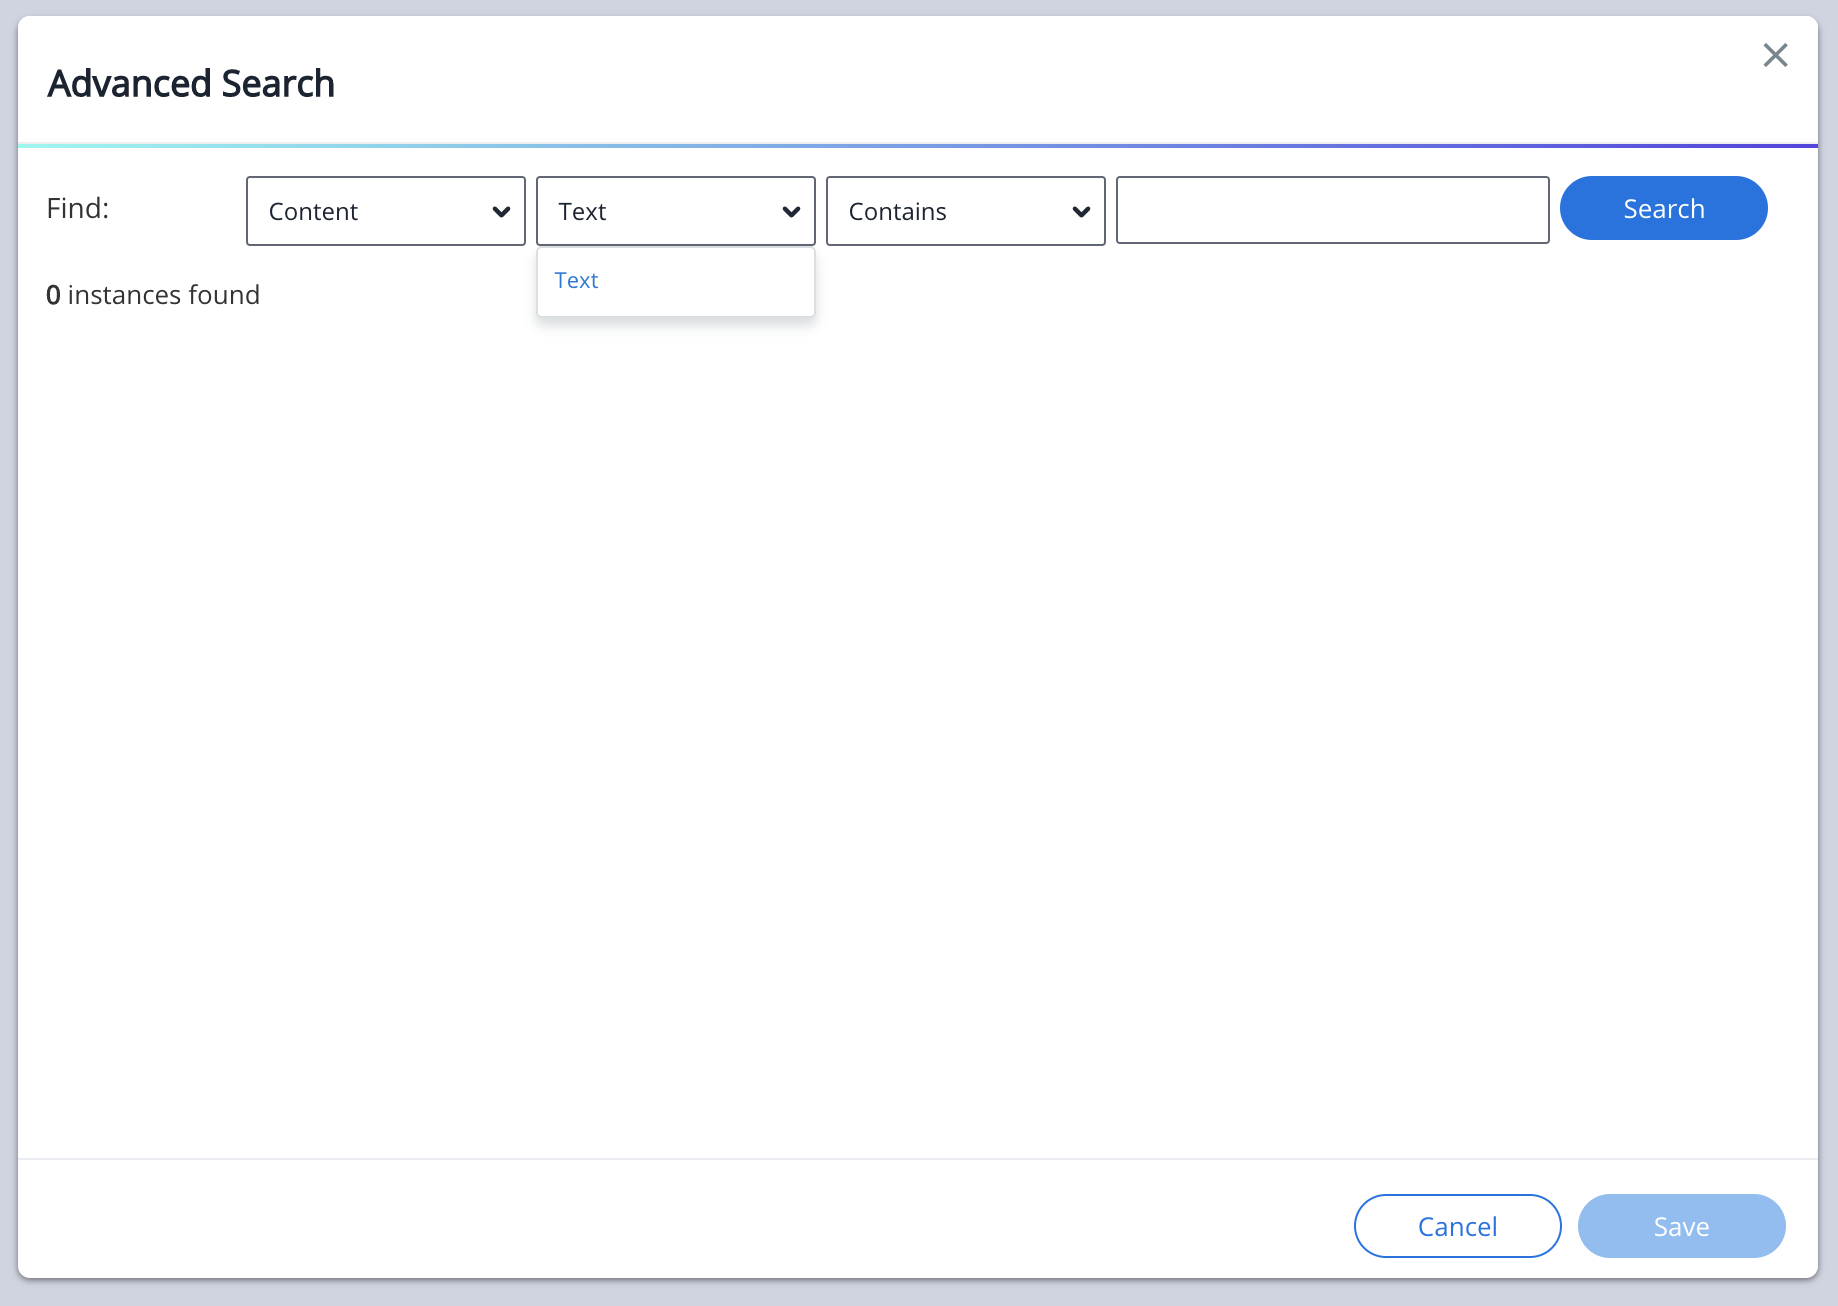
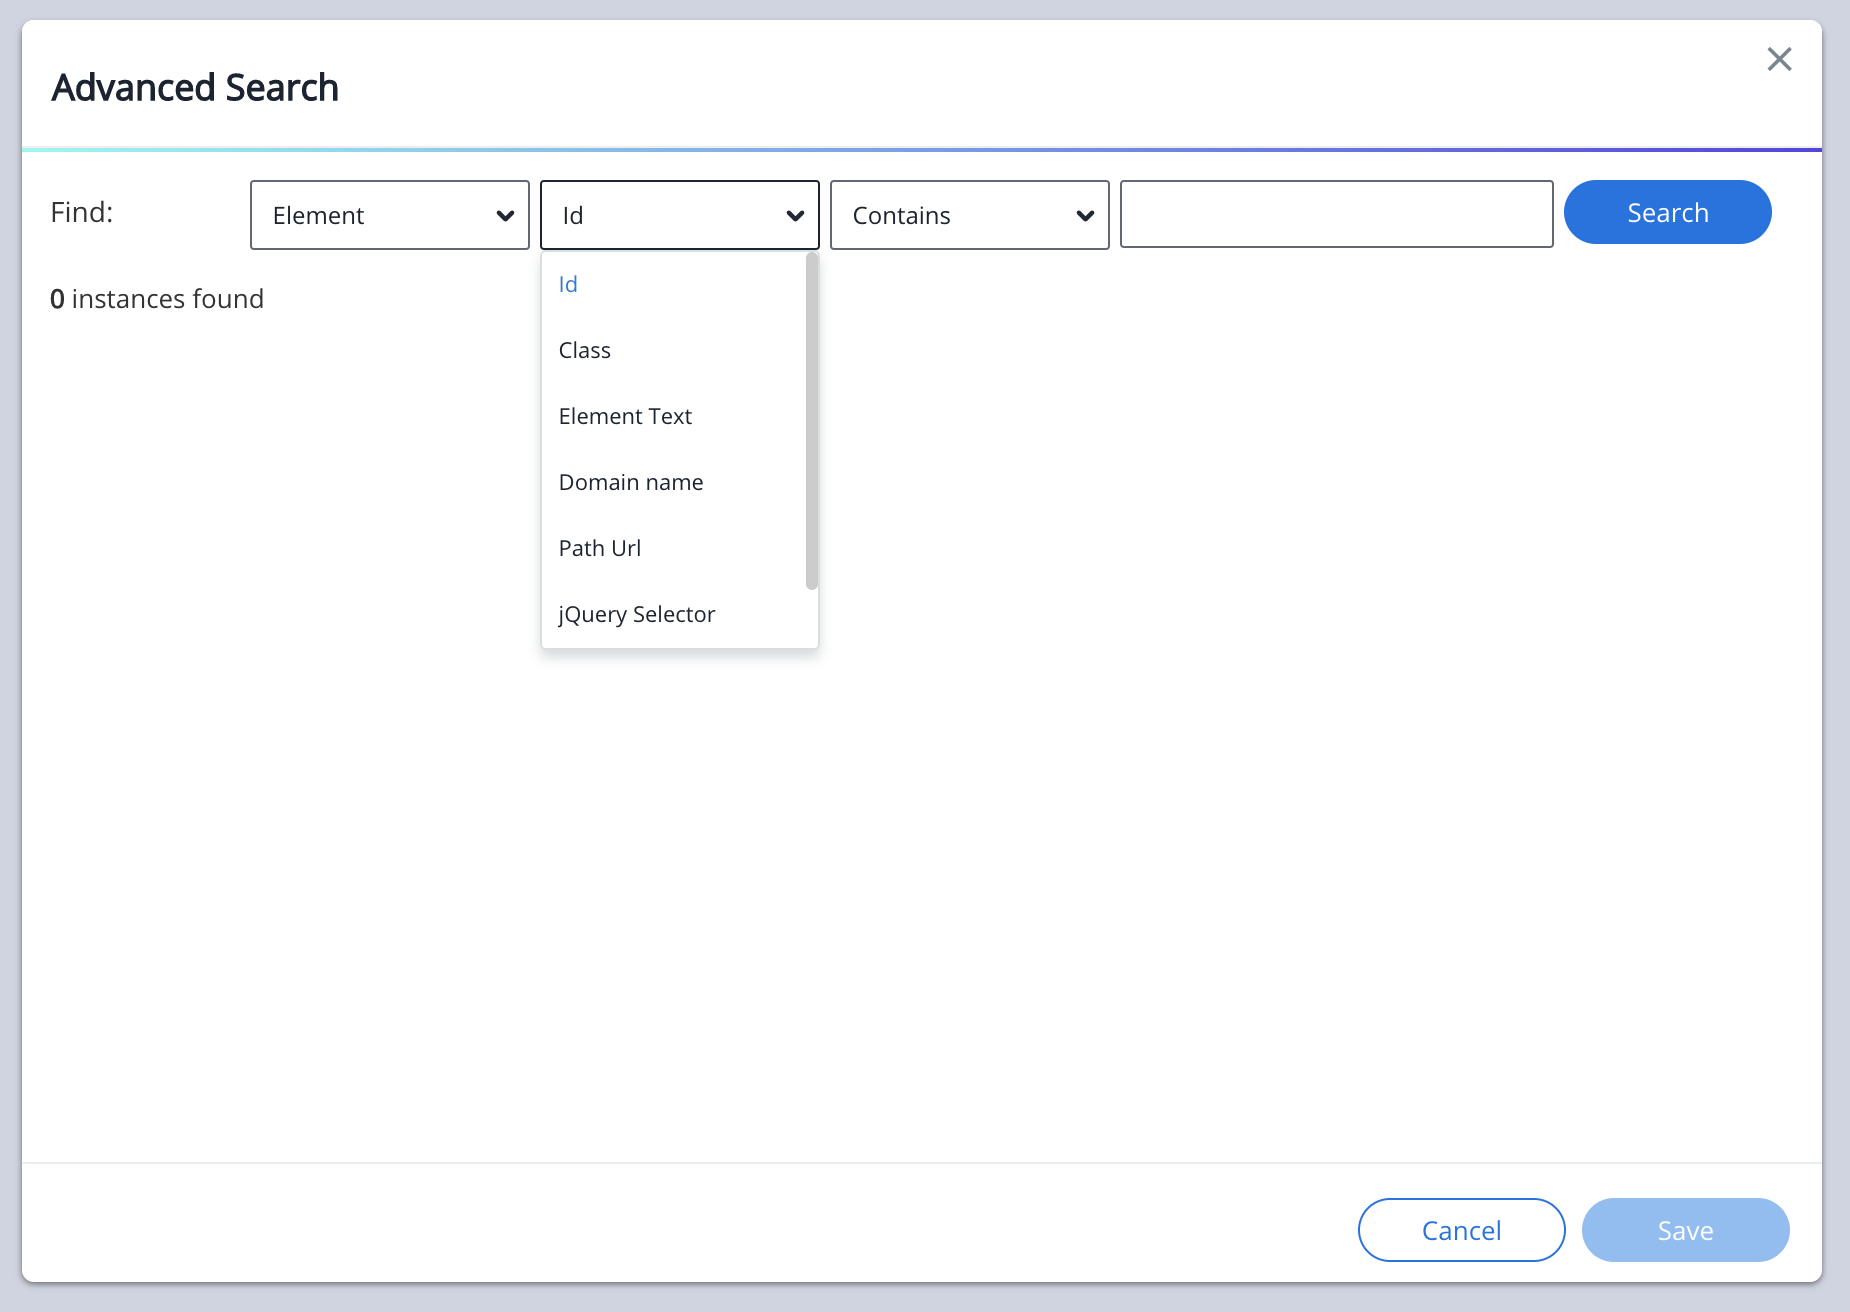
- Select a single Element Description Property from the dropdown list.
- Element Description Property types include:
- Text (Available when the Context Description Property is set to "Content")
- Search text content within a Deployable item
- Id (Available when the Context Description Property is set to "Element")
- Search for elements by their unique HTML Id attribute
- Class (Available when the Context Description Property is set to "Element")
- Search for elements by their HTML class attribute
- Element Text (Available when the Context Description Property is set to "Element")
- Search for elements by visually readable on-screen element text
- Host Name (Available when the Context Description Property is set to "Element")
- Search for elements by their domain (only) URL
- A domain name is a unique name for a web site, like “walkme.com.”
- Path URL (Available when the Context Description Property is set to "Element")
- Search for elements by URL path (or stem)
- The path (or stem) in the URL is analogous to the file path for a file on a computer, server, or on-demand cloud computing platform, such as Amazon AWS. Not to be confused with the URL host name.
- Search for elements jQuery selector (Available when the Context Description Property is set to "Element")
- Often located within a Deployable item's “Selected Element” tab properties.
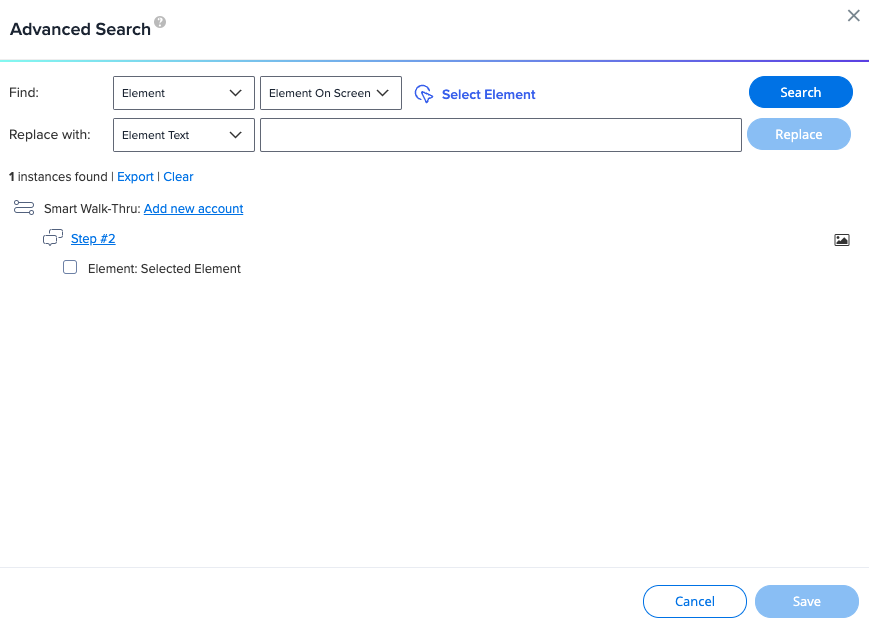
- Element on Screen (Available when the Context Description Property is set to "Element")
- Search for elements by selecting the element via on-screen element selection mode
Next, click the Condition Operator dropdown (defaulted to “Contains”)
- The “Contains” Condition Operator queries string values with similar matching string paths that have similar characters within the database.The “Is” Condition Operator queries string values with string paths whose characters have an exact match within the database.
Example
If I am looking for a string value, I can type “Onb” into the search bar and my string value “Onboarding level1” will appear as a result, but only if “Contains” is active. However, I must type the entire, correct string value of "Onboarding level1" into the search bar for it to appear as a result when the Condition Operator is set to “Is”.
Now, enter the desired string value (Id, Class, Element Text, Host Name, or Path URL) into the search bar input box.
Click "Search."
How it works
Advanced search will query the entire Editor account's data (within the WalkMe database) and provide matching results defined by the user's Context Operator selection + Element Description Property selection + Condition Operator selection + the user's string value.
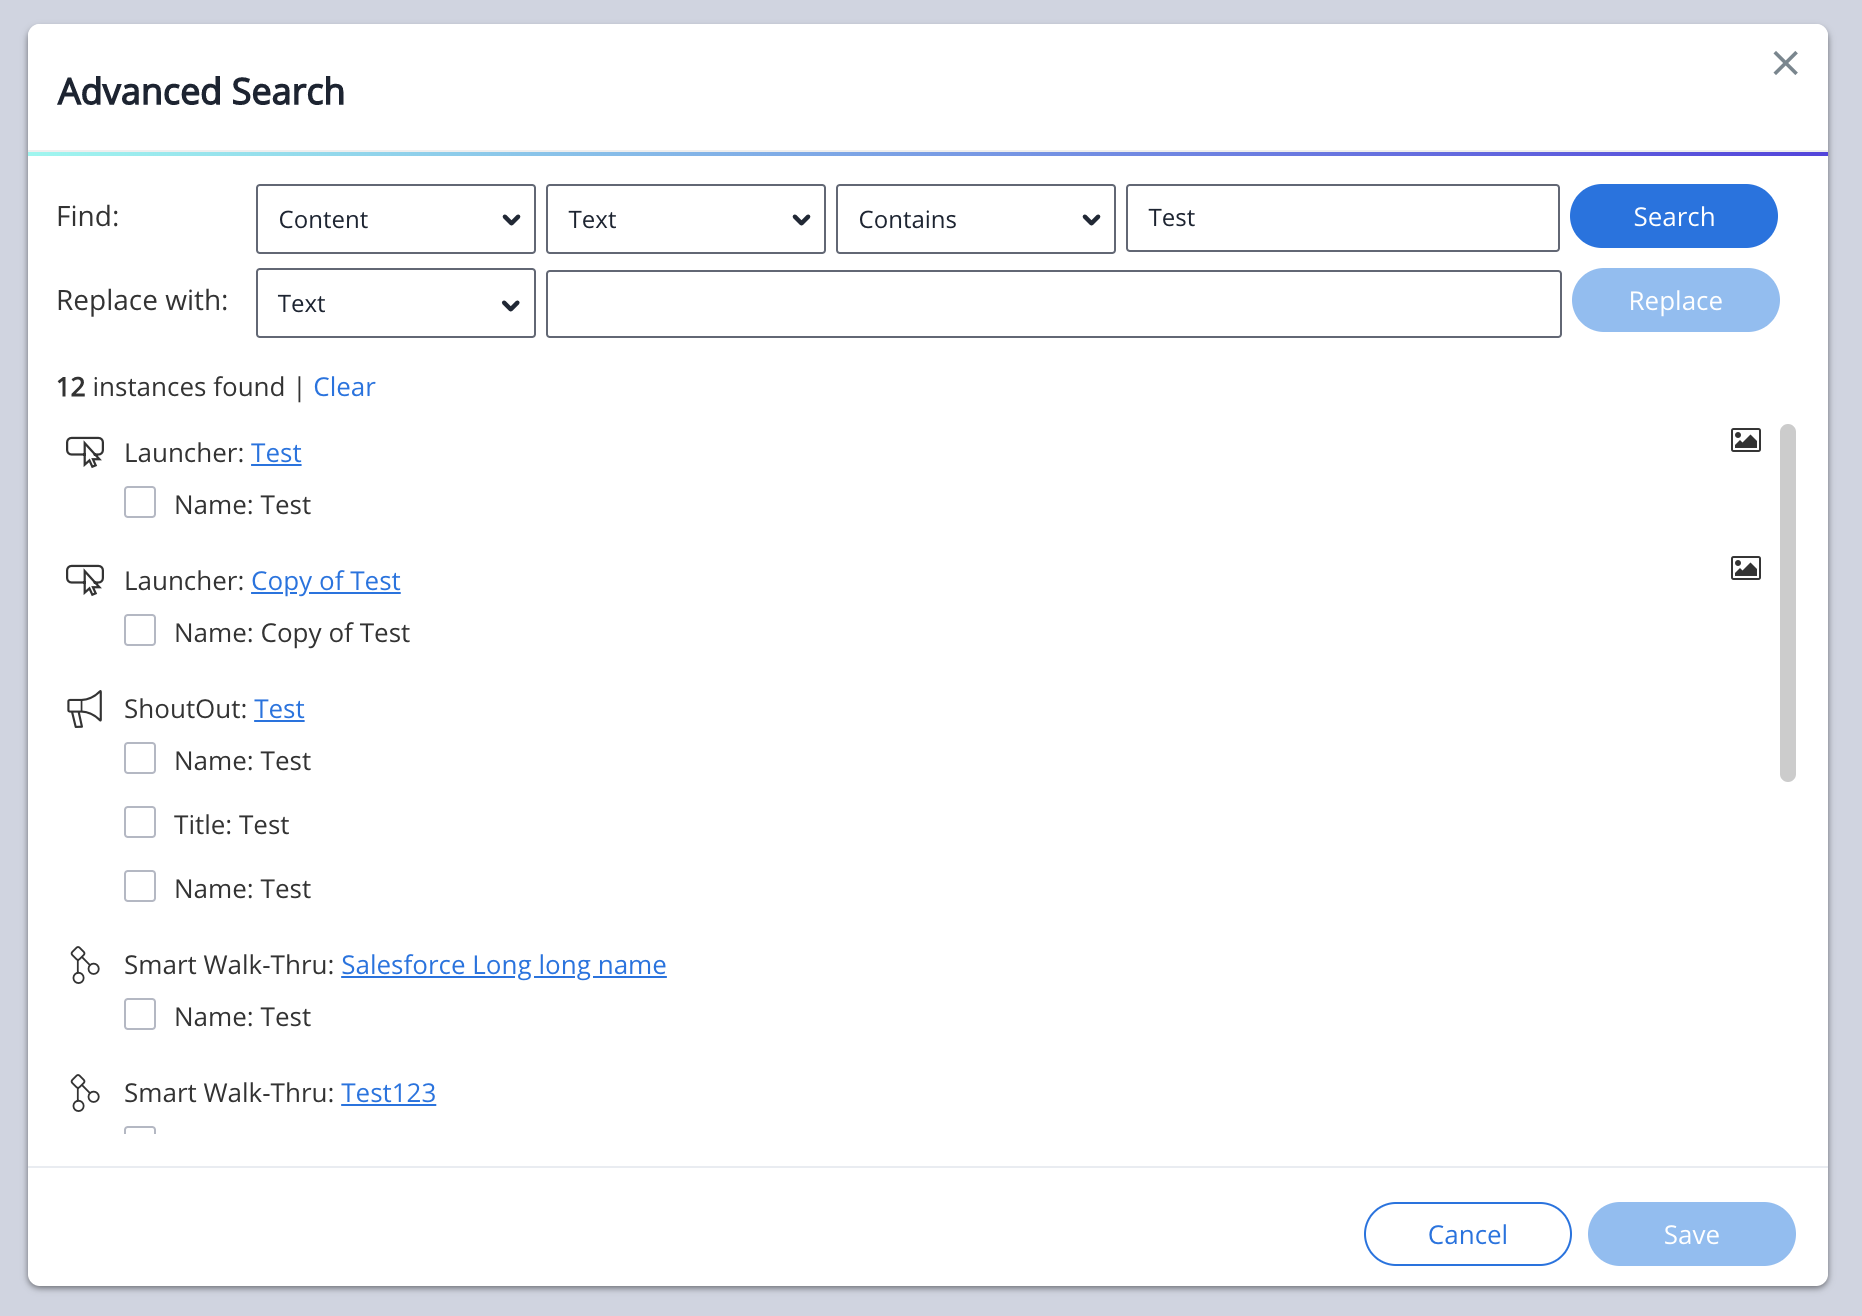
Once the advanced search query is complete, the advanced search modal will display the number of search result instances found.
The advanced search results will also display the Deployable type, name, and all Deployable steps/items nested within.
How to Use "Replace with"
Once an advanced search is successfully completed, the “Replace with” UI will appear in between the query results and the “Field” search sections.
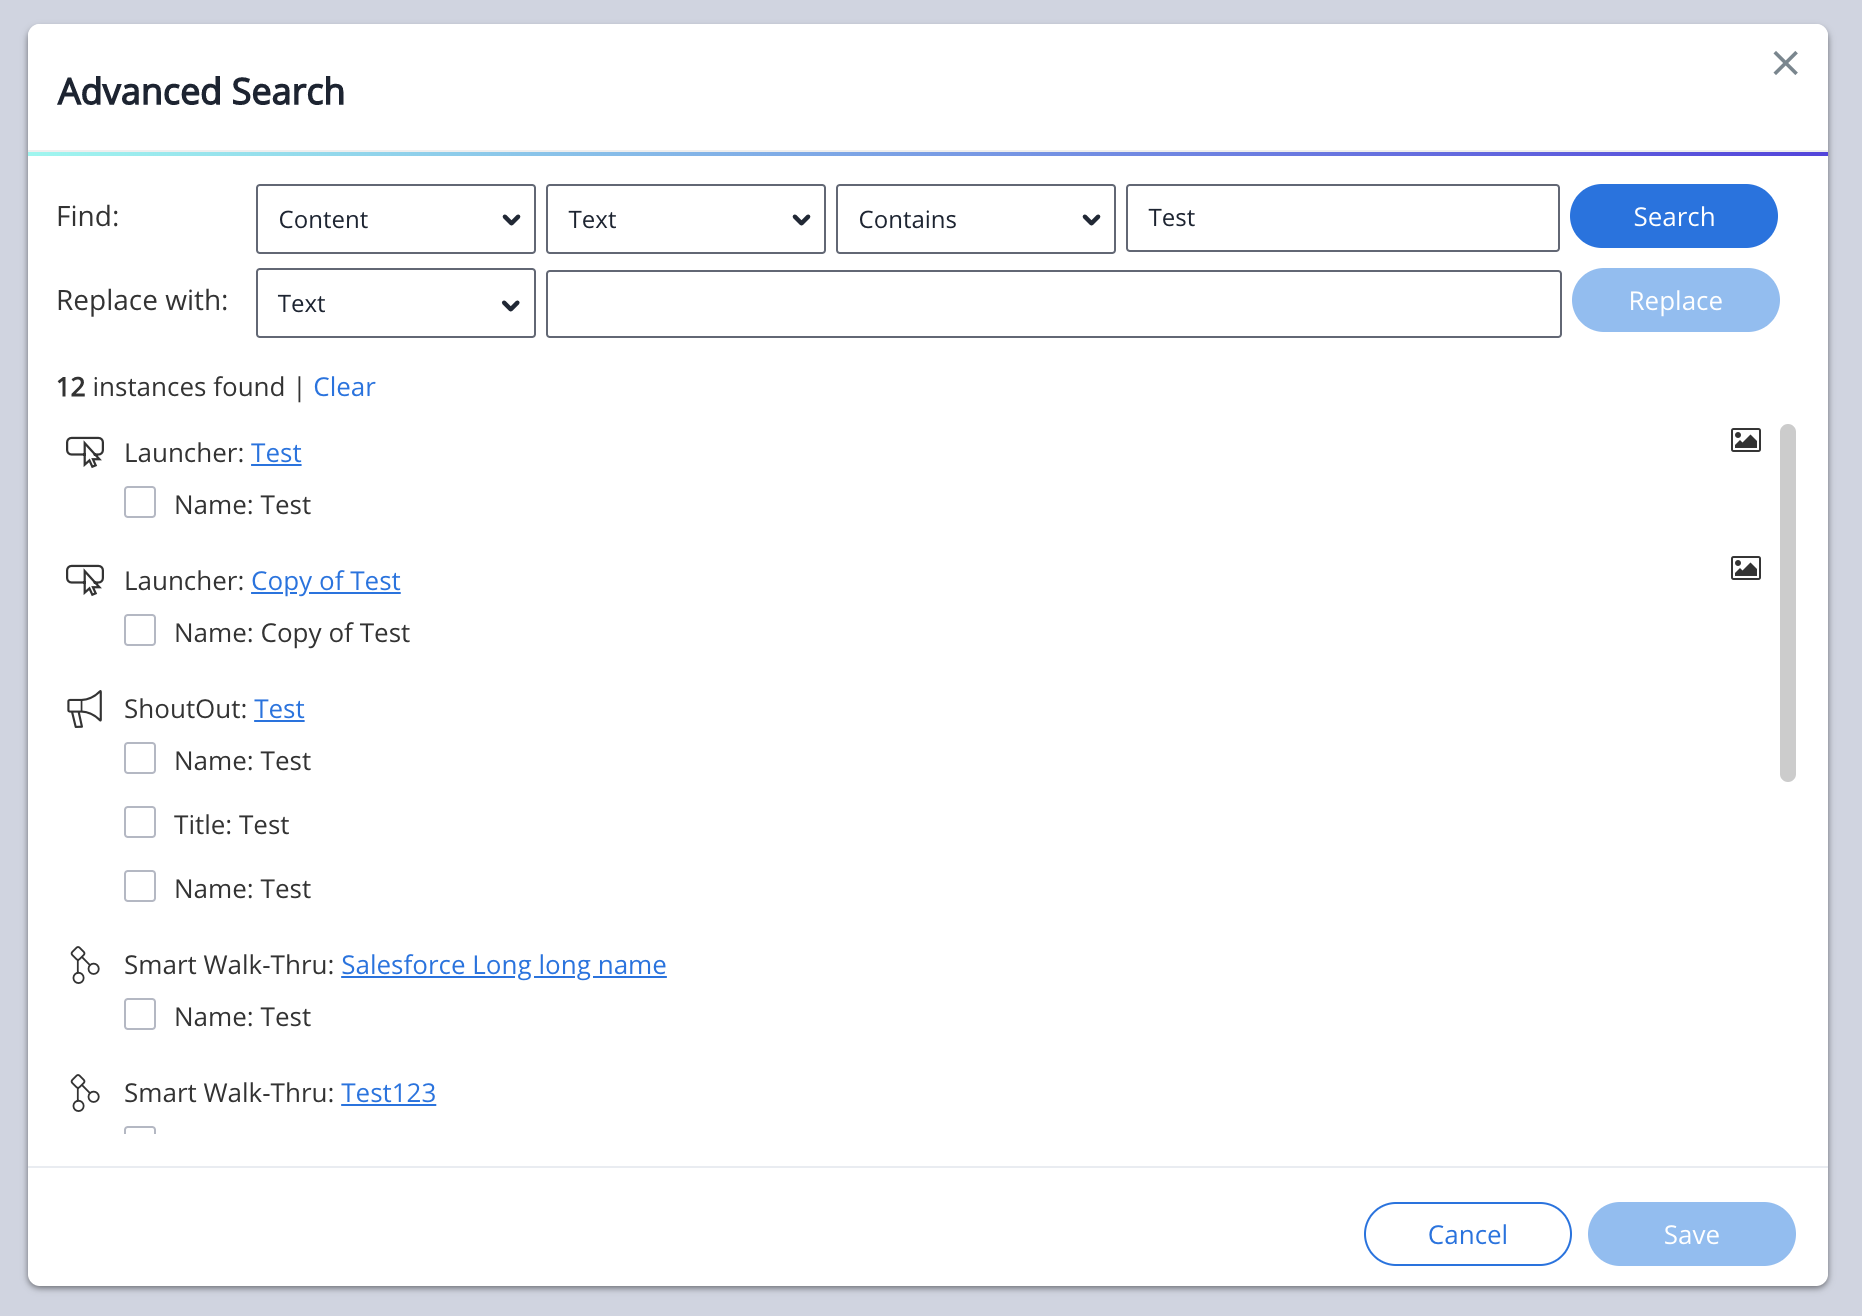
Next, select which Element item(s) require an update via the checkbox to the left of a Deployable item that contains Element Selection data.
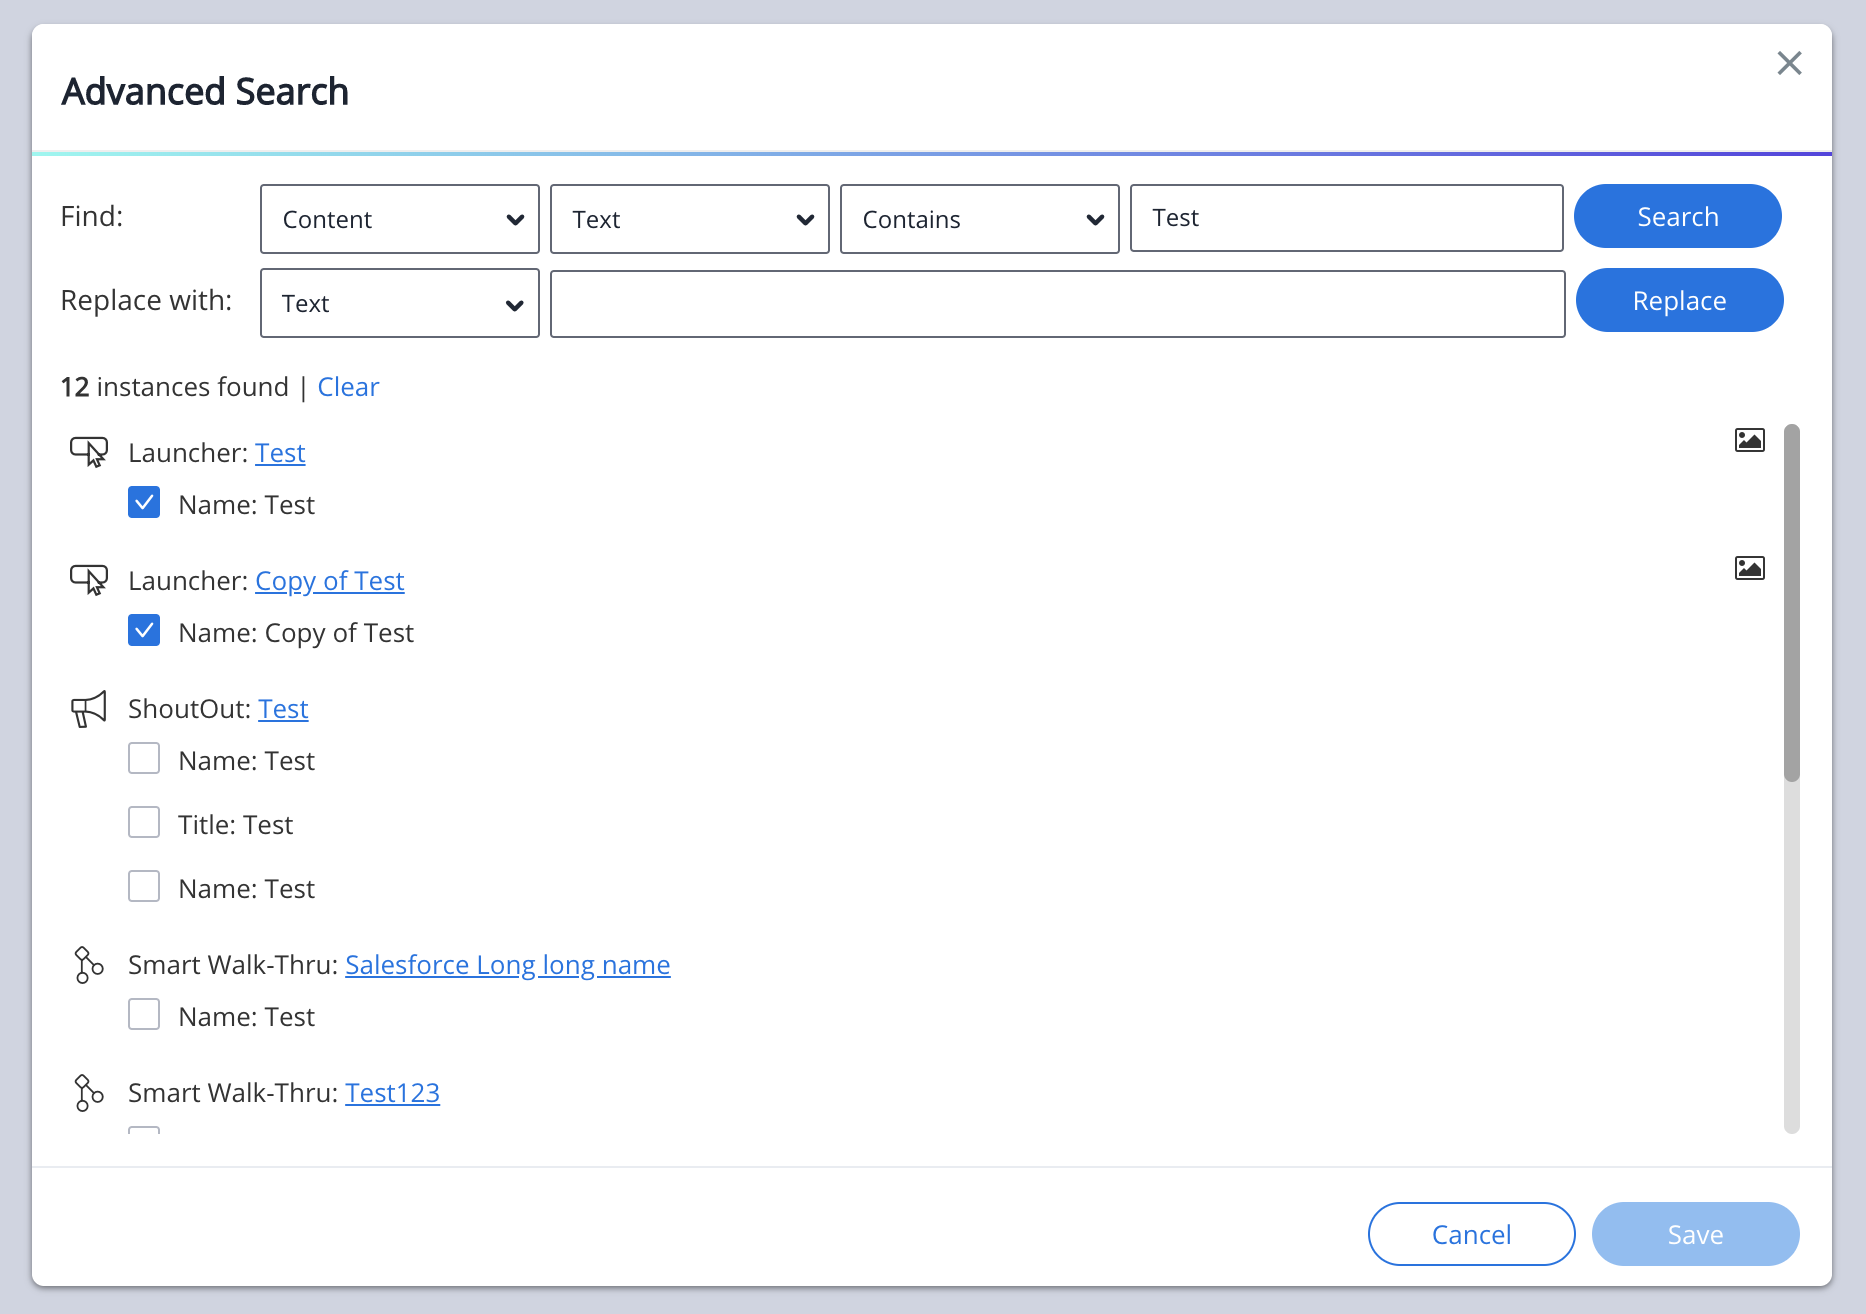
Now, either click the:
- “Replace with” Element Description Property dropdown
- User can select three options from Element Description Property types which include:
- Element/Select Element
- Replace an element(s) by selecting a new on-screen element via the Element Selection mode
- jQuery Selector
- Replace an element(s') jQuery selector
- Often located within a Deployable item's “Precision” properties tab
- Element Text
- Replace an Element Selection Captured using an element on-screen text string and replace the element selection with a new on-screen text string
- When “jQuery Selector” or “Element Text” is selected, next, enter a jQuery string value or text string value into the input box.
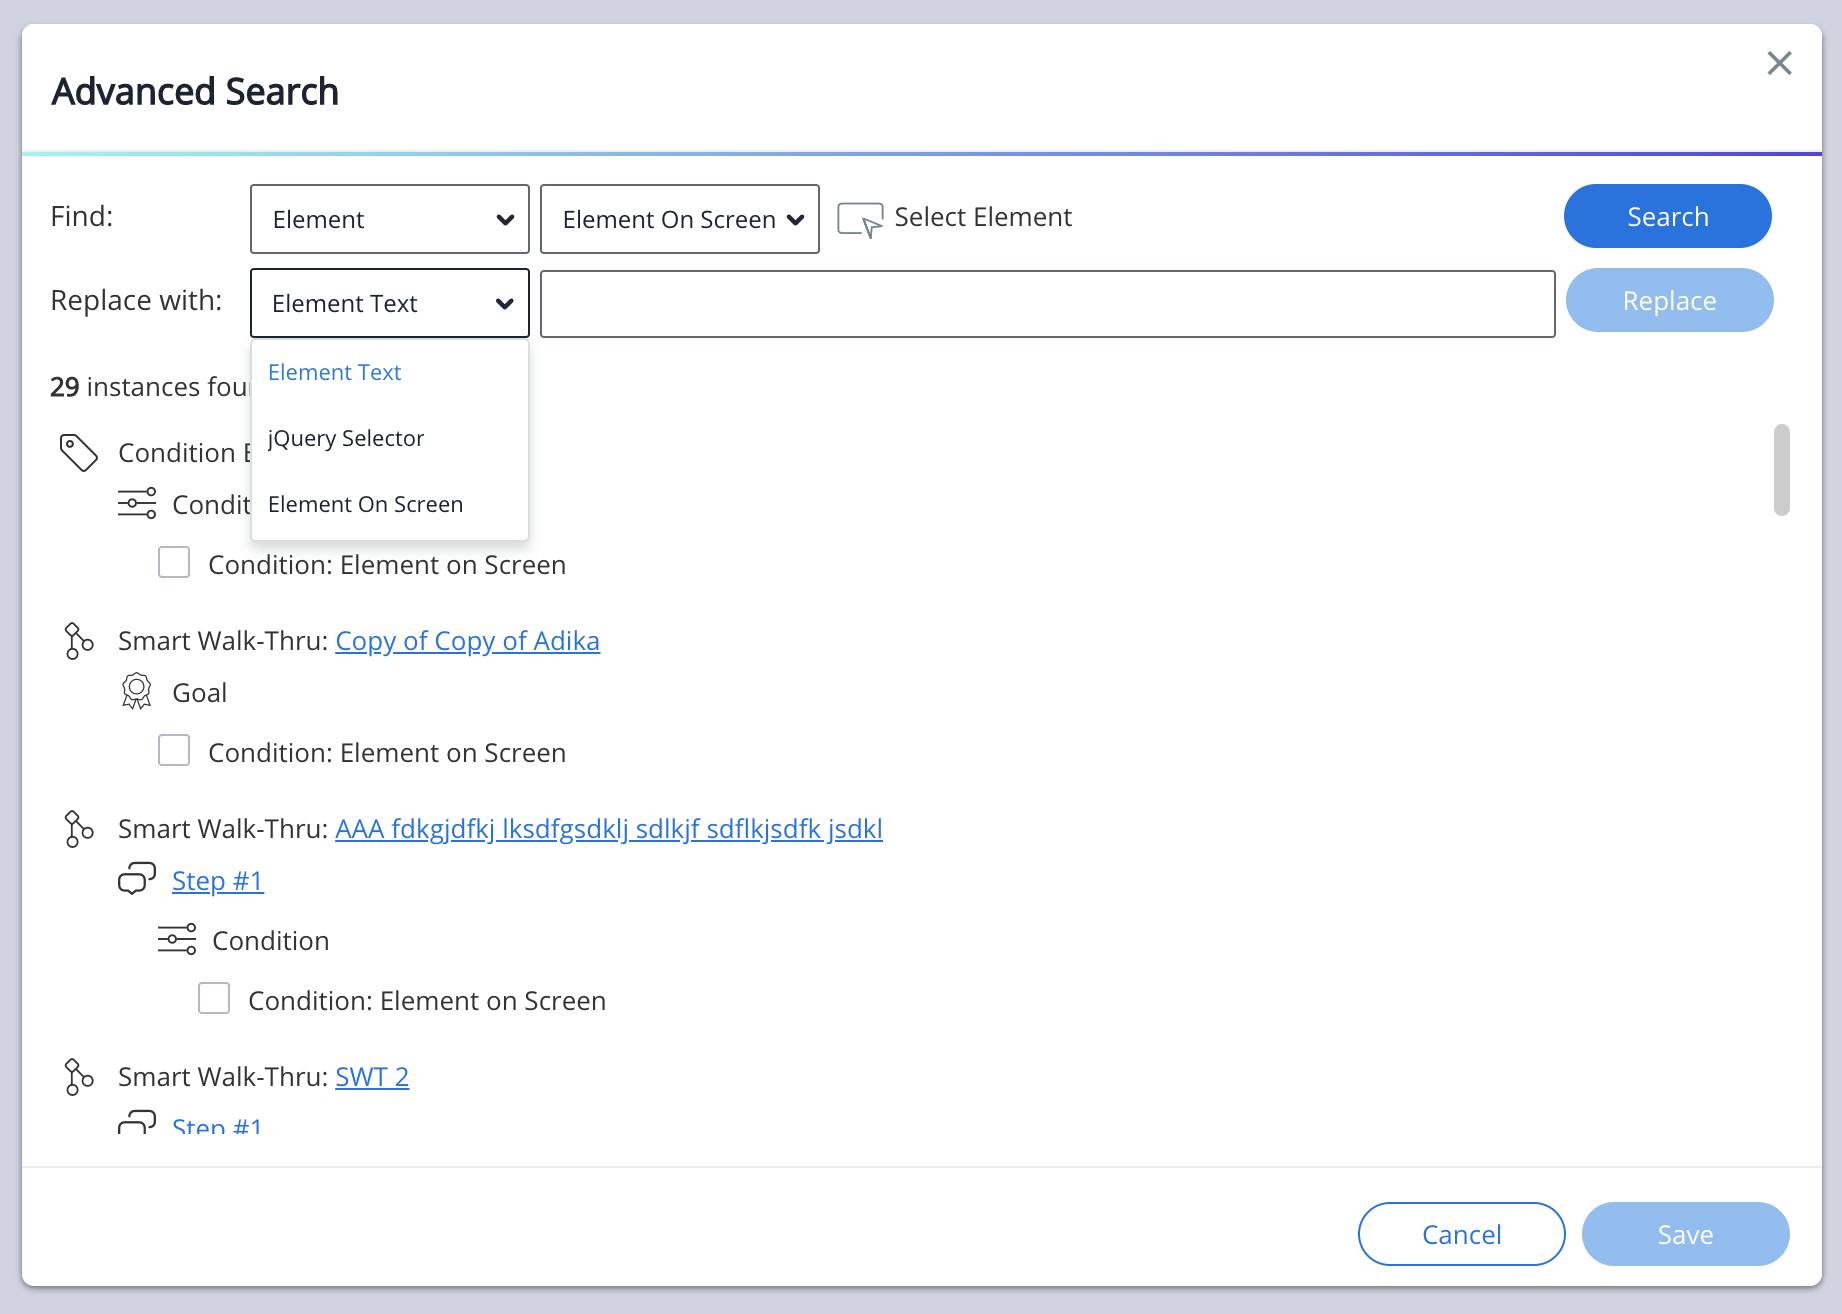
Click "Replace."
Once you have clicked "Replace" the replaced item will be removed from the search list.
Note
Clicking “Replace” only holds the new selection or string value to advanced search's client. The new selection or string value will not be pushed from the client into the WalkMe database until the “Save” button within the advanced search modal (located bottom right) is clicked.
Optionally, clicking the “Play button” next to a deployable item will minimize the editor drawer.
- Clicking the “Play button” before a deployables items element capture has been replaced will display the original element selection on-screen.
- Once the “Replace” button has been clicked, followed by clicking the Play icon, the deployable items will display (on-screen) next to or on the newly replaced element selection.
Optionally, clicking/hovering on the image icon will display the website/platform/system Element Capture screenshot.
- Clicking/hovering over the image icon before a deployable items element capture has been replaced will display the original element selection screenshot.
- Once the “Replace” button has been clicked, the screenshot of the deployable item will update with the newly replaced element selection.
Finally, click “Save” at the bottom right of the advanced search modal to finalize and push the newly replaced Element Selection to the WalkMe database.
Anytime a user navigates away from the advanced search modal followed by returning to the advanced search modal, the user will find the last search they made cached and available to continue using until a new search is made.
How to Find an Unknown Element
If you don't know the element's class, ID, etc, or the element is no longer available to select from the on-screen selection mode, you can locate it by navigating to the Advanced Settings tab within a items property screen:
- In the editor, click on your Smart Walk-Thru step
- Go to the Advanced Settings tab
- Click on the Search icon next to the Recognition method
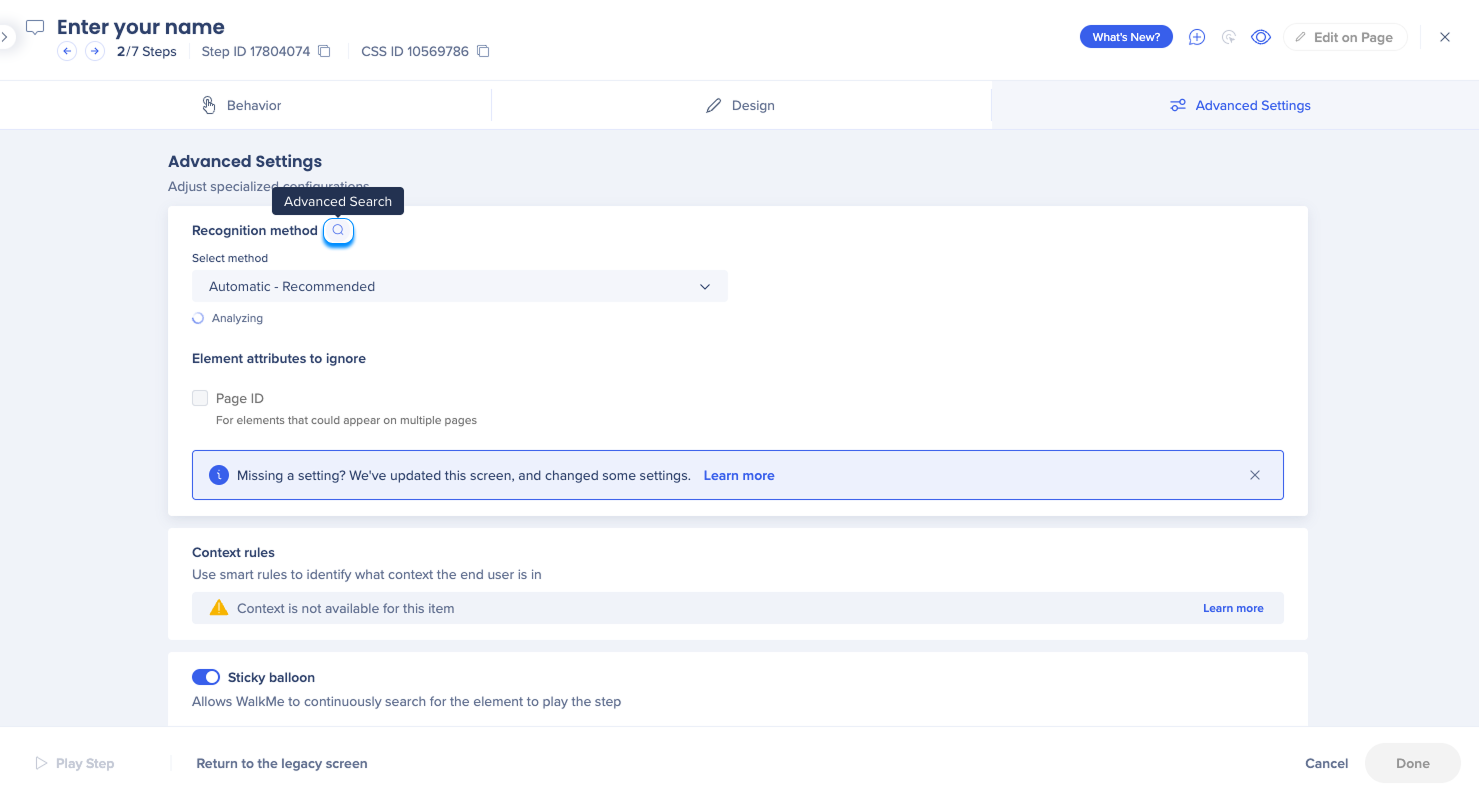
- This will initiate the automatic advanced search
- Here, you can replace the element following the standard replace process
Technical Notes
- Classic Walk-Thrus not supported — no results will be found in the advanced search
- Smart Walk-Thru steps that were built using the Visual Designer (in Desktop/Mobile systems) not supported
- ShoutOuts that were built using the Visual Design are not supported
- When using the search function, it searches the raw, exact text that is in the text box, not what is displayed in the balloon itself
- If you have some content that is bold only on the X of the text, then you would need to include the code that matches that raw text for the balloon
- For example, for bolded content it would like be [b]X[/b] or [bold]X[/bold][/ht_message]


