WalkMe Systems

Last Updated May 9, 2023

Brief Overview

Manage systems from the Admin Center at admin.walkme.com. In this article we will go over the options available for both Web Systems and Desktop Apps.

Web Systems

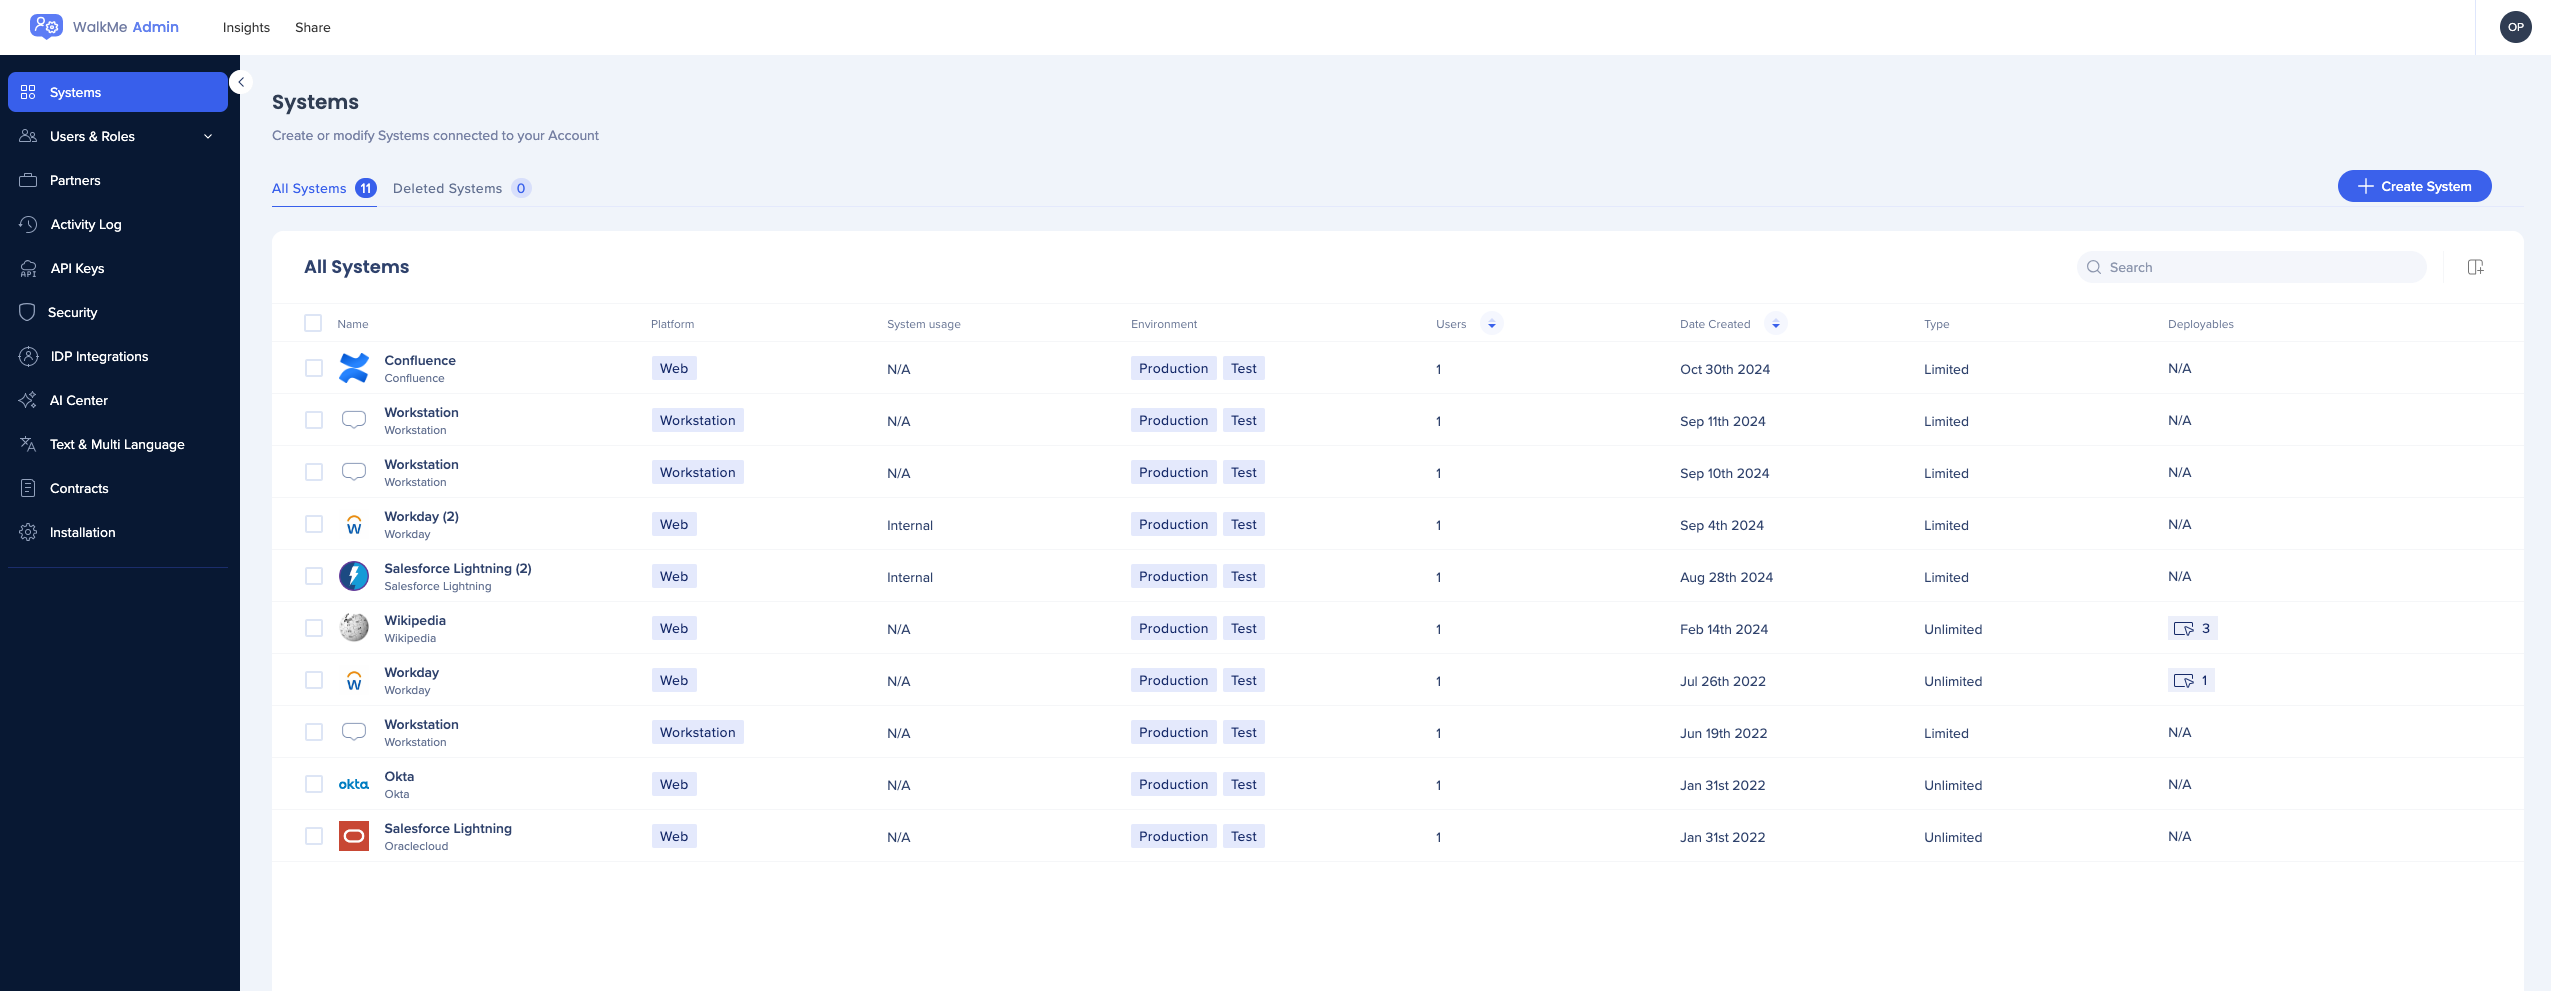
Systems list

Shows the list of systems that are available under that account:

  • Name – The name of the system
  • Application – app the system is configured for
    • The type of the web system (for example, “Gmail”)
    • Custom web system
    • Workstation
  • Platform – web, mobile or workstation
  • Environment – production and test (created by default with the system), any other custom environment
  • Users – number of users assigned to that system
  • Date created – The date the system was created
  • Type
    • Limited is a “trial” system on which you can build up to 3 items
    • Unlimited is a paid system and you can build as many items as needed on that system
  • Deployables – The number of deployables created on this system
  • User Identifier method – The current “User Identifier” setting for that system
  • Status:
    • Green dot – active on the extension
    • Red dot – inactive on the extension
What is a limited system?

Every new system is created as trial by default with the ability to expand working with WalkMe on further apps. Please reach out to your Customer Success Manager or WalkMe contact for more information.

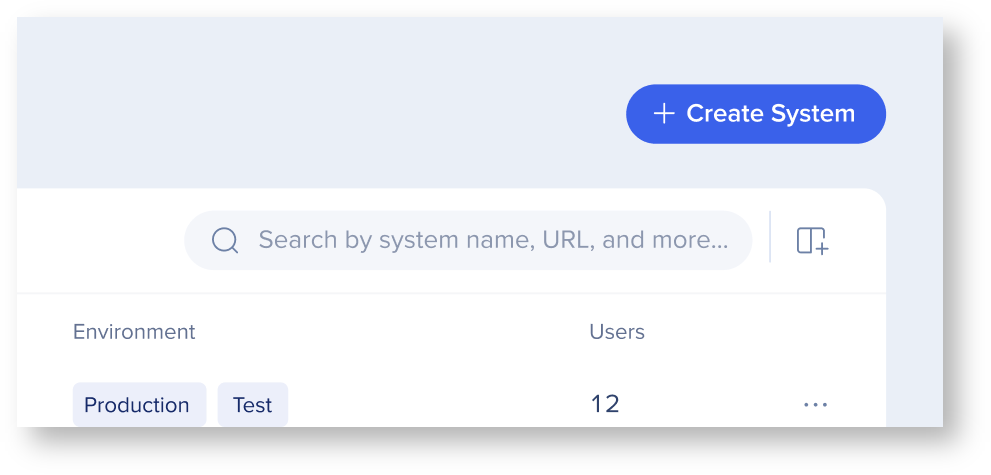
Click Manage columns to add more columns if you do not see them on the page.

Add Web System

Create a new system and the or select one of predefined ones. New systems are created as “Trial” systems meaning their Editor capabilities will be limited

  1. Click Create System
  2. Click Web
  3. Enter the system name
  4. Select the system type
    • Systems in the list automatically enable relevant preset configurations
    • If you cannot find your system type, select Custom Type
  5. Click Create System

Once a system is assigned you cannot reassign it.

Create multiple systems for the same platform

It’s possible to have several instances of pre-defined systems that are for the same platform type (for example, multiple systems for Salesforce). Create each one as usual to have multiple systems that contain the necessary pre-set configurations for that platform.

Edit System Type

  1. Hover over the custom system you want to change
    • Click on the 3-dot menu
    • Click Change system type
  2. Choose the relevant system from the list and click Change System Type

Change system name

  1. Click on a system from the system dashboard
  2. Hover over the system name and click the pencil icon to edit the name

Assign users to a system

  1. Click on a system from the system dashboard
  2. Click Users
  3. Click Assign Users
  4. Select the users you want to assign
  5. Click Assign

Add new environment

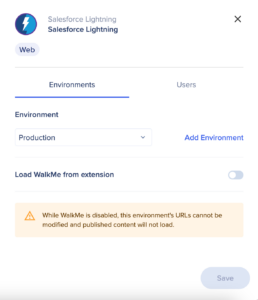
  1. Click on the system you want to configure. A side screen will open up
  2. Click Add Environment
  3. Enter an environment name and click Add Environment
  4. On the environment configuration page, select the environment that you created
    • If your test and production environments use the same URL, you only need to configure the production URL
  5. Toggle on/off Load WalkMe from extension
    • By default, this is toggled off for newly created systems
    • This setting is per environment and needs to be configured separately for test and production environments
  6. If using an extension to load WalkMe, enter the relevant URL in the text box
    • Use Match Patterns rules; click here to learn more
    • A placeholder example.com will display until you add your own URLs. If you selected a known system type, those URLs will display here (for example, lightning.force.com)
  7. Click Save

Advanced Settings

Configure an extension or snippet in the advanced settings.

  1. Hover over the system you want configure
    • Click the 3-dot menu
    • Click Advanced Settings
  2. Advanced System Settings popup will appear
    • Choose if you want to configure the system to run on “Extension” or “Snippet”

Extension configuration

  1. Choose the environment you want to configure
  2. Toggle on Load WalkMe on this environment for WalkMe content to be active and available on this environment
    •  If you turn the toggle off, you will see a “Disable extension content?” message. If you confirm, WalkMe content will be inactive and won’t appear on the website for this environment
  3. Toggle on/off settings for If you have an active WalkMe Extension and snippet 
    • Load the snippet first: if your website contains a snippet embedded in the HTML and this system is also configured on the extension, you can choose if you want WalkMe content to load using the snippet or the extension
    • If you toggle on Load the snippet first, you can also toggle on If the snippet doesn’t load, load the extension
      • If the snippet doesn’t load WalkMe within 1 second, the extension will load
  4. Toggle on/off Load WalkMe on cross domain iframes 
    • On all domains: WalkMe content will be able to appear within any iframe under any available domain in the world
    • On specific domains: WalkMe content will be able to appear within certain iframe domains that you specify

Snippet configuration

  1. Choose Snippet
  2. Copy the snippet code and embed it in your website’s HTML
    • Make sure to copy the correct snippet for each environment (Test, Production, etc.)

Desktop Apps

Prerequisites

For the organization to be able to define and track desktop apps, the following conditions need to be met:

Feature Configuration: Monitored Application List

The main screen shows an overview of all the apps that you may like to monitor.

Columns description:

  • App – The name of the app
  • Status –
    • The default state of any newly added app is deactivated, meaning that data is not being collected
    • When changing the app’s state from activated to deactivated and publishing it – data will no longer be collected and the app will still appear in the systems overview dashboard. All the historical data remains as is and available in the systems overview dashboard.
    • Activated – monitoring is turned on for this app. Usage Data is collected for the app once the app’s state is turned on to active and Publish was done via the editor
    • Deactivated –
  • Windows Process Name, Mac OS App Name, and Mac OS Bundle ID – the information WalkMe needs to identify the applications on the users’ computer.

Note:

  • WalkMe already provides this information for popular applications. Learn about it later in this article.

Add a Desktop App Using the List of Predefined Apps

In order to set up a desktop app using the predefined list:

  1. Click on “Add Desktop App”
  2. Select the specific app and click “Add To List”
  3. Once done a pop-up message will appear with the results and the selected app will be added to the desktop apps dashboard and systems overview dashboard
  4. In order for the app to start collecting data, make sure to select the checkbox next to the apps you would like to monitor and then change the state to “Activated”. Remember to publish via the editor.

Notes:

  • A predefined Desktop App can only be added once.
  • Newly added Desktop Apps will appear in deactivated status, meaning that data will not be collected for these apps by default.

Add Custom Desktop App

Creating a custom desktop app allows the user to configure an app that is not included in the pre-defined list

In order to set up a custom desktop app:

  1. Click on “Add Desktop App”
  2. Click on “Add Custom App”
  3. Fill out the configuration fields and click “Save Configuration”
  4. Once done a pop-up message will appear with the results and the selected app will be added to the Desktop Apps dashboard and Systems Overview dashboard

Read more here on how to find the configuration fields of a custom desktop app.

Configuration fields:

  • App Name – Will define how the app name will be displayed in the apps list and in Systems Overview in Insights.
  • Windows Process Name – Defines process names in Windows that will be mapped to this app. This field is Mandatory for configuring a Windows desktop app.
  • Windows App Title – Additional field to identify the Windows app.
  • Mac OS App Name – Defines App names in MacOS that will be mapped to this app, can be configured instead of Bundle ID.
  • Mac OS Bundle ID – Defines Bundle ID in MacOS that will be mapped to this app along with the matching app name, can be configured instead of the app name.

Notes:

  • Users can add more than 1 (Process name + Application title) and (App name + Bundle ID) combination per app. (e.g. – 2 Process names that map to the same app). In case multiple processes are set, each time WalkMe identifies one of the processes the user activity will be associated with this app.
  • App Name must be unique across all defined desktop apps.
  • Windows process name and app title together must be unique across all defined desktop apps.
  • Mac OS app names must be unique across all defined desktop apps.
  • Mac OS Bundle IDs must be unique across all defined desktop apps.

Edit Existing Monitored Apps

Editing apps can be done by choosing and clicking on a specific app from the desktop apps table:

The configuration of the app can be edited similarly to the creation process of a custom desktop app.

Note:

  • Desktop apps can be deactivated but cannot be deleted

Limitations

There is currently a limitation where some of the WalkMe Admin Center data is restricted for users with a snippet implementation. Specifically “Total Users” data.

Was this article helpful?

Thanks for your feedback!
×
“The trademarks and product names of Workday, Inc., including the WORKDAY® mark, are the property of Workday, Inc. WalkMe is not affiliated with Workday, Inc., nor does Workday, Inc. sponsor or endorse WalkMe, its services or its website.”

Select account type

Close
< Back

Mobile account login

< Back