WalkMe Systems
Brief Overview
You can view and manage all of your WalkMe systems from the Admin Center at admin.walkme.com. In this article we will go over all system options.
Systems Page Overview
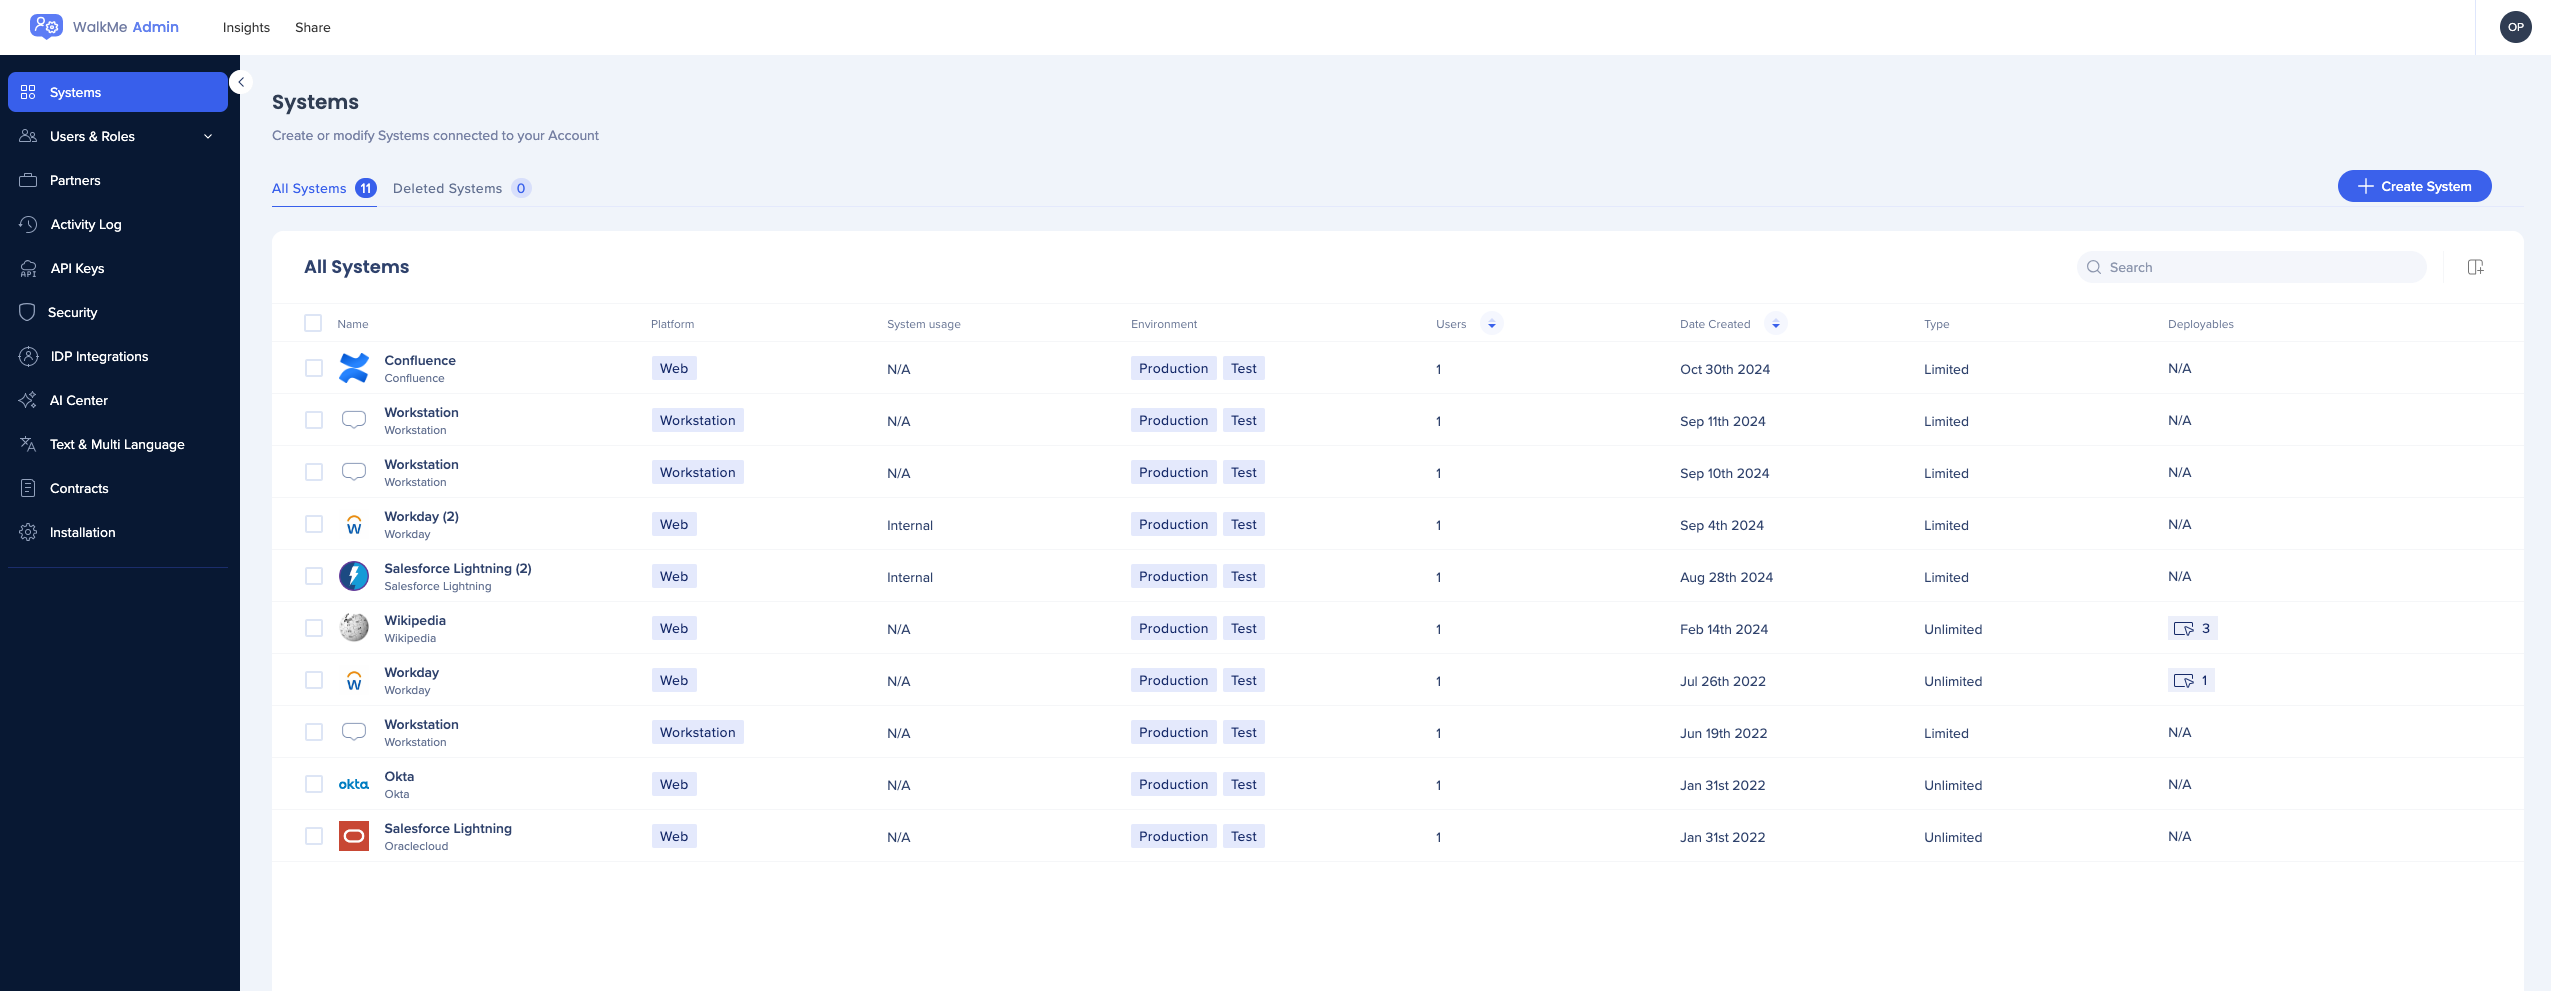
The Systems page in the Admin Center lists all of the systems available in your account and provides the following information for each:
- Name: The name of the system
- System: The type of system
- The specific web application (for example, "Gmail")
- Custom web system
- Workstation system
- Platform: Web, mobile or workstation
- Environment: Production, test (created by default), or custom environment
- Users: The number of users assigned to the system
- Date created: The date the system was created
- Type
- Limited is a "trial" system on which you can build up to 3 items
- Unlimited is a paid system and you can build as many items as needed on that system
- Items: The number of WalkMe items created on this system
- User Identifier method: The current "User Identifier" setting for that system
- Status:
- Green: Active on the extension
- Red: Inactive on the extension
Click Manage columns to add more columns if you do not see them on the page.
System Search
The search bar in the Admin Center allows you to find systems by:
- System name
- URL: Enter a URL to find systems that are configured to load on it
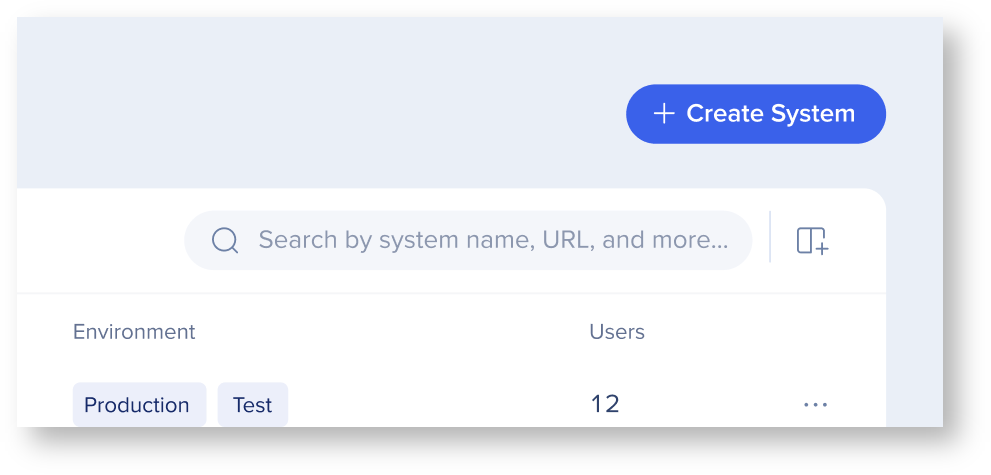
Search example:
To locate the system with the configurations below, you can search for “www.cloud.infor.com” or “https://www.inforcloudsuite.com/mysite”
Creating a New System
Learn how to create a new system in a dedicated article:
Manage Systems
Edit system type
- Hover over the custom system you want to change
- Click on the 3 dot options menu
- Click Change system type
- Choose the relevant system from the list and click Change System Type
Change system name
- Click on a system from the system dashboard
- Hover over the system name and click the pencil icon to edit the name
Assign users to a system
- Click on a system from the system dashboard
- Click Users
- Click Assign Users
- Select the users you want to assign
- Click Assign
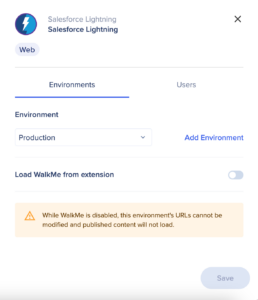
Add new environment
- Click on the system you want to configure
- A side panel will open up
- Click Add Environment
- Enter an environment name and click Add Environment
- On the environment configuration page, select the environment that you created
- If your test and production environments use the same URL, you only need to configure the production URL
- Turn on or off the Load WalkMe from extension toggle
- By default, this is turned off for newly created systems
- This must be set for each environment and needs to be configured separately for test and production environments
- If using an extension to load WalkMe, enter the relevant URL in the text box
- Use Match Patterns rules
- A placeholder will display until you add your own URLs
- If you selected a known system type, those URLs will be shown
- For example: lightning.force.com
- Click Save
Load WalkMe from extension
- Turning on the toggle allows you to configure what URLs the system should load on
- Turning off the toggle will disable the current configuration on the extension level
URLs
- List of URL patterns dedicated to match your application
- The following syntax is supported:
- Start with: https:// or http://
- Note: If both are required, create two separate patterns
- Followed by: www.domain_name.com
- End with:
- /path to specify the exact path to the pages where WalkMe should load
- /some*path to specify the static and reliable part of the path, but also account for dynamic part of the path with a wildcard asterisk (*) which can be added anywhere in the path name
- /* if WalkMe should load on any page under the domain
- Start with: https:// or http://
Advanced System Settings
Configure an extension or snippet in the advanced settings.
- Hover over the system you want to configure
- Click the 3 dot options menu
- Click Advanced Settings
- The Advanced System Settings popup will appear
- Choose if you want to configure the system to run on "Extension" or "Snippet"
Extension configuration
- Load WalkMe on this environment toggle: Should be turned on for WalkMe content to be active and available on this environment
- If you have an active WalkMe Extension and snippet: Allows you to control the loading order and logic for each setting
- Load the snippet first: If your website contains a snippet embedded in the HTML and this system is also configured on the extension, turning on this toggle will prioritize WalkMe content to load using the snippet over the extension
- If the snippet doesn't load, load the extension: Available only if Load the snippet first is turned on, turning on this toggle acts as a fallback setting, allowing the extension to load the system on the page only when the snippet doesn't load WalkMe within 1 second
- Load WalkMe on cross domain iFrames: Allows the extension to load on cross domain iFrames if such exist in the application and extension configuration matches the iFrame URLs
- Top domain validation: Allows you to configure the extension to load in certain scenarios
- On all domains: Recommended and selected by default, this will allow you to load the extension on any top domain as configured in the initial URL settings
- On specific domains: Displays the URL match pattern input field dedicated to match the top domain URLs
Snippet configuration
- Choose Snippet
- Copy the snippet code and embed it in your website's HTML
- Make sure to copy the correct snippet for each environment (Test, Production, etc.)
Limitations
There is currently a limitation where some of the WalkMe Admin Center data is restricted for users with a snippet implementation. Specifically "Total Users" data.