Brief Overview
ServiceNow is a cloud-based company that provides software as a service (SaaS) for technical management support. The company specializes in IT, allowing users to manage projects, teams, and customer interactions via a variety of apps and plugins.
ServiceNow's main product is the ticketing system that manages large-scale projects via on-suite ticketing tools, benchmarking to track progress and predictive modeling to manage workflows. IT professionals operating a service desk/help desk can use ServiceNow products to organize their help cases, problem management and instance management.
Use Cases
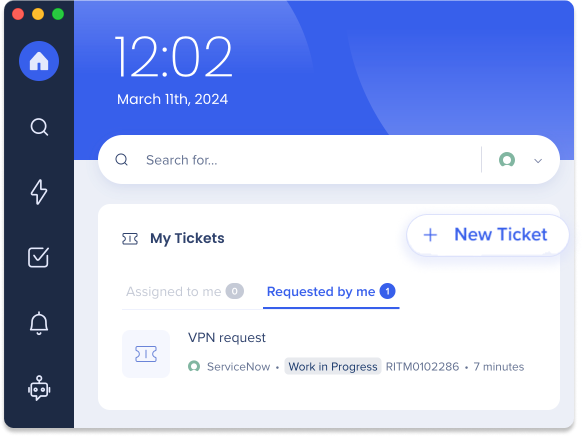
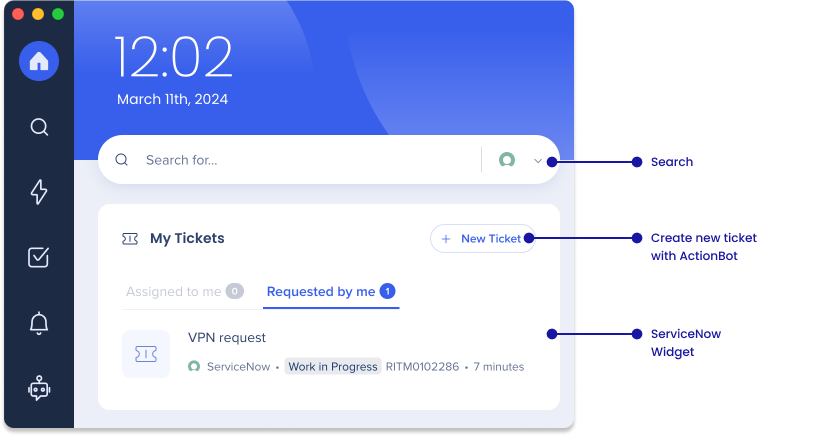
With the ServiceNow Integration enabled, you will be able to easily access ServiceNow tickets from inside of desktop menu. You will be able to view tickets using the home page widget, search for tickets, and create new tickets.
Detailed Capabilities
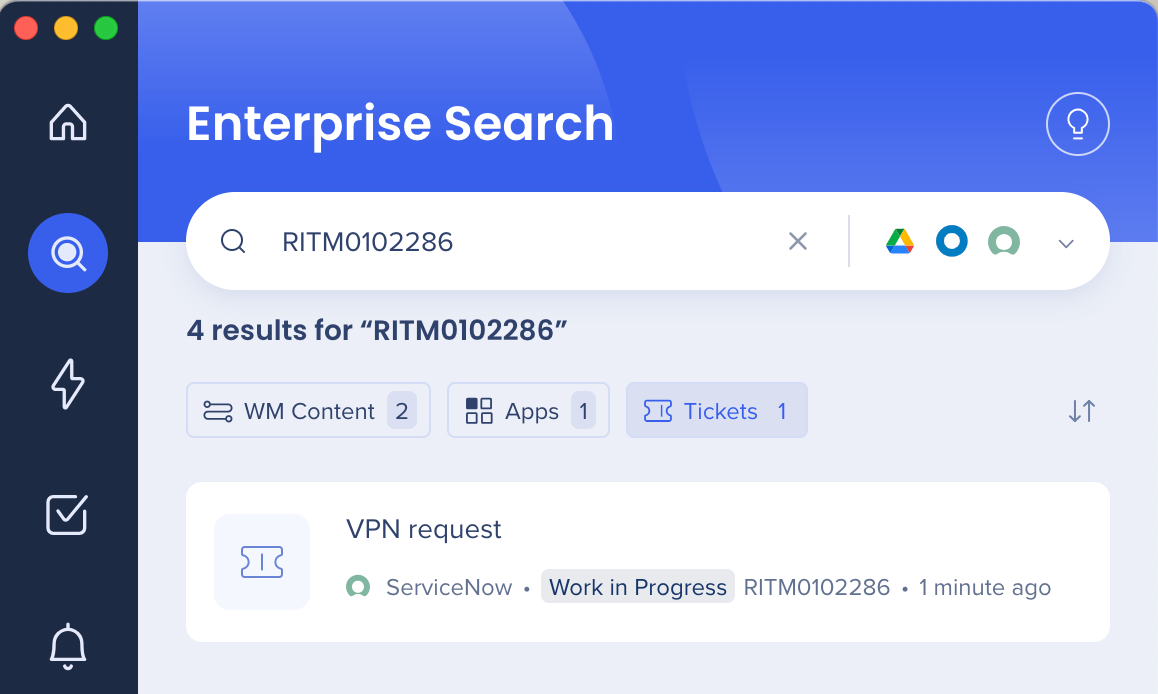
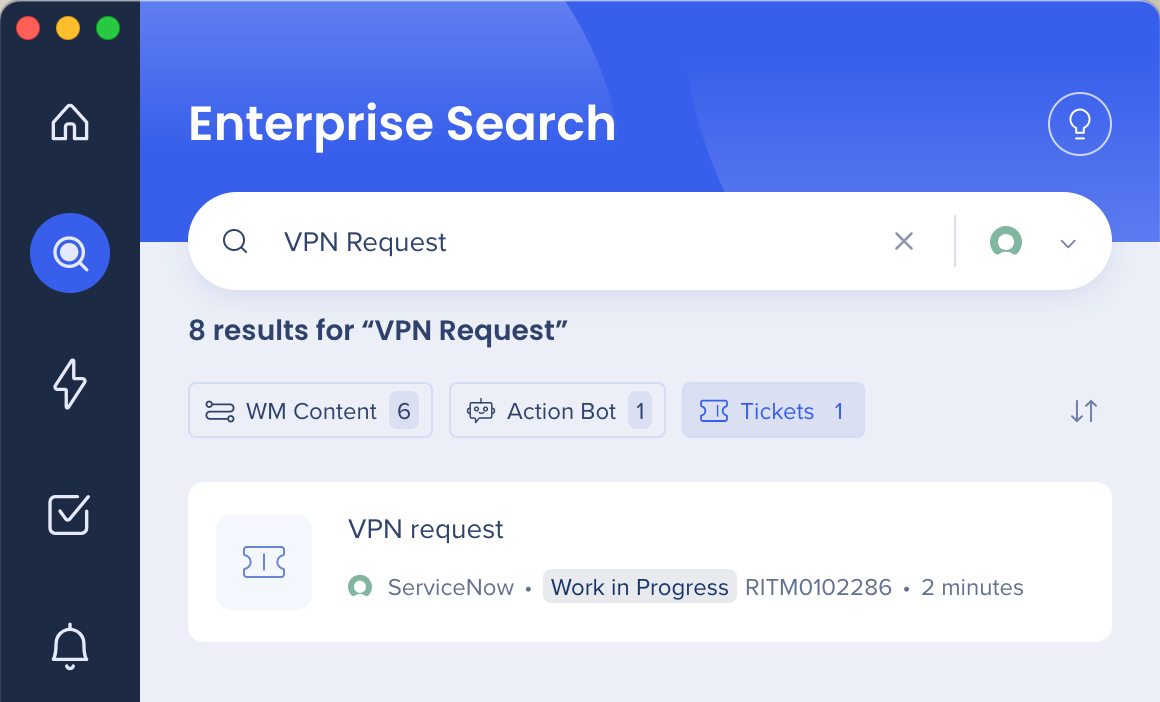
Search
The search will display two different entities: Knowledge base articles and Tickets
- Knowledge base articles: The search results will display ServiceNow KB articles, according to phrases in the title / description
- Data that should be displayed in the search results:
|
Field name
|
Entity
|
Example
|
| Title |
Article |
How to configure system guid? |
| Category |
Article |
Policies |
| Knowledge Base Name |
Article |
IT |
- Tickets: The search results will display ServiceNow's tickets, according to matching ticket ID. There are two types of tickets - Incidents (prefix- INC) and Requested Items (prefix RITM)
- Data that should be displayed in the search results:
|
Field name
|
Entity
|
Example
|
| Ticket number |
Ticket |
INC0010009 RITM0010009 |
| Short description |
Ticket |
Please help me solve this issue |
| Requested date & time |
Ticket |
2 weeks ago |
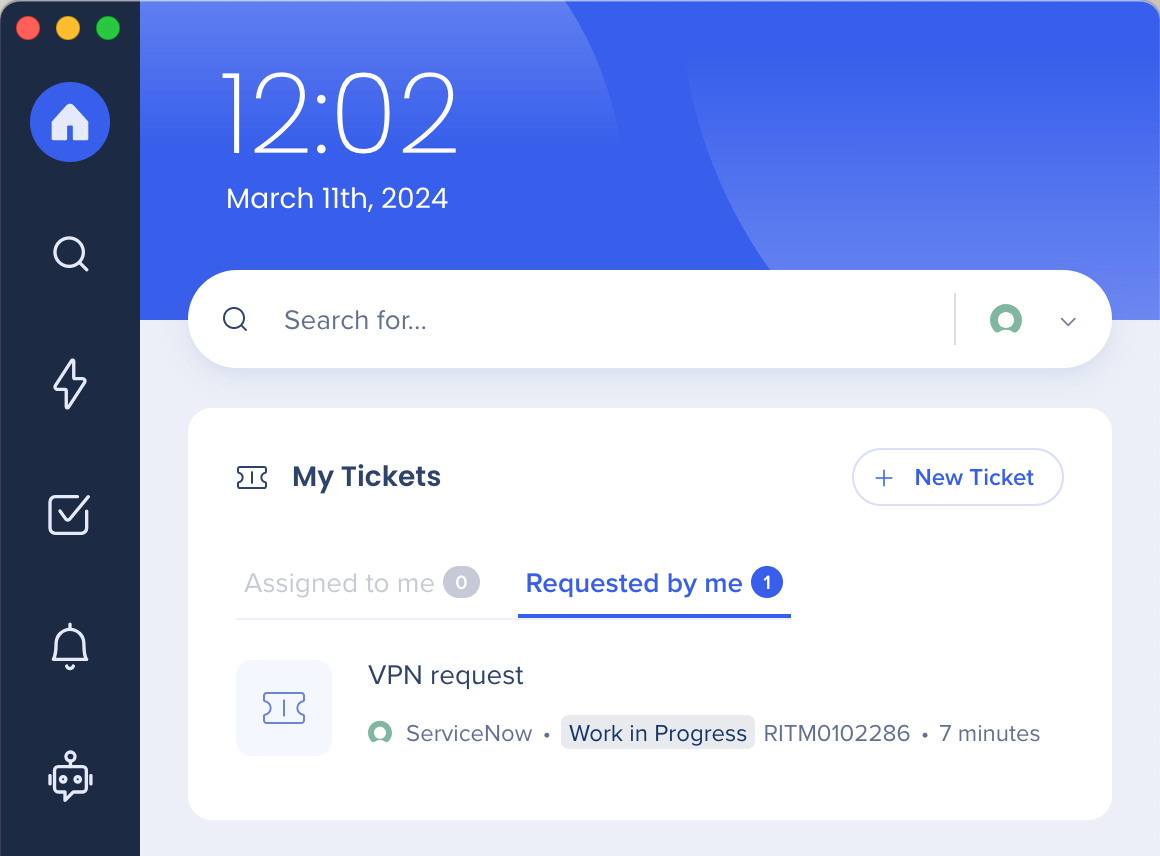
Tickets that are assigned to the user, and are not status open. The widget displays 3 tickets maximum. The tickets are sorted by their creation date & time (oldest ticket on top).
Data to be displayed:
|
Field name
|
Entity
|
Example
|
| Subject |
Ticket |
Permission to Lucidchart |
| Requested |
Ticket |
2 weeks ago |
Dropdown button allows the user to change a setting between two states:
- Assigned to me - an “agent” view, tickets that were created by other users and are assigned to the user.
- Requested by me- an “end-user” view, tickets that were created by that user and are now being handled by other agents.
| Assigned to me |
- Incidents (INC)
- Service Catalog Tasks (SCTASKS)
|
| Requested by me |
- Incidents (INC)
- Requested Items (RITM)
|
Page Layout - My Open Tickets ('See All')
Same as the widget, but in a separate tab, and without a limitation on the number of tickets displayed. (This also includes the dropdown button.)
Security Overview
Read more about WalkMe Menu's integration security and WalkMe Menu's Enterprise Search.
1. Sign in into ServiceNow
2. Navigate to Application Registry menu in the sidebar as follows:

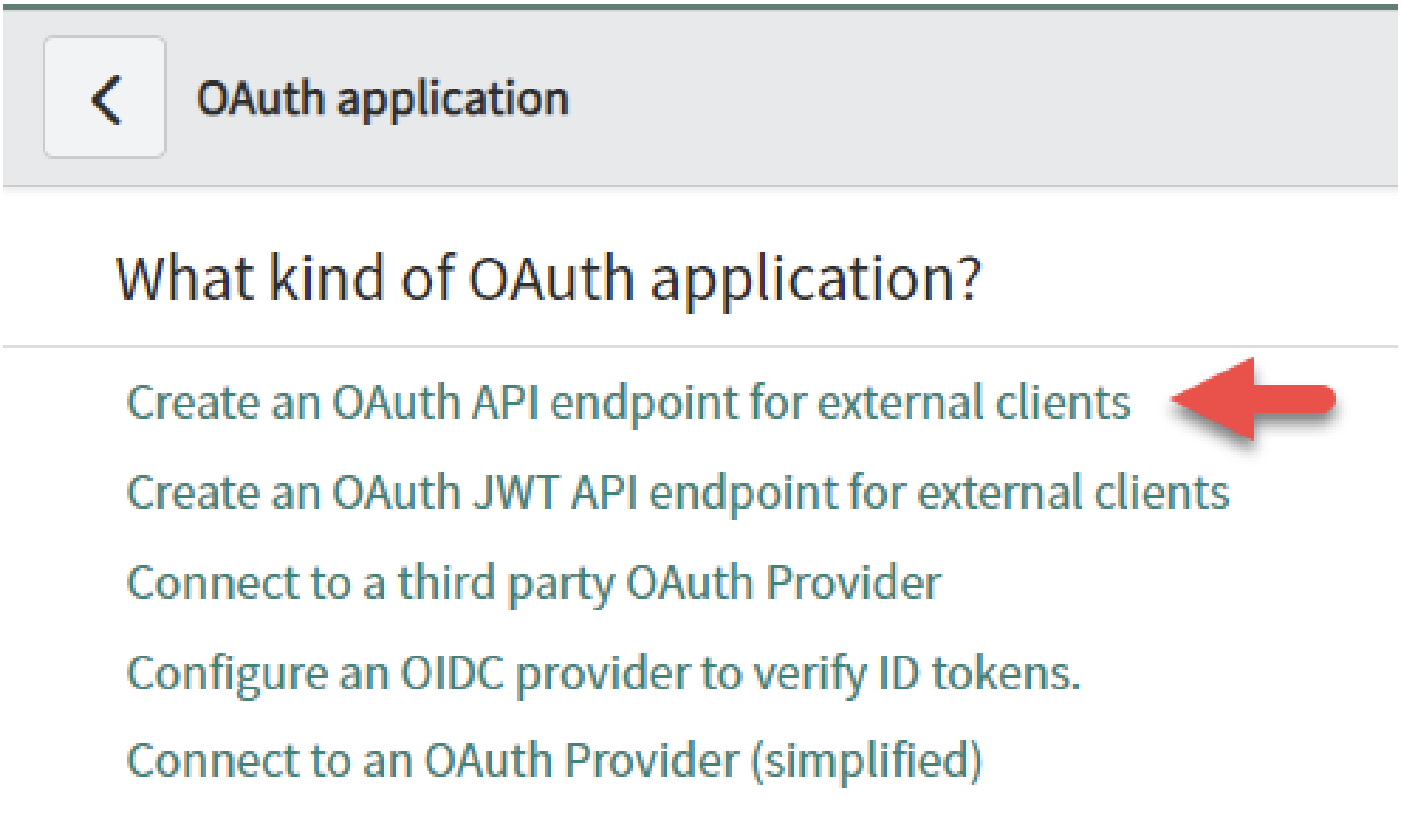
3. Click the New button, and select Create an OAuth API endpoint for external clients
4. Fill in this data in the relevant fields
- Name - WalkMe Menu
- Accessible from - All application scopes
- Active - marked as checked
- Redirect URL -
- Logo URL - https://support.walkme.com/wp-content/themes/knowall-child/img/new-logo.png
5. Press Submit
6. On this screen, please copy Client ID, Client secret values
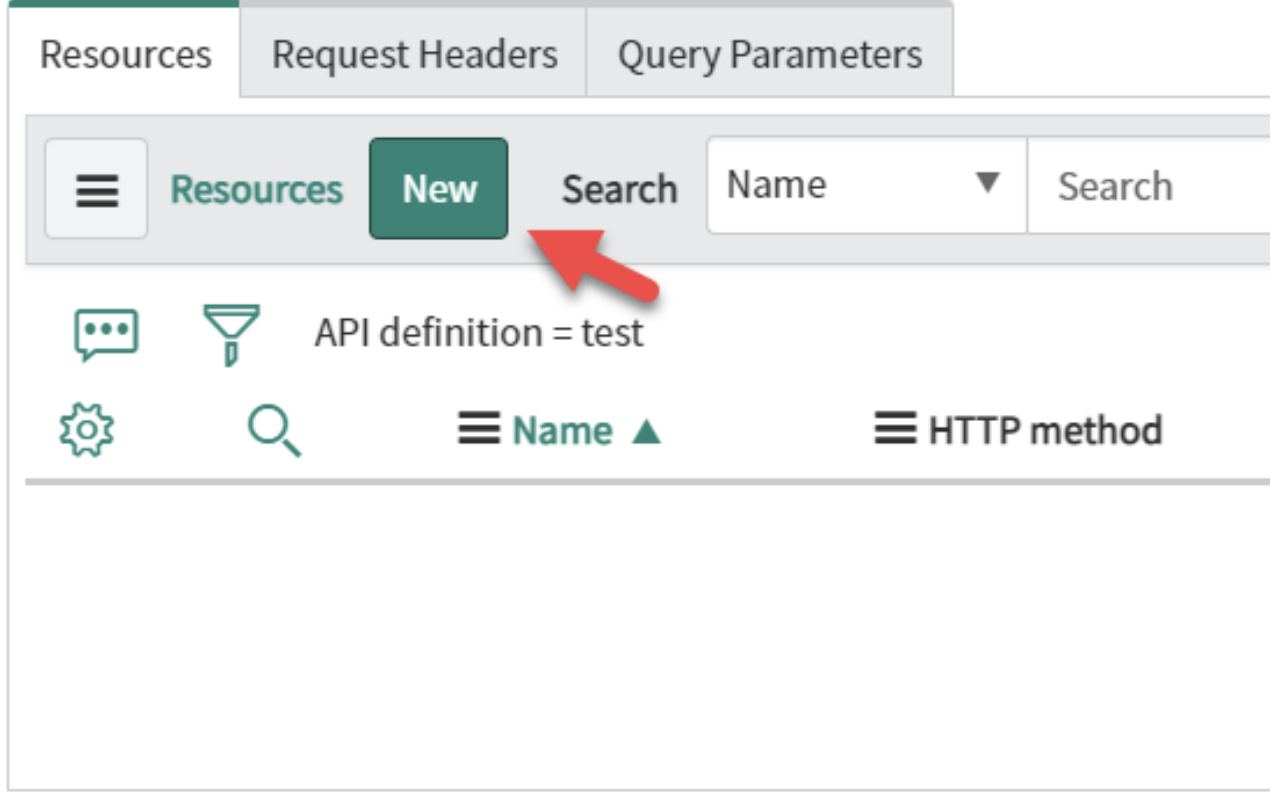
1. Navigate to Scripted REST APIs menu in the sidebar as follows:

2. Click the New button, and fill in this data in the relevant fields
- Name - Is User Agent
- API ID - is_user_agent
3. Press Submit. You will be directed automatically to the Scripted REST APIs view
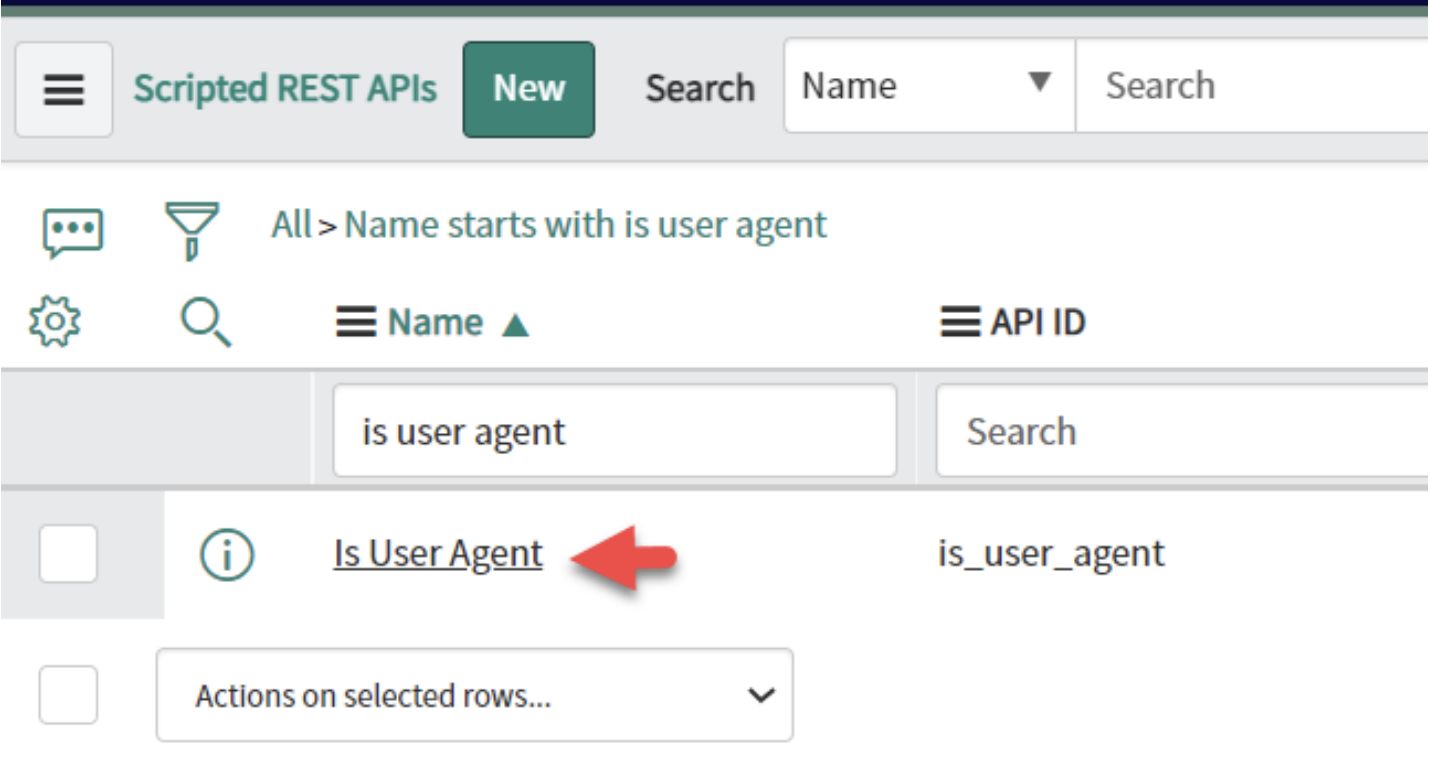
4. Search for Is user agent and select it
5. Copy the API namespace value for later use
6. Scroll down and on the Resources tab press New
7. Fill in this data in the relevant fields
- Name - get
- HTTP method - GET
- Relative path - /
- Script-
(function process(/*RESTAPIRequest*/ request, /*RESTAPIResponse*/ response) {

var currentUser = gs.getUser();

return {

"isAgent": currentUser.hasRole('itil') || currentUser.hasRole('admin'),

};

})(request, response);
|
8. Press Submit
1. Login to WalkMe Console, and navigate to the Menu Integrations tab from the sidebar -
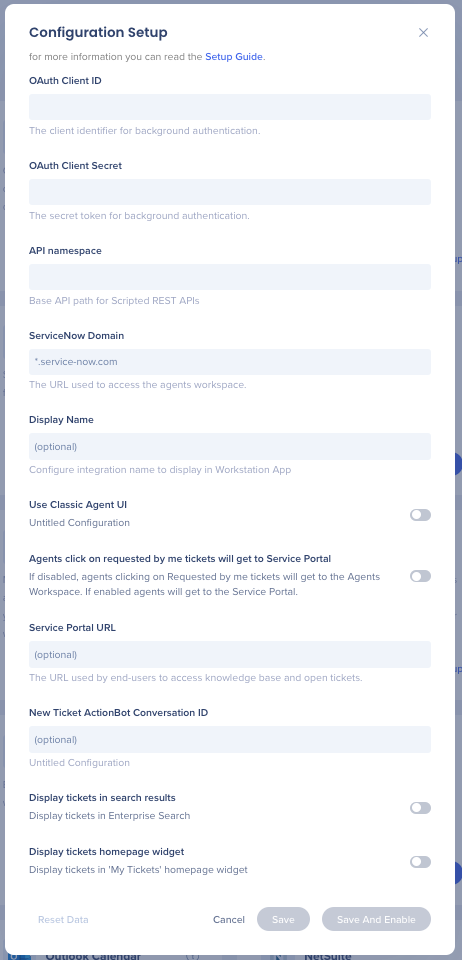
2. Edit the configuration of the ServiceNow app with the parameters you've copied. You will also need to copy and paste 2 additional values:
- ServiceNow Domain - the URL used to access the agents workspace. An example to a correct format of the Agent Workspace URL is - myorganization.service-now.com
- Note that the URL shouldn't contain https:// , www. , or any / at the end of the URL
- Service Portal URL (used by users or customers to create tickets and access the knowledge base). An example to a correct format of the Service Portal URL is - myorganization.service-now.com This is optional - if this is the same value as for the agents workspace, no need to populate it
Note: a new toggle has been added to the ServiceNow setup - Use Classic Agent UI
Organizations that uses the classic path should enable this toggle
- If toggle is off - it uses the current path for agents ticket portal
/now/workspace/agent/record/{type}/{id}
- If toggle is on - it uses the classic path for agents ticket portal
/now/nav/ui/classic/params/target/{type}.do?sys_id={id}
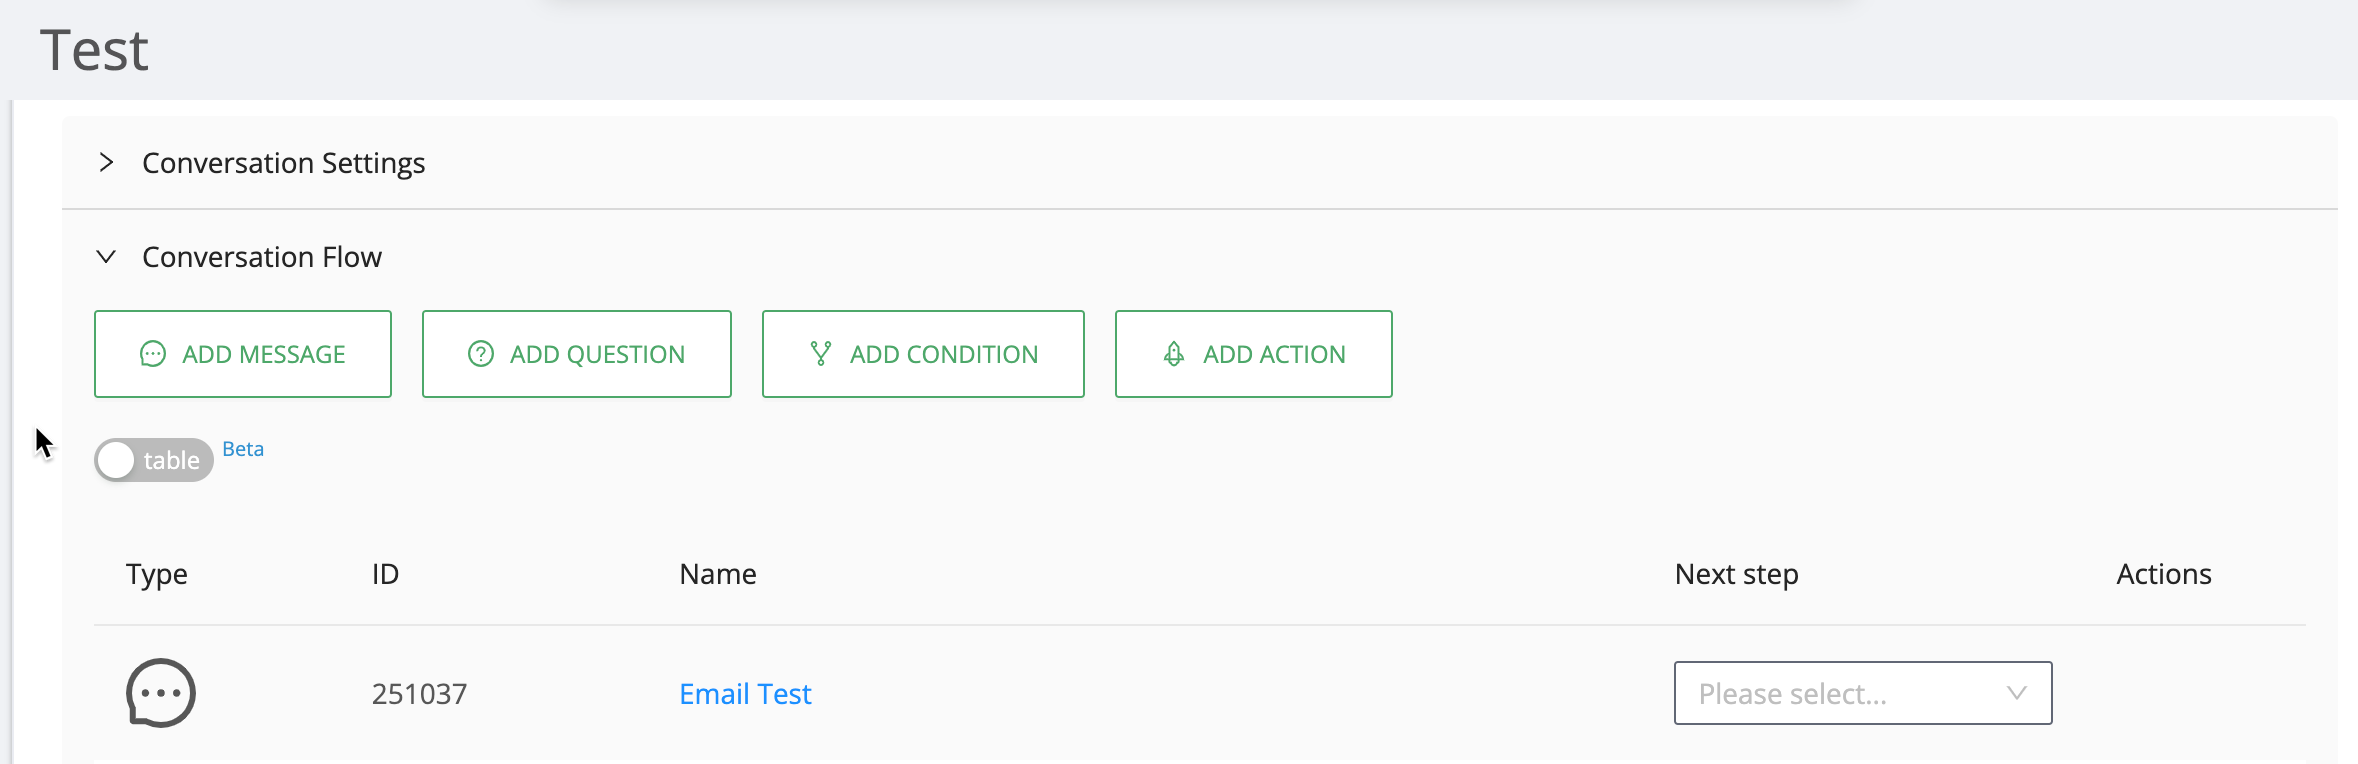
3. (Optional) Enter the ActionBot conversation ID to the New Ticket ActionBot Conversation ID field in order to enable the New Ticket button
How do I get my conversation ID?
1. Navigate to the ActionBot conversations page in the WalkMe Console
2. Hover over the desired conversation
3. Click the Edit icon from the action button selections
4. You will be redirected to the ActionBot builder and from there you will see the conversation ID
5. Copy the conversation ID
Note
The button will only be displayed if there is a value entered in the Conversation ID field. By default, if no value is entered, the button will not be displayed
1. Enable the app in Console.

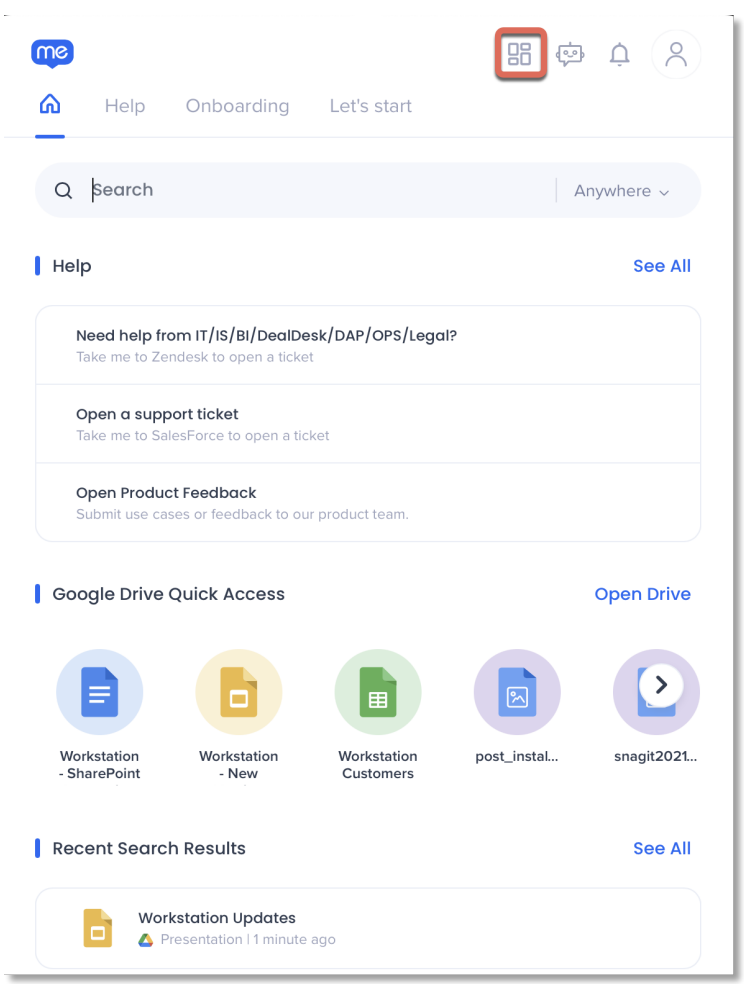
2. Open the desktop menu by clicking the widget (on Windows) / the WalkMe icon on the Mac Menu bar, or by hitting ctrl/cmd+shift+E
3. Click the menu Apps icon on the top-left corner
3. Click Connect on the ServiceNow card
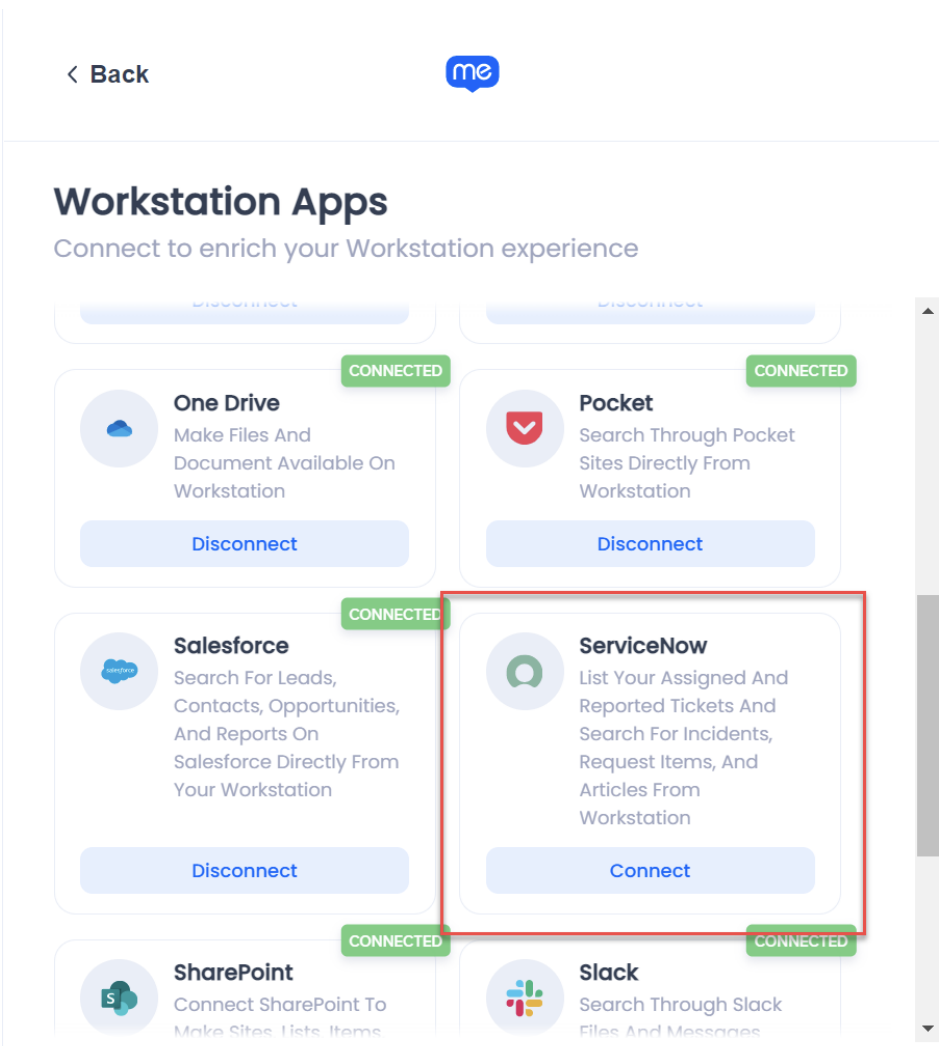
If the ServiceNow card is not available, contact your WalkMe Owner in your organization and ask to enable ServiceNow on the desktop menu.
Technical Notes
To ensure the desktop menu ServiceNow integration works correctly, customers need to allow list the following IP's:
- PROD: 52.53.115.147
- EUPROD: 3.126.219.141