Welcome to the
WalkMe Help Center
Please log in to continue

Please log in to continue

Bienvenue à Communication Center Visual Designer, votre outil de prédilection pour créer des notifications visuellement étonnantes et attrayantes ! Notre éditeur visuel intuitif vous permet de modifier les notifications à vos besoins exacts, avec la liberté d'ajouter de nouvelles images, de modifier les actions de bouton et bien plus à travers notre panneau de conception. Dans cet article, nous vous présenterons la structure de notre Visual Designer, vous fournissant tout ce que vous devez savoir pour créer des notifications show-stopping qui s'alignent parfaitement sur le message de votre organisation.
Lorsque vous êtes prêt à l'envoyer, rendez-vous à l'étape 3 dans l'article Créer une notification pour plus d'informations.

Vos notifications sont faites d'objets. Les objets incluent : les zones de texte, les images, les formes et les boutons. Pour modifier un objet, vous pouvez cliquer sur la notification elle-même ou à partir de la liste Objects dans le panneau de conception. Pour le moment, passons en revue le contenu du panneau :
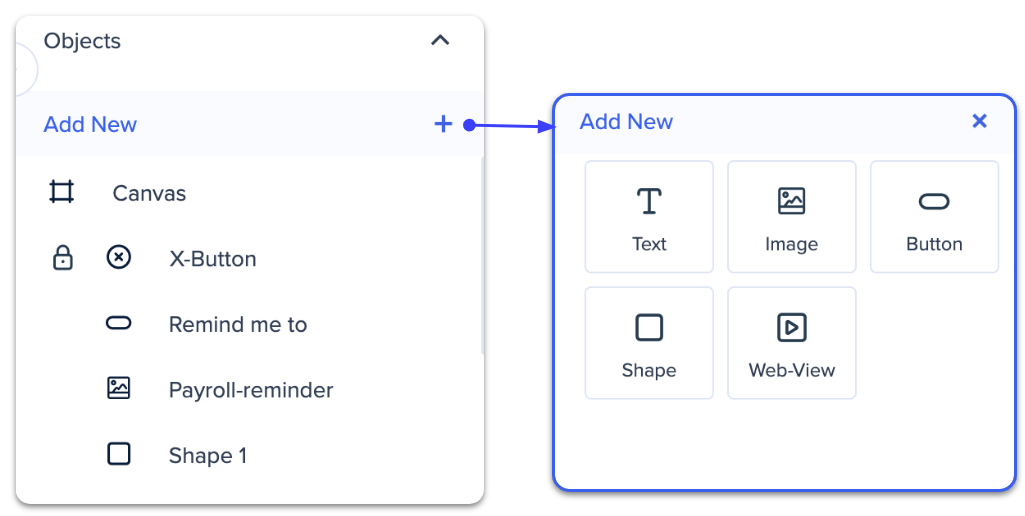
La section objet est l'endroit où vous ajouterez et gérerez les images, les boutons, les formes et les zones de texte que vous avez ajoutées à la notification.
Cliquez sur Ajouter un nouveau pour ajouter un nouvel objet.
Faites glisser et déposez l'objet dans la notification.
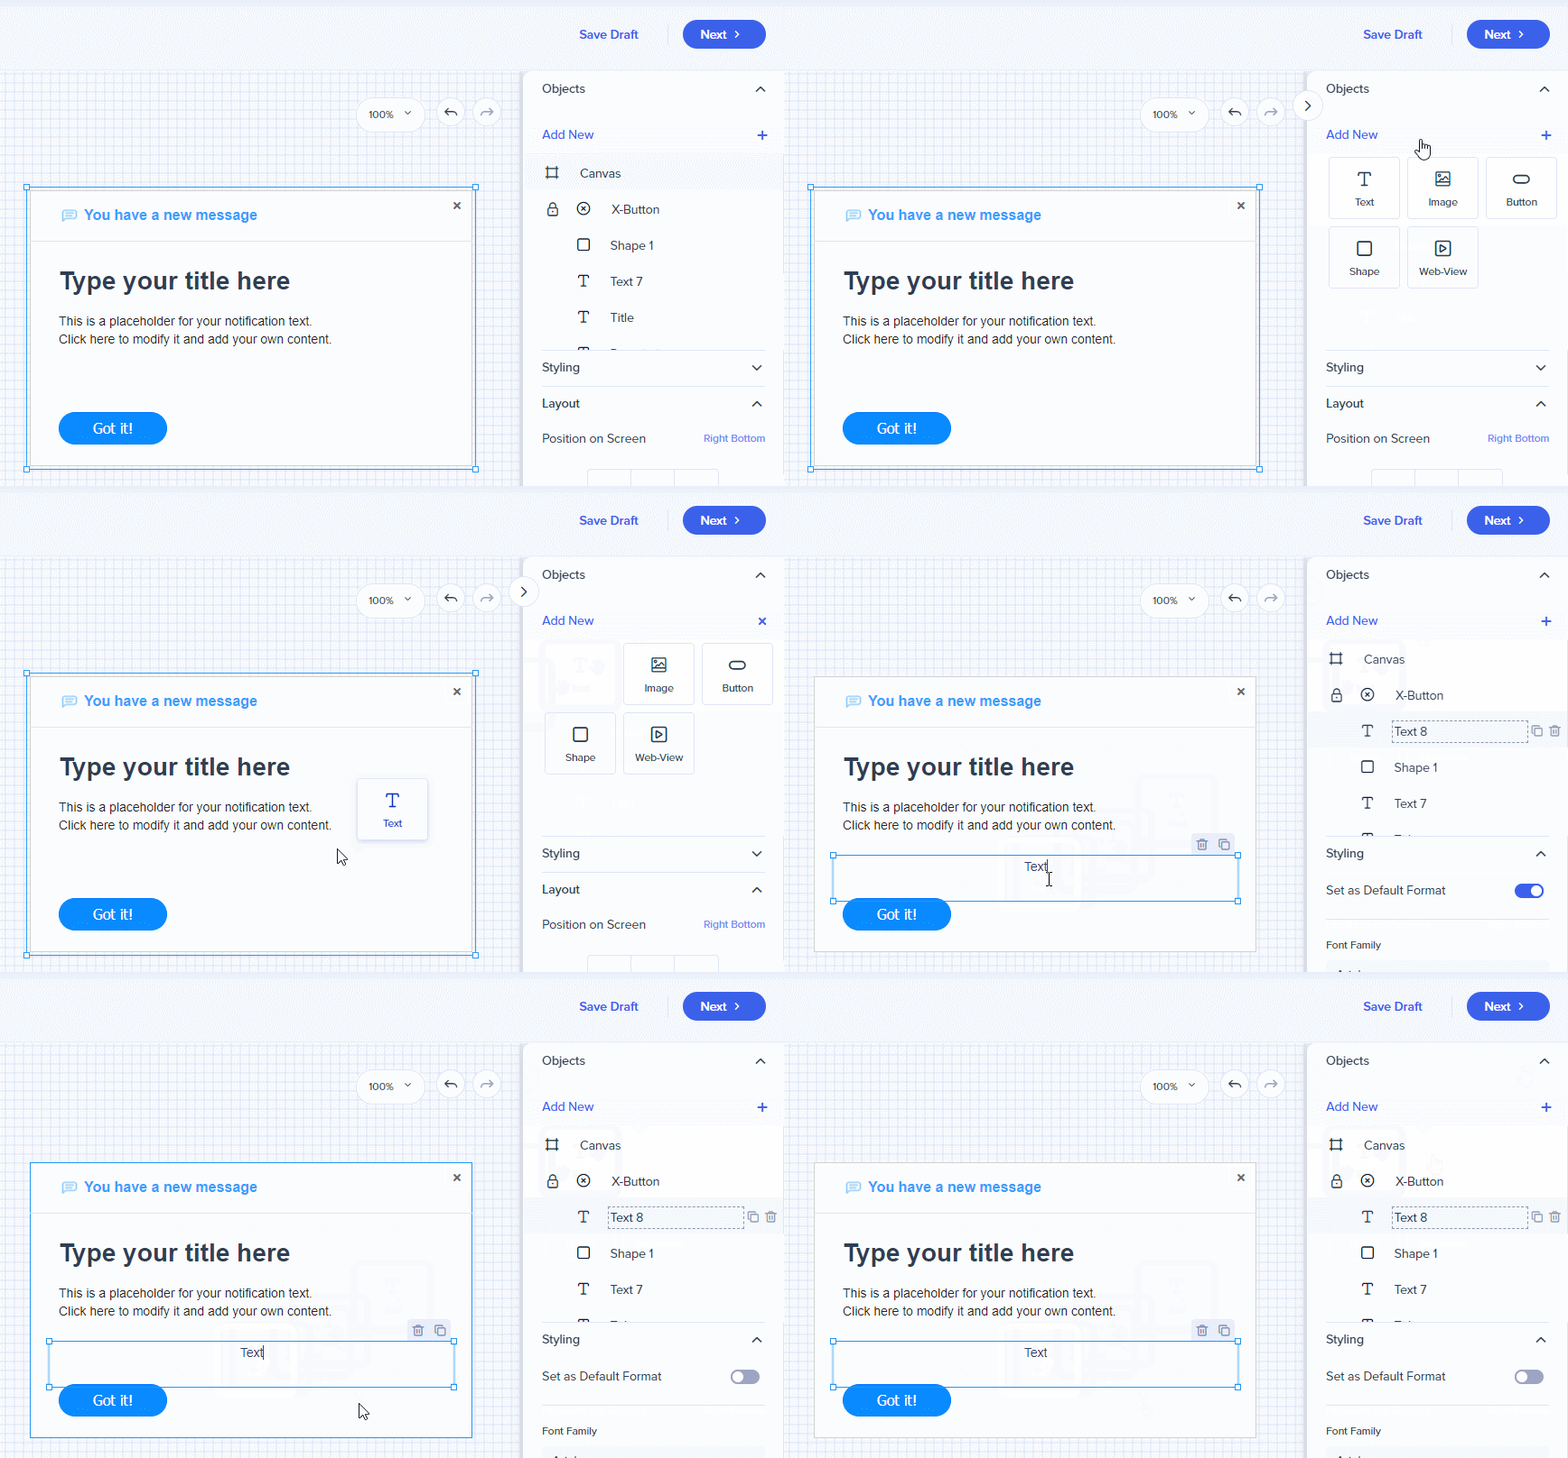
Survolez un objet pour le dupliquer ou le supprimer.
Vous pouvez renommer les objets pour les trouver rapidement au fur et à mesure que vous les créez. Le nom de l'objet n'a pas d'effet sur le contenu de la conception (ce qui signifie que la modification du nom d'un bouton dans le panneau Objets ne modifiera pas le texte du bouton dans la conception).
Si vous avez sélectionné un bouton, une section d'action apparaîtra. Ici, vous pouvez choisir l'action qui se produira lorsque le destinataire cliquera sur le bouton. Le actions possibles sont :
La section de style vous permet de personnaliser chaque objet et les options changent en fonction de l'objet sélectionné :
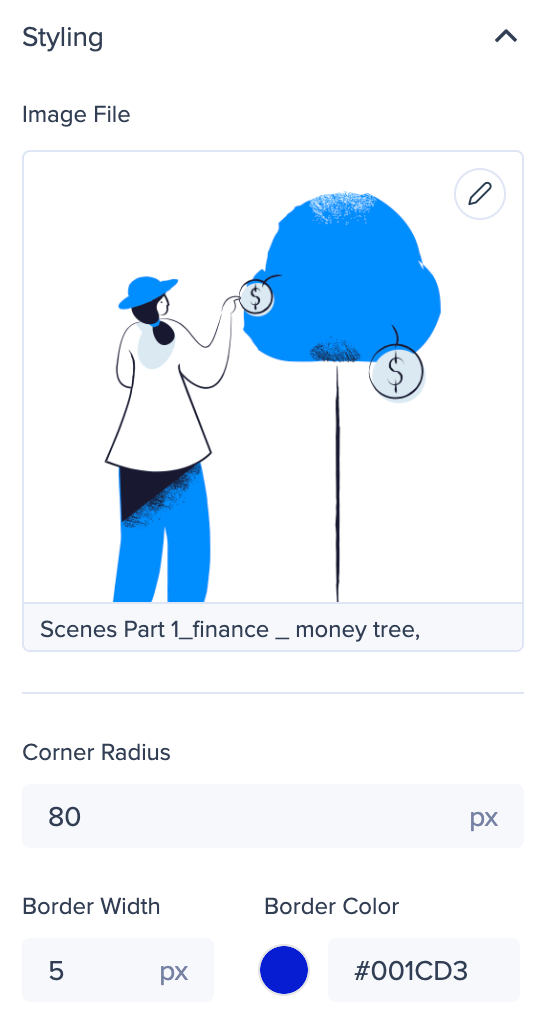
Il y a quelques effets de style que vous pouvez appliquer aux images, y compris :
La sélection d'une zone de texte vous permet de modifier le style, la taille et la couleur de la police. Vous pouvez également appliquer le formatage de texte de base comme l'italique, la mise e gras, le soulignage et l'alignement du texte dans la zone de texte.
L'activation de la touche Définir le format par défaut fait en sorte que tout nouveau composant texte suive les mêmes paramètres.
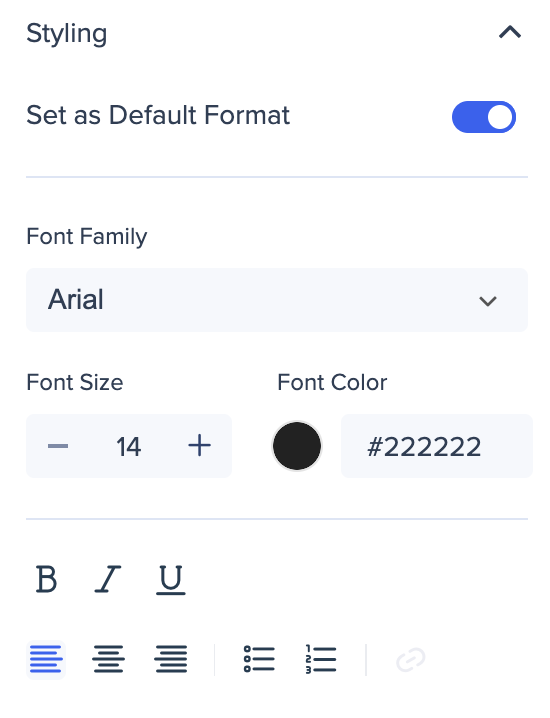
Si vous avez un hyperlien dans votre objet texte, vous pouvez décider la fenêtre que vous souhaitez ouvrir le lien.
Cliquez sur l'hyperlien et cliquez sur l'icône du crayon pour modifier l'hyperlien, ou cliquez sur l'icône de l'hyperlien dans le panneau de l'objet de style.
Sélectionnez dans la liste déroulante Ouvrir dans :
| Ouvert en mode | Comportement |
| Nouvelle fenêtre |
La notification ne se ferme pas. Ouvre une nouvelle fenêtre de bureau Electron. |
| Nouvel onglet |
La notification ne se ferme pas. Ouvre un nouvel onglet du navigateur. |
| Cette fenêtre |
La notification se ferme. Ouvre le lien dans une nouvelle fenêtre Workstation. |
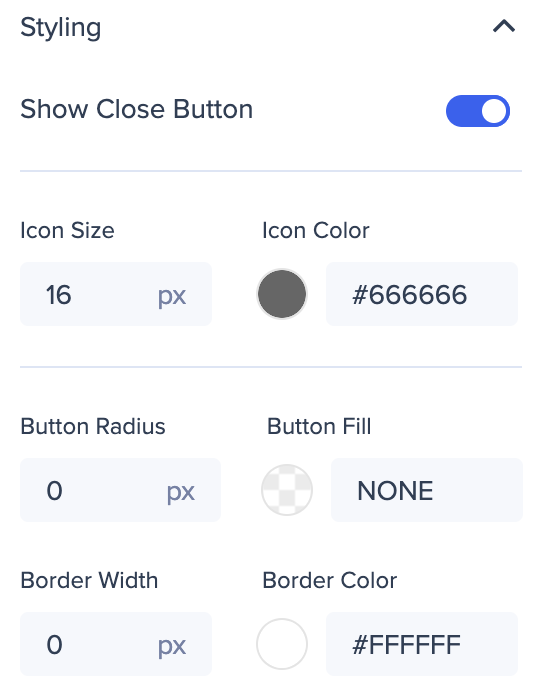
Si vous souhaitez que le bouton X se trouve dans le coin de la notification, activez la touche Afficher la touche Fermer.
Ensuite, vous pouvez le modéler comme vous le souhaitez :
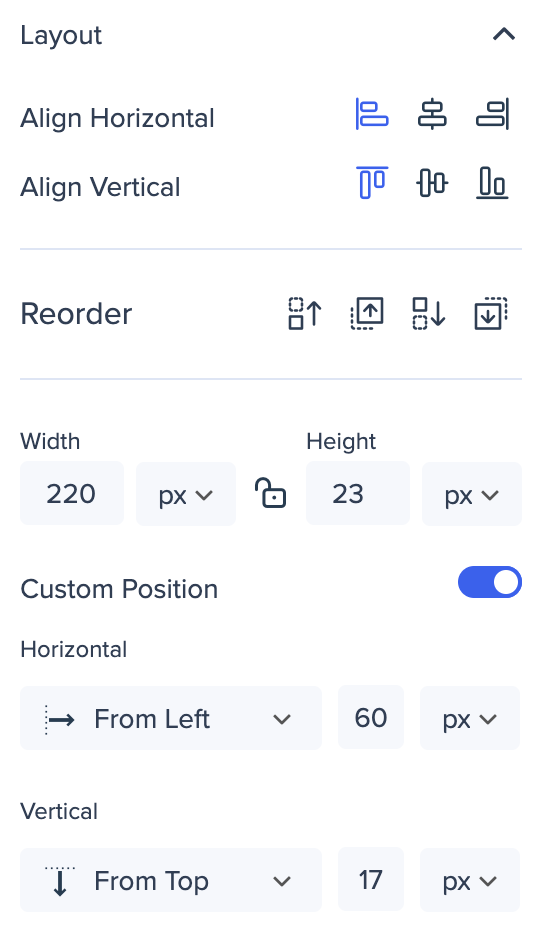
La section de mise en page vous permet de modifier la taille et la mise en page de l'objet sélectionné. Vous pouvez également le faire directement dans la conception en faisant glisser les bords ou les coins. Dans la section de mise en page, cependant, vous pouvez spécifier les dimensions exactes.
Activer la touche Position personnalisée.
Redimensionnez le canvas en faisant glisser les coins ou en allant sur Mise en page et saisissez les dimensions en pixels (px) ou en pourcentage (%) de la largeur et de la hauteur de l'écran.
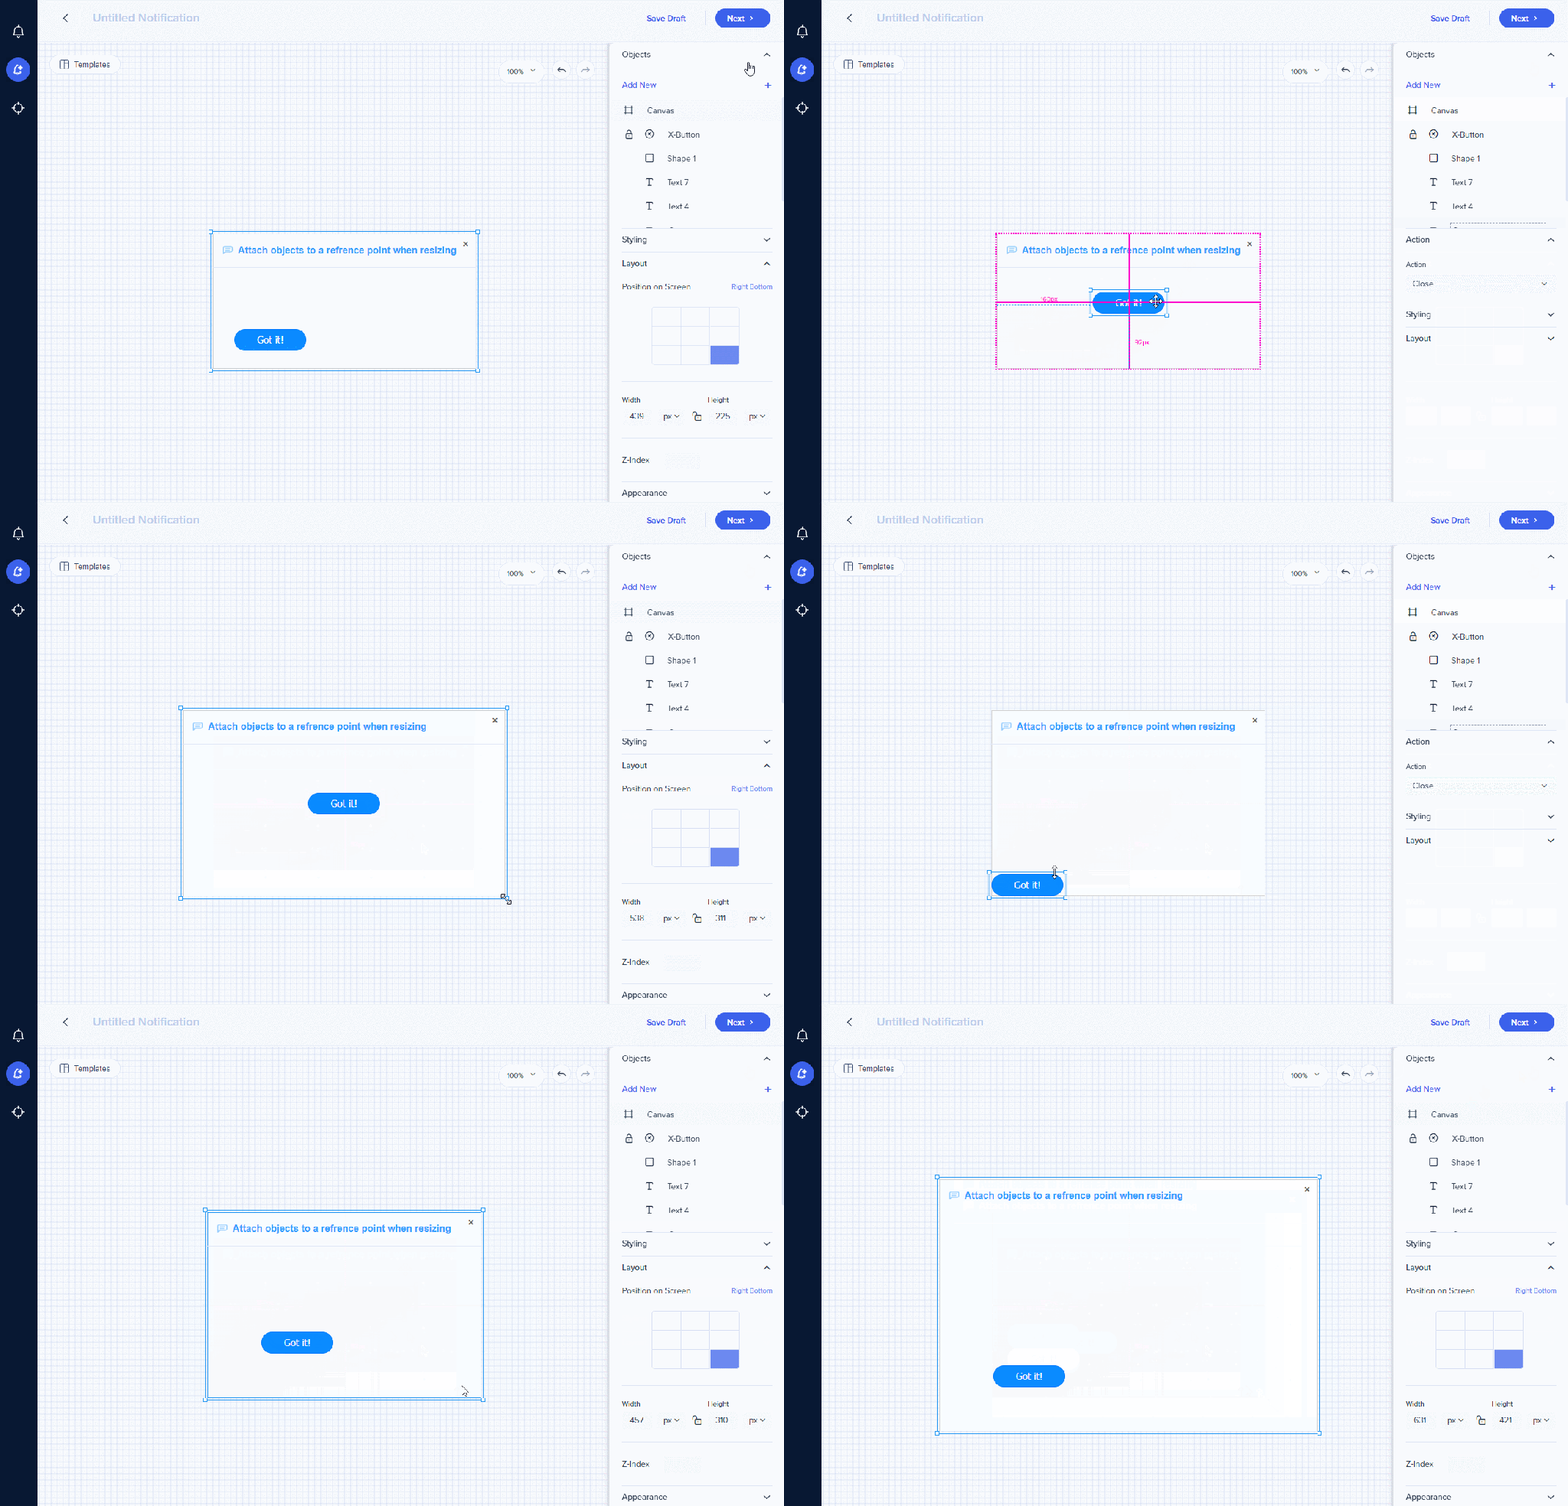
Ancrage
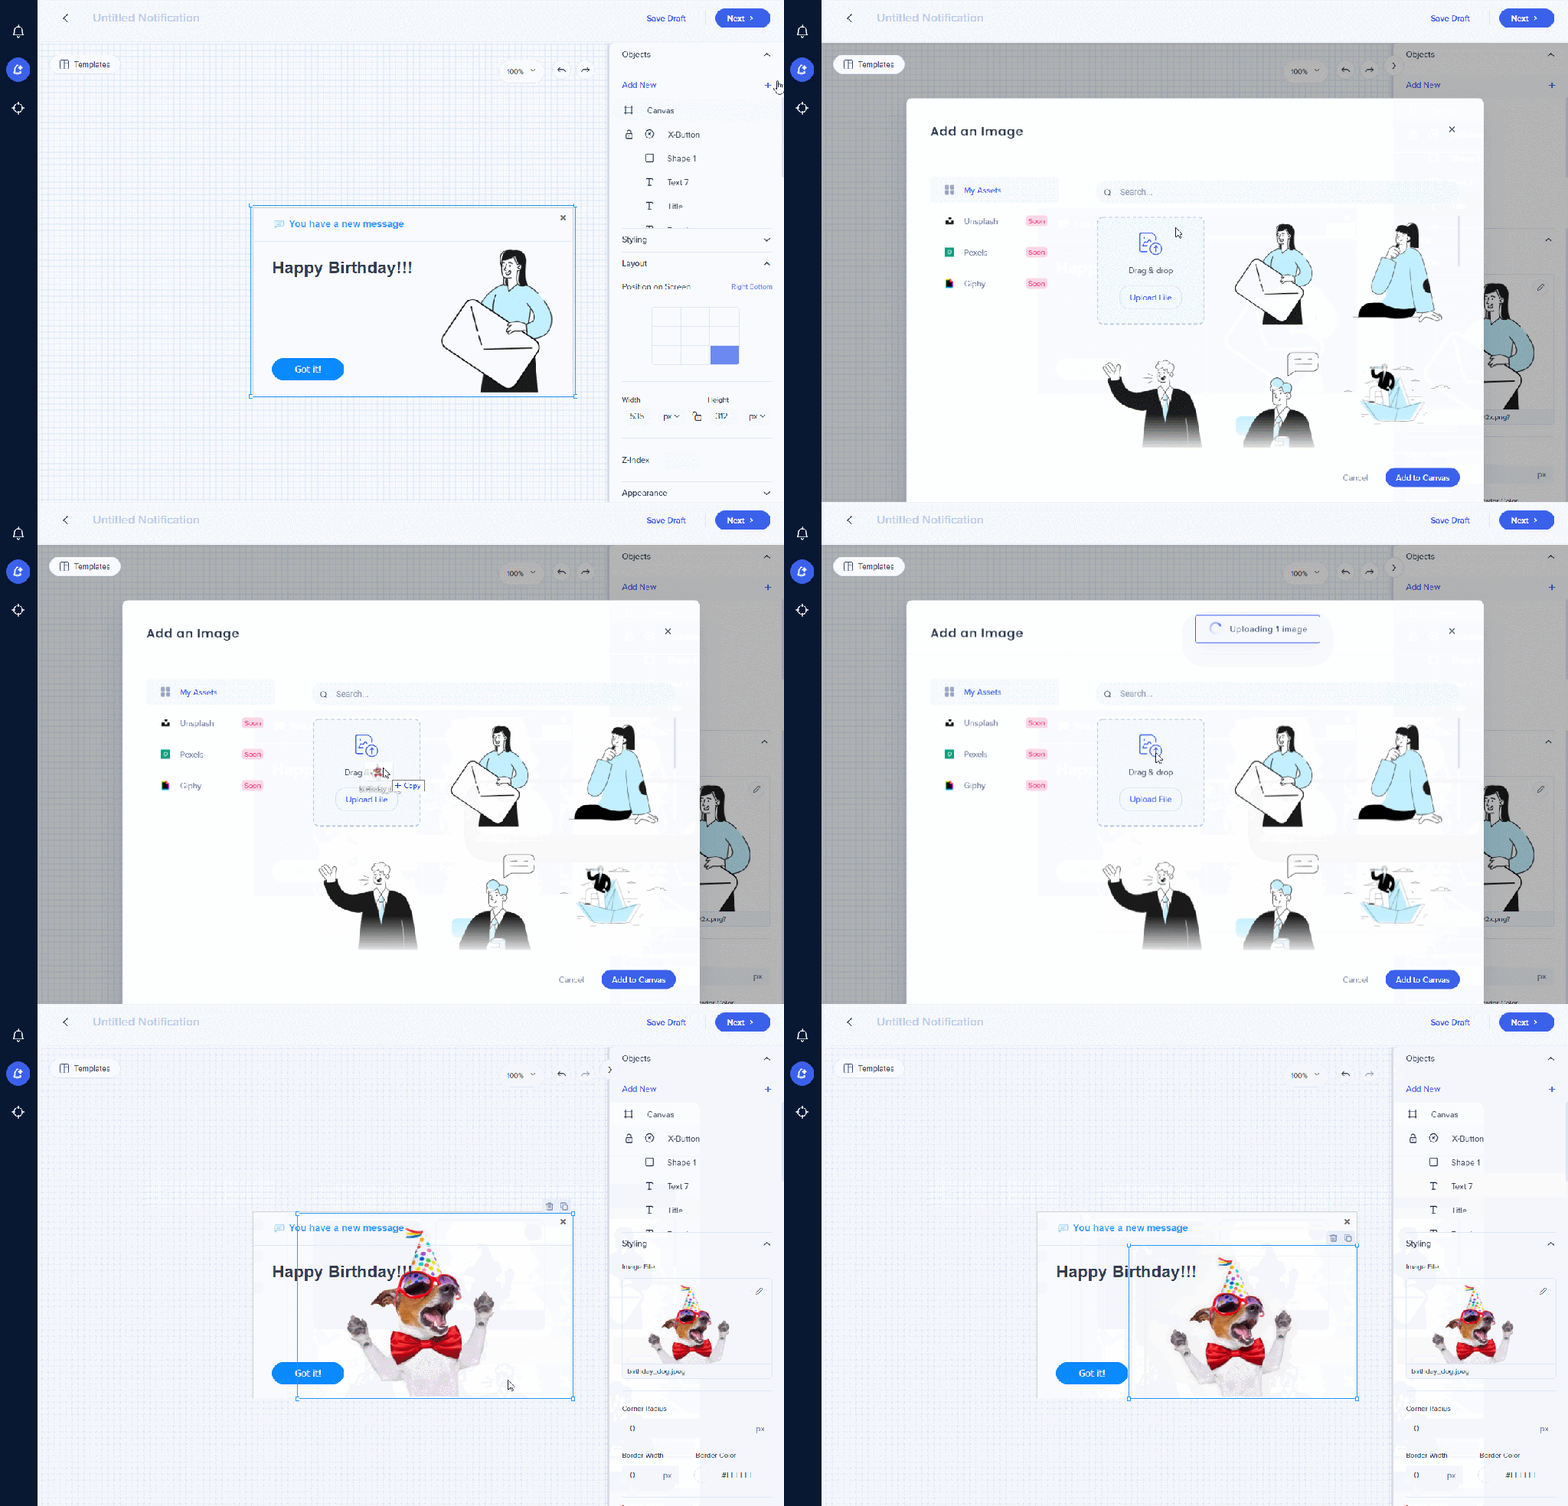
Ajoutez une image, sélectionnez l'une des options par défaut ou téléchargez la vôtre.
