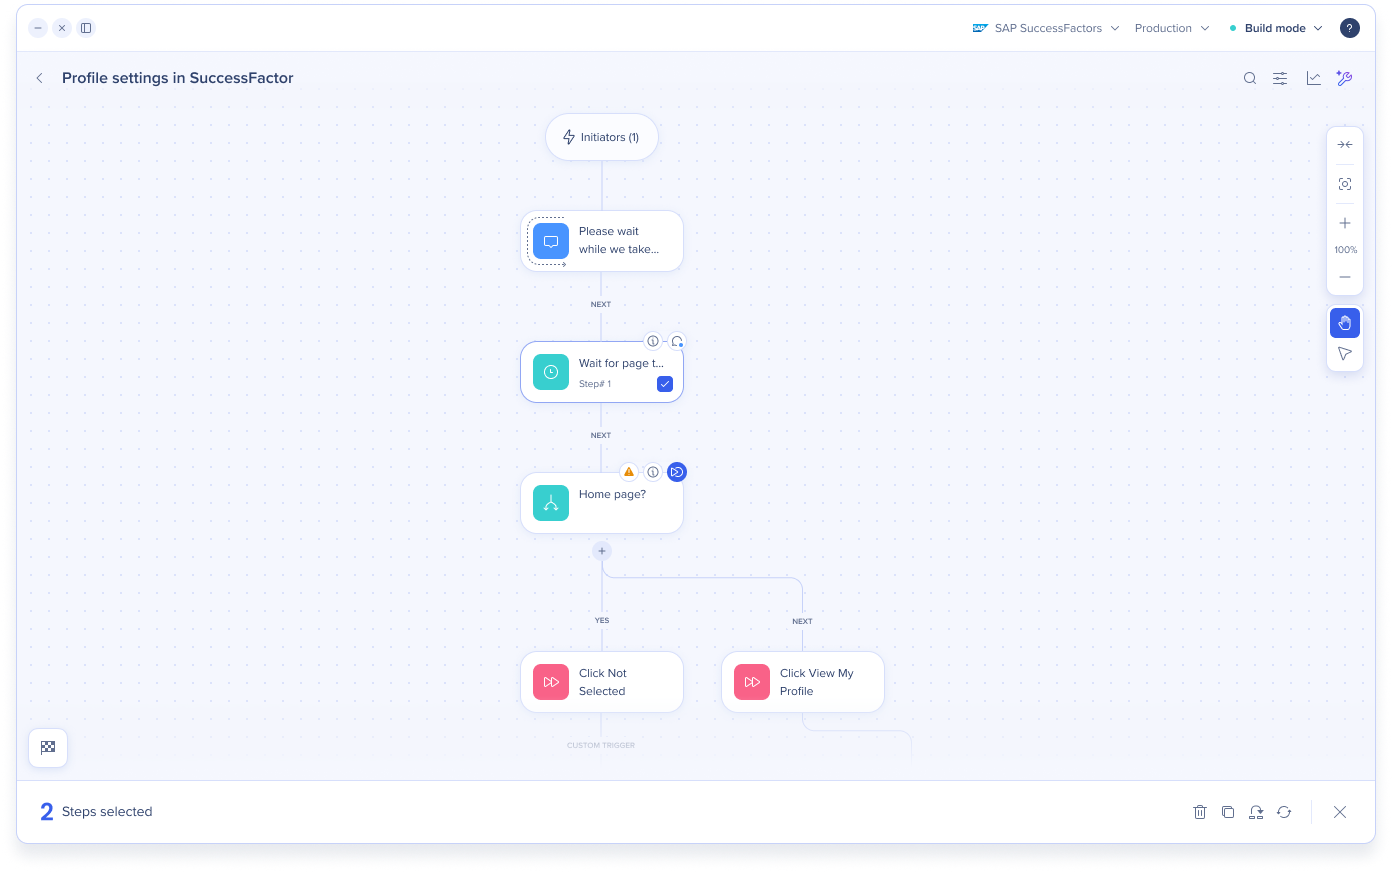
The Smart Walk-Thru map is the visual flow chart of a Smart Walk-Thru in the Editor. It shows every step in the order users go through them, along with flow steps, auto-steps, start points, and conditions. You can see the whole process at a glance, and build and edit it in one place.
The map is now available in an updated design. This article covers what the map shows, what changed in the design, and the keyboard shortcuts you can use on the map.
How It Works
Access the map
Open the Editor
Select a Smart Walk-Thru from the item list
What's on the map
Element
What it shows
Steps
Balloon steps and popup steps that users see on screen, shown in blue
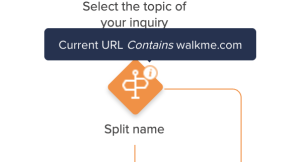
Flow steps
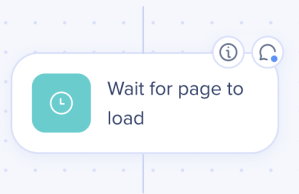
Steps that change how users move through the flow, like splits and WalkMe Data steps, shown in green
Auto-steps
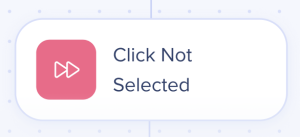
Steps that WalkMe performs for the user automatically, shown in pink
Start points
An indicator on each step that's set as a start point
Conditions
An indicator on each step that has conditions attached
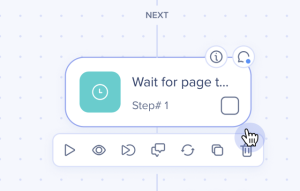
Step options menu
Actions for a single step, like play from this step, view a screenshot, duplicate, delete, and add a start point. The menu shows at the bottom of each step.
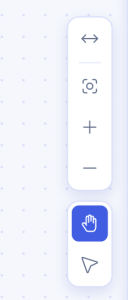
Navigation panel
Controls for moving around the map, on the right side of the canvas:
Expand view
Focus / reset zoom
Zoom in and Zoom out
Pan mode: Drag to move around the map
Selection mode: Drag across the map to select more than 1 step
What's new in the design
The new design updates the look of the map and adds new navigation options. How your Smart Walk-Thrus work stays the same.
Legacy design
New design
Flow step icons are orange
Flow step icons are green
The auto-step icon is orange
The auto-step icon is pink
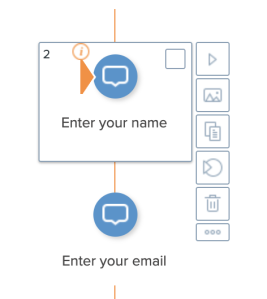
The step options menu shows on the side of the step
The step options menu shows at the bottom of the step, with updated icons
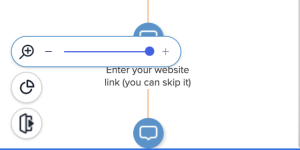
Zoom in and zoom out are in the bottom left corner
The navigation panel on the right includes zoom and new options: Expand view, Focus / reset zoom, Pan mode, and Selection mode
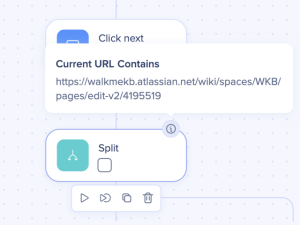
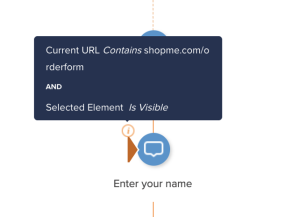
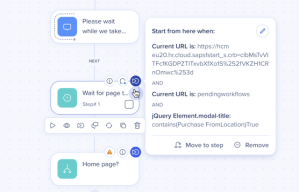
Legacy conditions indicator
Updated conditions indicator
Legacy start point indicator
Updated start point indicator
Keyboard shortcuts
Use keyboard shortcuts to move around the map and edit steps without a mouse.
Navigate the map
Action
Mac
Windows
Notes
Move to the next step in that direction
↑ ↓ ← →
↑ ↓ ← →
Shift + arrow keys also work
Go to the first step
fn + ↑
Page Up
Go to the last step
fn + ↓
Page Down
Move focus between areas of the map
Tab / Shift + Tab
Tab / Shift + Tab
Focus moves in this order: header, steps, step options menu, bulk actions toolbar, and navigation panel
Open and select
Action
Mac
Windows
Notes
Open the selected step
Return
Enter
Also activates the focused button in a toolbar, and confirms the step you picked in Connect to Step
Select or clear a checkbox
Space
Space
When no checkbox is focused, works the same as Enter
Select all steps
⌘ + A
Ctrl + A
Turns on multi-select
Edit steps
Action
Mac
Windows
Notes
Delete the selected step
fn + Delete
Delete
Deletes all selected steps when multi-select is on
Duplicate the selected step
⌘ + D
Ctrl + D
Copy the selected steps
⌘ + C
Ctrl + C
Only when multi-select is on
Zoom and modes
Action
Mac
Windows
Notes
Zoom in
⌘ + = or ⌘ + +
Ctrl + = or Ctrl + +
Zoom out
⌘ + −
Ctrl + −
Reset zoom to 100%
⌘ + 0
Ctrl + 0
Turn on pan mode
H
H
Drag to move around the map
Turn on selection mode
V
V
Drag across the map to select more than 1 step
Cancel
Action
Mac
Windows
Notes
Cancel the current action or clear the selection
Esc
Esc
Cancels a drag or a Connect to Step pick. If nothing is in progress, clears the selection.
Technical Notes
Limitations
Most keyboard shortcuts don't work while you edit a step title or label
The following actions don't have keyboard shortcuts on the map yet: Backspace, Undo, Redo, and Paste
Keyboard shortcuts set in your operating system take precedence over map shortcuts with the same key binding
The new design changes the map UI only. Smart Walk-Thru behavior, dependencies, and limitations stay the same.