Launchers are buttons you can place on your website that trigger another WalkMe action when clicked, such as play a Smart Walk-Thru, resource, shuttle, or a set of validation SmartTips.
Creating a launcher can be done from the WalkMe Editor or directly from a Smart Walk-Thru.
How It Works
Creating a launcher
Creating a launcher from a Smart Walk-Thru
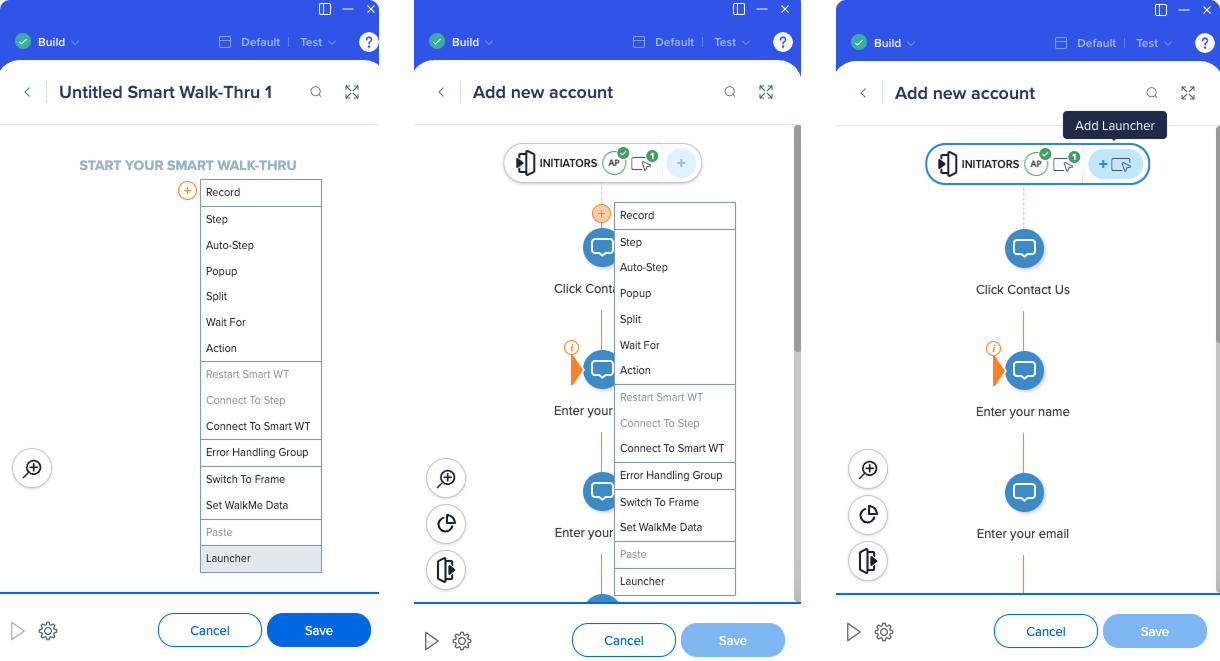
There are three ways to create a launcher from a Smart Walk-Thru:
- Hover over the plus icon and select Launcher
- Hover over the very first +Add New icon on the Smart Walk-Thru Map and click Launcher
- Click Add Launcher on the Initiators panel
Creating a launcher from the editor main screen
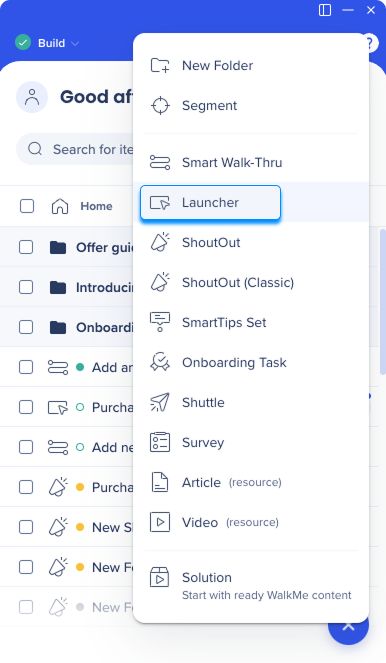
- Select + Create in the editor
- Select Launcher from the items menu
-
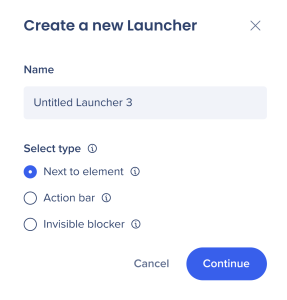
Enter a name for your launcher or keep the default name
-
Select a launcher type:
-
Next to element — Anchors the launcher to a specific element on the page
-
Action bar — Adds the launcher inside the Action Bar
-
Invisible blocker — Invisibly covers a UI element to prevent clicks
-
Select Continue
-
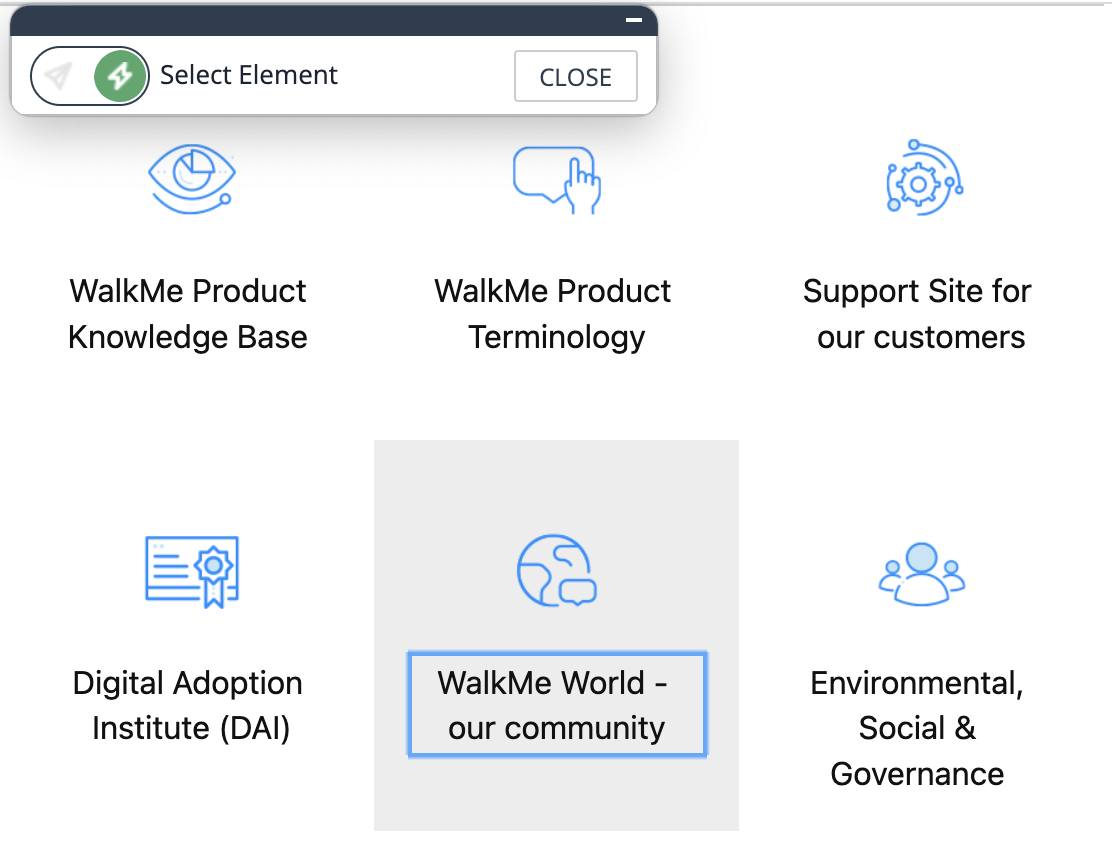
You'll be redirected to the webpage connected to the Editor. Select an element on the page to attach the launcher to.
-
The Edit on Page tool will open where you can edit your launcher
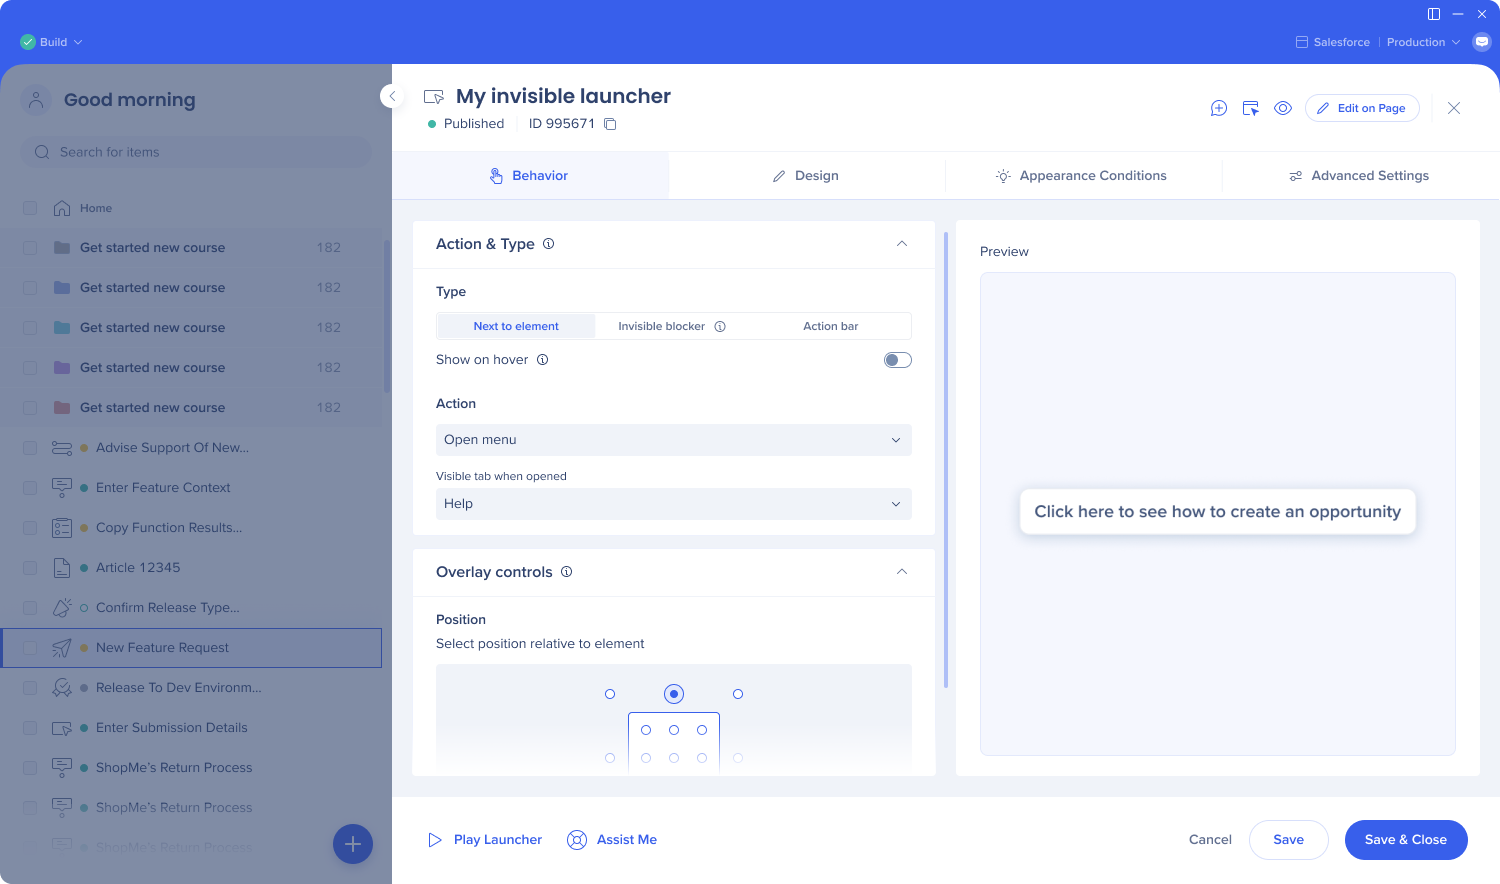
Launcher types
When creating a new launcher, you'll be asked to select a type. Each type serves a different purpose and controls how the launcher appears and behaves on the page.
Next to element
Anchors the launcher button to a specific element on the page. The launcher appears next to the selected element and can be configured to show only on hover.
Invisible blocker
The invisible blocker is a launcher type that covers a UI element invisibly to prevent users from clicking it. It automatically resizes to fit the target element.
Why use invisible blocker?
Many WalkMe builders have traditionally used custom CSS or manually sized images to block or overlay UI elements. These approaches are brittle — they break when users zoom in, resize their browser, or when the underlying UI changes. The invisible blocker launcher solves this by covering and resizing automatically to match the element dimensions.
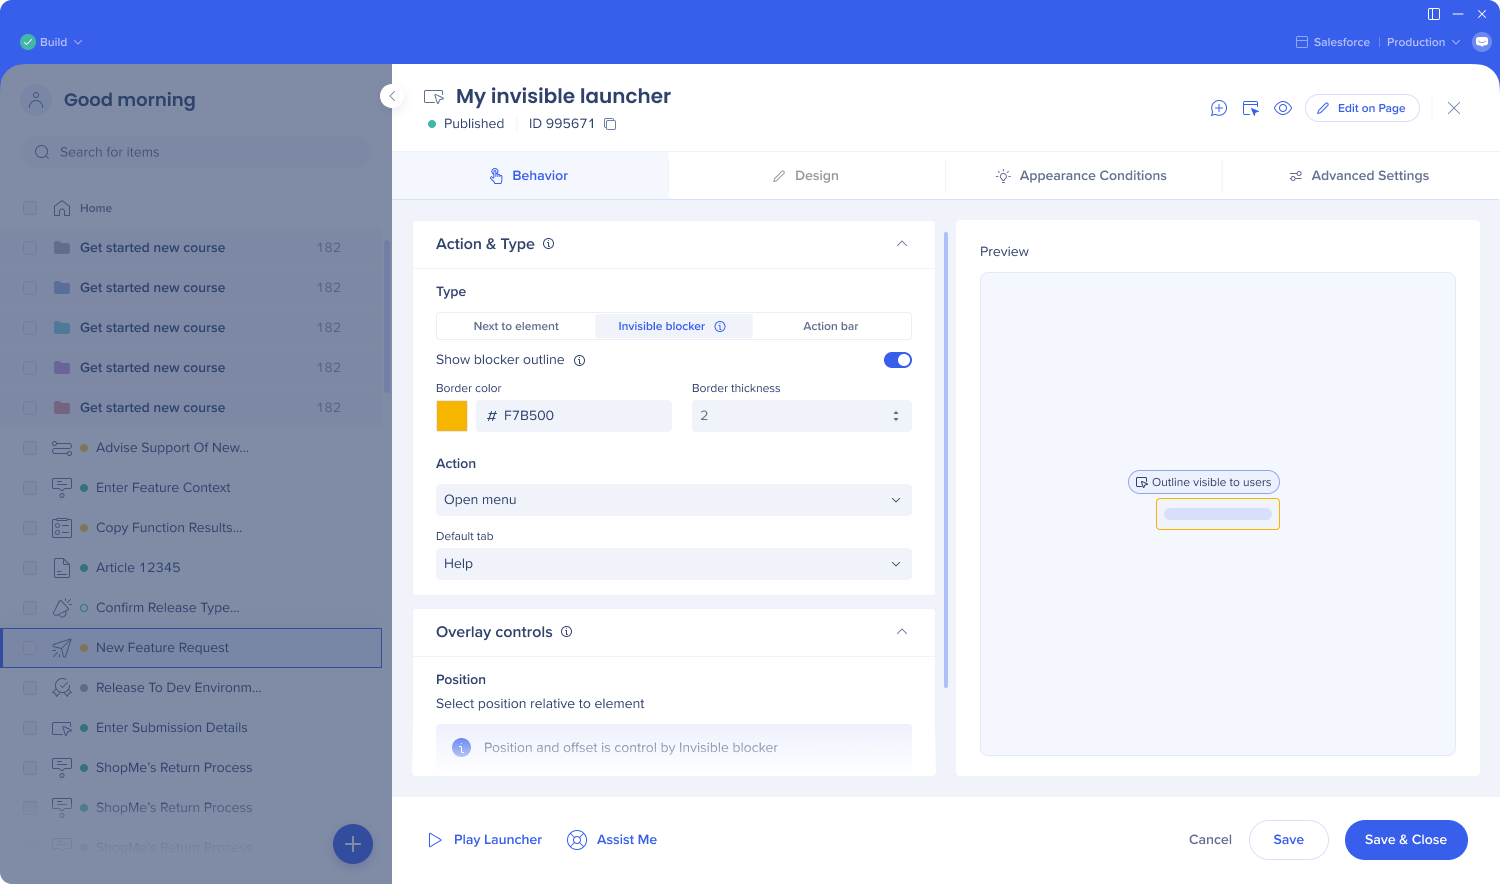
Configuring the invisible blocker:
-
Show blocker outline: Toggle this on to display a visible border around the blocker — useful for troubleshooting during setup. The outline is visible to your users when active, so disable it before publishing.
-
When Show blocker outline is active, you can customize the Border color and Border thickness to help identify the blocker's boundaries.
-
Action: Configure what happens when a user attempts to click the blocked element (for example, open the menu, play a Smart Walk-Thru)
Action bar
Adds the launcher as an item inside the Action Bar.

All accounts will see the Action Bar tab in the launcher settings. Whether AI features are available depends on your account configuration:
-
AI-enabled accounts: The Action Bar supports AI-powered actions, AI chat, writing tools, reading tools, workflow suggestions, and customizable launchers.
AI-Enabled Action Bar Building in WalkMe Editor
Default Action Bar (No AI)
Launcher settings
If you need to adjust the launcher or settings design after you created it, click on your launcher in the editor — launcher settings will open.
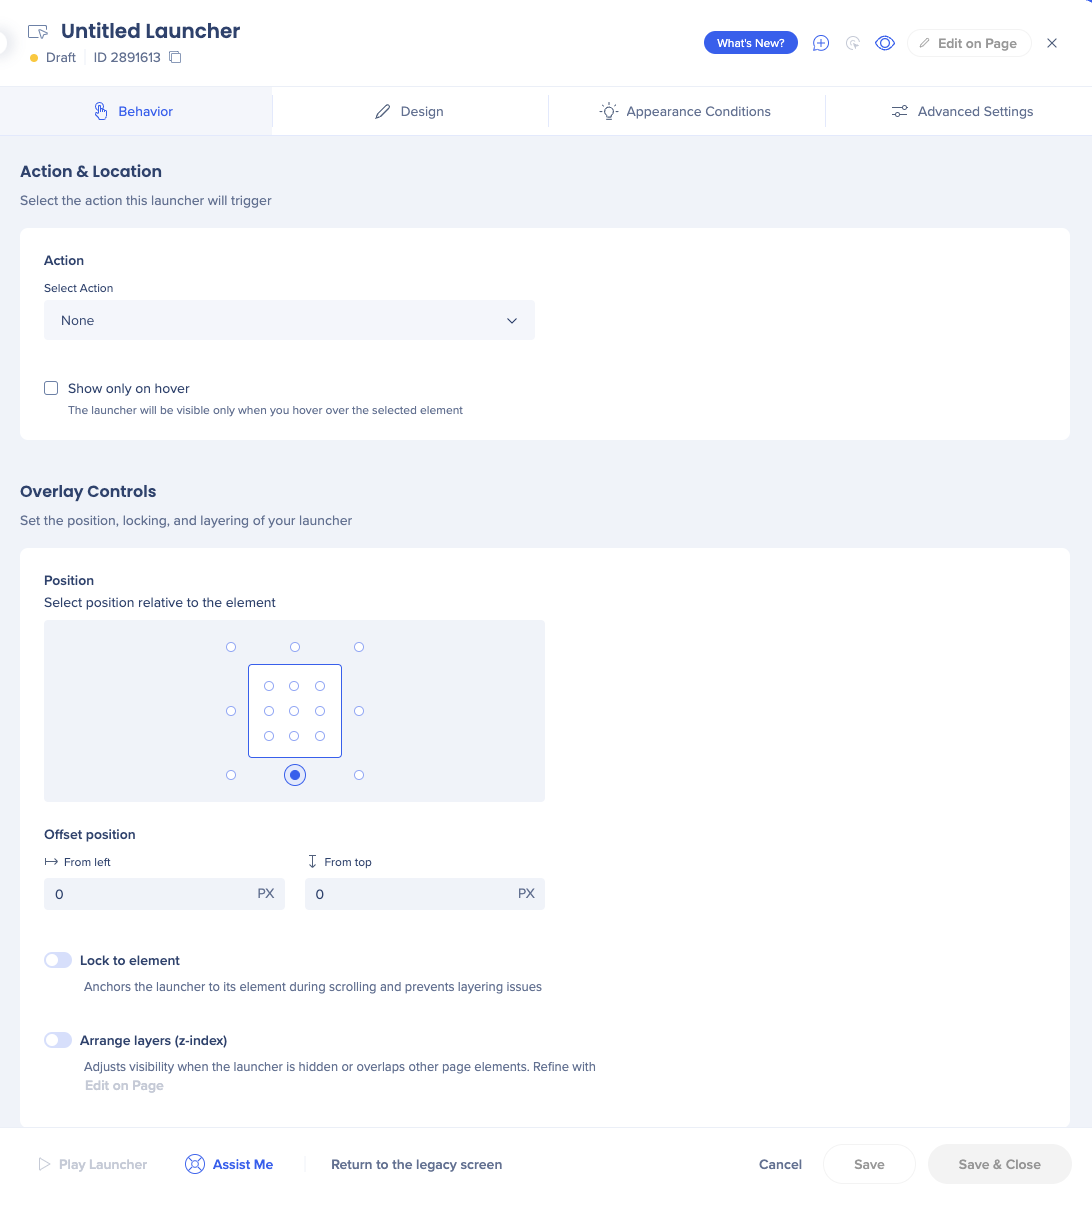
Behavior tab
Name: The name of the launcher will only appear within the editor. The name will not appear to your user. To change the name, click on the name field.
Action: Choose the action taken when a launcher is clicked
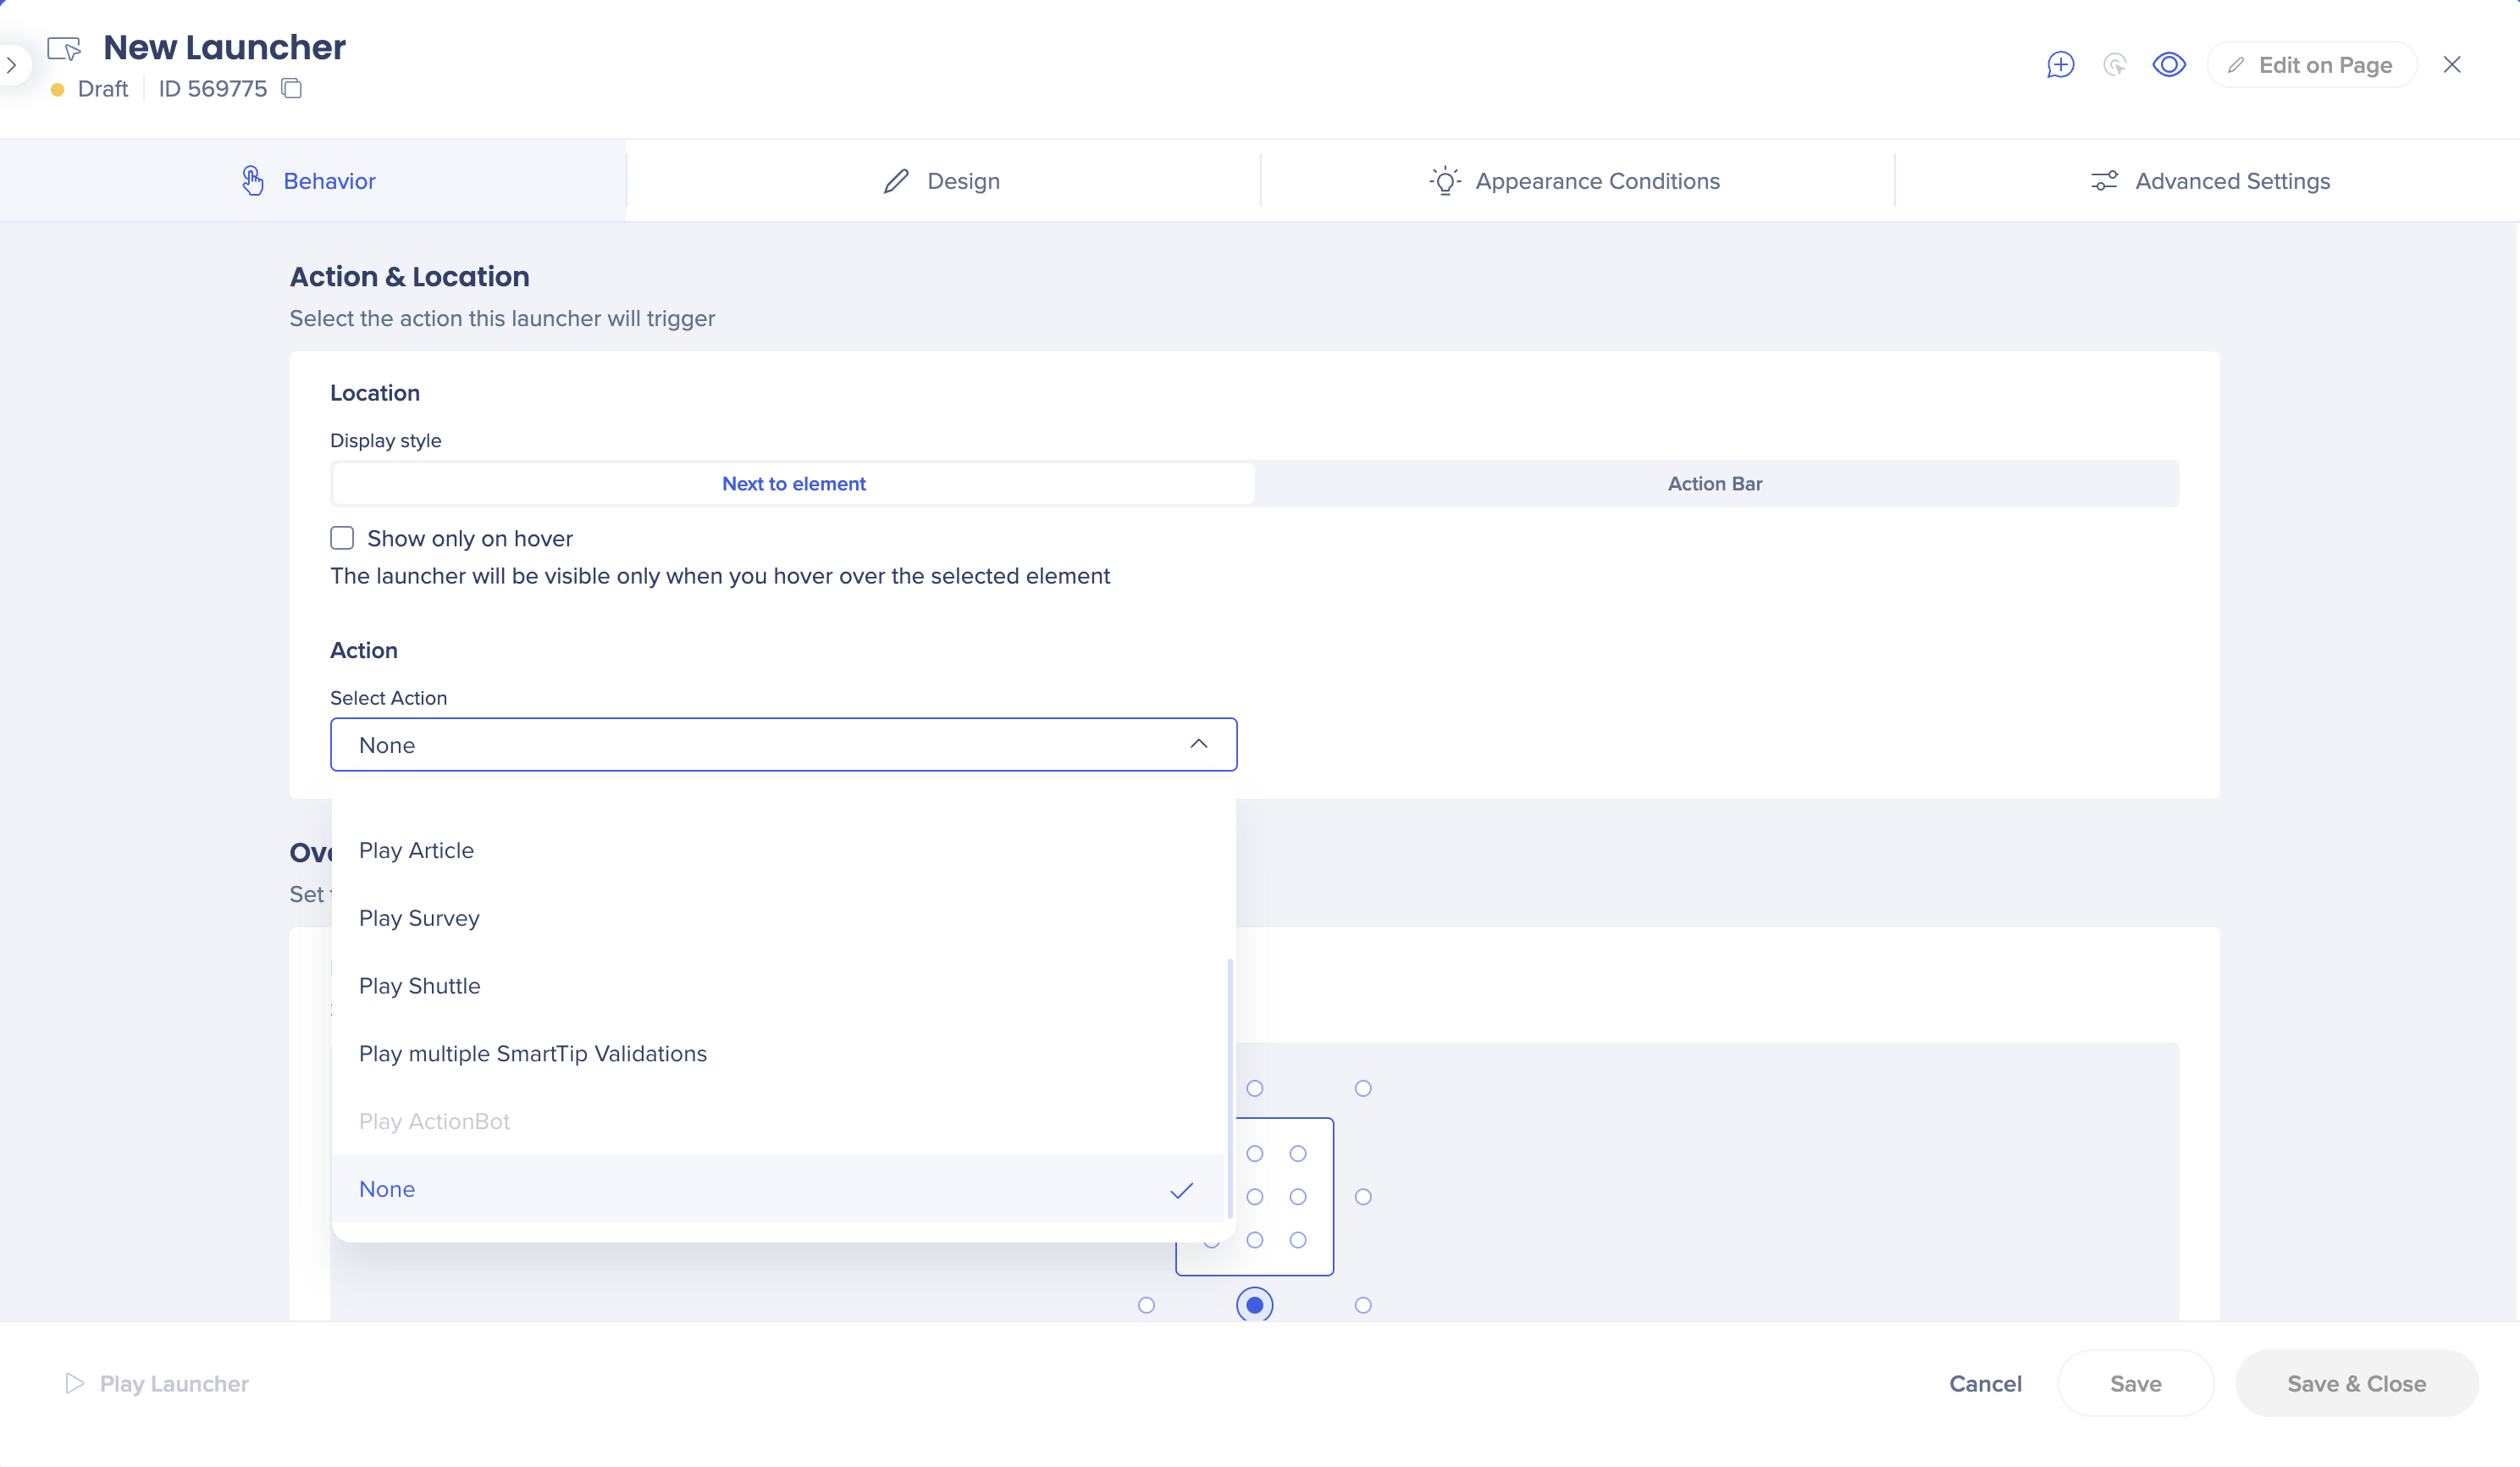
Position: Define where you want the launcher to show on user's screen
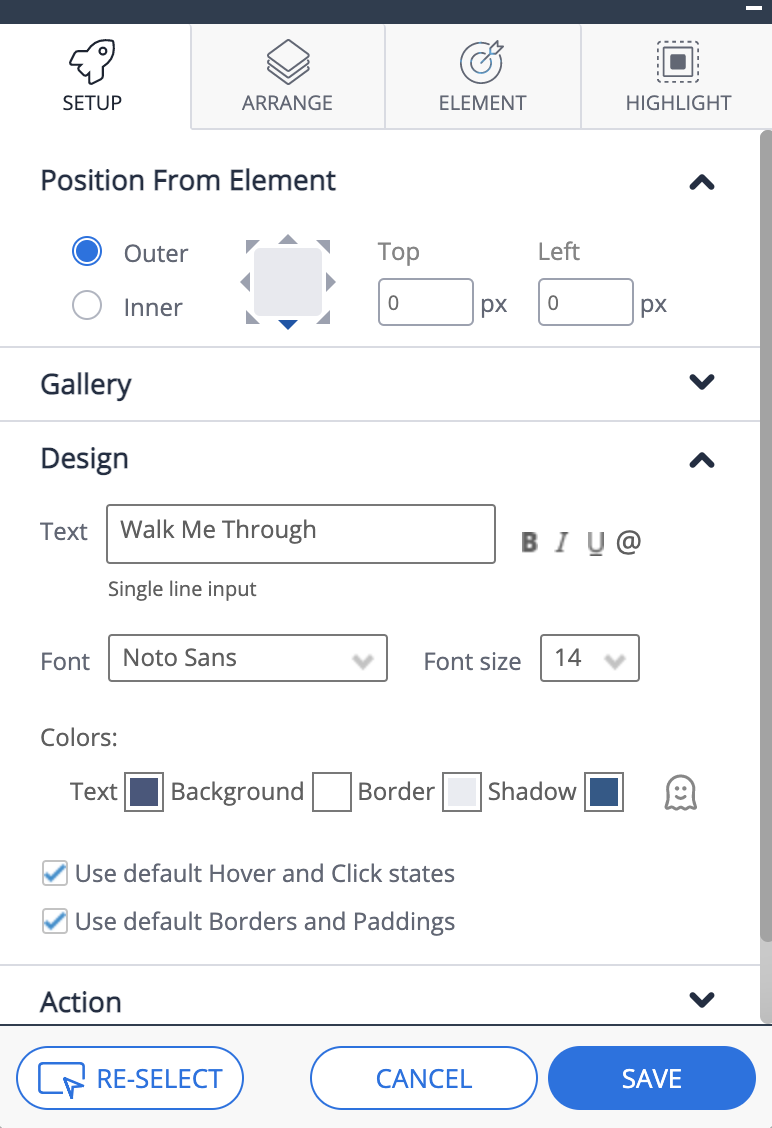
Design tab
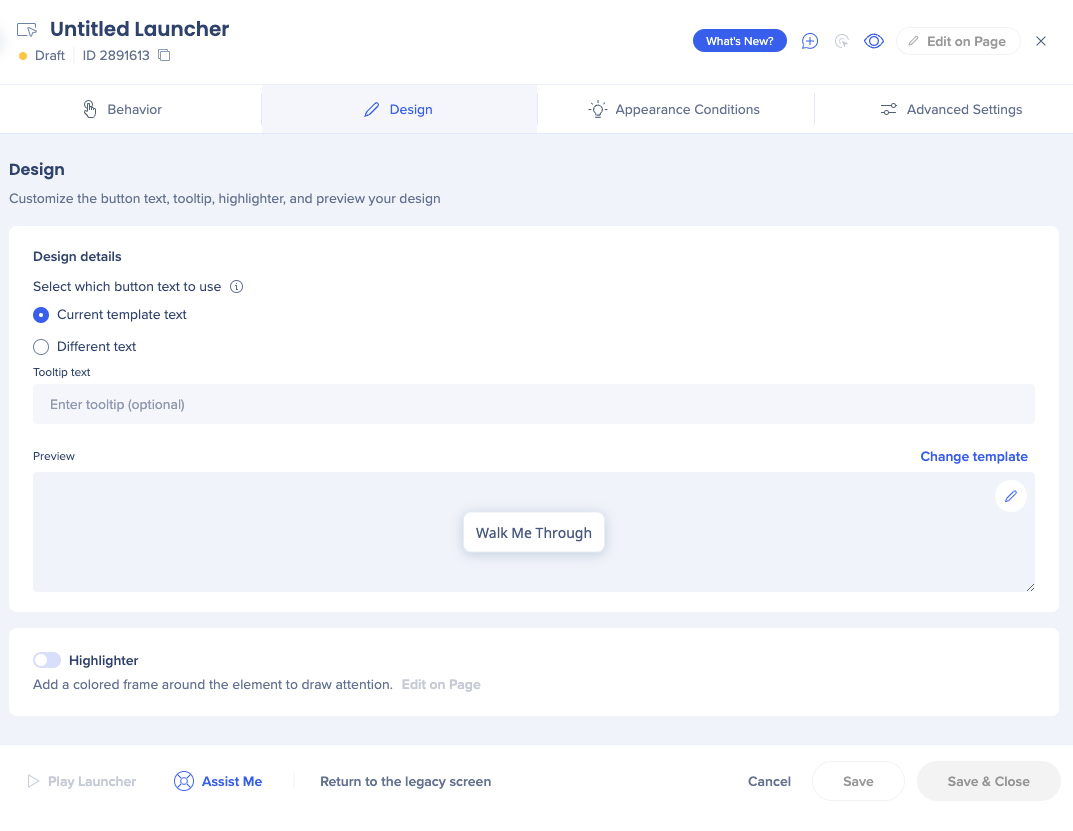
Current template text: The text that appears when a user hovers over the launcher that uses this template.
Different text: Use this if you want to change the text of the local launcher
Change template: Click to open the launcher gallery
Launcher and SmartTip Gallery
Appearance Conditions tab
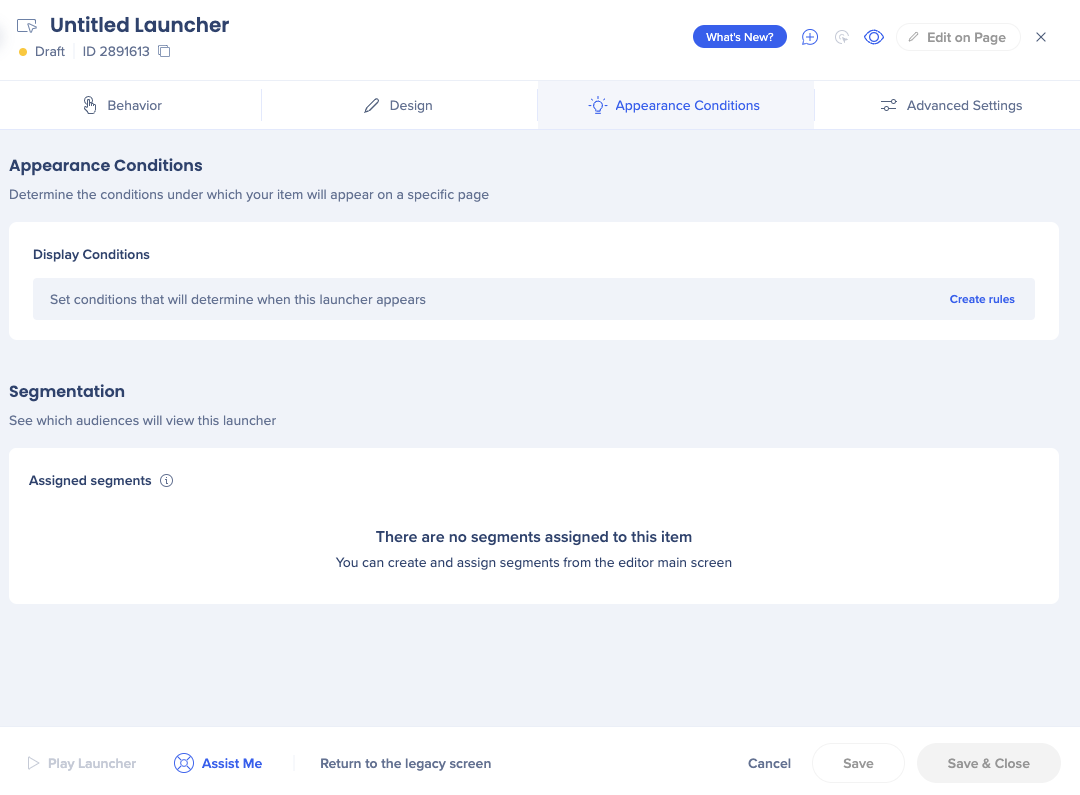
Display Conditions: Define if the launcher will be displayed on screen according to rules
Segmentation: See which segments are assigned to this launcher
Did you know?
For best performance, the first rule in this display condition should be the URL of the page where you want the launcher to appear. This prevents WalkMe from looking for the launcher's selected element on every page a user opens.
Advanced Settings tab
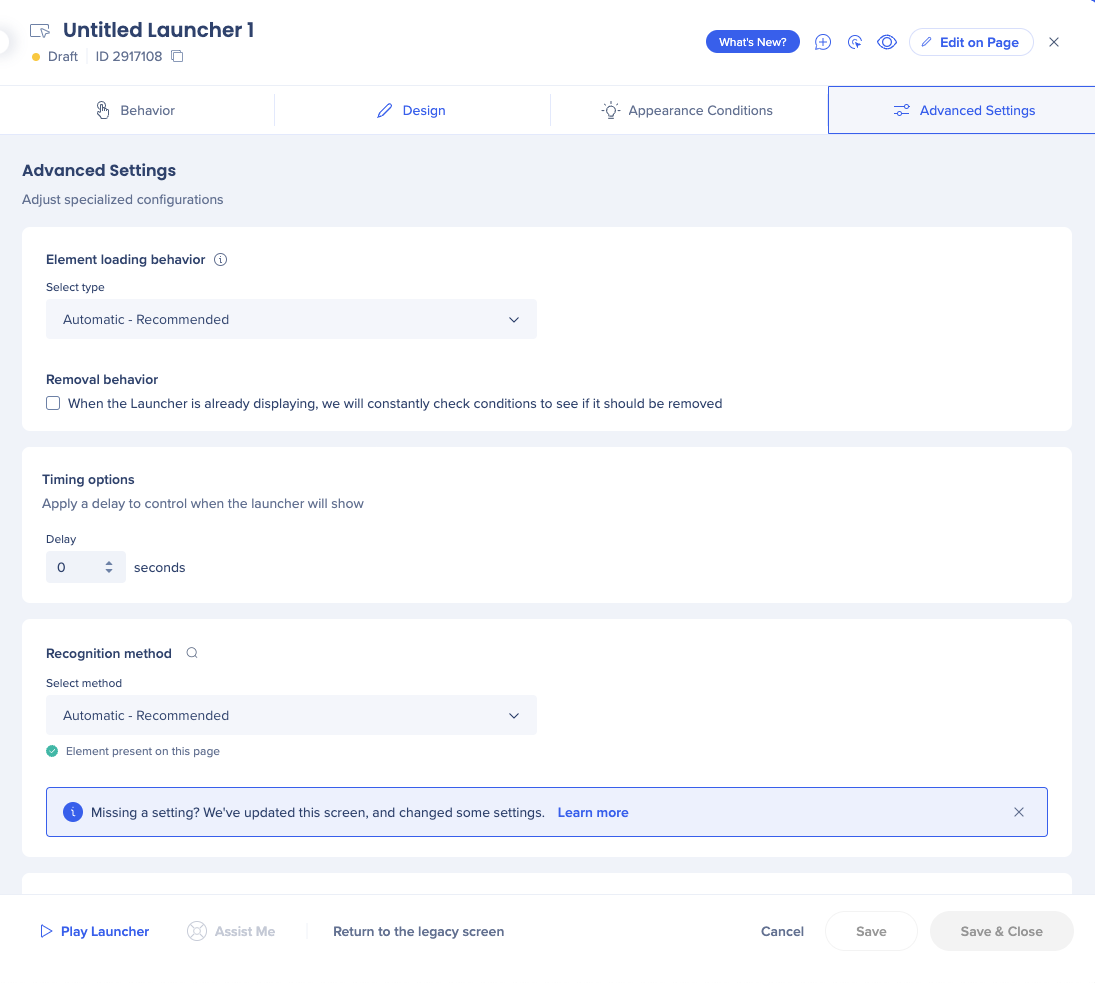
Element loading behavior: Helps optimize WalkMe's evaluation of element behavior. “Automatic” is selected by default. This automatic feature is our most up-to-date technology, we recommend using it.
Removal behavior: Check the box if you want WalkMe to check the conditions of your launcher that's already displaying to see if it should be removed
Timing options: Apply a delay to your launcher display
Recognition method: Define how you want WalkMe to recognize the element. The options are:
- Automatic (recommended)
- By text
- jQuery selector
Default launcher
To change the template all your newly created launchers will get by default:
- Go to the editor Settings
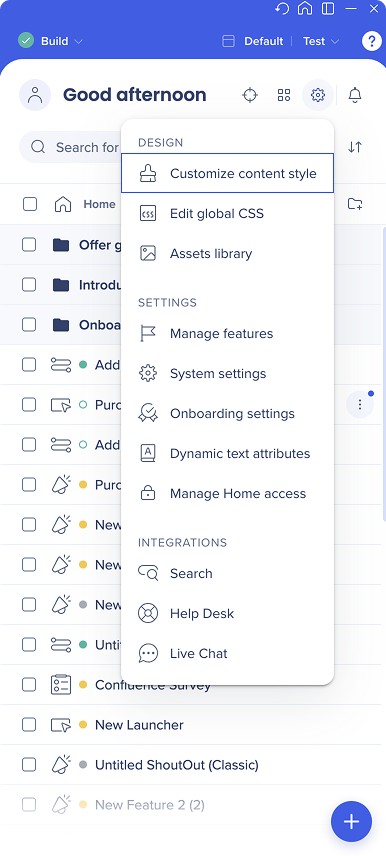
- Select Customize content style
- In the Launcher tab, select Change template
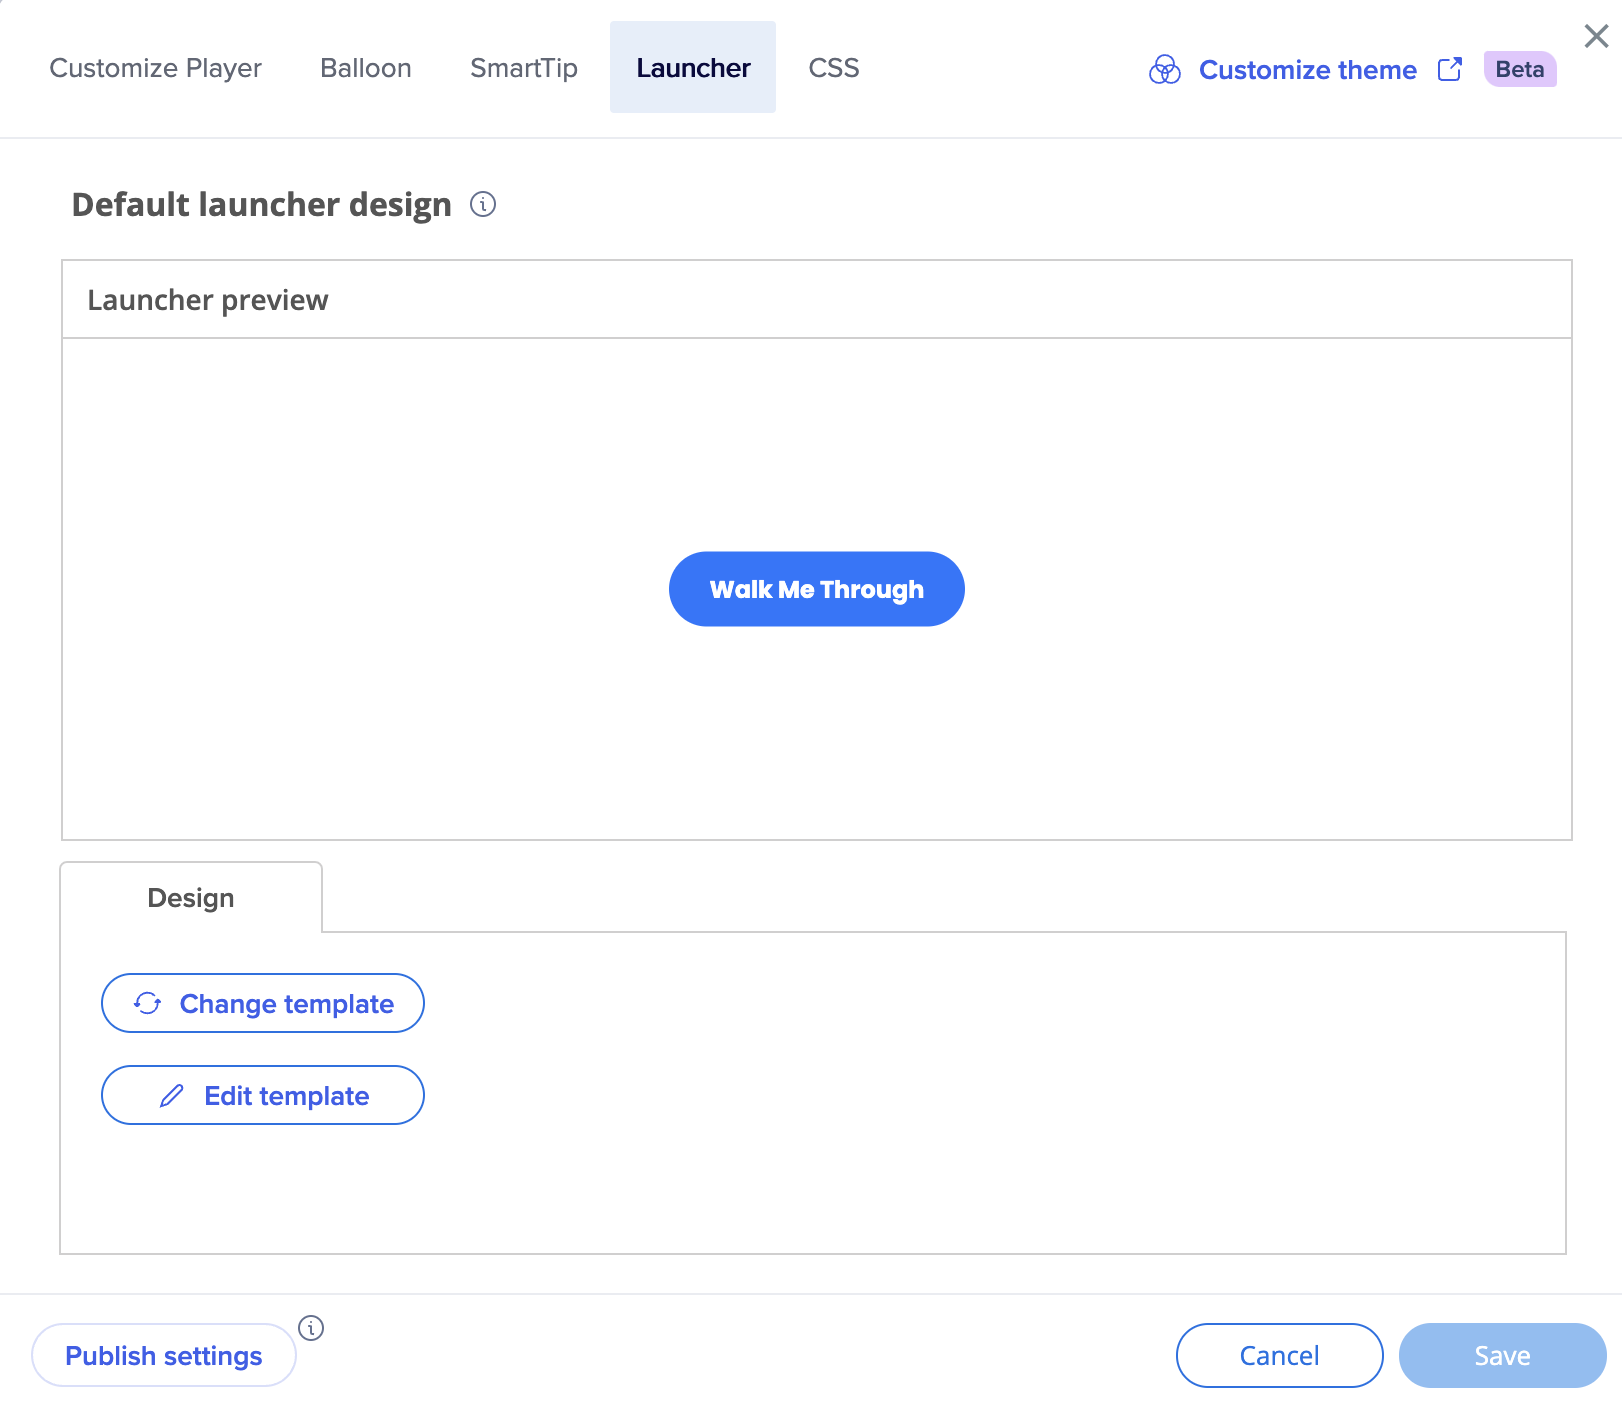
- Choose the template you'd like to use

- Select Apply
Note
Only the newly created launchers will get this template. Your existing launchers won't be affected.


