Brief Overview
The Smart Highlights console is where admins connect data sources and set up how highlights appear to users. Connect data sources and set up entity cards on the Connections & Entities page, then choose where each entity appears and how it looks on the Locations page.
Design your highlights once for all systems, or give a specific system its own design. Use Design with AI, write your own CSS, or link a system to a WalkMe theme.
Access
- Go to the WalkMe Console
- Select the Content category
- Select Smart Highlights
- Smart Highlights has two pages:
- Connections & Entities: Connect data sources and set up entity cards
- Locations: Choose which entities appear on each system and how they look
Connections & Entities Page
The Connections & Entities page is organized around your connected data sources. Each data source appears as its own card, with a counter showing how many entities it has.
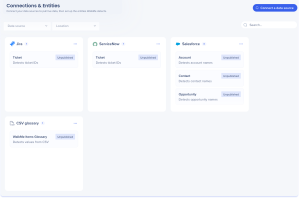
Page overview
Entity cards
Each entity in a data source card shows:
-
The entity name and what it detects (For example, Employees: Detects employee name)
-
The display systems it appears on, shown as app icons
-
An Unpublished status if the entity isn't added to any system yet
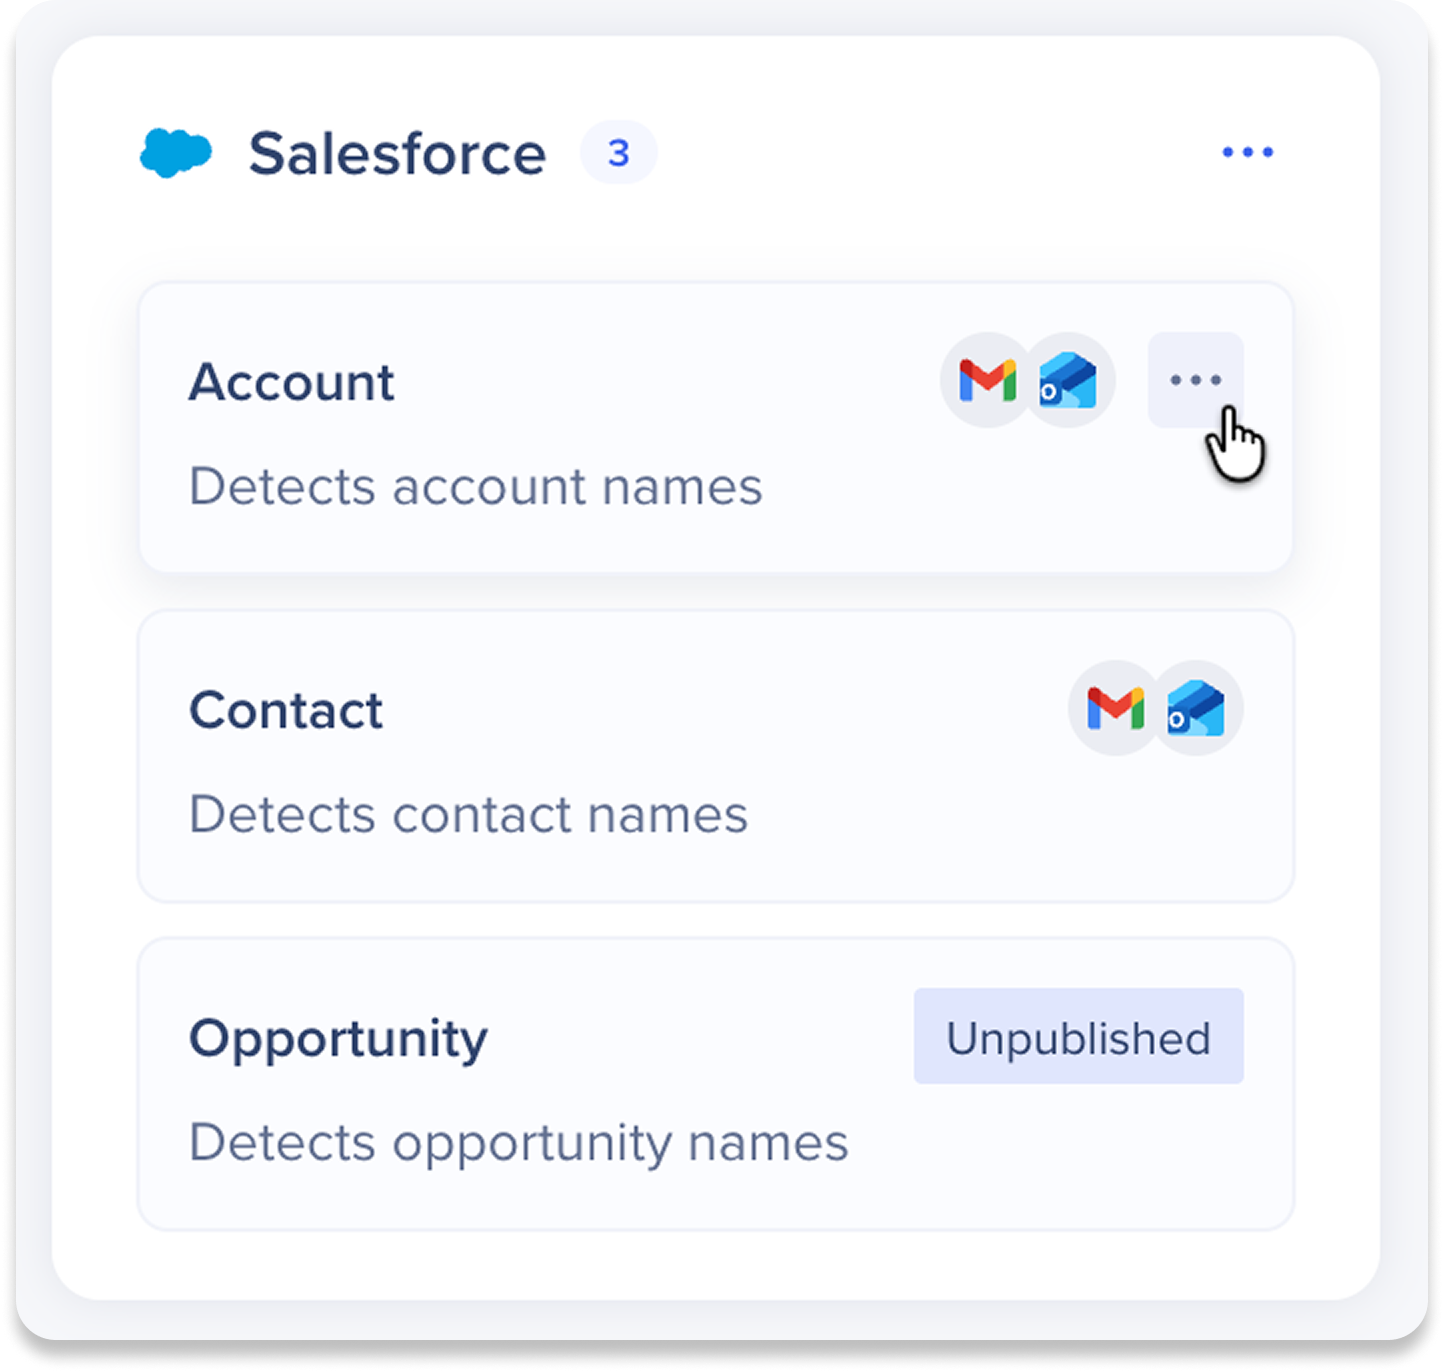
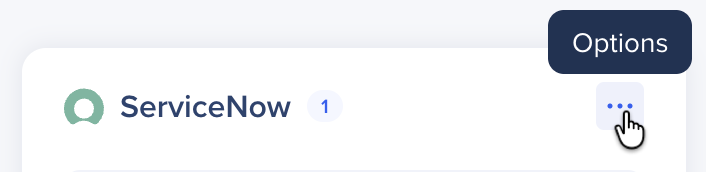
Manage data source
Select the Options icon to perform the following actions:
-
Edit: Update the credentials for your data source
-
Disable: Turn off all entities related to this data source to hide them temporary from your users, and reenable anytime with your saved edits
-
Delete: Remove the data source connection
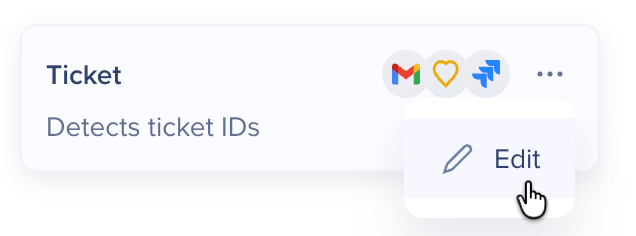
Manage entities
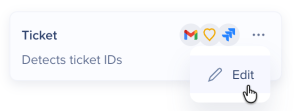
Hover over an entity, select the Options icon, then select Edit to open its card setup. Learn more:
Smart Highlights: Entity Card Setup
Filters and search
- Source application filter: filters by the system the data is coming from, meaning the application where Smart Highlights pulls its data
- System filter: filters by the application the highlight appears on, meaning the tool your users are actually working in when they see the highlight
- Use the search bar on the right to find a specific entity

Connect a data source
Select the Connect a Data Source button to open the connection flow and request a new data source.

Getting started
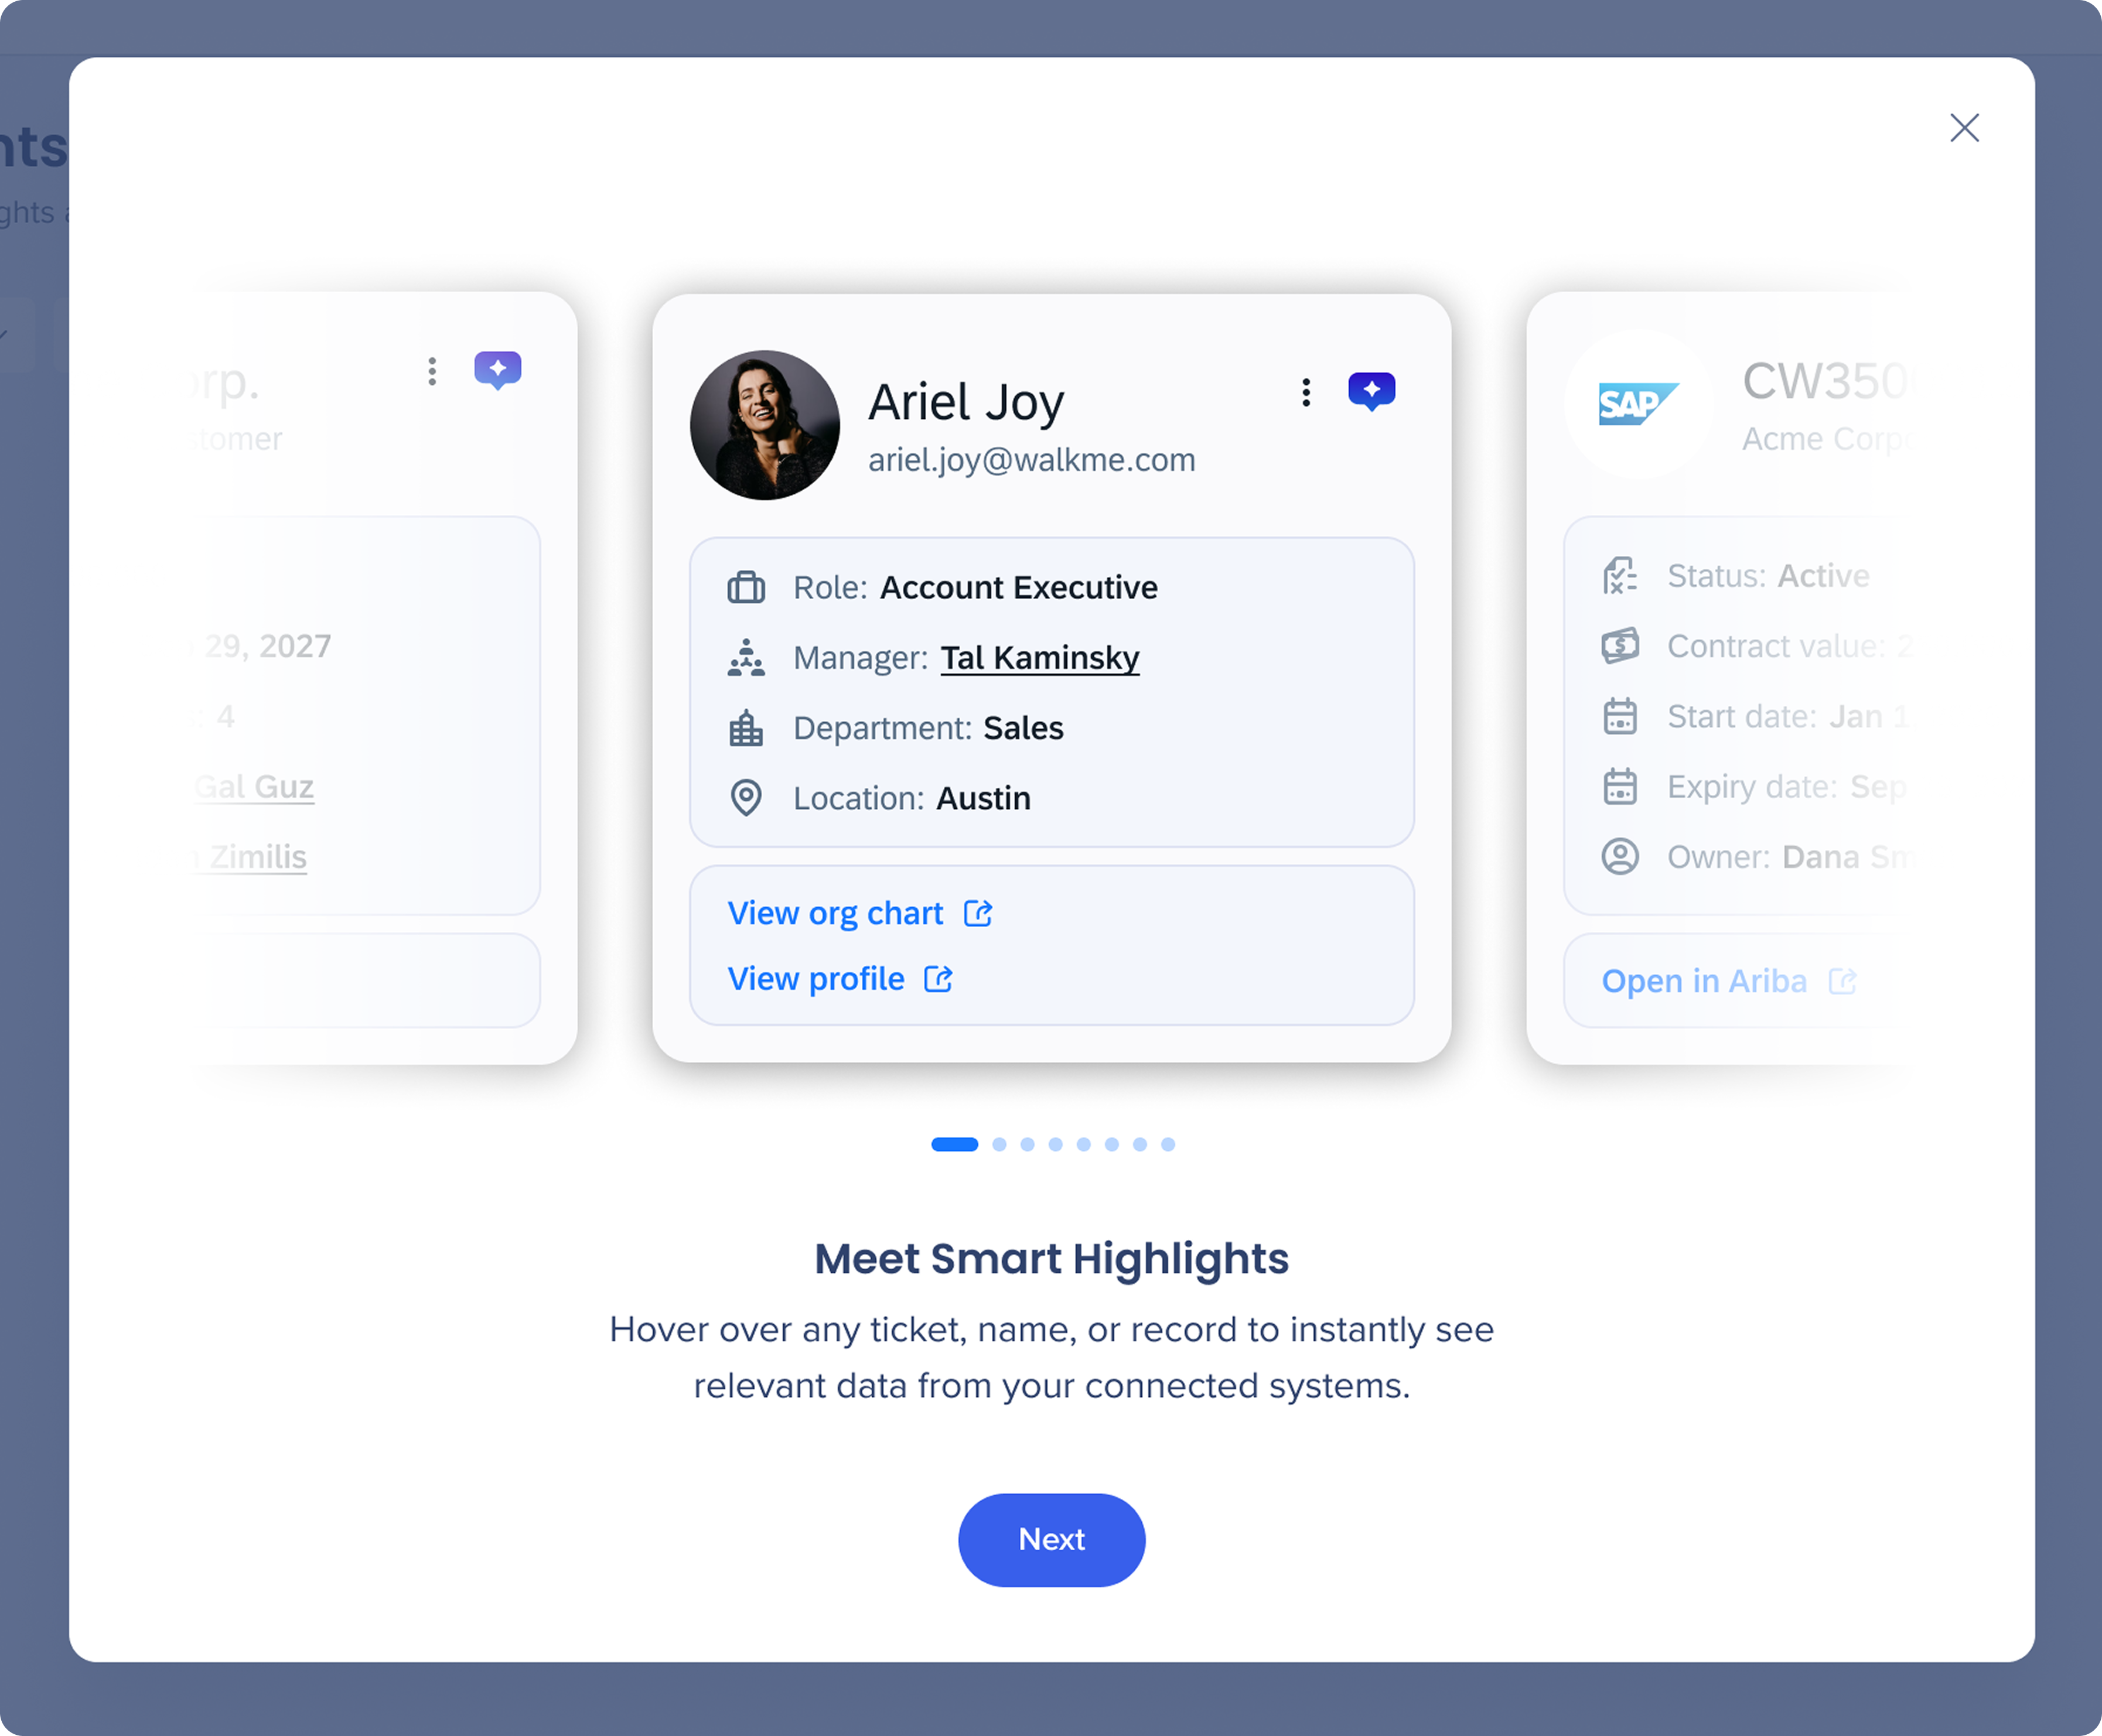
When you open Smart Highlights in the console for the first time, a short onboarding carousel walks you through the available entity types and what to expect from the setup process.
The first screen introduces Smart Highlights with a preview carousel showing the different entity card types your users will see (accounts, employees, contracts, and more).
Click Next to continue.
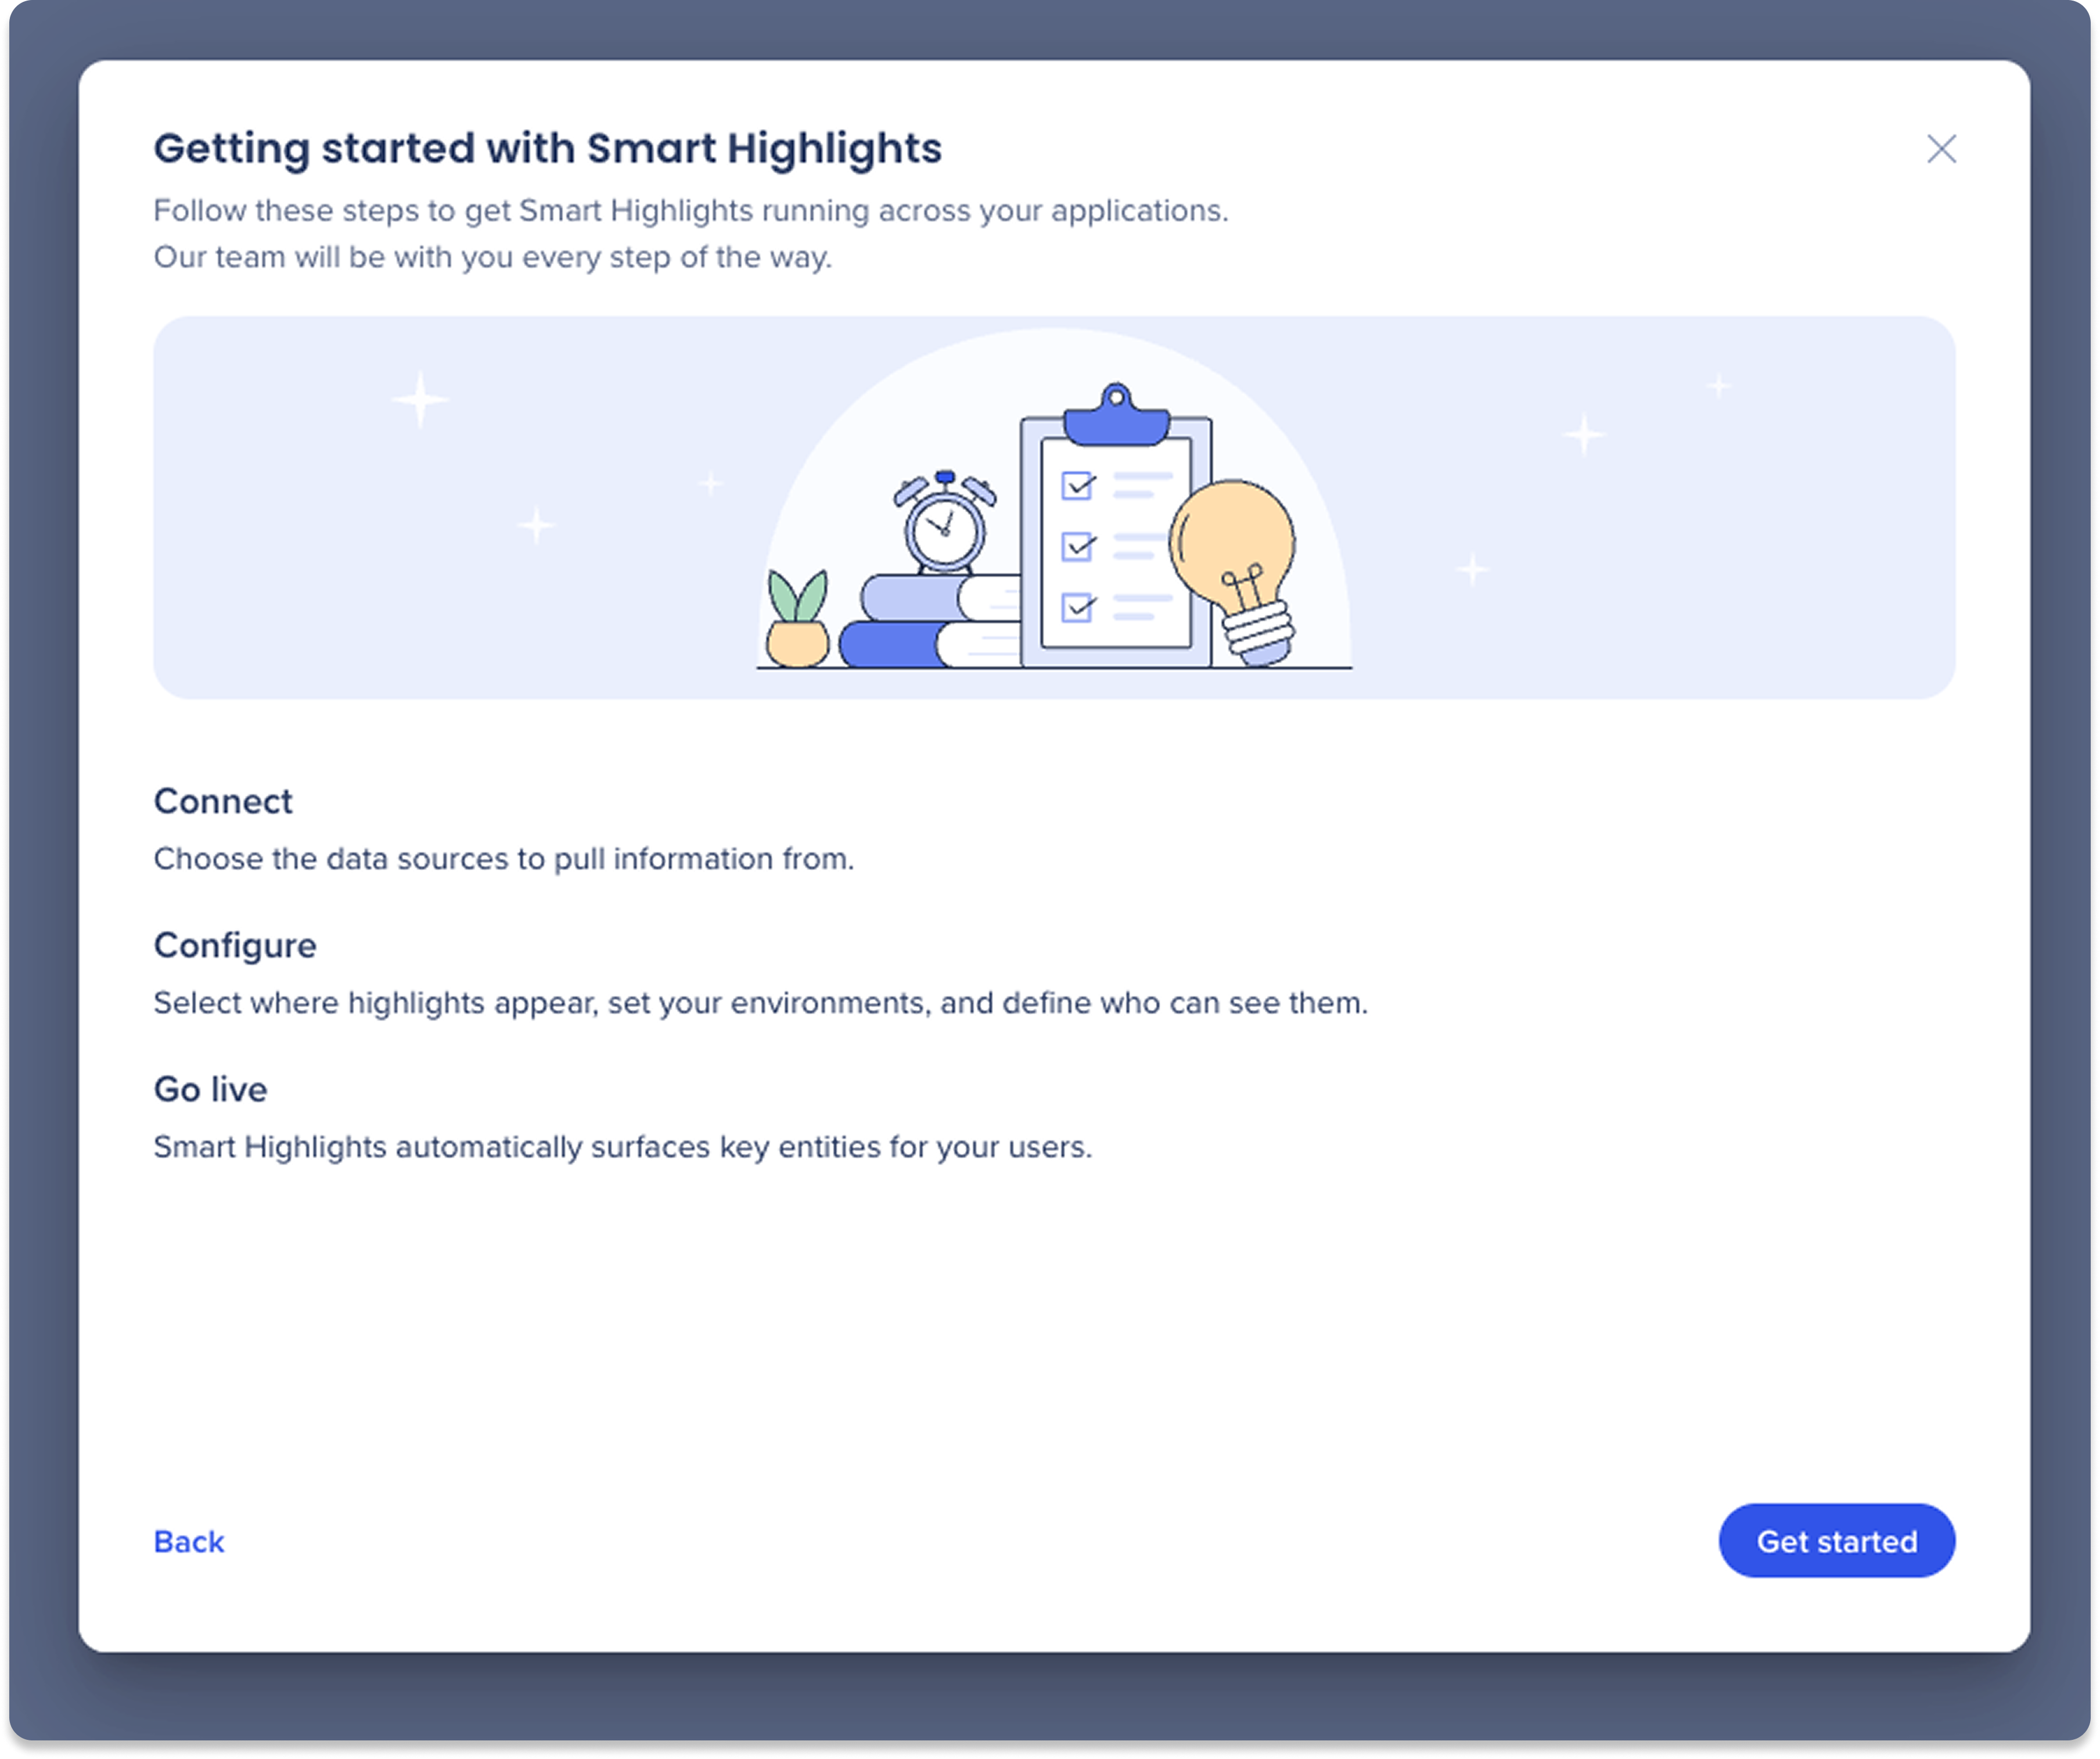
The second screen outlines the four steps to get Smart Highlights running. Click Get started to begin connecting your data sources.
-
Connect: Choose the data sources to pull information from
-
Configure: Select where highlights appear, set your environments, and define who can see them
-
Go live: Smart Highlights automatically surfaces key entities for your users
Connect your data sources
-
Click the Connect a Data Source button configure each data source provider you want to connect
-
Preview: Shows the highlight cards with sample data for the selected source
-
Supported sources: SuccessFactors, Microsoft dynamics, WorkdaySalesforce, Jira, SAP S/4HANA, SAP Ariba, ServiceNow, Sales Cloud, CSV file
-
Click the + Plus icon to enter credentials and verify
-
Enter the following account details to set up the connection:
-
Connection name: Enter a name for this data source connection for internal use (won't be seen by end-users)
-
Application main URL: The URL used to access your data source environment
-
Advanced settings (optional)
-
SSO login URL: The login URL provided by your identity provider (For example, Okta, Azure AD)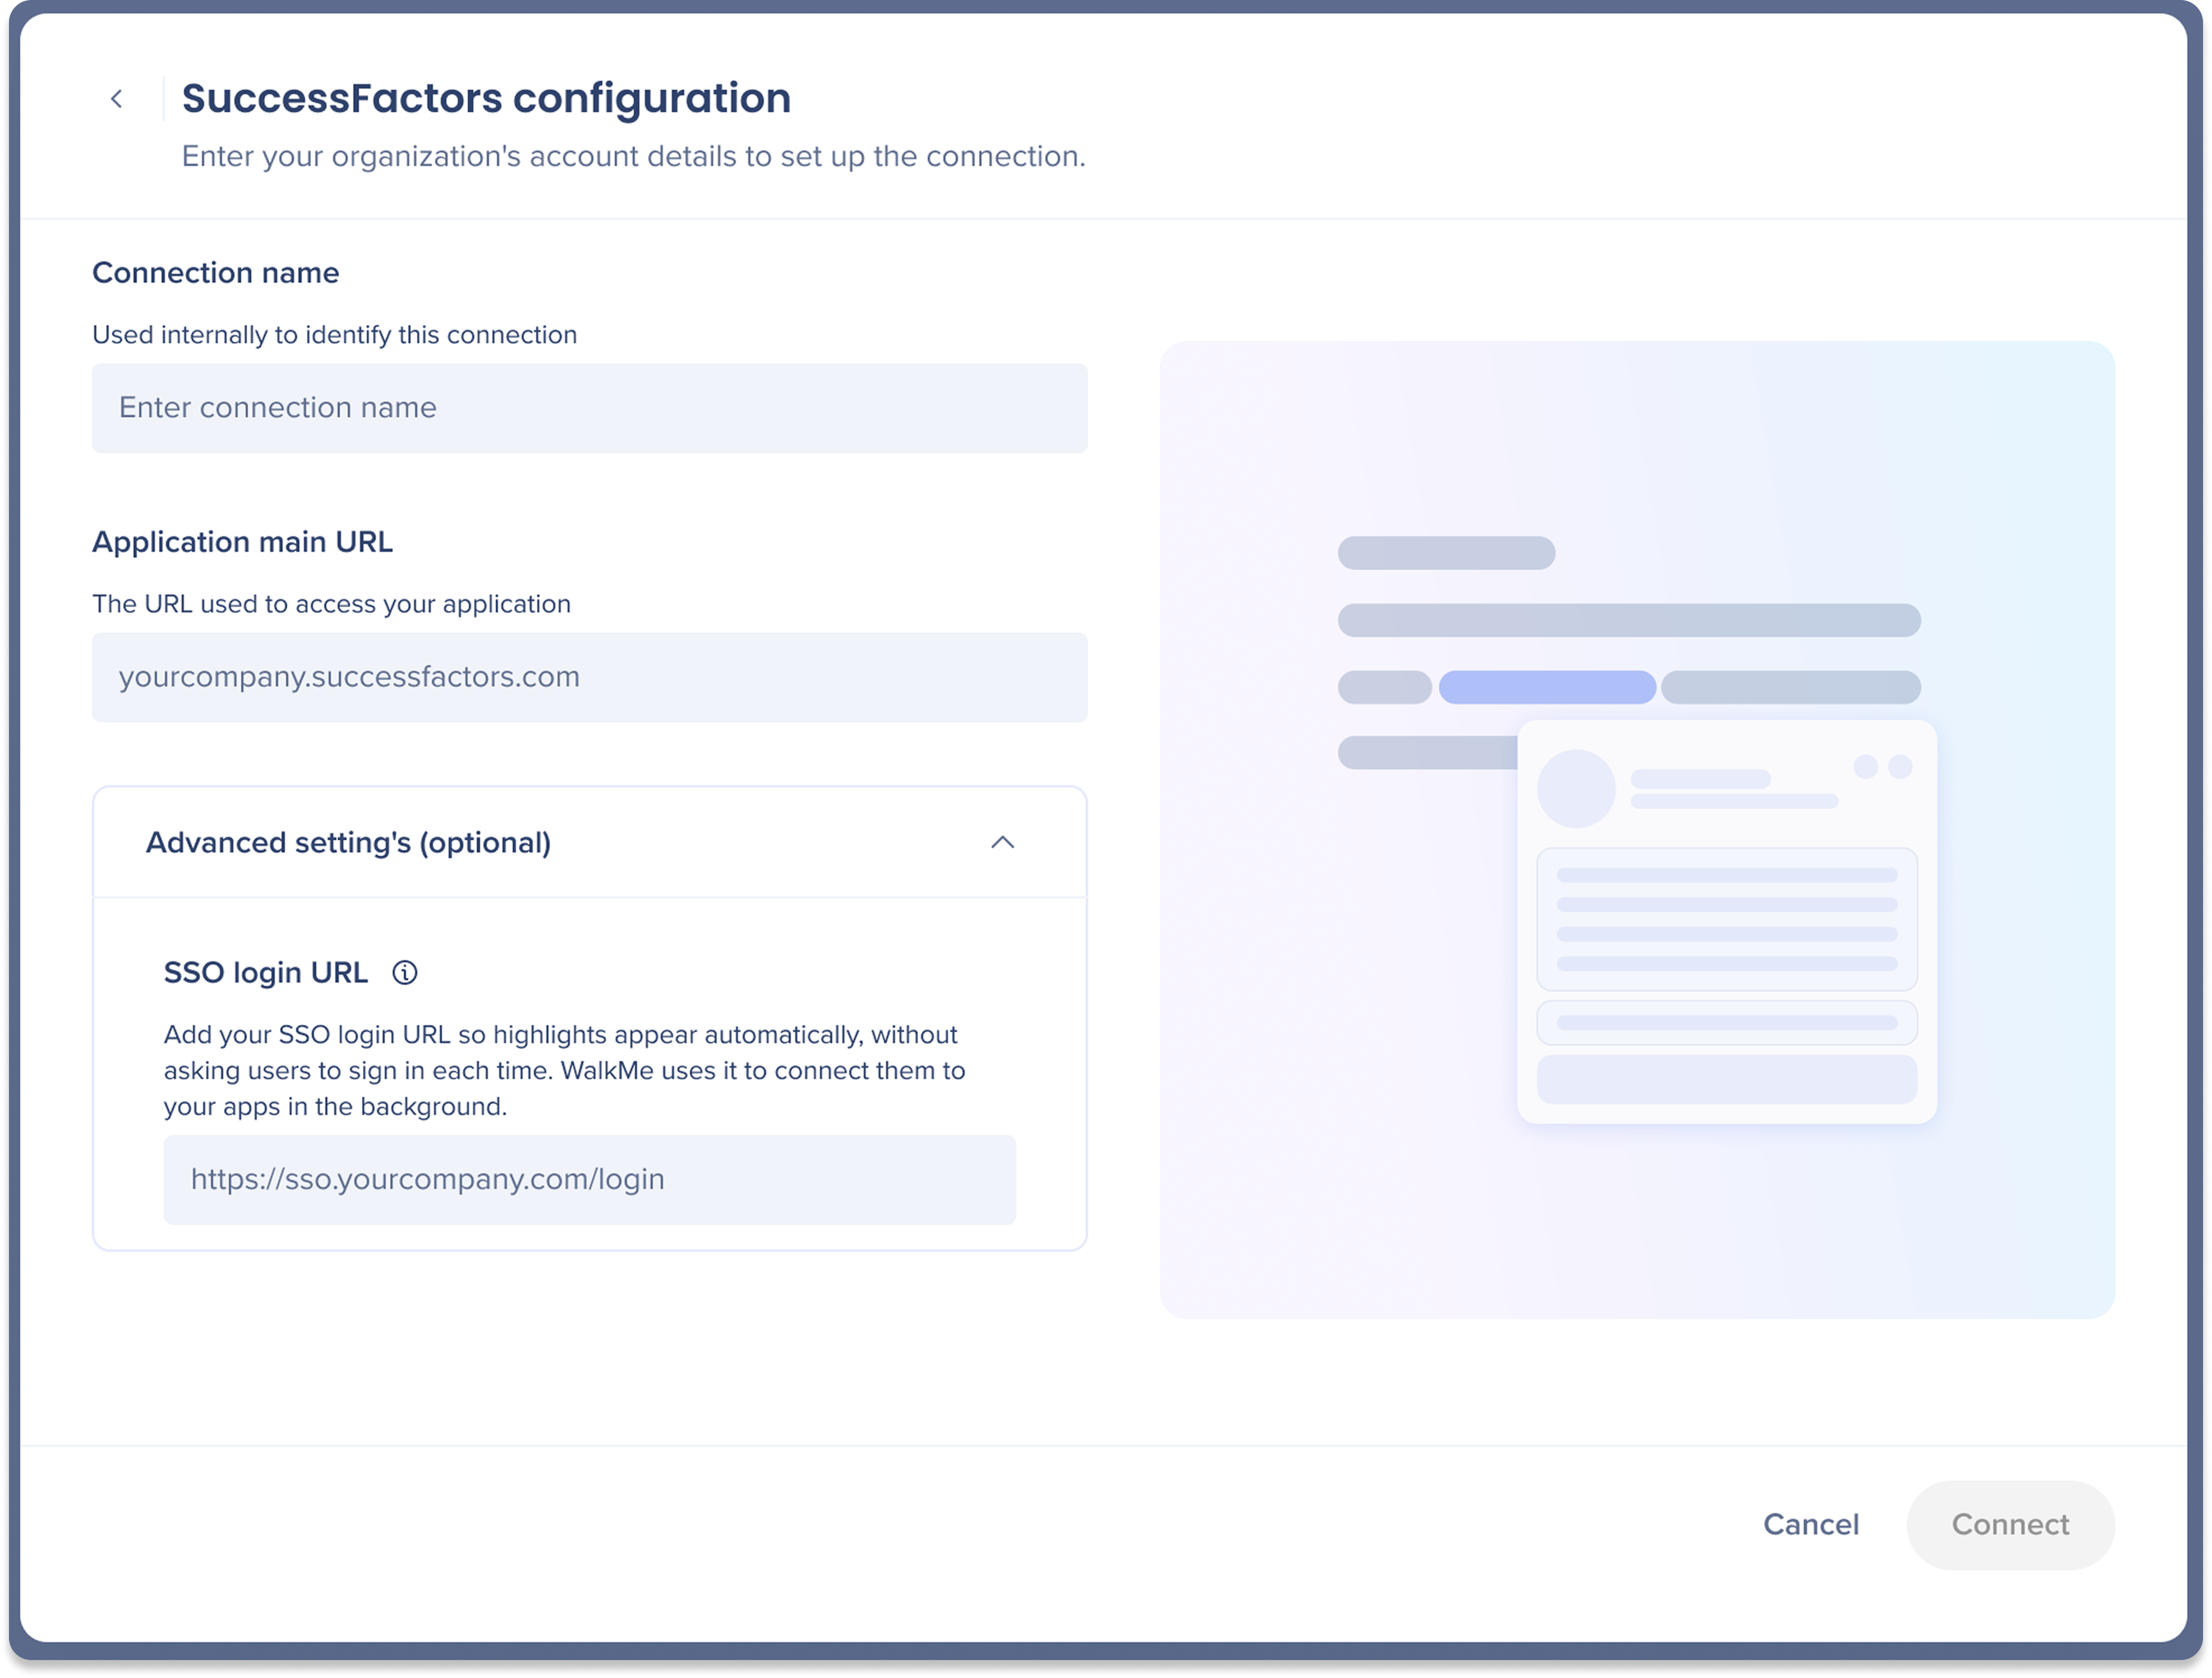
Wann eine SSO-Anmelde-URL hinzufügen
Smart Highlights lädt Daten mit der vorhandenen SSO-Sitzung jedes Benutzers, sodass in den meisten Konfigurationen Hervorhebungen automatisch angezeigt werden und dieses Feld leer gelassen werden kann. Fügen Sie Ihre SSO-Anmelde-URL hinzu, wenn Ihr Identitätsanbieter eine Weiterleitung zur Anmeldung erfordert oder wenn die Hervorhebungen die Benutzer zur Anmeldung auffordern, anstatt automatisch zu laden.
Es teilt Smart Highlights mit, wo die Authentifizierung im Hintergrund erfolgen soll, damit Benutzer nicht unterbrochen werden, und gilt nur für diese Hintergrundauthentifizierung. Es ändert nicht, wie sich Benutzer normalerweise bei Ihren Anwendungen anmelden.
5. Click Connect to verify the connection
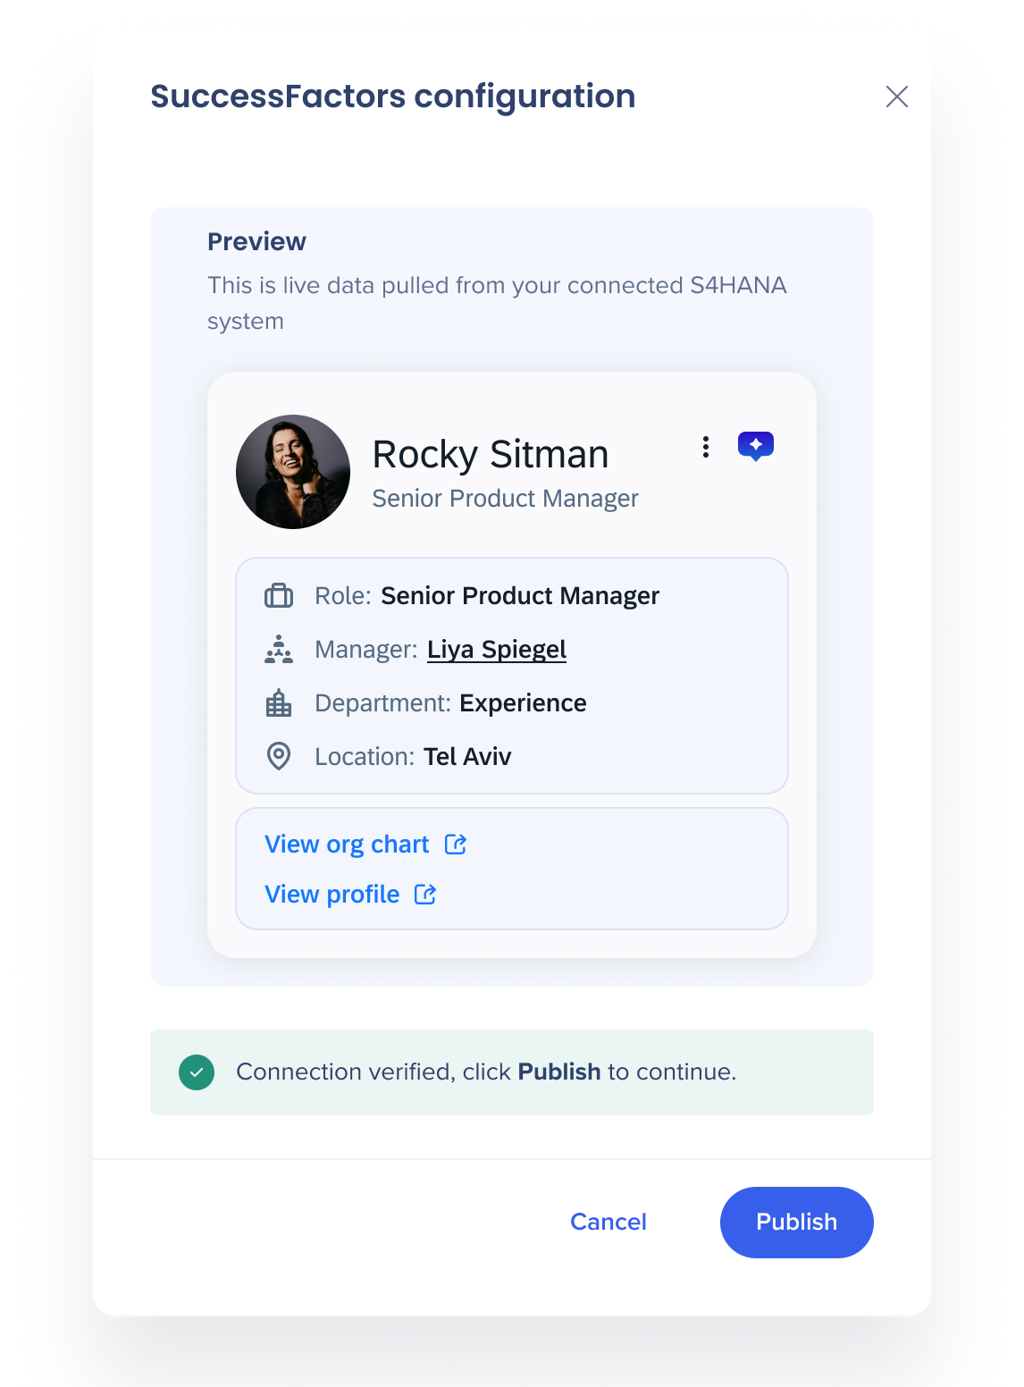
6. A confirmation message appears at the bottom when your credentials are valid
7. Click Publish
8. A popup will appear letting you know that publishing will apply your current settings to the extension
9. Click Publish
10. Your connection is now live! Add entities to start showing highlight
Card setup
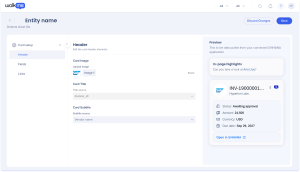
Card setup is where you decide what data appears on a highlight card. Each card pulls live data from your connected data source, so it updates automatically for every user and every record it appears on.
- Hover over an entity, select the Options icon, then select Edit
-
You build the card across three tabs, with a live preview on the right:
-
Header: The top of the card — its image, title, and subtitle
-
Body: The fields shown below the header. Add up to 6 fields, set an icon and display name for each, and drag and drop to reorder them
-
Links: Buttons users can open from the card, such as Open in S/4HANA. Set the URL and the label for each link
Learn more about card setup here:
Smart Highlights: Entity Card Setup
Locations page
Page overview
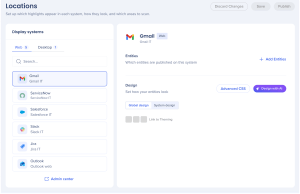
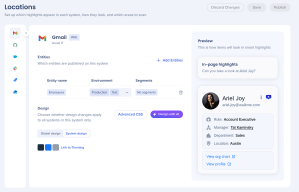
The Locations page is where you set up which highlights appear on each system and how they look. Select a system to see its entities and design settings.
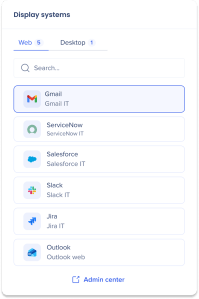
Display systems
-
Web and Desktop tabs: Switch between web and desktop systems. Each tab shows how many systems it has
-
Search: Find a specific system
-
Admin center: Opens the Admin Center, where you add and manage systems
-
Select the Collapse icon to show the system list as icons only and make room for the preview
System settings
The system name, platform (Web or Desktop), and system type appear at the top. Each system has two sections:
-
Entities: Which entities are published on this system, and the environment and segments for each
-
Design: How your entities look on this system
Preview
Shows how the in-page highlight and the highlight card will look on the selected system, using sample data.
Add entities to a system
- Select the Web or Desktop tab, then select a system
-
In the Entities section, select + Add Entities
-
Select the entities to add from your connected data sources
-
For each entity, set:
-
To remove an entity from the system, select the Delete icon on its row
Adding a system
If the system you need isn't listed, select Admin center to add it.
Design your highlights
Set how the in-page highlight and highlight card look so they feel native to the app they appear in. There are three ways to set the design:
-
Design with AI: Describe the look you want in plain language
-
Advanced CSS: Write or edit the CSS yourself
-
Link to Theming: Use a WalkMe theme for a specific system SYSTEM DESIGN ONLY
Global design vs system design
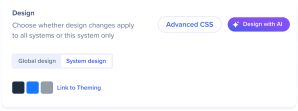
In a system's Design section, choose whether design applies globally to all systems or this system only:
-
Global design: Design with AI or CSS. One design applies to all entities on all systems. Theming isn't available with Global design
-
System design: Design with AI, CSS, or link to Theming. Changes apply to this system only
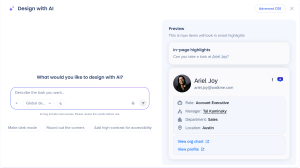
Design with AI
-
Select Design with AI
-
Choose which systems the design applies to from the systems selection in the prompt field:
-
Describe the look you want, or select a suggestion
-
 Select the Enter icon to apply changes
-
Review the result in the Preview panel. It shows both the in-page highlight and the highlight card
-
Select Save, then select Publish
Tip
 Select the Click icon to select a specific part of the card to change.
Advanced CSS
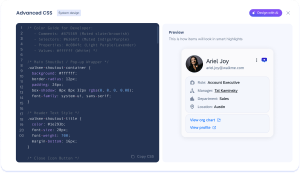
Use Advanced CSS to write or edit the design code yourself.
-
Select Advanced CSS, either in a system's Design section or in the Design with AI panel
-
Edit the CSS in the code editor. A label next to the title shows whether you're editing the global design or a system design
-
Review the result in the Preview panel
-
Select Save, then select Publish
Link to Theming
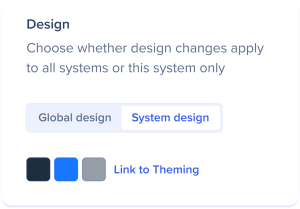
Link a system to a theme so Smart Highlights uses the same look as your other WalkMe content on that system. Theming is available with System design only.
-
Select a system
-
In the Design section, select System design
-
Select Link to Theming
-
The theme colors appear in the Design section
-
Select Save, then select Publish
Note
While a system is linked to a theme, Design with AI and Advanced CSS are turned off for that system. To design the system with AI or CSS instead, select the Unlink icon next to the theme colors.
Learn more about Theming:
Theming
Support
Assist me
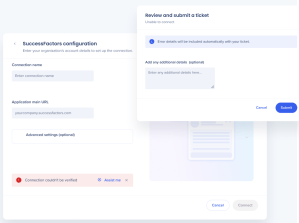
If you connection couldn't be verified and you'd like help from WalkMe's team, you can submit a ticket in the flow of work:
-
Click Assist me
-
Add any additional details you'd like the support team to know
-
Click Submit
Technical Notes
- Lite systems: If you are not licensed for a specific display system listed but still want Smart Highlights to appear there, a lite system provides a pathway to enable it.
-
-
Full WalkMe content is not supported on lite systems
-
Who needs it: If you are on an ELA or DAP plan, you can create any system freely and do not need a lite system. For all other account types, the lite system is the required method to enable Smart Highlights on an unlicensed system