Brief Overview
This article is a comprehensive guide on how to build a conversation for WalkMe's ActionBot in the console.
The console conversation builder is designed to be user-friendly and allows you to easily create conversations at any skill level. By simply adding steps to the flow diagram, you can create conversations to guide your users through a specific task.
What is a conversation?
A conversation is a flow of steps made of messages, questions, conditions, and actions. They're built without any code and allow you to answer user questions and/or collect information that can later be used to automate processes.
Conversations can be used to complete common tasks, tackle a support topic, navigate your users to a section of your application, or even provide a personalized search experience, all by using a simple chat interface.
How It Works
Getting Started
WalkMe Console now offers a user-friendly conversation building process.
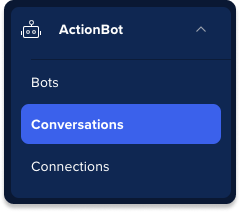
Conversations are created in the WalkMe Console → ActionBot tab → Conversations tab.
On the Conversations List page, click the Create Conversation button + to open the conversation building process.
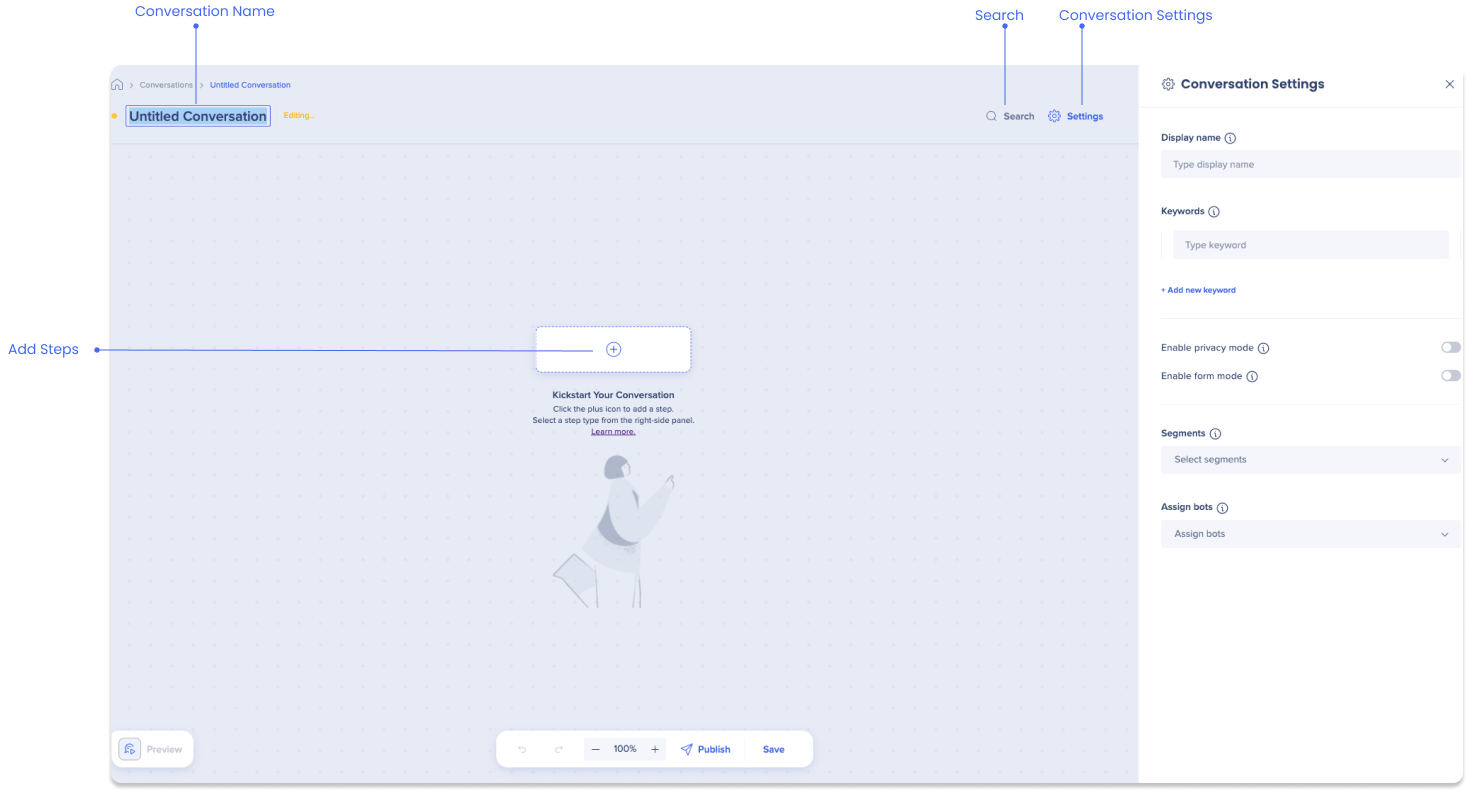
After clicking the Create Conversation button in the console, a conversation diagram and settings side panel will appear.

You have two ways to start:
- Name your conversation in the top left of the diagram and fill out the Conversation Settings in the side panel
- Click the plus icon in the diagram and start adding steps right away
In both cases, you must complete any mandatory settings before publishing your conversation. If needed, you can always access the Conversation Settings by clicking the Settings icon located in the top right corner of the diagram.
Conversation settings
After clicking the Create Conversation button, you will be directed to the Conversation Settings panel.
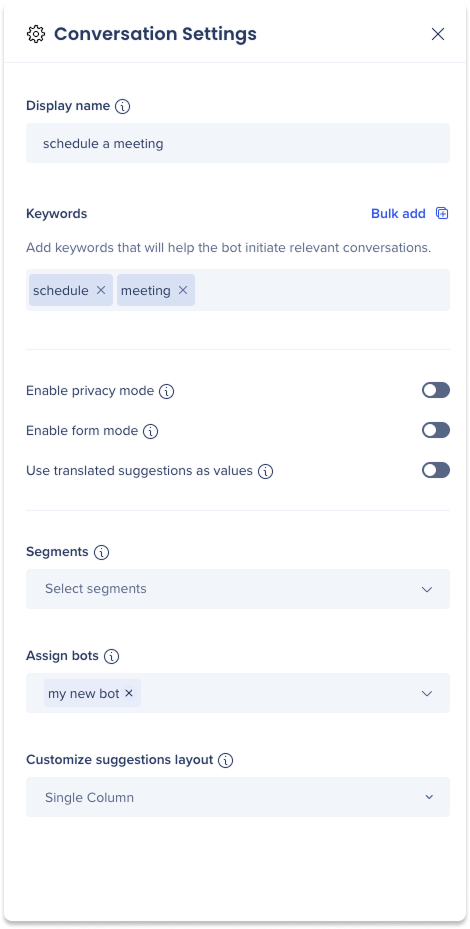
This panel includes mandatory fields that must be completed in order to publish your conversation:
Display name
Enter a name for your conversation that will appear to end-users when they choose from a list of suggested conversations.
Keywords
The bot is designed to recognize specific keywords in the user's messages. Once it identifies any of these keywords in the conversation, it will trigger the conversation.
- Keywords will be entered automatically once the give your conversation an internal name (located in the top left corner of the diagram)
-
To add keywords, either:
Tips
- Key words are not case-sensitive
- To improve search results for end-users, we recommend using analytics to see what they search for and update keywords accordingly
Assign bots
Select the bots where your end-users can participate in a dialogue with your conversation.
If you haven't created a bot yet, learn how to build a bot here:
Customize suggestions layout
Choose how suggestions are displayed in the conversation. You can select one of the following layouts:
- Single column: Displays suggestions in a single vertical list
- Two columns: Shows suggestions side by side in two columns
- Three columns: Displays up to three suggestions per row for a more compact view
In addition to these mandatory fields, there are also optional settings that allow for further customization of the conversation:
Segments
Select segments to allow only specific groups of users to access the conversation.
- The segments listed are pre-existing within the WalkMe Editor. If you wish to create a new segment, you may refer to this article:
Segmentation
Limitations
- Only IDP segmentation is supported in desktop/mobile menu ActionBot conversations
- Split by segment is not supported in desktop/mobile menu ActionBot
- Supports only Web/Mobile Web systems
Enable privacy mode
Privacy mode prevents conversation parameters entered by end-users (answers and inputs) from being sent and stored on or within WalkMe servers or databases.
- Turn on the toggle to enable privacy mode
ActionBot Privacy Mode
Enable form mode
ActionBot Form Mode allows you to switch the end-user conversation view from question-by-question to a single from view for conversations that do not require splits in the Bot's dialog.
- Turn on the toggle to enable form mode
ActionBot Form Mode
Use translated text as values
When enabled, the translated suggestion will be used as the parameter value instead of the default language. This will apply to all suggestions in the conversation.
Create your conversation flow
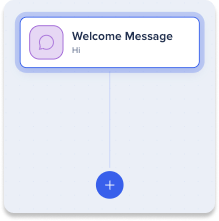
Now you're ready to structure your conversation flow using steps.
To start building your conversation, click the plus button + in the center of the conversation diagram. This will open the steps panel, where you can select a step from the list to add it to the conversation diagram and create your flow.
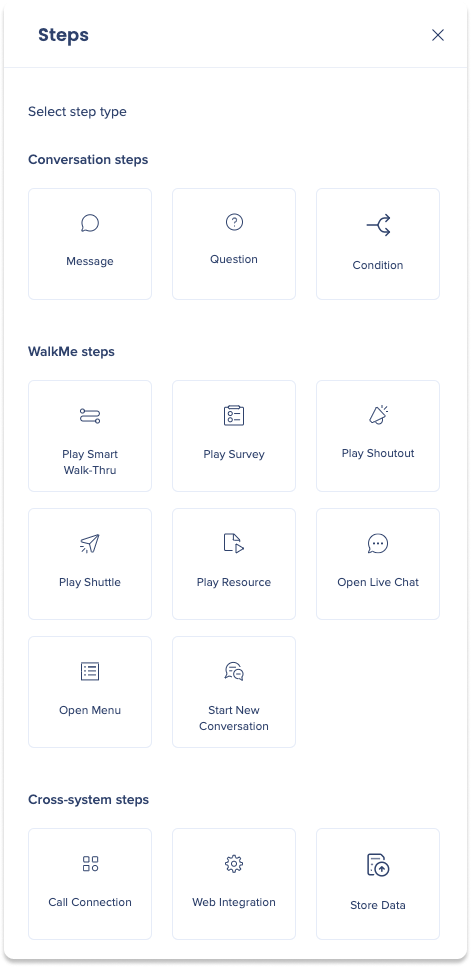
Steps
There are three main categories of steps for your to choose from. Learn more about each step type and how to use them here:
ActionBot Conversation Steps
- Conversation steps: These steps consist of three main types: message, question, and condition steps. Together, these steps enable the ActionBot to guide users through a series of interactions to complete a task or answer a question
- Message: Used to provide information or instructions to the user
- Question: Used to prompt the user for input or to confirm their understanding of a previous instruction
- Condition: Used to direct the conversation flow based on the user's input or other conditions
- WalkMe steps: These steps provide a seamless way for users to trigger WalkMe items while in conversation with the bot. This allows for automation, redirection, or access to additional resources
- Cross-system steps: These steps are used to transfer data from a bot that is in one system to another system
Notes
- It is mandatory to have at least one step to consider your conversation valid
- You have the freedom to choose which steps to include in your conversation. There are no mandatory steps that must be used in order to consider your conversation valid
- If a conversation is not valid it will not appear when using preview and you will not be able to publish your conversation
Edit your conversation flow
The conversation diagram provides a variety of tools to help you manage and edit your conversation flow. In this section, we will explore all of the available editing tools and provide guidance on how to use them.
Add steps
Once you've added your first step, click the plus button + to continue adding more steps to your conversation flow.
To access the hover menu, you must add at least two steps. Once you have added the steps, hover over the line that connects them to reveal the hover menu.
The hover actions include three options:
- Connect: Select to connect one step to another. Once you click 'connect', you can hover over and choose choose the step you want to connect to
- Add step: Select to insert an additional step between existing steps
- Disconnect: Select to disconnect a step from another

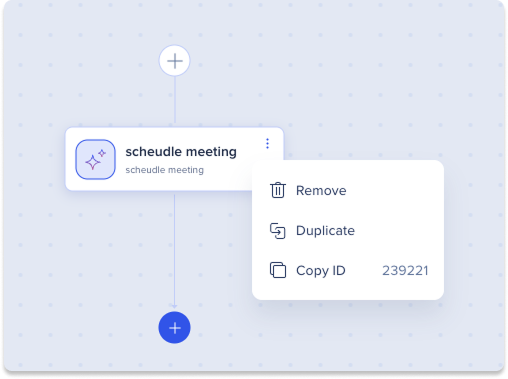
To access the step actions, hover over the desired step and click the three dots to open the step actions menu.
The step actions menu include three options:
Save/Preview/Publish your conversation
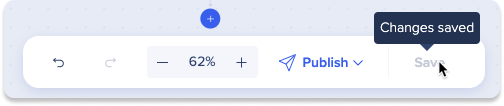
Save
Click the Save button to save your work. After saving, you can exit the conversation building process and return to edit your work at any time. Your draft will be stored in the conversation list page on the console.
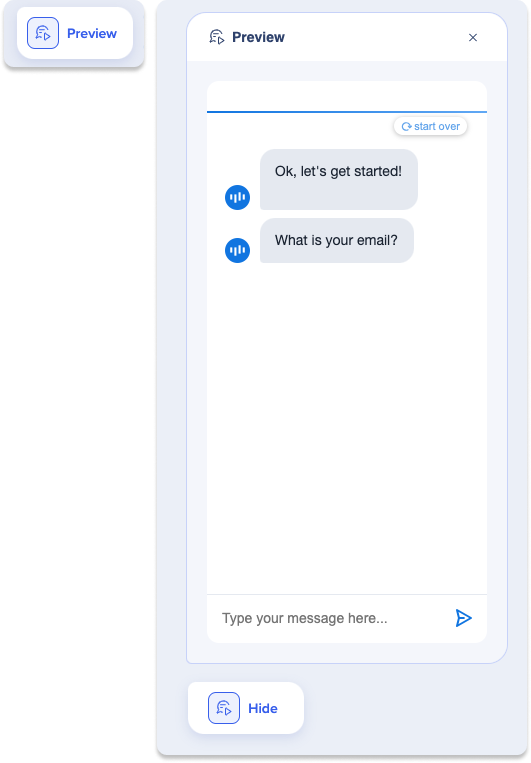
Preview
The preview feature allows you to experience the user perspective.
Click the Preview button to open your bot container preview and verify if the conversation is functioning as desired.
Click the Hide button to turn on off Preview.
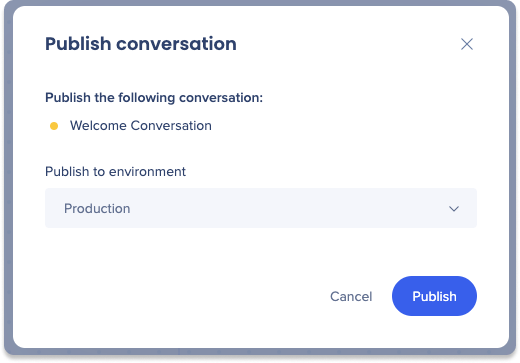
Publish
Clicking publish verifies that all necessary components are in place. This includes checking that all mandatory fields have been filled and at least one step has been added.
How to Publish
- Click the Publish button once you've completed your conversation
- A pop-up window will appear displaying the current status of the conversation
- Select the environment you wish to publish the conversation to
- Click Publish
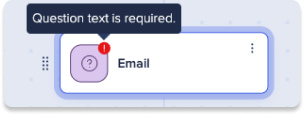
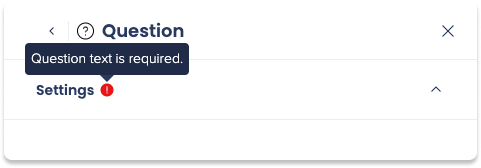
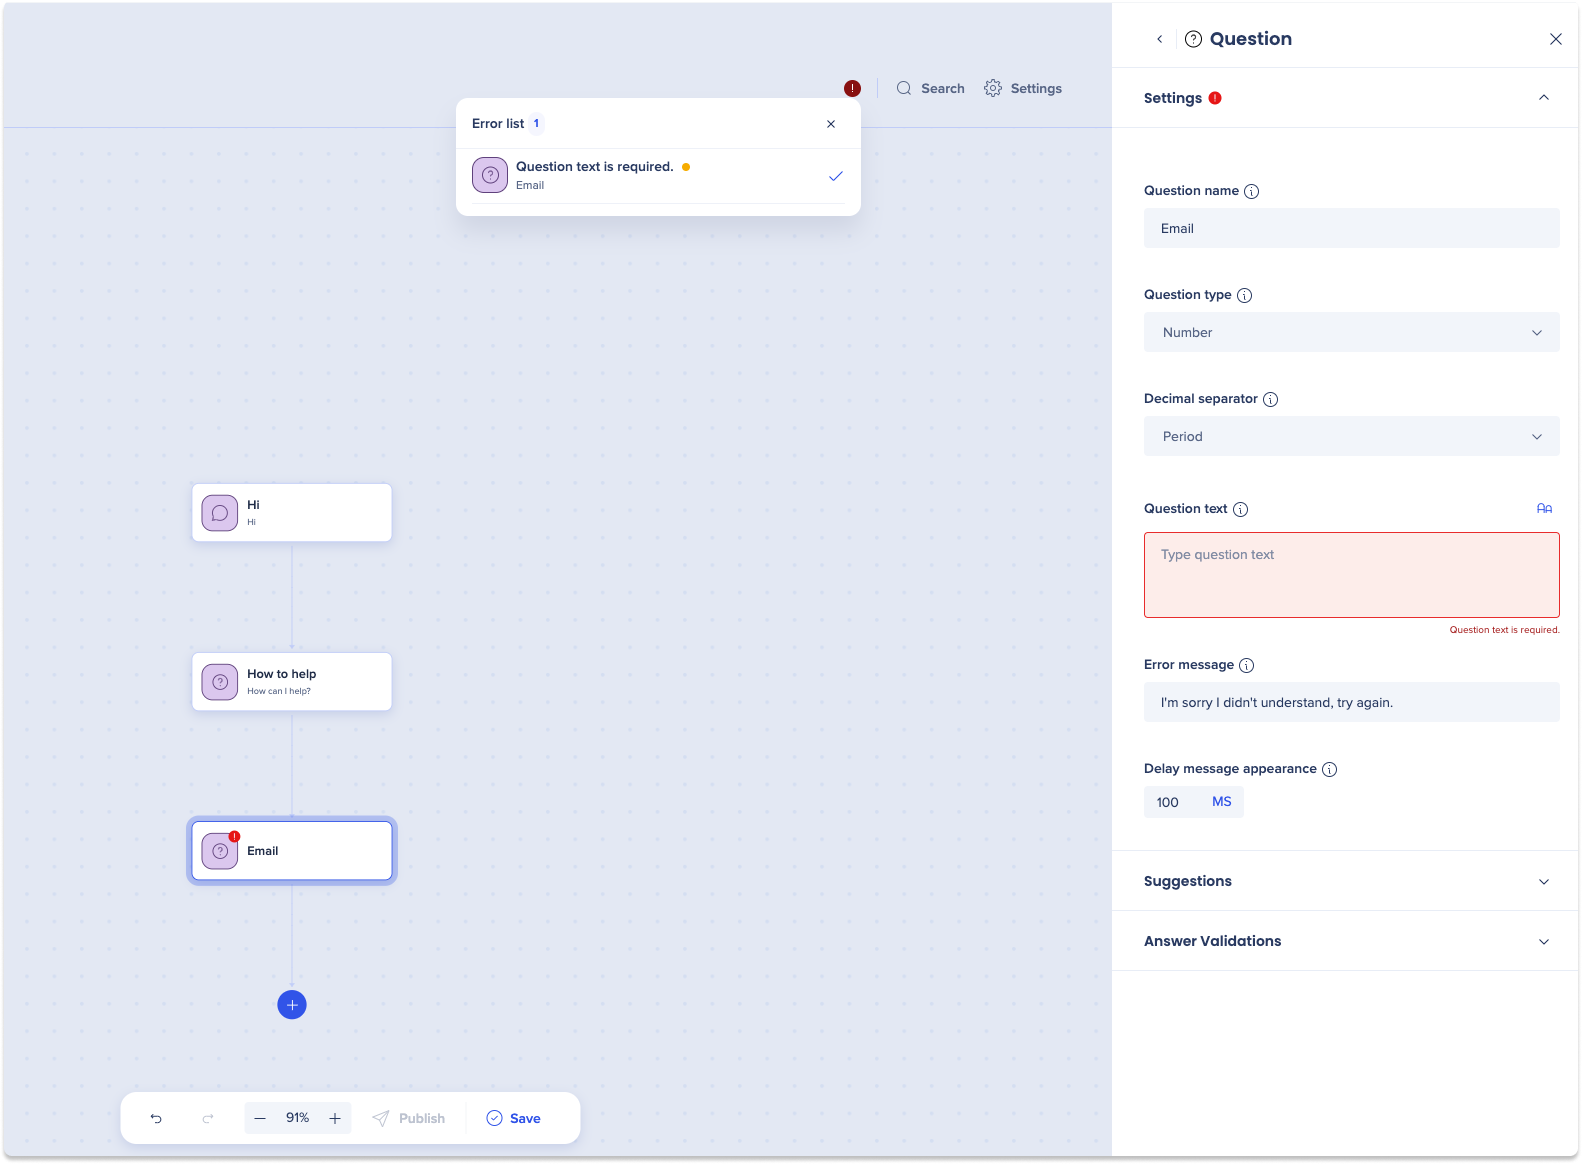
- System error tooltips provide clear information if there is an error in the conversation building process
- Users can view system error tooltips in:
- The conversation diagram
- The error list at the top of the page
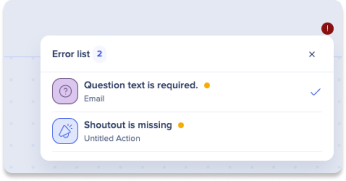
- The step's dropdown tab
Technical Notes
- ActionBot flow automations store the original value and send it via API. If the API requires translated values, the automation will not work. But in most cases, the API receives the original values rather than translated ones.
Demo Video
Technical Notes
- ActionBot flow automations store the original value and send it via API. If the API requires translated values, the automation will not work. But in most cases, the API receives the original values rather than translated ones.
Technical Notes
- ActionBot flow automations store the original value and send it via API. If the API requires translated values, the automation will not work. But in most cases, the API receives the original values rather than translated ones.


