With the desktop and mobile menu Notifications API, you can use events in any system (even if it doesn't have a WalkMe snippet) to trigger a notification in WalkMe and automatically keep your users up-to-date. Trigger menu notifications with a REST call to our WalkMe Notification Webhook.
This article will provide the information necessary to make the REST call which requires both an authentication token and a JSON payload.
Use cases
Show alerts when a system is down or has issues (AWS or Slack servers down)
Notify an approver when a new ServiceNow ticket requires their review
Let users know when their Okta password expired
Remind users who did to complete their Open Enrollment
and more!
Any system that can call a REST API can be used to trigger notifications in the desktop/mobile menu.
Before you begin...
Calling the API requires some permissions and technical setup. Make sure you have access and can do the following:
Admin Center access for your desktop/mobile system to get the API Access Token
Note: If your organization has more than one desktop/mobile system, you'll have to make separate API calls for each system.
Application to configure and execute calls (i.e. Zapier or Postman) to the notification API.
You must have an application that can make authenticated outbound REST API calls. If you are unsure whether your organization has such an application, reach out to your IT team to discuss options.
How it works
Here's what you need from WalkMe in order to make the API trigger. Steps on how to gather everything follows.
Authentication and creating an access token
Identifying the Communication Center notification and target audience
Creating the JSON payload
Making the call
Specifically, you will find the information necessary to use a notification JSON with the following information:
System ID
Notification template ID
End Users ID or Audience ID
Notification type: popup or push
Notification title
Description
Override information
Authentication and creating an access token
What is an access token?
An access token is a credential that can be used by an application to access an API. They inform the API that the bearer of the token has been authorized to access a particular action.
The access token authenticates the API call, giving the application permission to pass data from its system to the menu.
You can't edit the notification after you configured the API so make sure you are happy with your notification
Optional: Add override rules in the template
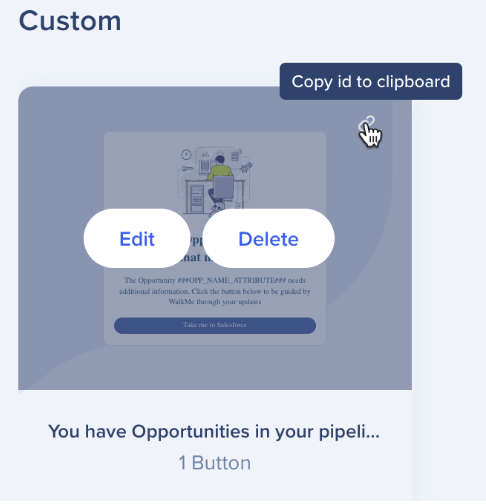
In the case that you want a notification to be personalized, either to the user or to the event that's being triggered, you can add dynamic values that the API will fill in automatically.
In the image, there are two examples of values being overridden with dynamic text that will be replaced depending on the values the API trigger.
This is an example of API notification with Salesforce which is triggered when a new lead has been assigned. It will notify the salesperson of the opportunity name and link to the lead in Salesforce.
###OPP_NAME_ATTRIBUTE### will be replaced by Opportunity name in Salesforce
###URL### will be replaced by an actual URL, allowing for a custom action for every user, every time the API is triggered
Note
The value name (example: OPP_NAME_ATTRIBUTE) must be exactly copied into the JSON so it can be replaced
URLs must start with one of the following:
http://
https://
walkme-workstation://
mailto:
Copy required values
The following steps will connect the notification with the API.
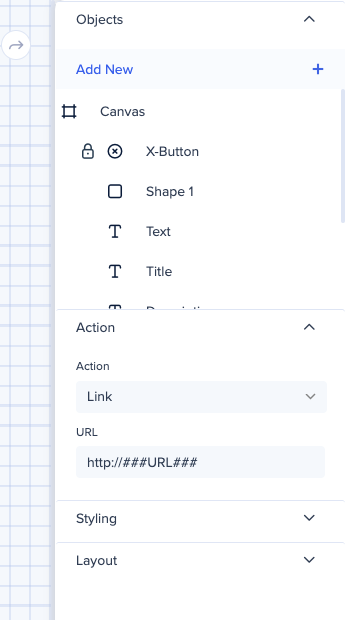
Under Custom Templates > Hover over the corner of the notification
Click the copy icon to copy the ID to your clipboard
Example: 75cfcba6-c320-42cb-938e-4c2bd08a43a3
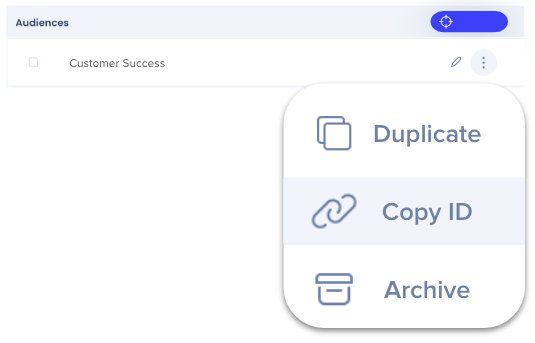
Copy Target Audience ID
End User ID vs Audience
Using an audience is more efficient, but you can also target up to 100 users based on their End User ID. We recommend to make an audience if you plan to use more than 10 end user IDs
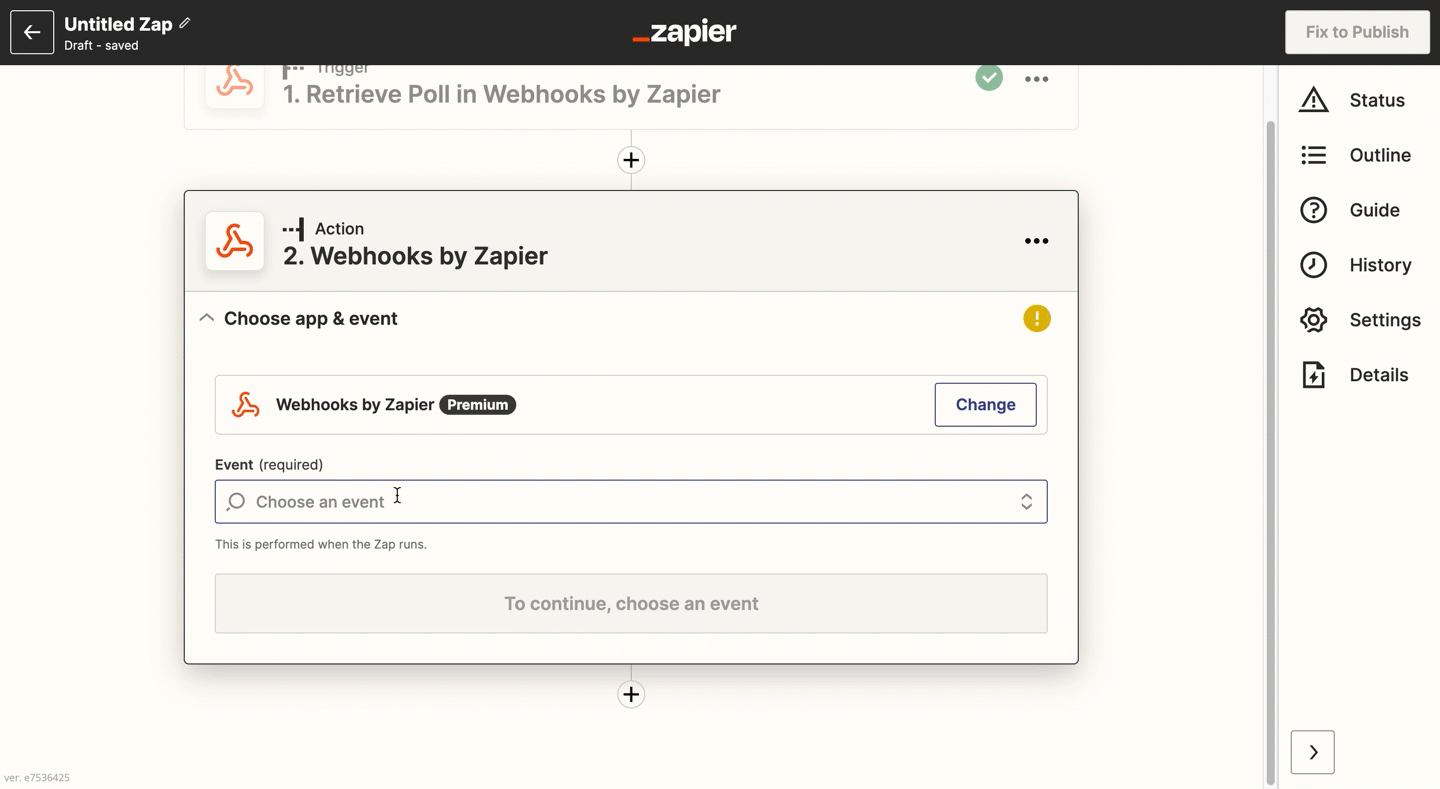
Now it's time to fill in some information on your API connection application. For clarity, we use Zapier to explain, but we are not endorsing this application over any other. Any similar app will work.
The information used below is universally necessary on all applications:
Payload Type = (Content-Type) application/x-www-form-urlencoded
Data = grant_type → client_credentials
Add Basic Authentication
When using basic Auth, the clientID is the username and the client secret is used as the password.
Client ID | Client Secret (copied from Admin Center)
Example
0o234234234UqD5d7 | JVnD346346346436345asfgasgbPt_4T7h2_
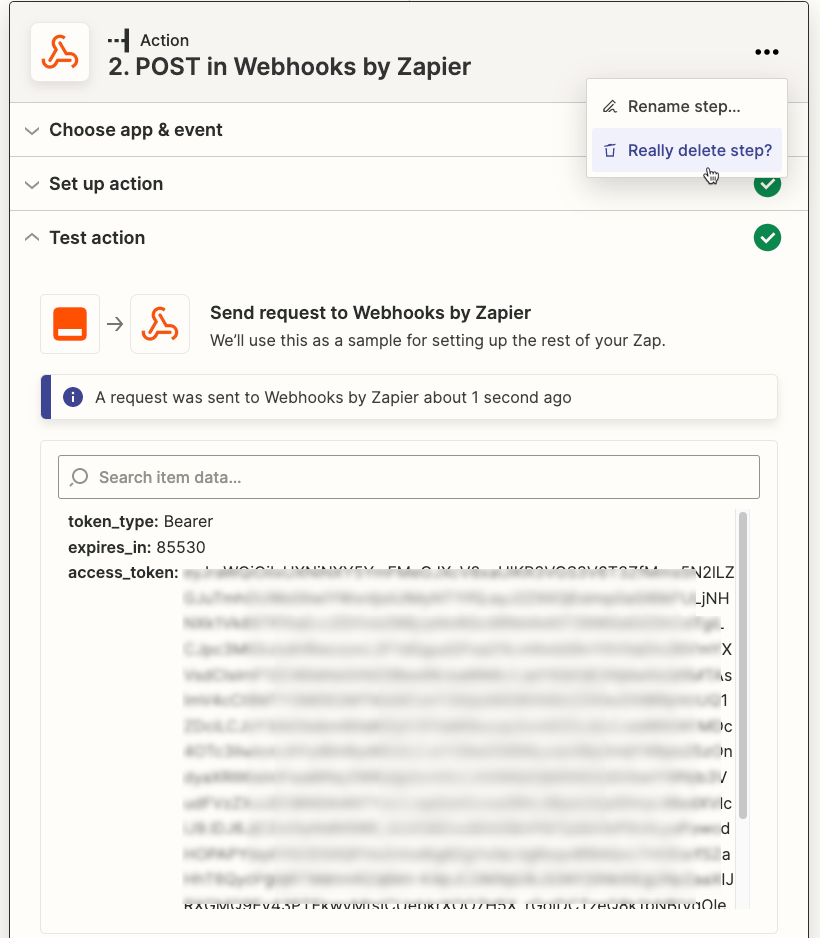
Once you've added this information, you will be given an access token.
Copy your Access Token
If you're using Zapier, you can delete this step after you've copied the token.
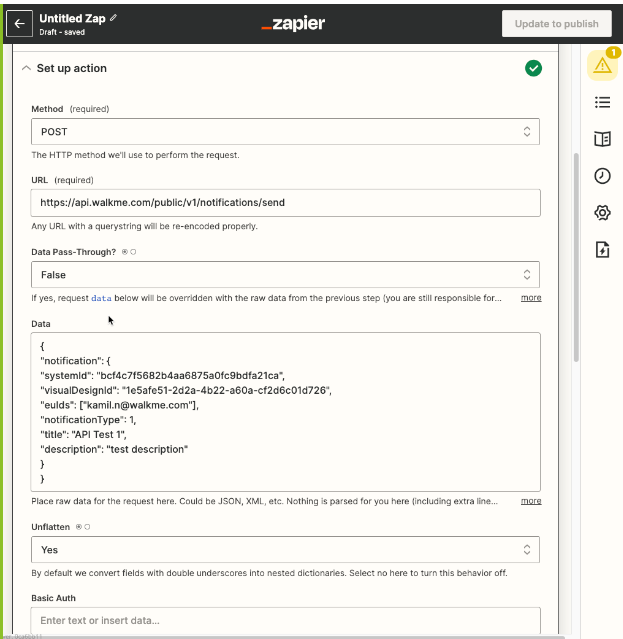
Update the JSON code
Now it's time to fill in the blanks and use the JSON code that will call the notification.
{
"notification": {
"systemId": "<the workstation system id>", //Required if you have more than one workstation system
"templateId": "<template id>", //Required
"endUsersIds": ["<end user id 1>","<end user id 2>","<...>"], //You need either end-user ID or audience ID (you can use both), remove the one you aren't using
"audiencesIds": ["<audience id 1>","<audience id 2>","<...>"], //You need either end-user ID or audience ID (you can use both), remove the one you aren't using
"notificationType": "<how notification will display, push v popup>", //Optional, default push, remove if not using
"title": "<notification title as appears in the ComCenter notification table>", //Optional, remove if not using
"runtimeTitle": "<what will appear to end-users in the Workstation list and in the push notification>", //Optional, remove if not using
"runtimeDescription": "<what will appear to end-users i in the Workstation list and in the push message>", //Optional, remove if not using
"startAt": "<start date YYYY-MM-DD hh:mm>", // Optional, default right now, timezone is UTC, you can add a date and no time, default time is 00:00 UTC, remove whatever you are not using
"endAt": "<end date YYYY-MM-DD hh:mm>", // Optional, default 30 days from now, you can add a date and no time, default time is 00:00, remove whatever you are not using
"override": [
{
"key" : "<the placeholder string to replace in the notification template>",
"value" : "<the value to put into the notification instead of the placeholder>"
}
// More comma separated {key:value} pairs can follow
// For example, the value could be a URL that is passed from ServiceNow to open a ticket
]
}
}
Remove the lines you are not using
If there are optional lines that you are not filling in, remove them from your final code to prevent errors
End user and Audience ID
endUsersIds and audiencesIds are arrays and need to be written with brackets [], and each string should be separatedby a comma ["<id1>","<id2>","<...>"]
Default timezone is UTC
The default timezone is UTC, but if you want to send the notification according to a different timezone, you can add or subtract from UTC. For example, "2023-05-10T11:30:00+03:00" would send at UTC+3 and the corresponding time in UTC would be "08:30:00" (subtracting 3 hours from the given time).
Here is an example of the JSON code with real data with few lines removed to make it simpler.
Now that we have the information we need, let's connect the dots. To make the call (connect the systems to create and publish new notifications in your organization's desktop/mobile menu), you'll need your JSON plus: