Brief Overview
When an element is captured for a step, rule, SmartTip, or launcher, WalkMe takes a screenshot. The screenshot includes the element highlighted by the element selector, the URL, the time it was captured, the account name, and any notes left for the item.
For steps, launchers, and SmartTips, the screenshot also shows the WalkMe item in relation to the element based on its design and appearance settings.
After an item is saved, screenshots can be downloaded individually or, for a Smart Walk-Thru, as a complete set.
Use Cases
- View the element a step was originally anchored to
- Confirm a launcher or SmartTip is appearing next to the correct element
- Check which element was selected when an on-screen element is chosen for a rule type
- Share Smart Walk-Thrus, launchers, and SmartTips with colleagues before going live
Enable Screenshots
Screenshots can be turned on in admin settings:
- Open the WalkMe Console
- Go to the Admin category
- Select System Management
- Select a system
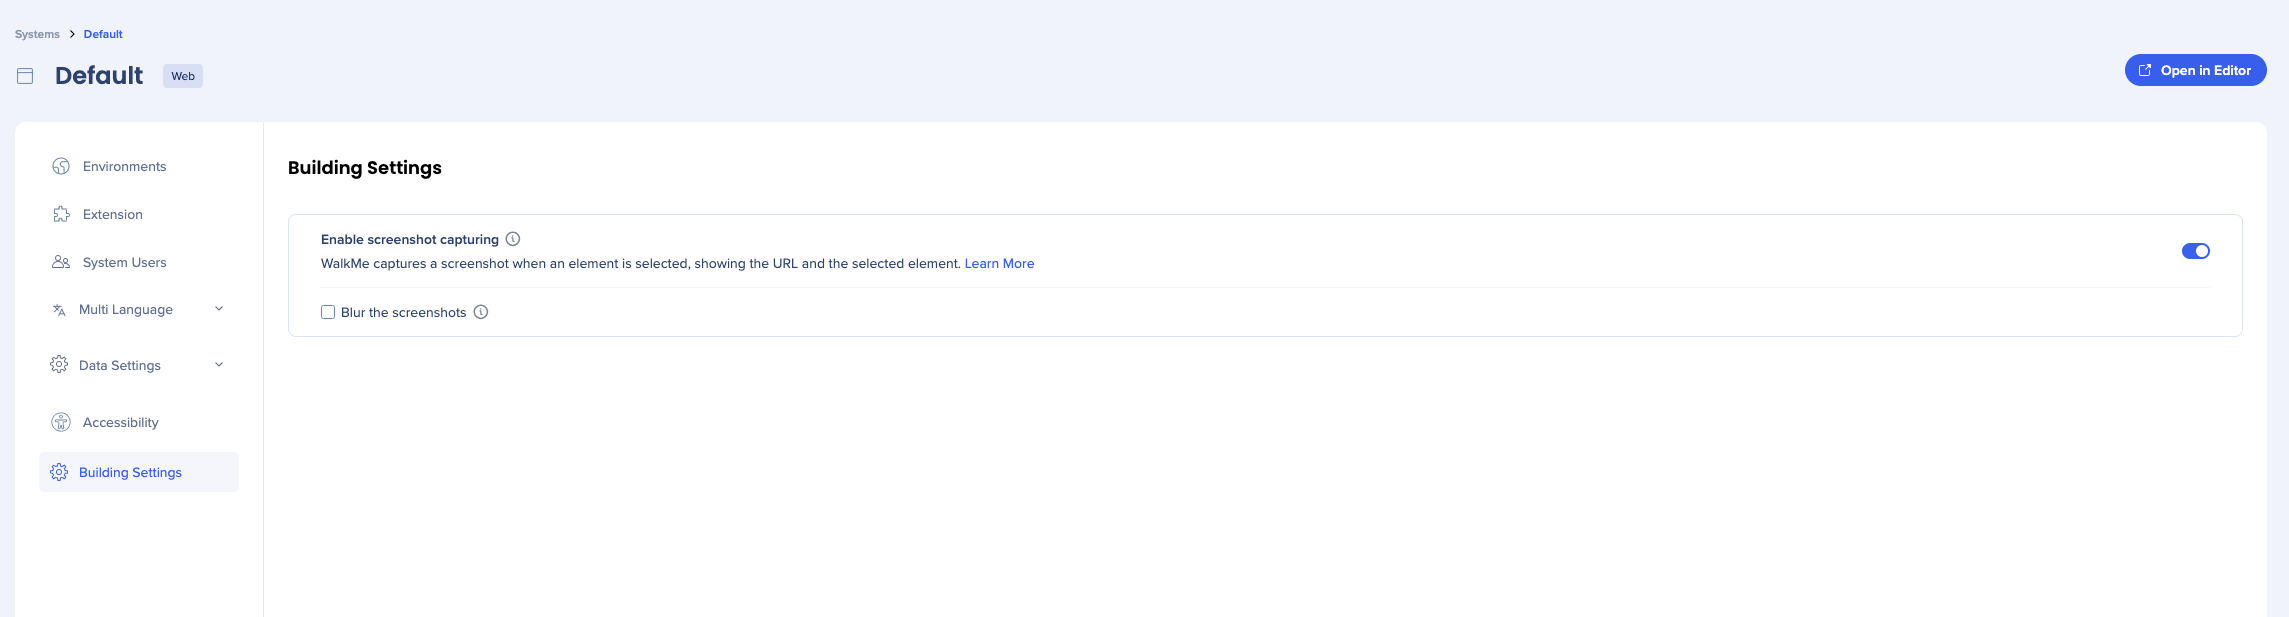
- Go to Building Settings
- Turn on Screenshots
- Check the box if you want screenshots to be blurred (optional)
Viewing Screenshots
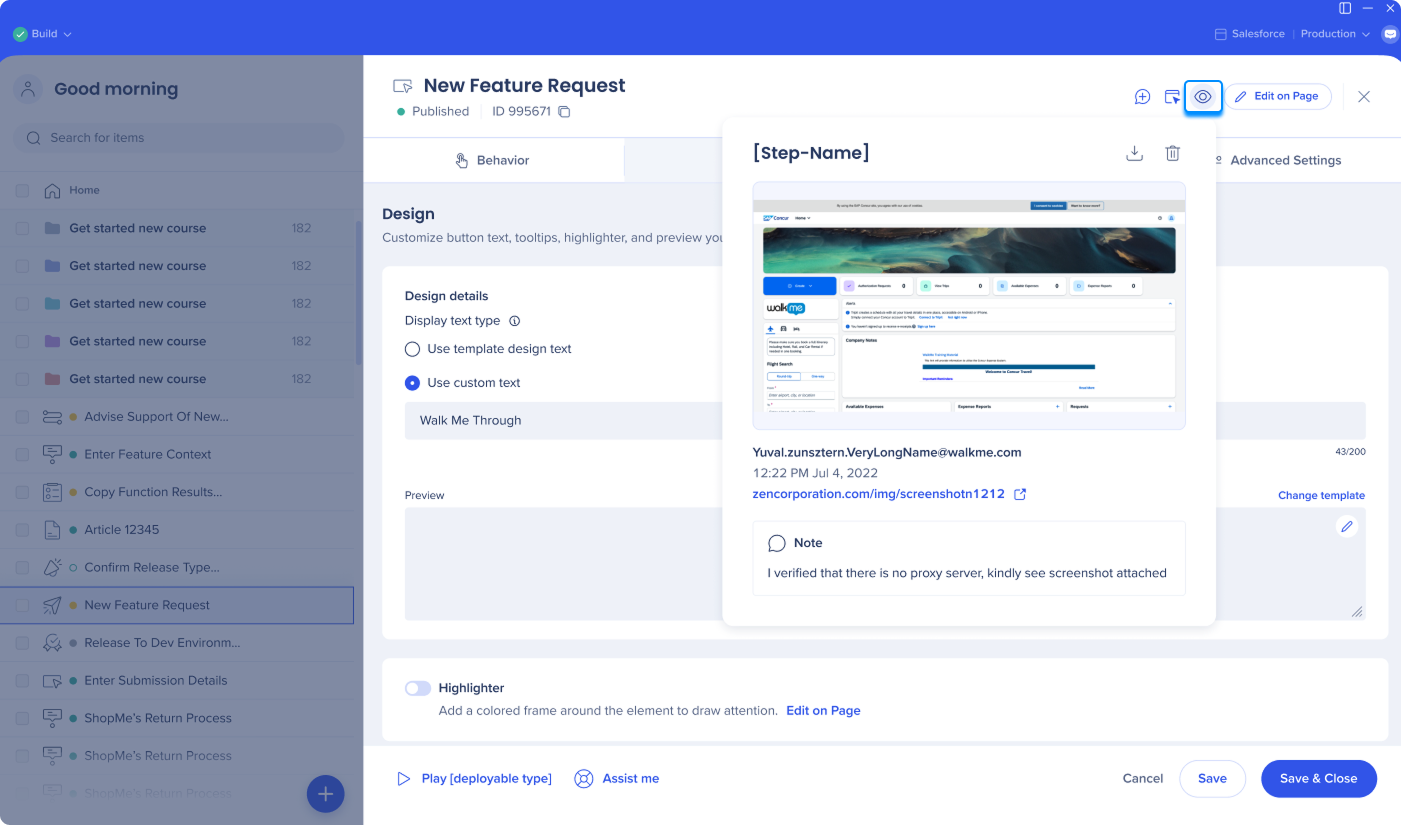
Each screenshot shows the URL the item was created on, the element, and the original balloon configuration.

From the item settings screen
- Open the item
- Hover over the Eye icon in the header
- The screenshot will appear
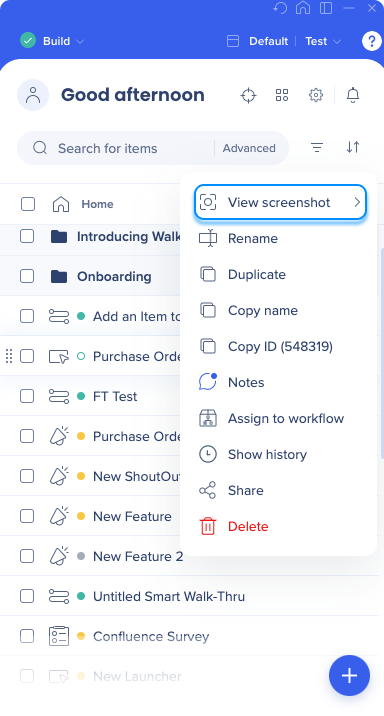
From the main editor screen
- Open the Options menu next to the item
- Hover over View screenshot
- The screenshot will appear
From the Smart Walk-Thru screen
- Open the Smart Walk-Thru
- Hover over the step
- Hover over the Screenshot icon

Downloading Screenshots
Single screenshot
- Open the screenshot preview
- Select Download

All screenshots in a Smart Walk-Thru
- Open the Options menu
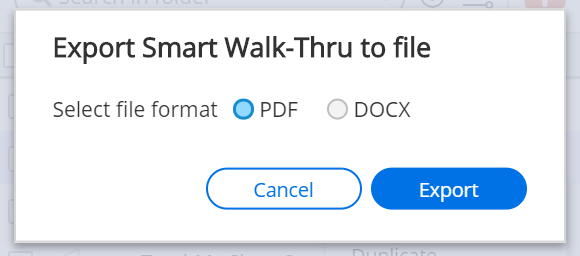
- Select Export to file
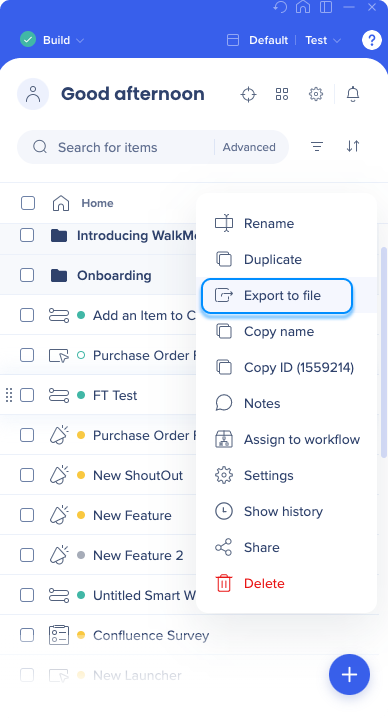
- Choose your export format — PDF or DOCX
- If your solution has more than one language, select the language you want to export in (optional)
- Once the export is ready, choose a location on your machine to save the file