The Action Bar console application is where builders and DAP professionals configure and customize the Action Bar experience for end users. Here you can manage your Action Bar locations, create and organize launchers, and control settings like appearance, behavior, and onboarding.
What's available in the console depends on whether your account has AI enabled. See the launcher types table below for a full breakdown.
This article covers the Action Bar console page itself: getting started, the launchers table, and the launcher types available.
For step-by-step setup guide to building launchers, see:
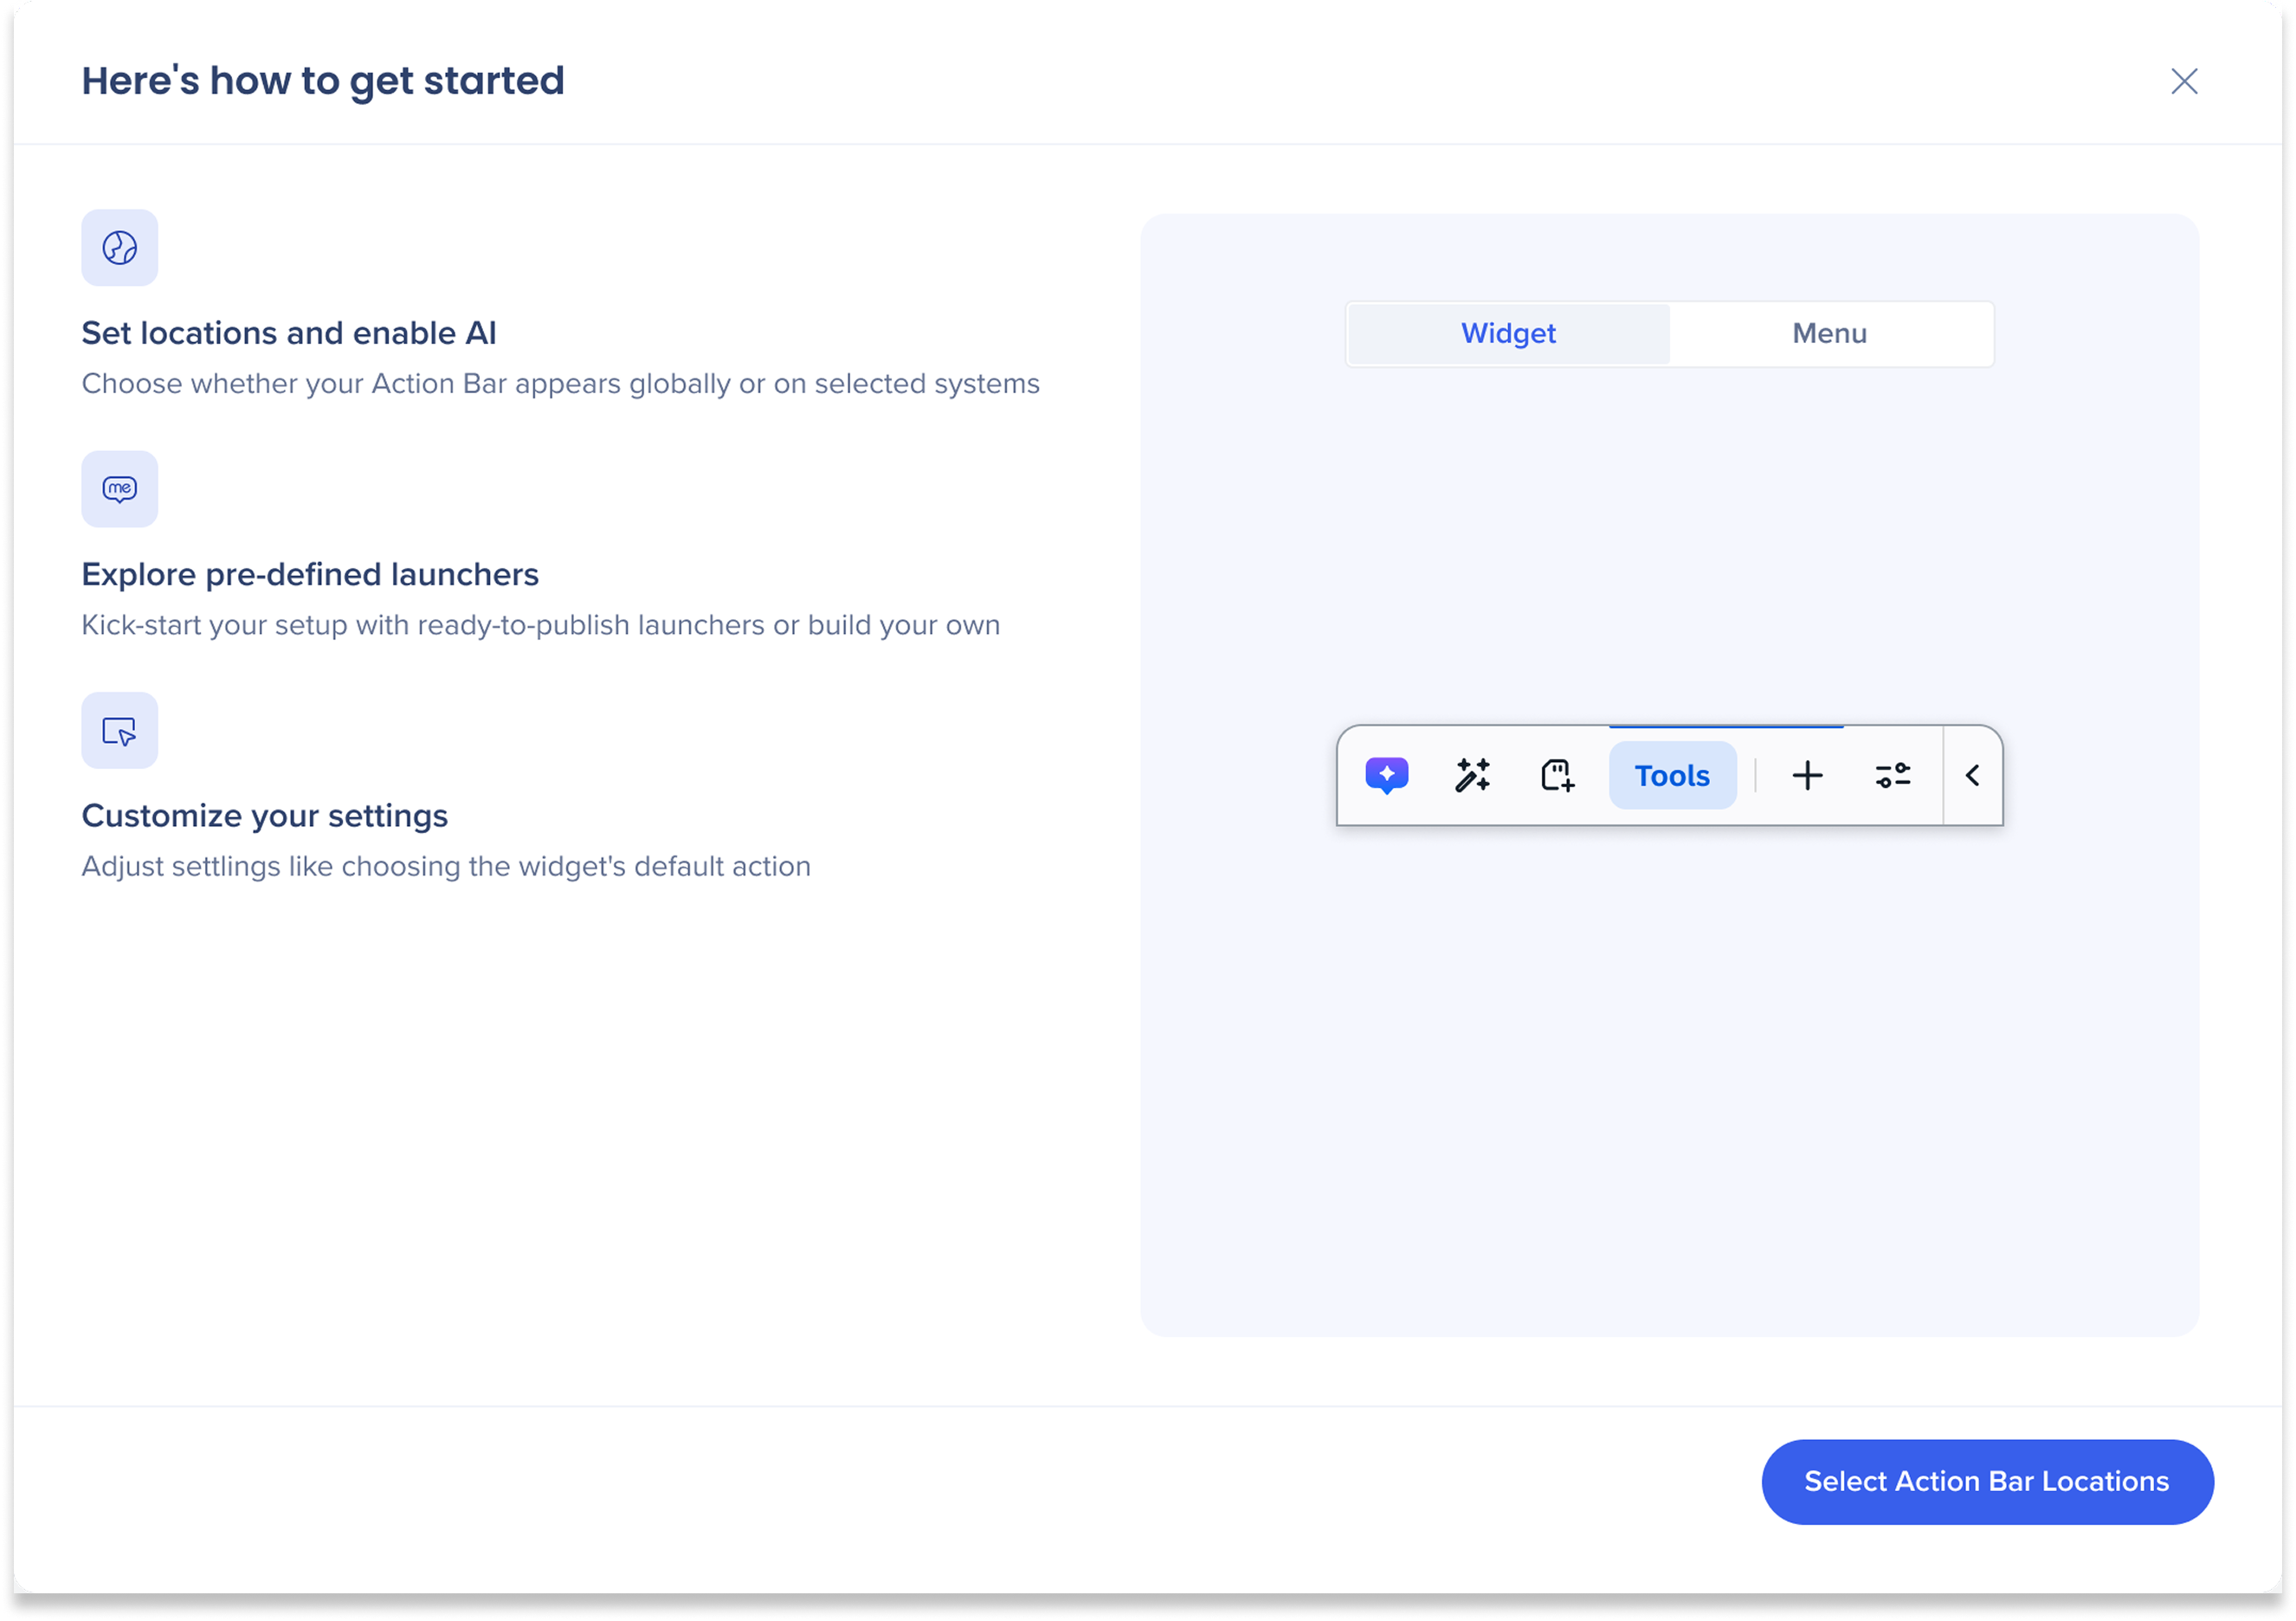
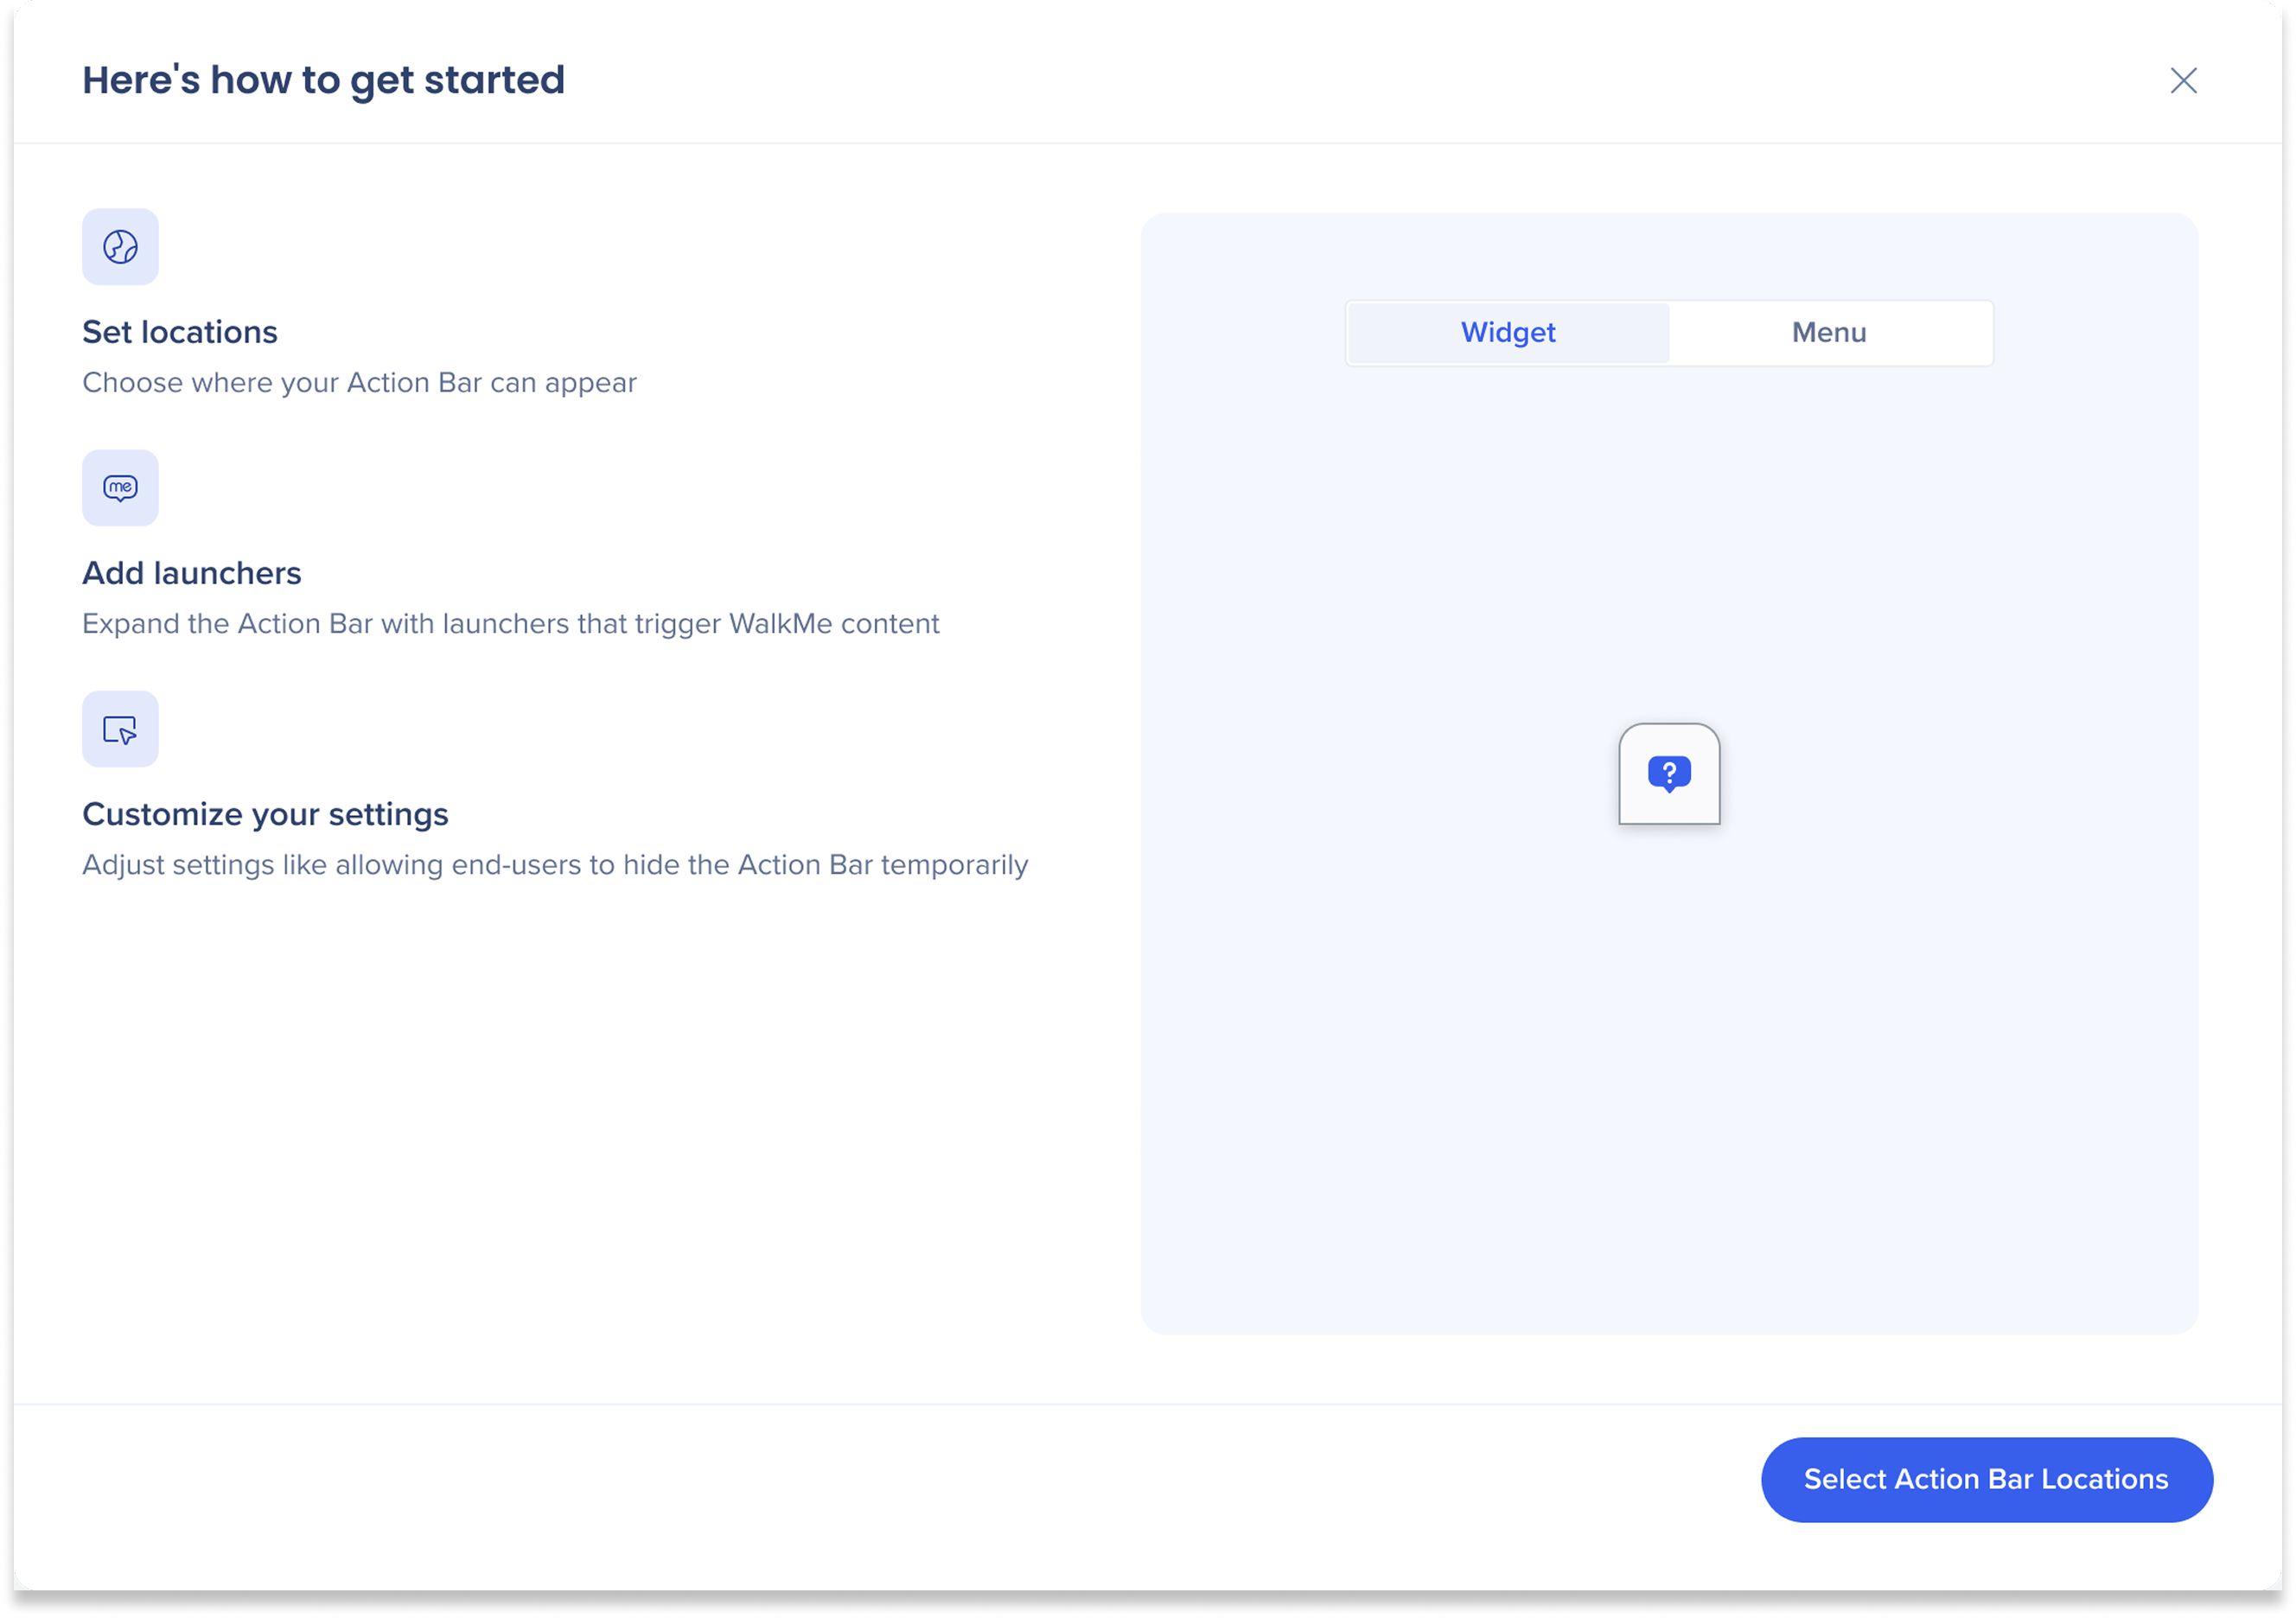
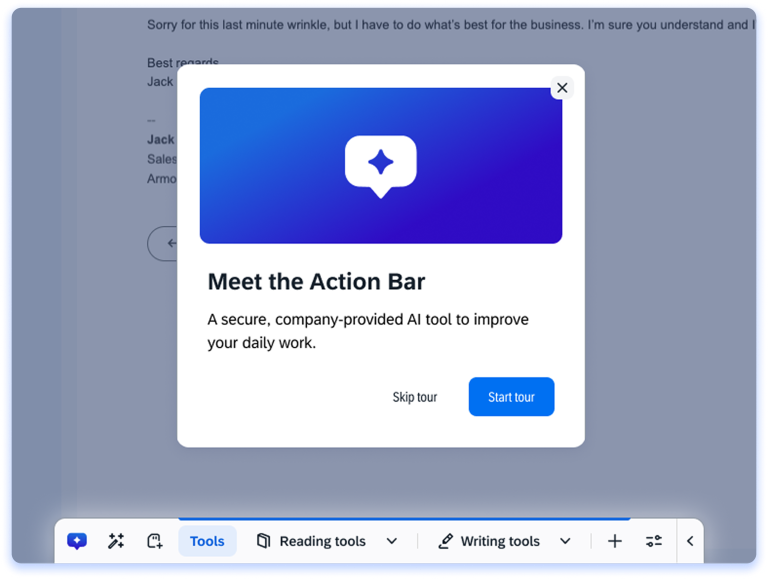
When you open the Action Bar app for the first time, a Getting Started popup appears. This popup walks you through the core steps of setting up your Action Bar:
Set locations: Choose where your Action Bar can appear
Add launchers: Expand the Action Bar with launchers that trigger WalkMe content and, if AI is enabled, AI-powered actions
Customize your settings: Adjust settings like appearance, locations, and onboarding
The right side of the modal includes a preview carousel where you can toggle between the Widget and Menu views to familiarize yourself with how the Action Bar will look and feel for end users.
Click Select Action Bar Locations to begin.
Getting started for AI-enabled Action BarGetting started for Default Action Bar
Action Bar Page Overview
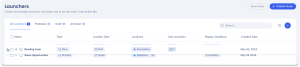
The Action Bar page is a central hub for creating, managing, and previewing all of the launchers that you have created.
1. Launchers table
The Launchers table displays a list of all of the launchers you've created. The list includes three tabs for organization:
All Launchers: A full list of published and unpublished launchers
Published: A list of all published and active launchers
Drafts: A list of all unpublished and saved launchers
Archived: A list of archived launchers
You'll find a few pre-defined launchers for the Action Bar that are readily available in the table upon opening the app. They will appear as drafts and can be published immediately for quick use.
Table Columns
Launcher: The name of the launcher
Action Type: The action the AI will perform once initiated
Visibility Type: If the launcher was made for Multiple Locations or Single Location
Creation Date: Date the launcher was created
Creator: User who created the launcher
Locations: List of systems where the launcher will appear in the Action Bar
Sub Launchers: List of sub-launchers within this launcher
Display Conditions: List of conditions made in the condition builder for this launcher
Statuses
Yellow: Draft
Green: Published
Green stroke: Published and modified
2. Table icons
Manage Columns
Remove or add columns from the table.
Click the Manage columns icon
Select which columns you'd like to have in the table
Click Apply
Create Launcher
Click the create icon to create new launchers.
Learn more in the Launchers section
3. Launcher ordering
Drag and drop any row in the launchers table to set the order in which launchers appear in the Action Bar.
The order is saved automatically, but you'll need to republish the launcher you moved in order for end users to see the change
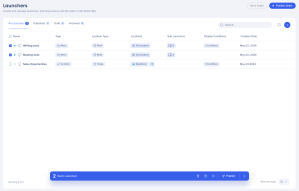
Bulk actions
Select launchers to:
Publish
Select all of the launchers you want to publish from the table
Click Publish
Select an environment to publish to
Click Publish
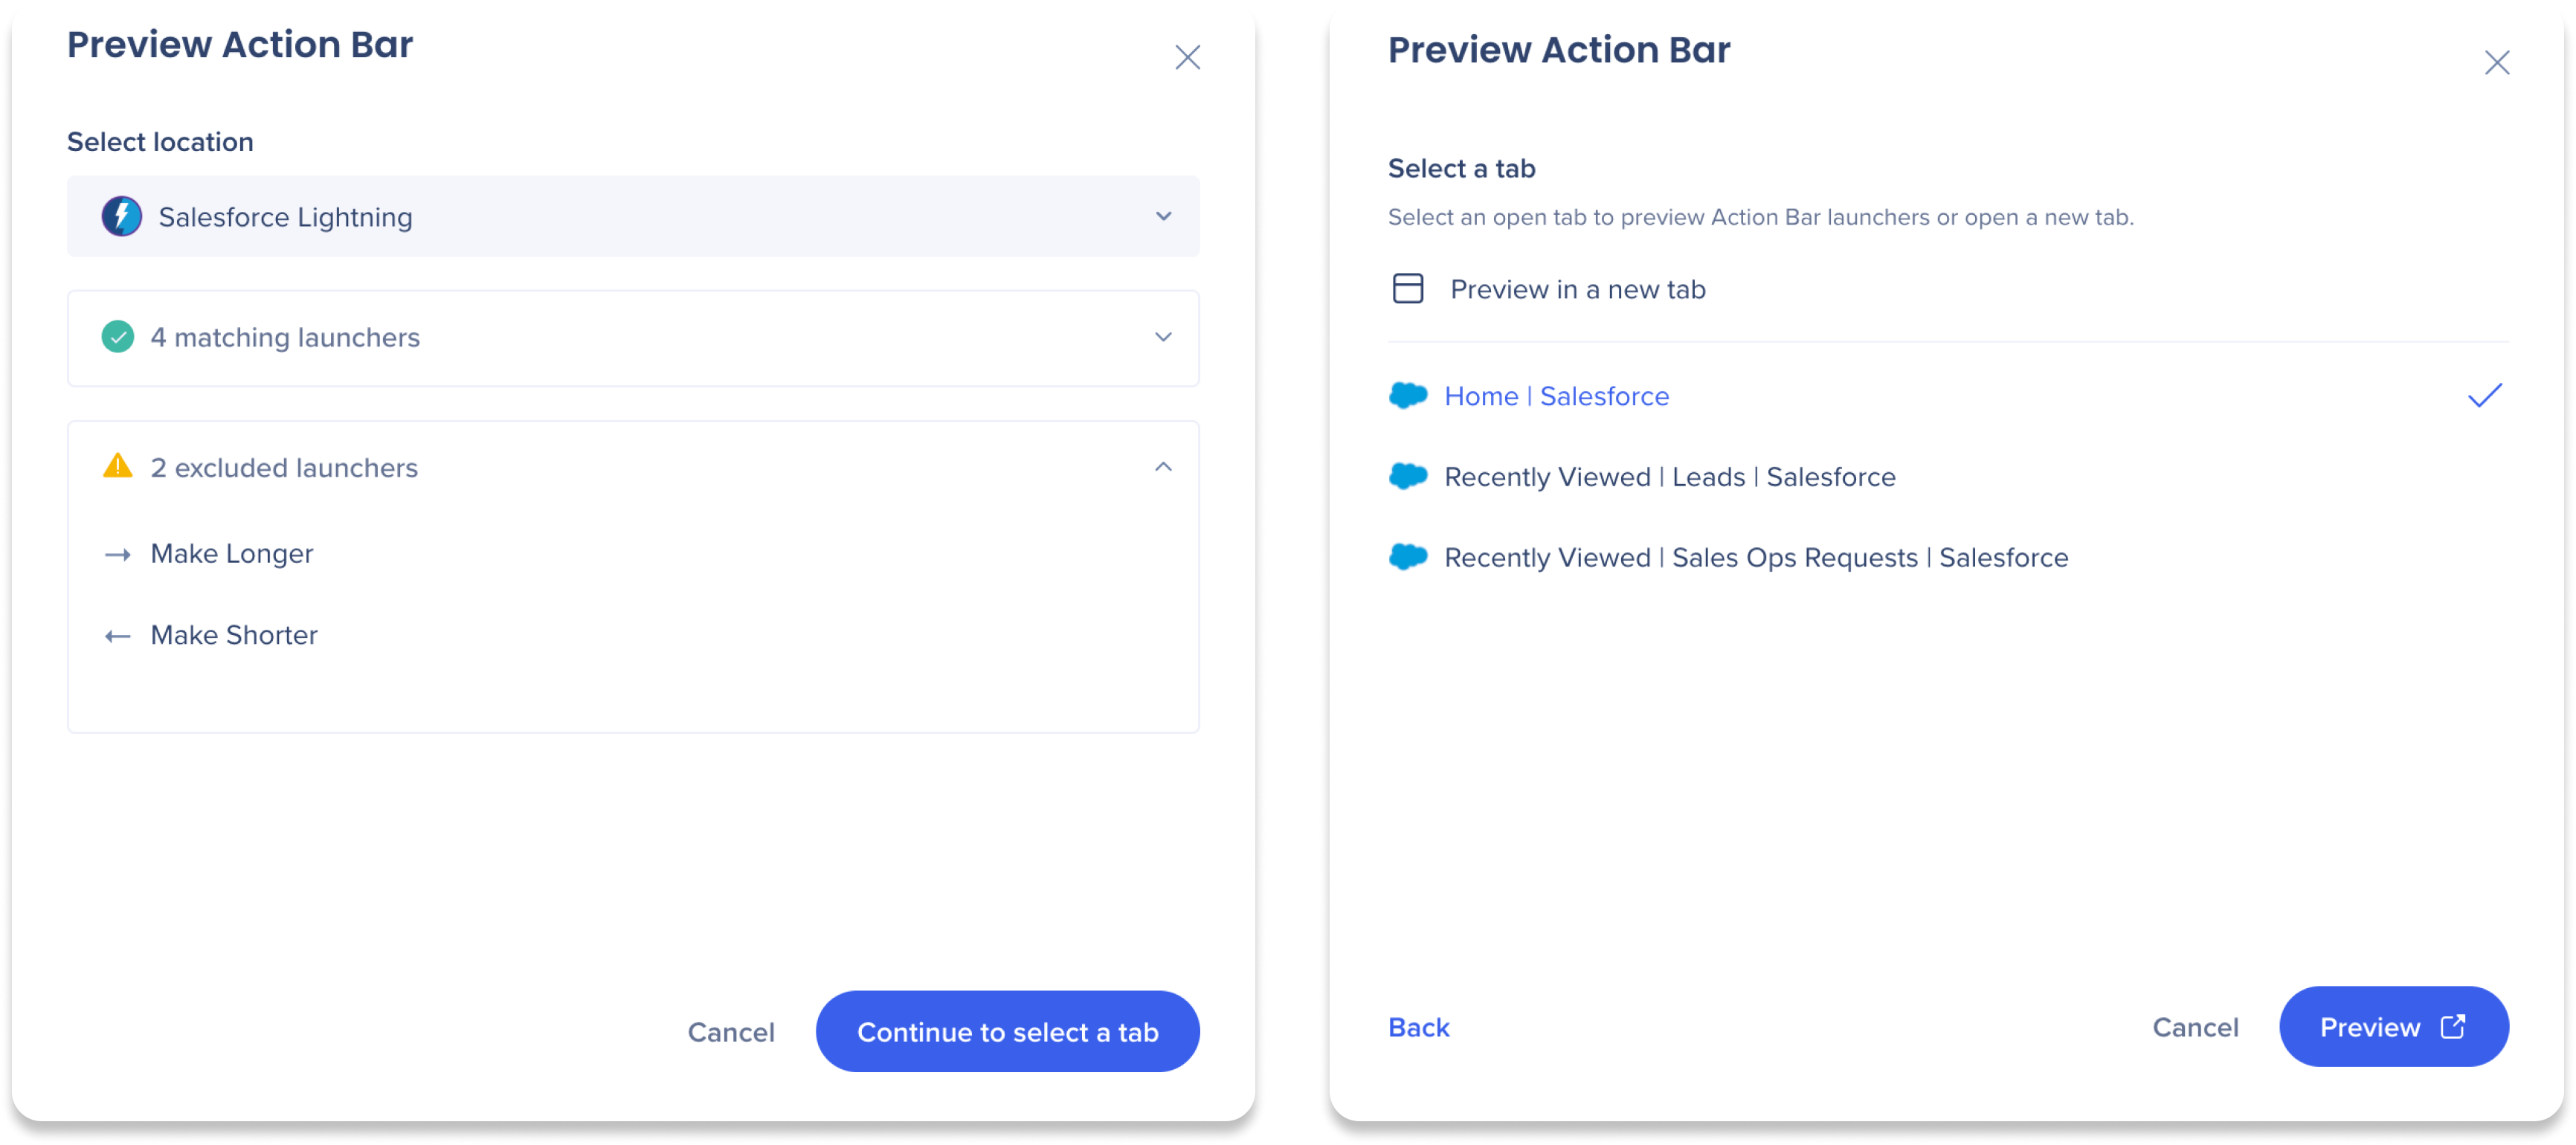
Preview
Click the Preview button to view how your launchers will appear and behave
Select a location
A list of connected launchers will display, along with a list of excluded, unconnected launchers to the system
Click Continue to select a tab
Select an open tab from the list or open a new tab
Click Preview
Nota
Los lanzadores sin una ubicación compartida no se pueden previsualizar juntos.
Delete
Click the Trash icon to remove launchers from the table.
Archive
Click the Archive icon to move the launchers to the Archive tab in the table. Archived launchers no longer appear to users.
Action Bar Launcher Types
The following launcher types are available in the Action Bar console app. Some are available to all accounts, and some require the AI-Enabled Action Bar. Availability also varies by location type.
Out-of-the-box launchers(AI-Enabled only)
When you first open the AI-Enabled Action Bar app, a set of pre-defined launchers are available as drafts in your launchers table, ready to publish immediately:
Writing tool launchers:
Improve Writing: Provides alternative text with improved grammar, wording, and structure
Change Tone: Adjusts the text tone (Sound neutral, Sound formal, Sound casual, Sound engaging)
Make Shorter: Provides a more concise version of the highlighted or captured text
Make Longer: Expands on the highlighted or captured text
Change Format: Adjusts the text format (Write in bullet list, Write in numbered list, Write as paragraph, Write as email)
Reading tool launchers:
Summarize: Summarizes text into a shorter version retaining key points
Translate: Translates text into a selected language (English, French, German, Spanish, Japanese, Hebrew)
All launcher types
The table below shows every launcher type available, which Action Bar version supports it, and which location types it's compatible with.
Launcher Type
Default Action Bar
AI-Enabled Action Bar
Single Location
Multi-Location
Universal
Smart Walk-Thru
✅
✅
✅
✅
✅
ShoutOut
✅
✅
✅
✅
✅
Article
✅
✅
✅
✅
✅
Video
✅
✅
✅
✅
✅
Survey
✅
✅
✅
✅
✅
Shuttle
✅
✅
✅
✅
✅
Multiple SmartTip Validation
✅
✅
✅
✅
✅
ActionBot
✅
✅
✅
✅
✅
Open WalkMe Menu
✅
✅
✅
✅
✅
Menu
✅
✅
✅
✅
✅
AI Chat
🆇
✅
✅
✅
✅
AI Action
🆇
✅
✅
✅
✅
Tag Verification
🆇
✅
✅
🆇
🆇
Structured Summary
🆇
✅
✅
🆇
🆇
Building in Console
Once you're familiar with the Action Bar page, you can start building launchers for your end users. The setup experience varies depending on whether your account has AI enabled. Follow the guide below:
Select the Settings page from the console navigation to access Action Bar settings
Settings are visible to all users, but only Admins or users with the required permissions can make changes
Make sure to publish any changed settings
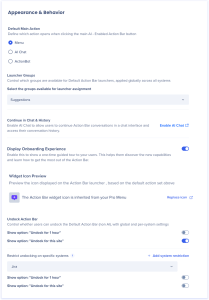
Appearance and behavior
Define how the Action Bar looks and behaves for your users.
Default Main Action
Choose which action opens when a user clicks the main Action Bar widget:
WalkMe Menu: Clicking the Action Bar button opens the WalkMe Menu interface
AI Chat: Clicking the Action Bar button opens the AI Chat interface
ActionBot: Clicking the Action Bar button opens the ActionBot interface
Nota
Para elegir el chat de IA, en la cuenta debe estar activado Chat de IA. Para elegir ActionBot, debes tener un bot publicado.
Launcher groups
Launcher groups control which groups are available to builders when they create launchers for the Default Action Bar (non-AI). Each group type behaves differently in the Action Bar:
Suggestions: contextual launchers that can expand or open the Action Bar automatically when triggered
Tools: launchers that are always available and won't automatically open the Action Bar
Set which groups builders can use from the Launcher groups dropdown:
None: no launcher groups are available
If you add groups again later, each launcher's previous assignments are restored
Suggestions: only Suggestions launchers are available
Tools: only Tools launchers are available
Suggestions + Tools: both group types are available
Learn how to select a group for your launcher when building:
Once AI Chat is enabled on a location, users can continue their Action Bar conversations in AI Chat and access their conversation/prompt history there. This works on any location where AI Chat is enabled.
If AI Chat isn't enabled yet, click Enable AI Chat to set it up.
Display onboarding experience (Action Bar - AI-enabled only)
Turn on the Display onboarding experience to display the onboarding experience for new users.
When users first view the AI-enabled Action Bar, the onboarding guide will automatically appear. This guide walks users through the main features of the Action Bar, providing brief videos to explain each feature. The onboarding process ensures that users understand how to utilize the Action Bar effectively, enhancing their overall experience with the tool.
End-users will also have the ability to replay the onboarding guide from their Action Bar settings
Learn how to display the onboarding experience for the Action Bar - Default here:
The Action Bar icon is inherited from Pro Menu or AI Chat, depending on your default main action, so it stays consistent across surfaces. To customize it, you're redirected to the relevant console application rather than setting it in the Action Bar console.
See a preview of the icon displayed on the Action bar widget, based on your default main action selection
Hover over a location to see its current widget published for that location.
When a location is set to Off, it's still running a legacy widget (Penguin, Ireland, California)
Publish per location
Select the locations you want to publish, then select the Publish button
Nota
El sistema está configurado para utilizar la extensión. Si la cuenta solo tiene la implementación de fragmentos, aparecerá una pantalla en blanco.
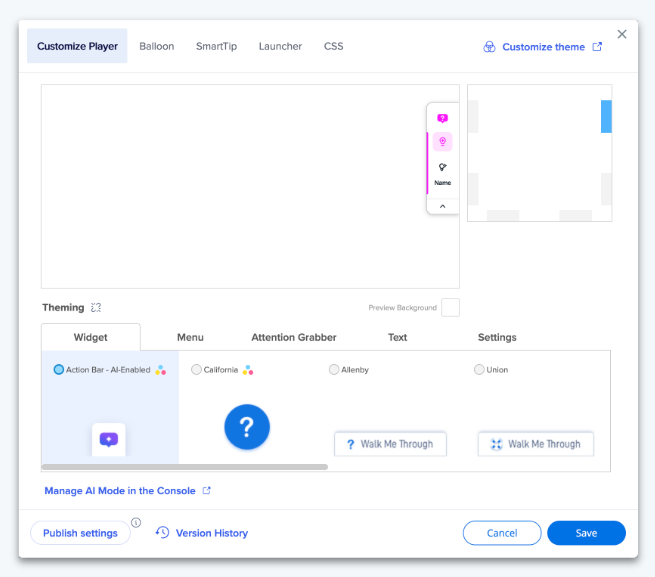
Customized Action Bar
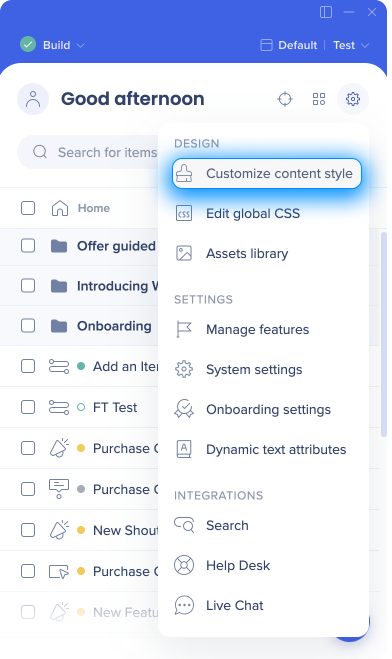
In the WalkMe Editor, you can also set the Action Bar's default positions for end-users and decide if it's connected to Theming.
To access the customization settings, click on the Settings icon and select Customize content style:
Technical Notes
Prerequisites
Editor access for capturing on-screen elements for element-based AI actions
Pro Menu is required for the AI-enabled Action Bar
User permissions
To edit Action Bar settings and content in the console, builders need the relevant permissions for all affected systems:
Settings: Editing Action Bar settings requires Manage Settings: Edit permission for all affected systems, or Account-level Admin access
Content: Editing Action Bar content requires Manage Content: Edit permission for all affected systems
Single-location content requires permission for the selected system, and multi-location content requires permission for all selected systems
AI content, such as AI launchers, also requires the relevant AI permissions
Locations: Location configuration is system-specific. Builders can modify a location only if they have the required permissions for that specific system
Action Bar console app supports both extension and snippet based systems
Multi-location launchers: Supported for both the extension and snippet-only implementations (do not appear in the editor)
Universal mode:
Extension is required for universal mode
If extension exists on the account and snippet-based locations are selected, universal mode is available but blocklist is not supported on sites with snippets
Preview mode:
Extension is required to preview from the Action Bar console app
Launchers created on snippet-based locations can only be previewed from the editor
Extension version: “Old extensions” are not supported. This feature requires migration of old extensions or new extension created
Minimum extension version: 4.0.185
Minimum extension version for Universal mode: 4.0.232
Limitations
System Configuration
A system that was configured to use the Action Bar cannot be unselected from the console. This must be done in the editor.
Launcher Setup
A launcher cannot be changed from a single system to a multi system or vice versa
Assistive reading launchers (tag summary & structured summary) are only supported in single system launchers since they require a captured element
A menu launcher can only contain launchers of the same location type and locations (i.e. single location launchers contains single location launchers)
Deleted launchers can only be restored via the WalkMe editor (single location only)
Action Bar settings are visible to all users, but only Admins or users with the required permissions can make changes
10 tag limit for Tag Verification launcher type
15 tag limit for Structured Summaries launcher type
Launcher ordering
Launcher ordering is cross-system
Alert-type launchers always take precedence
Translations
Multi-location Action Bar launchers do not support translations
Single-location Action Bar launchers support translations via the launcher templates which appear in the WalkMe General folder