
Launchers: Getting Started Guide
Brief Overview
Launchers are buttons you can place on your website that trigger another WalkMe action when clicked, such as play a Smart Walk-Thru, resource, shuttle, or a set of validation SmartTips.
Creating a launcher can be done from the WalkMe Editor or directly from a Smart Walk-Thru.
Creating a Launcher
Creating a launcher from a Smart Walk-Thru
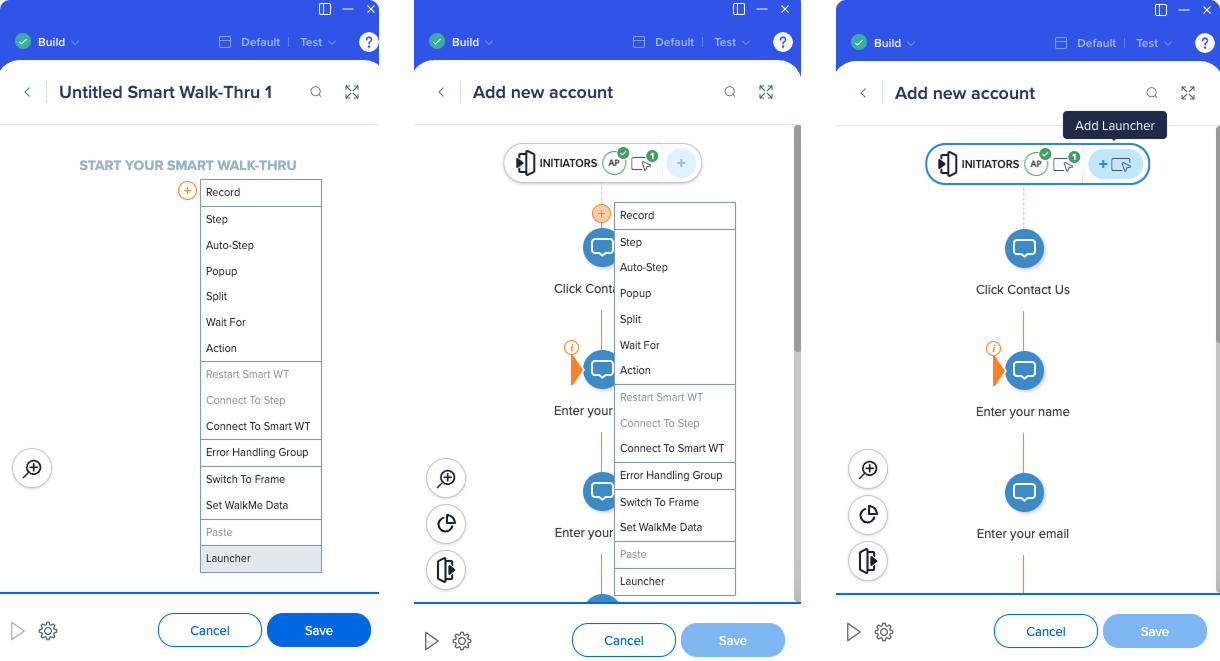
There are three ways to create a Launcher from a Smart Walk-Thru:
- Hover over the plus icon and select Launcher
- Hover over the very first +Add New icon on the Smart Walk-Thru Map and click Launcher
- Click Add Launcher on the Initiators panel
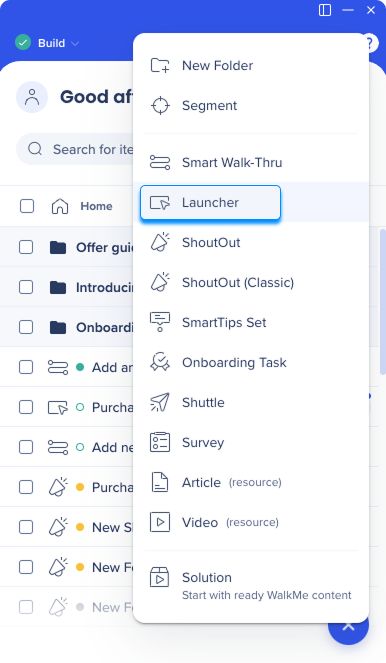
Creating a launcher from the editor main screen
- Click the +Create icon in the Editor
- Select Launcher from the items menu
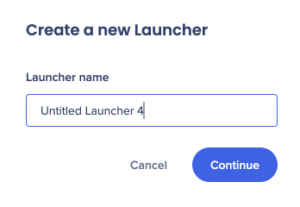
After creating the launcher, you will be asked to name it or keep the default name.
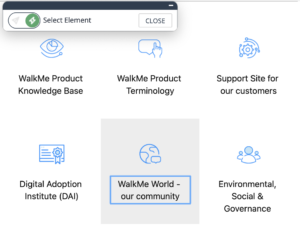
You'll be redirected to the webpage connected to the editor. Select an element on the page to attach the launcher to.
The Edit on Page tool will open where you can edit your launcher.
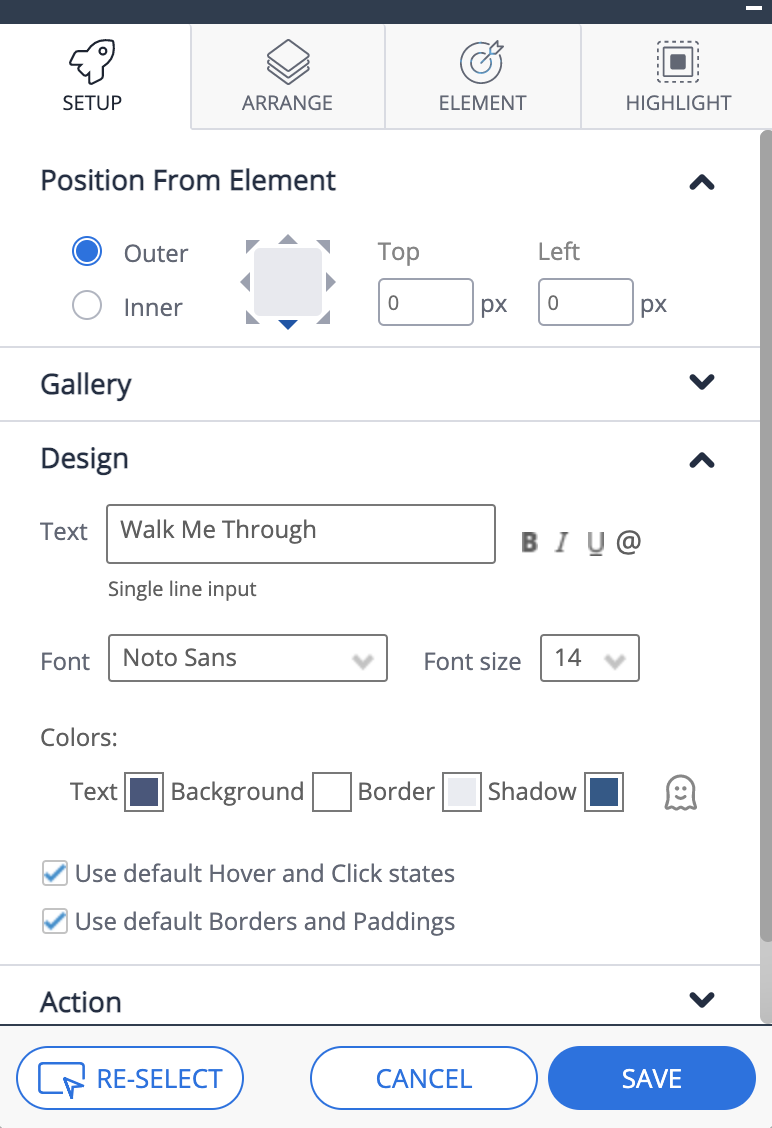
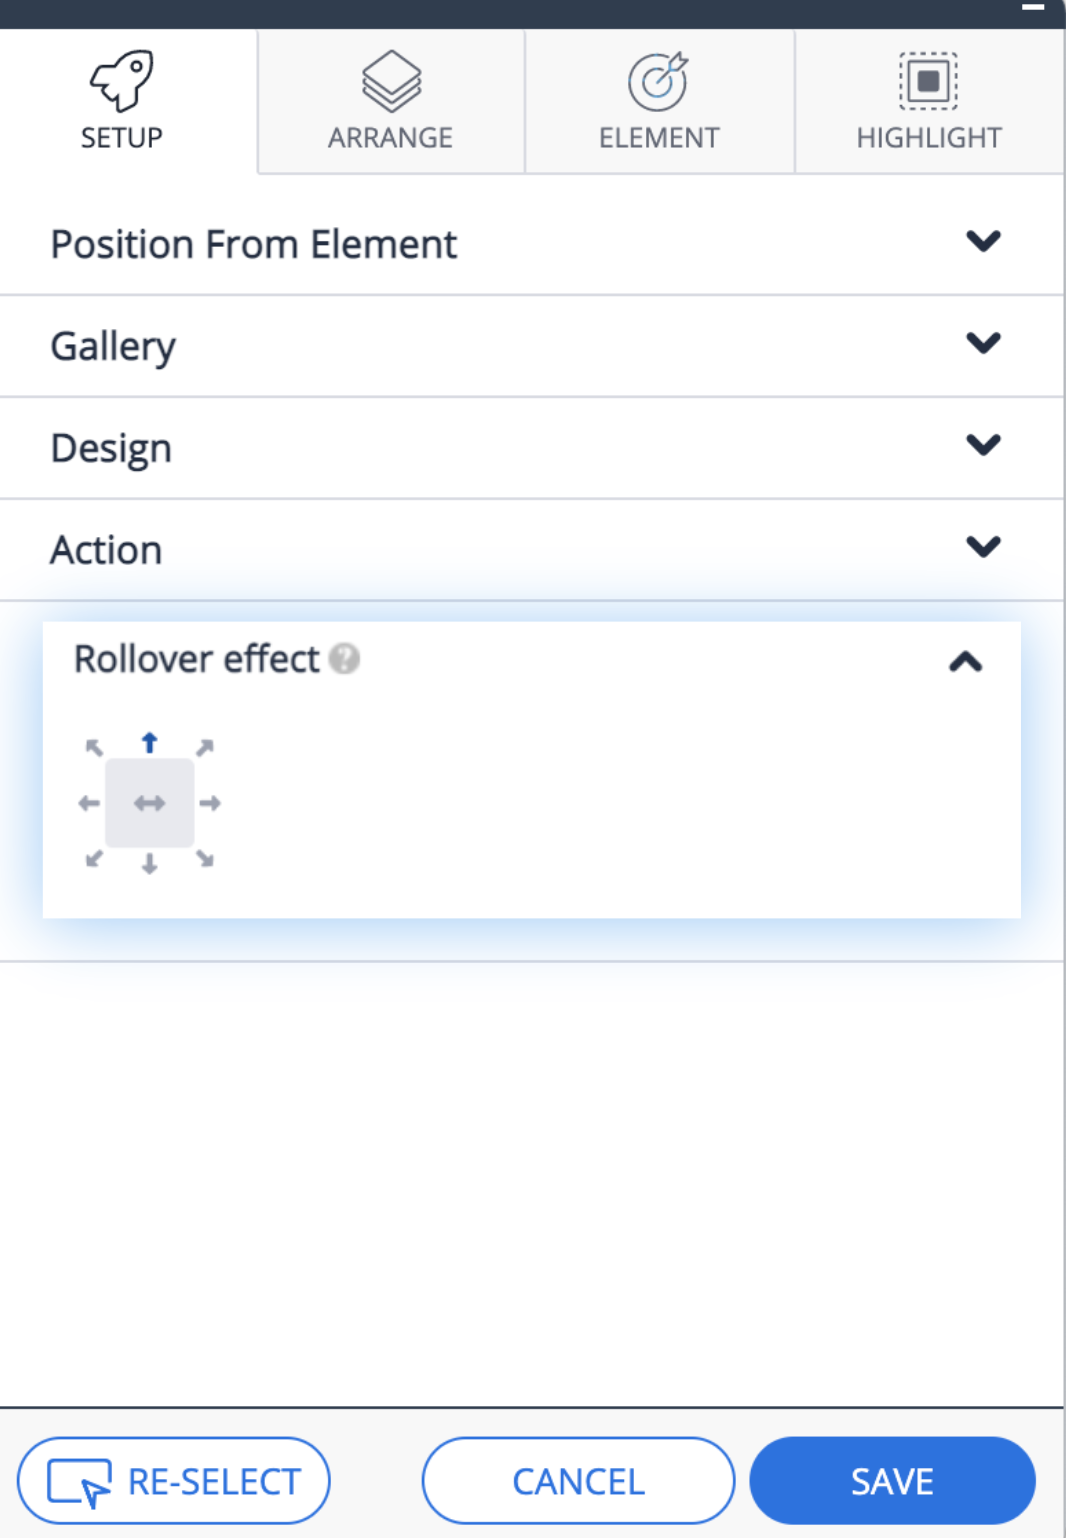
Setup Tab
Position from Element
Select the position of the launcher in accordance to the captured element. You can refine position by adjusting the Top & Left settings.
Gallery
Select a pre-made template and apply it to your launcher design.
Design
Enter launcher's text here.
You can edit the launcher text by selecting it and changing the font, size, color & formatting (Bold/Italic/Underline).
Hover & Click States
Untick this section and edit the Launcher's design in click & hover states.
Borders & Padding
Deselect default and adjust borders & padding by changing the width, height and corner radius.

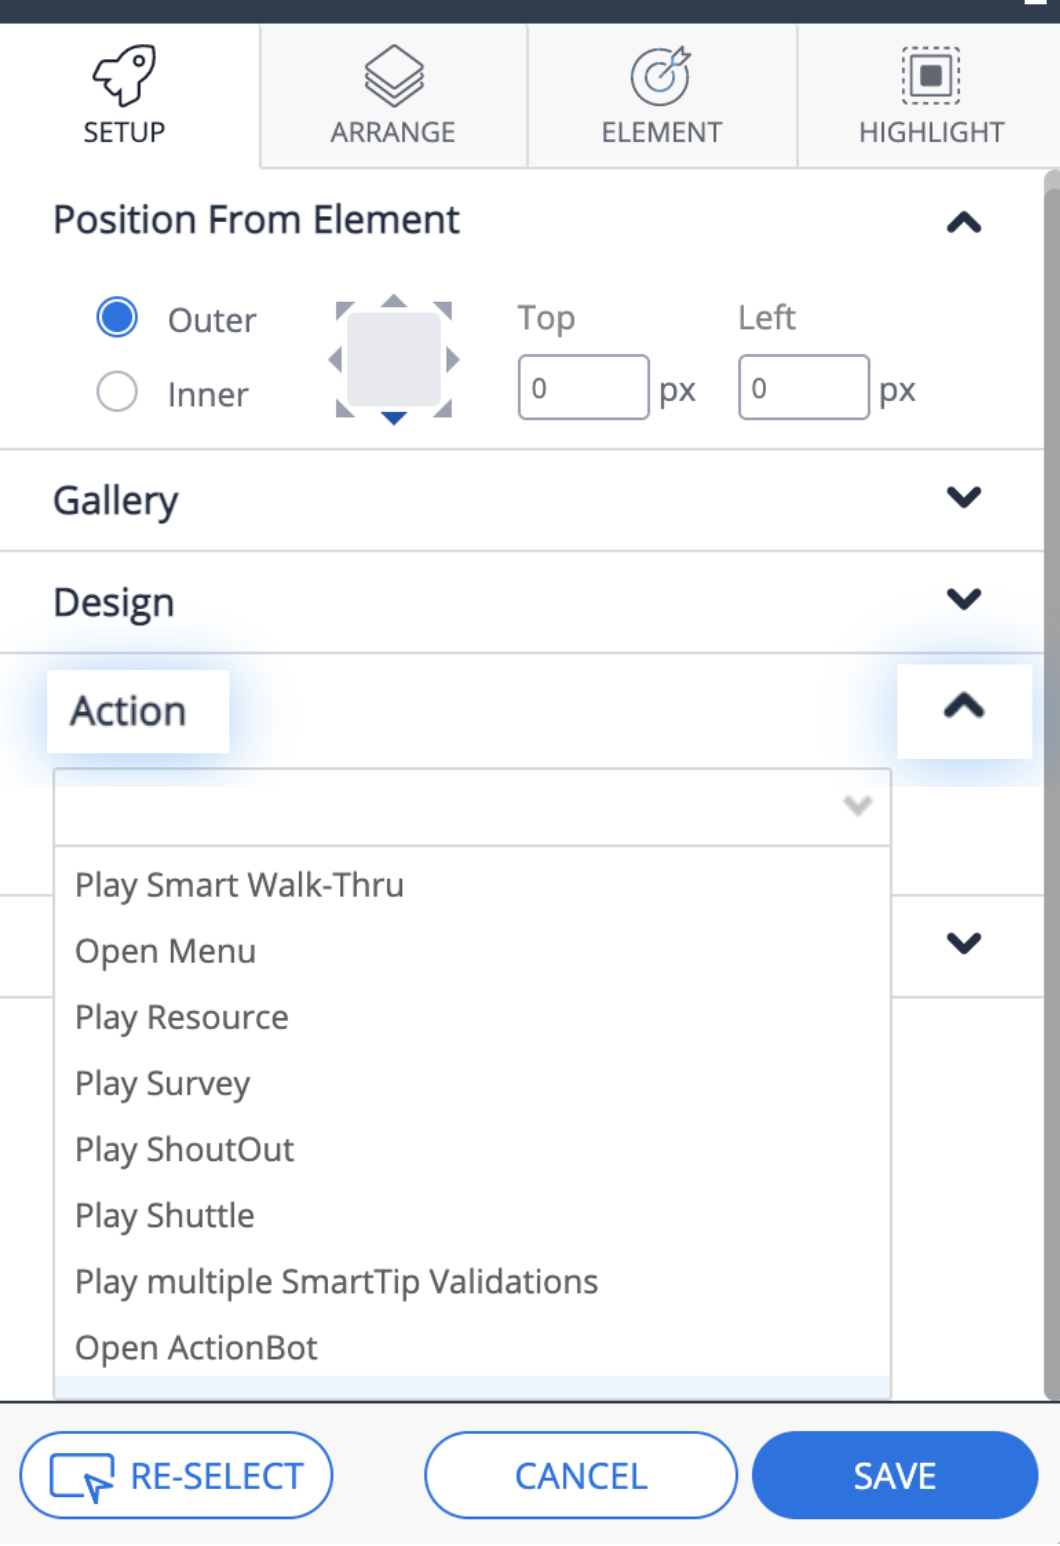
Action
Select the action that this launcher will trigger – start a Smart Walk-Thru, open the menu, play shuttle/resource/ShoutOut etc.
Rollover effect
Choose in which direction the launcher will expand when hovering or clicking over it (only when a custom image has been specified under "My Gallery").
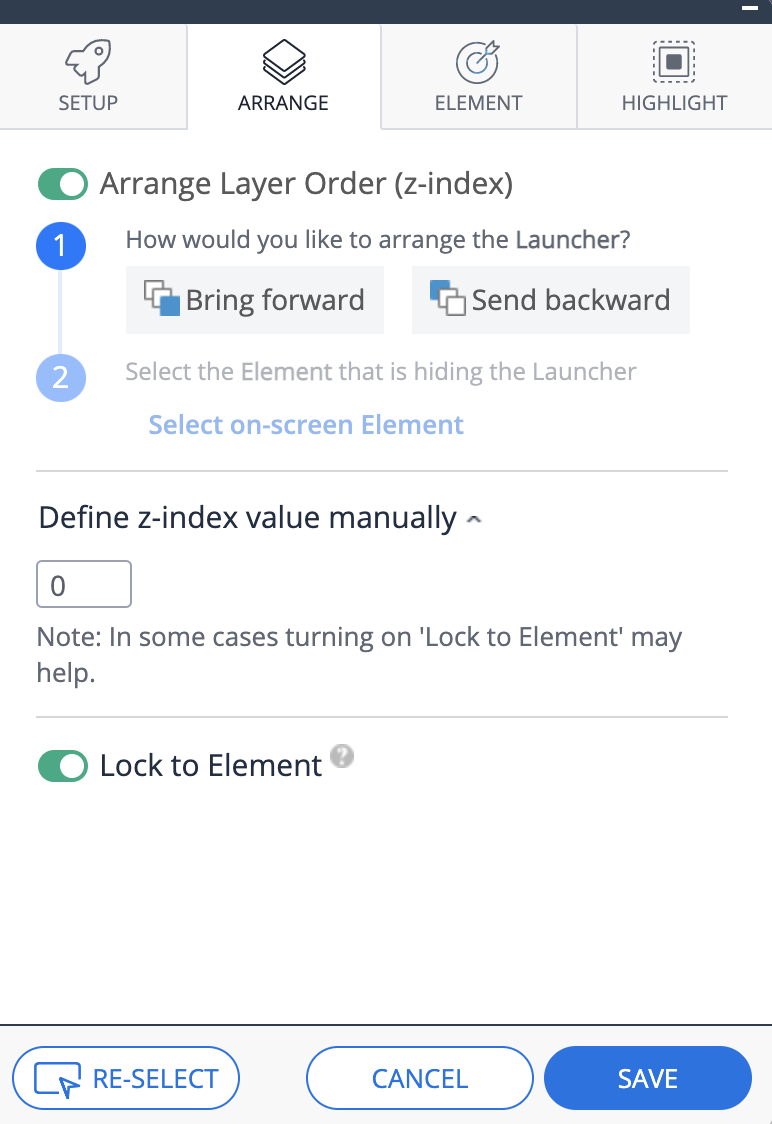
Arrange Tab
Z-Index - WalkMe Items Appearing Above or Below Site Elements? Change the Layer Order (Z-Index)
Lock to Element - Activating this setting will prevent the launcher's movement away from the captured element when the page is scrolled
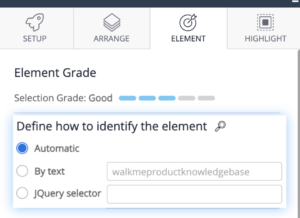
Element Tab
Element Grade
First, take a look at the Element Grade to see how easily WalkMe can identify the Launcher on the page. If you have selected an element that appears on many pages, you may see a low element grade.
If you want the Launcher to appear on all the pages on which the element appears, it is fine to have a low element grade. If you would like it to only appear on one page, consider using a Segmentation rule or setting the precision level to high.
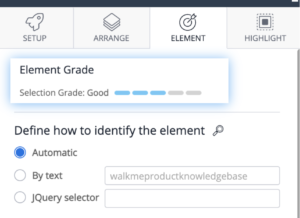
Define how to identify the element
The default element identification is done by the WalkMe algorithm which takes into account the URL where the element is captured, the position on the page, the page that an element links to, and the text in the selected element.
For performance purposes, we recommend using a jQuery selector for a high level of precision in choosing an element.
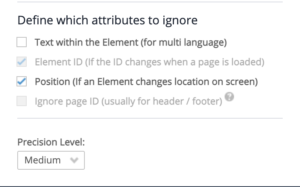
Define which attributes to ignore
- Text within the element – recommended for the Multi-Language users. This way WalkMe won't take into consideration text within the element when looking for it.
- Element ID – recommended if the ID changes when a page is loaded.
- Position – if the element changes location on screen. This way WalkMe will identify the element regardless of its position.
Precision Level: If you select High for Precision Level, WalkMe will use stricter assessments in its algorithm and will be more discerning between elements.
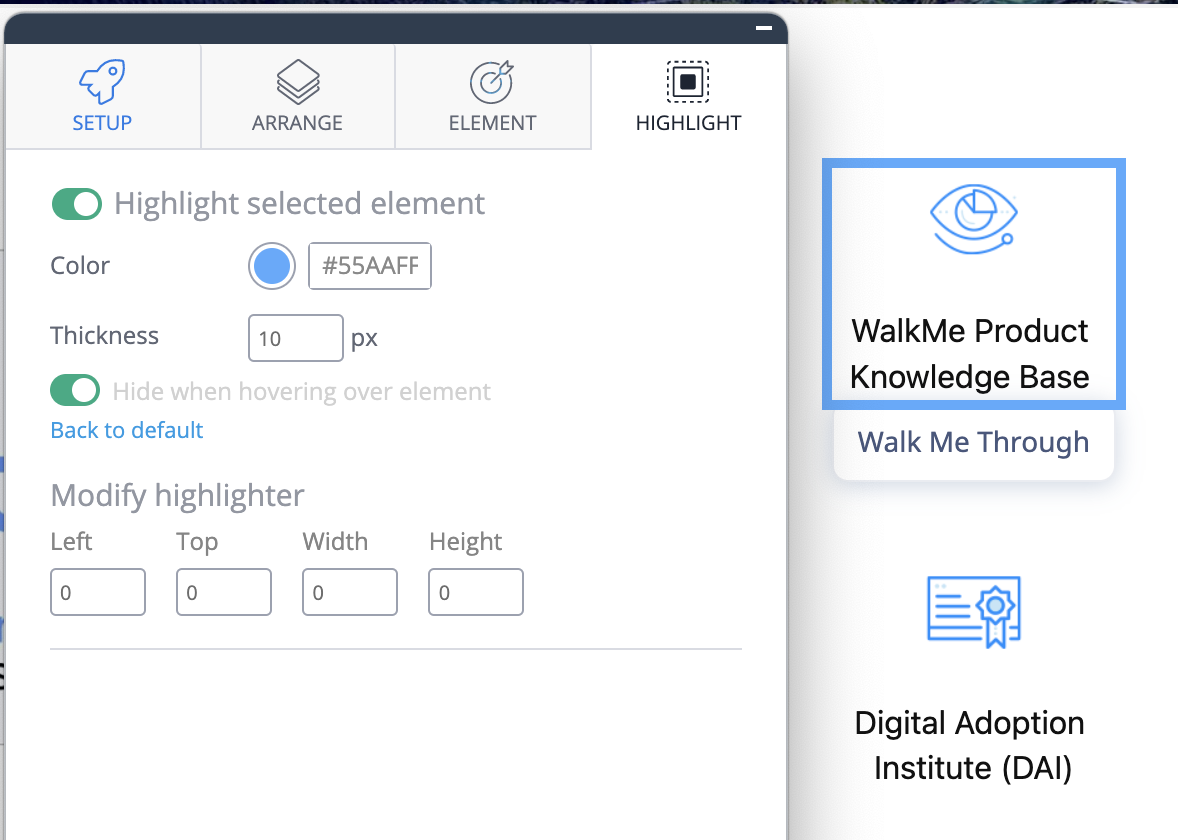
Highlight Tab
Activating this setting will highlight the captured element that the Launcher is attached to.
You can adjust the Highlight color, thickness, position and size.
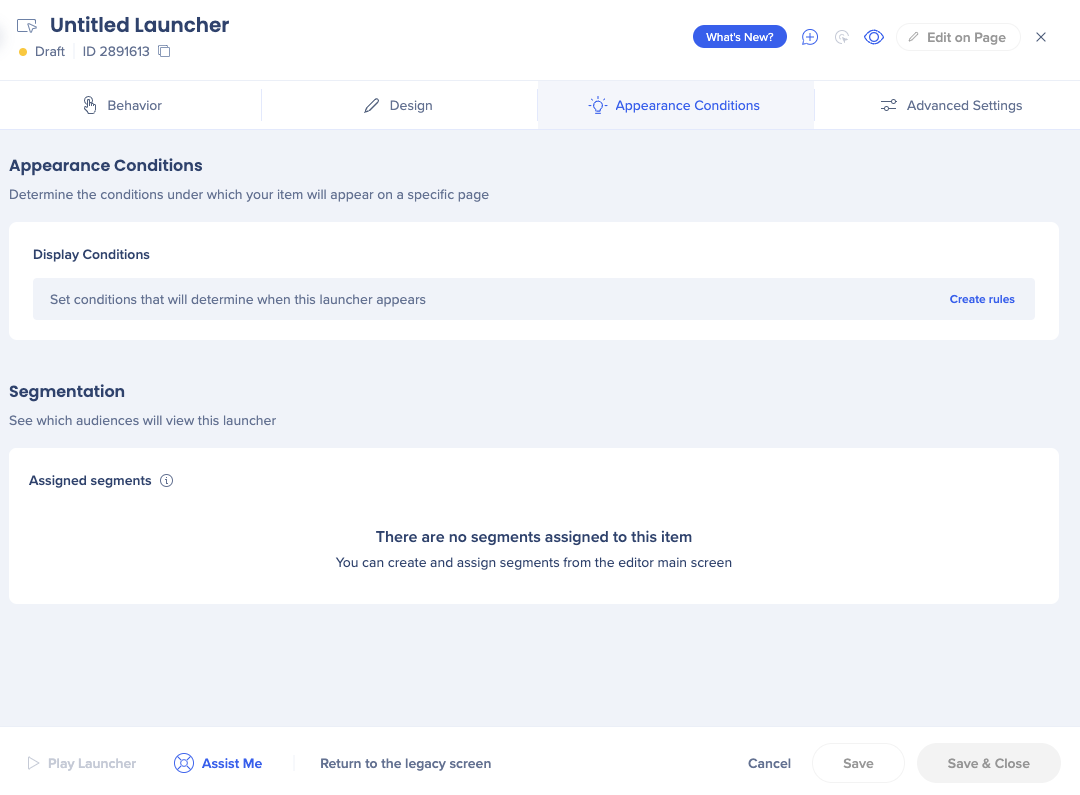
Applying Segments & Display Conditions
After the launcher is saved, it will be added to the items list in the editor.
Click on the launcher to open launcher settings, and navigate to the Appearance Conditions tab.
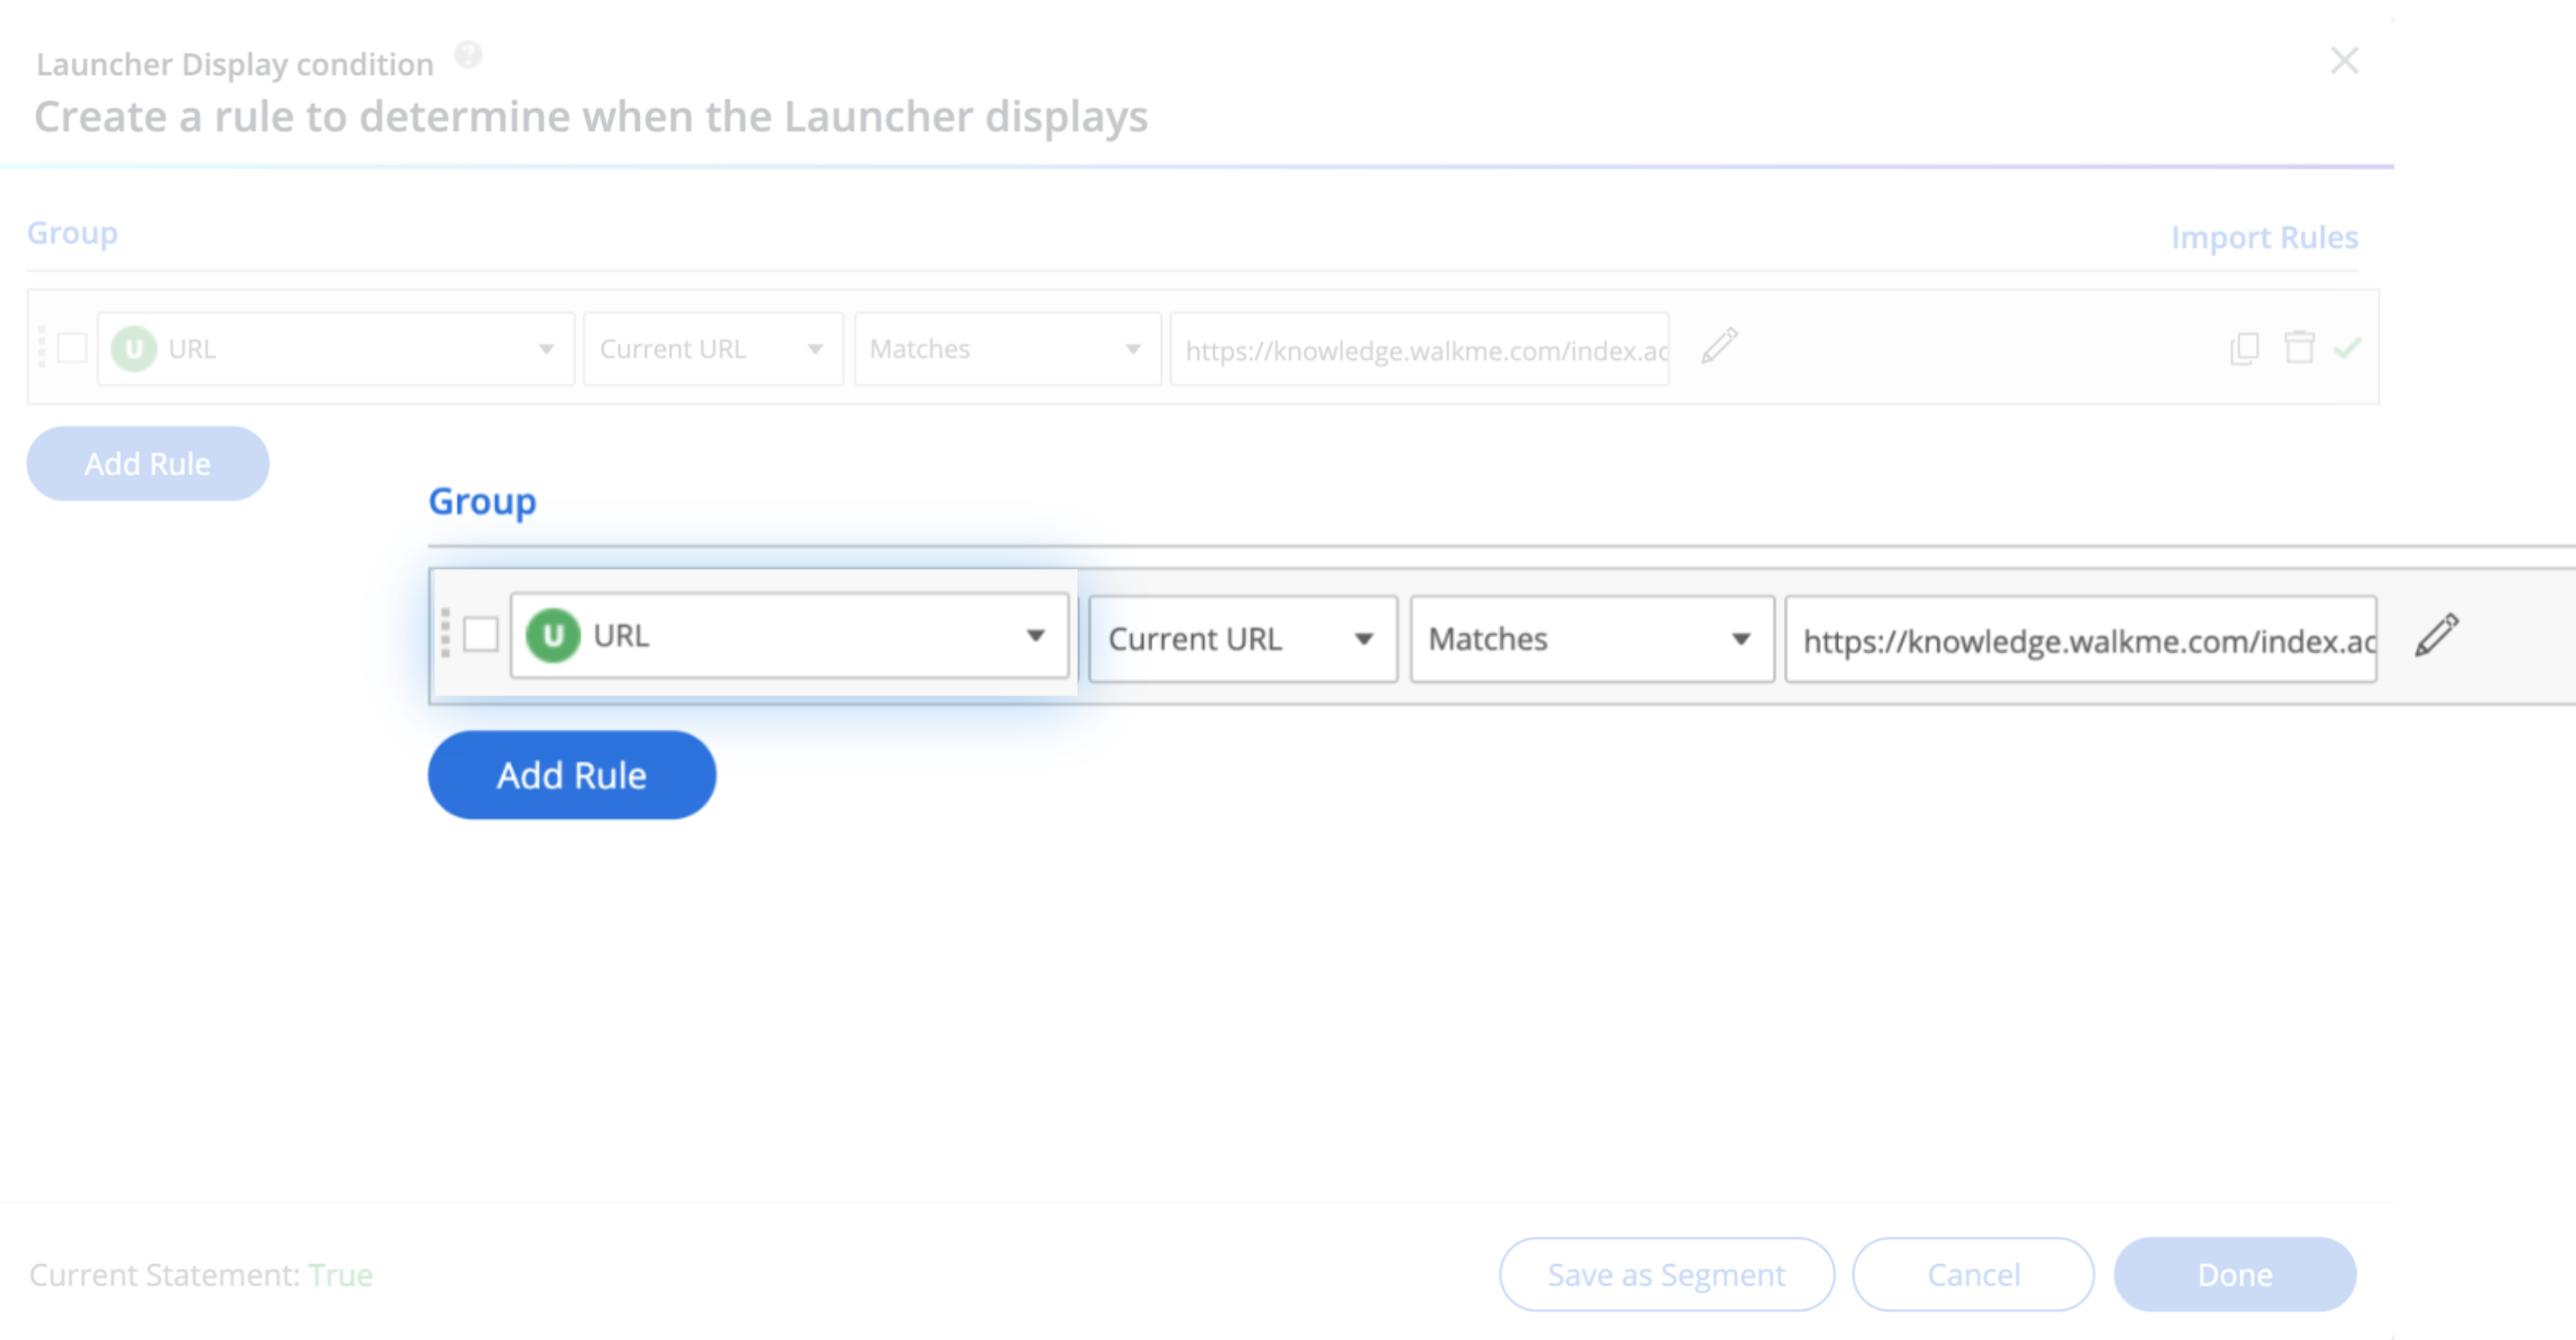
Click Create rules to define under which conditions the launcher will appear. Choose who can see it by applying the relevant segments.
For best performance, the first rule in this display condition should be the URL of the page where you want the launcher to appear. This prevents WalkMe from looking for the launcher's selected element on every page a user opens.
Launcher Options Menu
If you need to adjust the launcher or settings design after you created it, click on your launcher in the editor—launcher settings will open.
Behavior tab
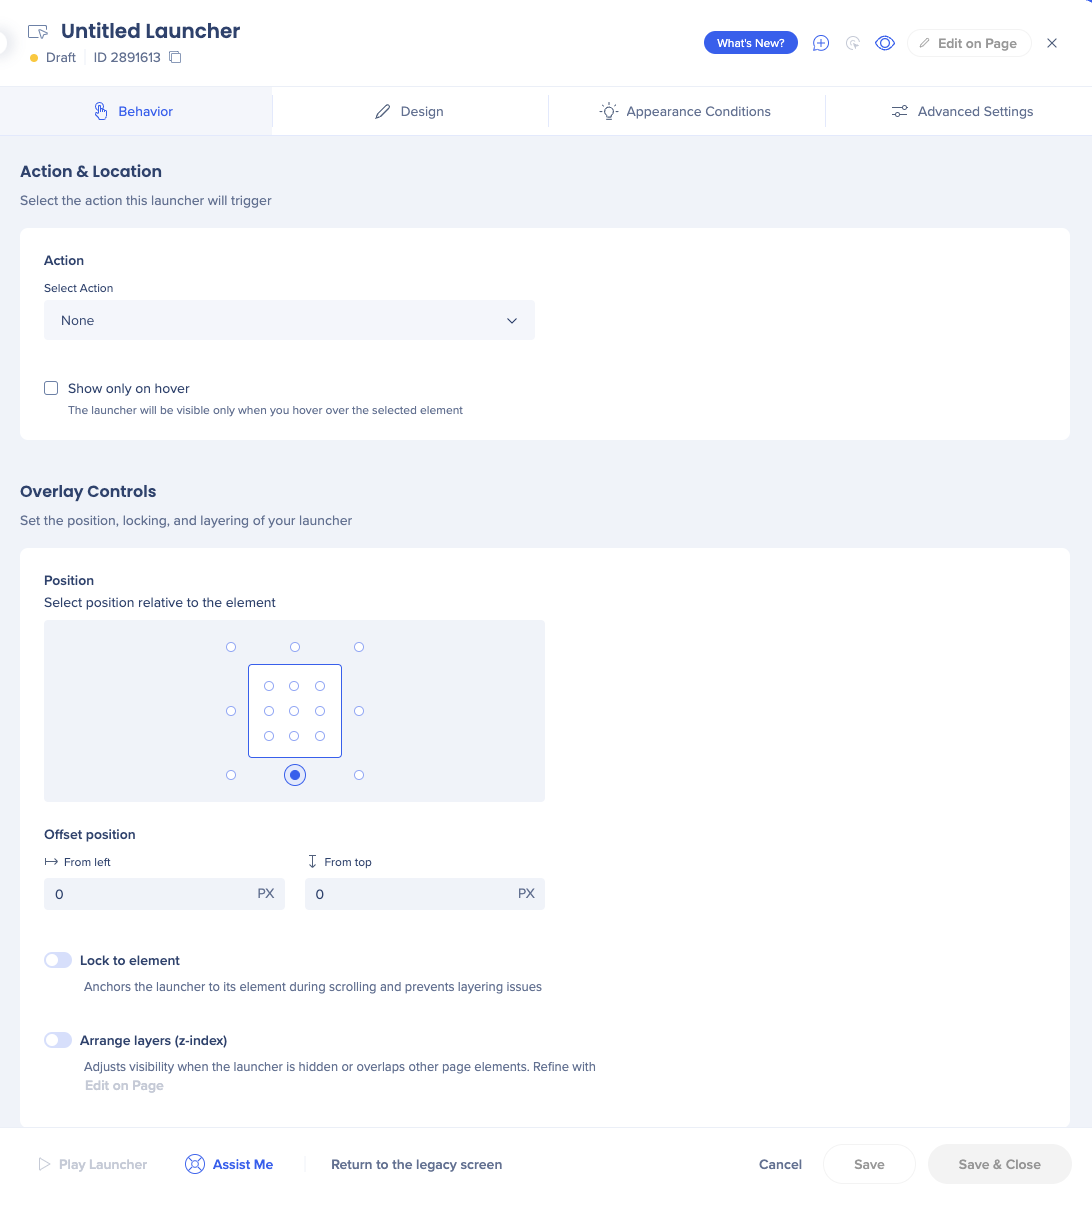
Name: The name of the launcher will only appear within the editor. The name will not appear to your user. To change the name, click on the name field.
Action: Choose the action taken when a launcher is clicked
Position: Define where you want the launcher to show on user's screen
Design tab
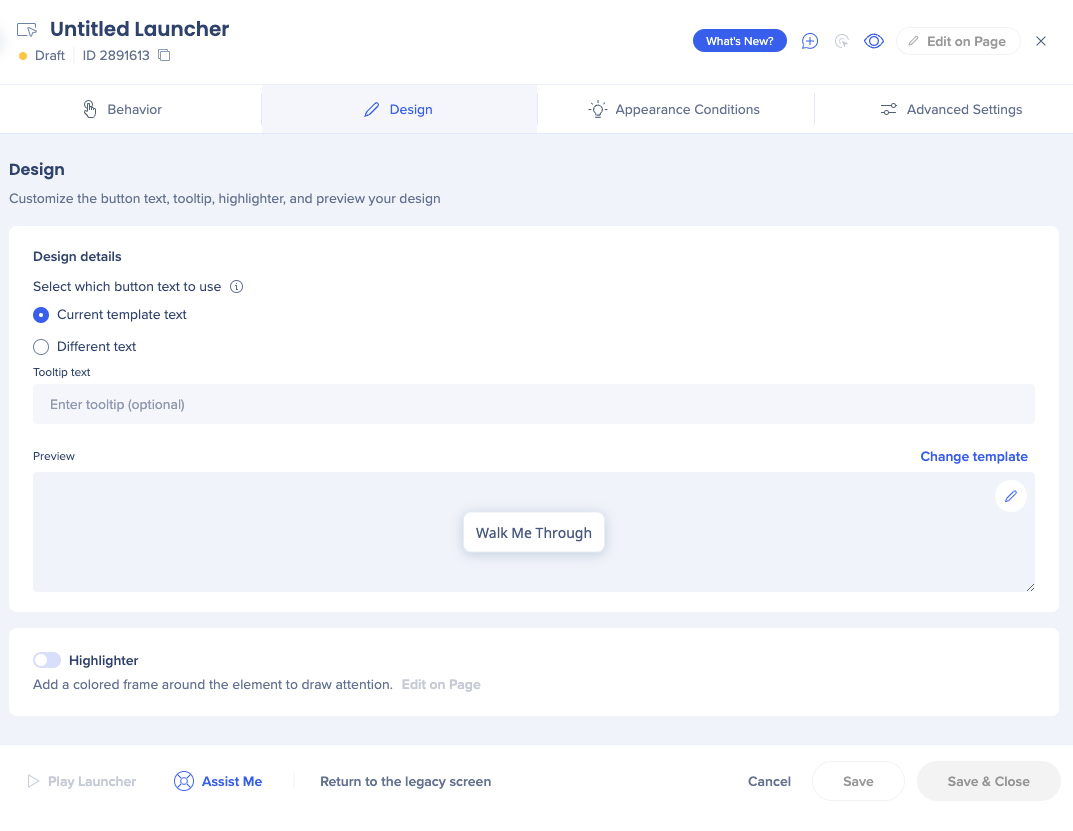
Current template text: The text that appears when a user hovers over the launcher that uses this template.
Different text: Use this if you want to change the text of the local launcher
Change template: Click to open the launcher gallery
Appearance Conditions Tab
Display Conditions: Define if the launcher will be displayed on screen according to rules
Segmentation: See which segments are assigned to this launcher
Advanced Settings tab
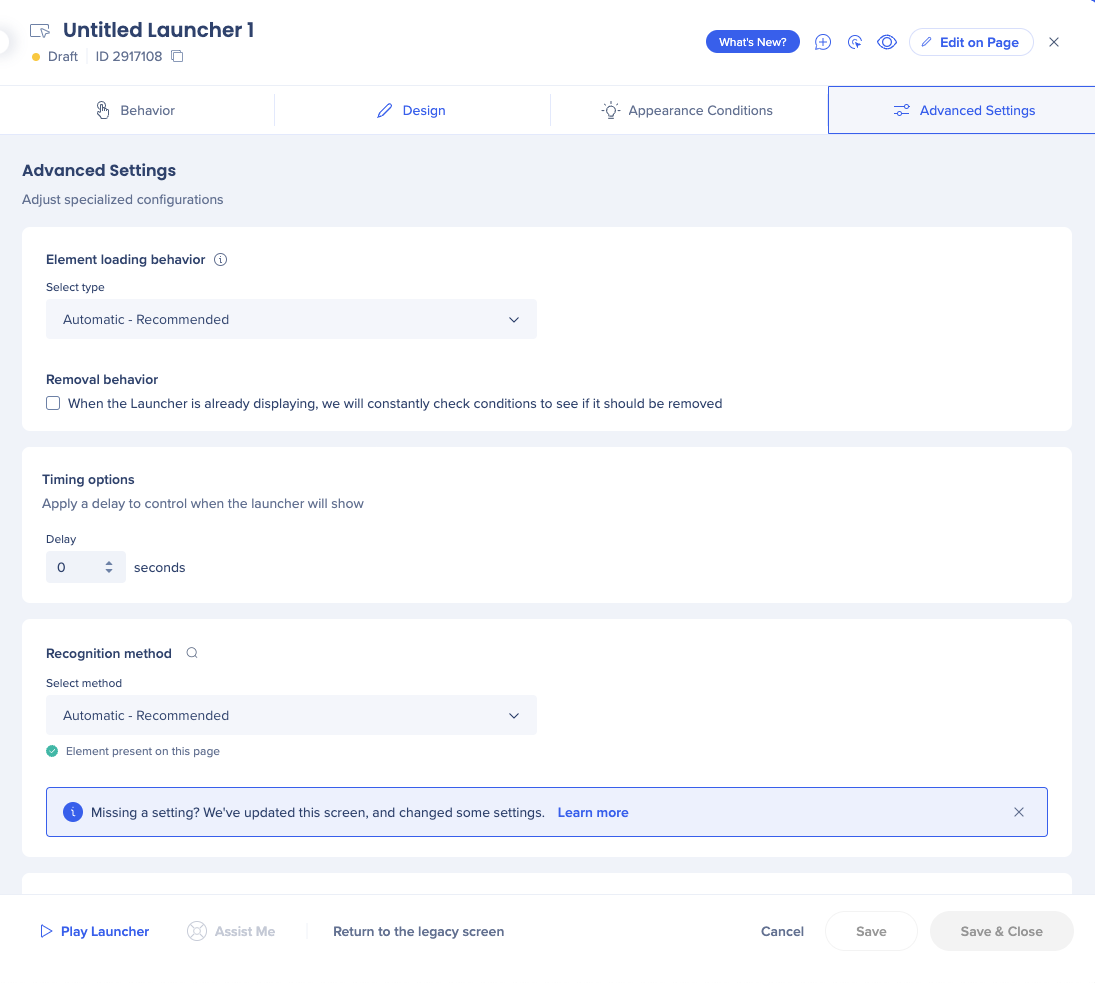
Element loading behavior: Helps optimize WalkMe's evaluation of element behavior. “Automatic” is selected by default. This automatic feature is our most up-to-date technology, we recommend using it.
Removal behavior: Check the box if you want WalkMe to check the conditions of your launcher that's already displaying to see if it should be removed
Timing options: Apply a delay to your launcher display
Recognition method: Define how you want WalkMe to recognize the element. The options are:
- Automatic (recommended)
- By text
- jQuery selector