Brief Overview
User management helps you organize collaboration in your account. From the Users page, you can manage users, roles, and groups, giving each team member the right level of access. For example, you can grant some users view-only permissions, while others may have editing rights without publishing privileges.
To keep projects secure and organized, each team member should have their own account rather than sharing login details. Assigning roles and permissions ensures responsibilities are clear, prevents accidental changes or early publishing, and supports smoother collaboration across building, reviewing, editing, publishing, and analyzing WalkMe content.
🎓 Digital Adoption Institute
Access
To access Access Management (was User Management) in the console:
- Open the WalkMe Console:
- Select Admin
- Go Access Management
To access user management settings in the Admin Center:
- Open the WalkMe Admin Center:
- Select User Management
Users
From the Users page, you can create new accounts, assign roles, adjust permissions, and track user status. Each user has their own login, maintaining secure, consistent access and reducing the need for shared credentials. You can also manage users directly from the WalkMe Editor for faster invitations and system-level access control.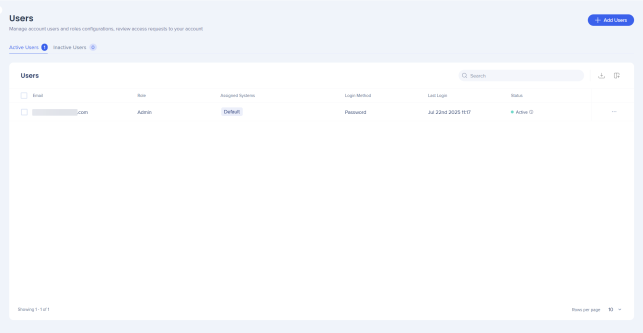
Users
Groups
From the Groups page, you can create groups, assign users to them, and link groups to systems. This simplifies user management tasks—such as onboarding or offboarding—while keeping access consistent, organized, and secure across accounts.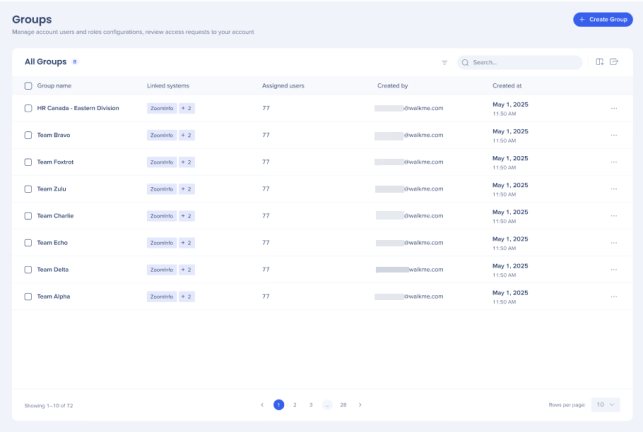
Groups
Roles
From the Roles page, you can assign predefined roles or create custom ones to match your team's needs. Roles provide a clear hierarchy of permissions—such as building, publishing, managing users, or analyzing data—making it easier to standardize responsibilities, reduce the number of admins, and keep accounts secure and consistent across teams.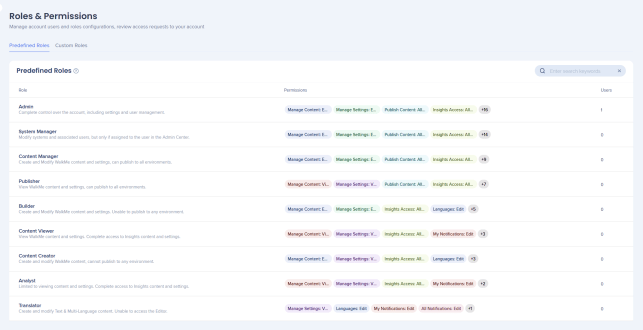
Roles and Permissions
Partners
The Partners tab gives admins the ability to manage WalkMe partner access directly within the product.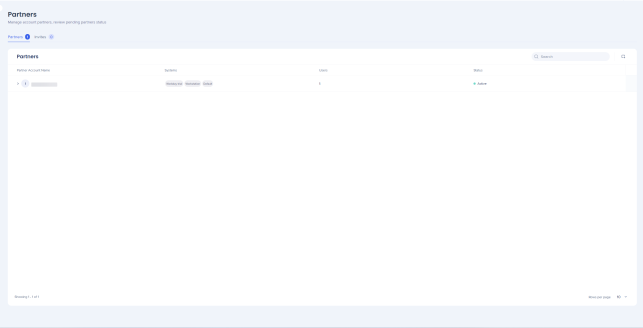
Partners in Admin Center
API Keys
The API Keys tab allows you to create Personal Access Tokens (PATs) for authenticating requests to WalkMe's APIs.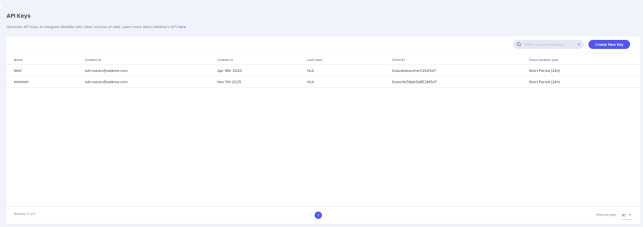
API Keys