Auto-Steps: Getting Started Guide
Brief Overview
Why make your users complete repetitive tasks when you can simply automate them? With auto-steps, you can easily automate numerous tasks for your users, saving them time, and improving their user experience. This way, your users can focus on what really matters, instead of where to navigate to get to a feature.
With auto-steps, automating multiple steps or an entire process is fast and easy to do. You simply capture the steps as you go. Best of all, there's no coding, API, or backend integration required!
Use Cases
Action-step use cases include the following:
- Completely automate an end-to-end repetitive process
- Quickly capture multiple auto-steps
- Eliminate routine navigation steps with a Smart Walk-Thru
- Automatically perform element-oriented tasks on behalf of your users:
- Click an element
- Right Click a custom Context ("Right Click") Menu
- Hover over an element
- Focus on a field (put the cursor into the field)
- Select a list value from a dropdown menu
- Use this to automatically pre-select an option in a dropdown based on an external value. For example, if you previously stored a user selection in wm-data, and now want want to automatically select the option.
- Fill Text into an element
How It Works
You can add auto-steps anywhere in a Smart Walk-Thru. Auto-steps complete actions on behalf of the user, like clicking on a link or button, typing into a field, or hovering over a menu. You can even quickly toggle between regular steps and auto-steps as you record a process.
Create an Auto-Step
- In the WalkMe Editor, create a new Smart Walk-Thru or open an existing one that you want to add auto-steps to
- Click the orange + button and select Auto-Step
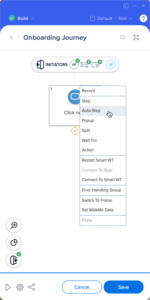
- Capture the element you want the auto-step connected to
- A capture box will appear with the automatic action selected by default based on the element type
- Action type options vary depending on the element selected
- Click Re-select to re-capture an element
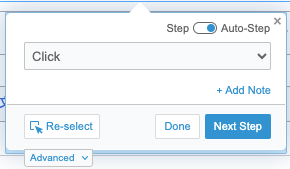
- The Advanced view lets you see and improve the element grade
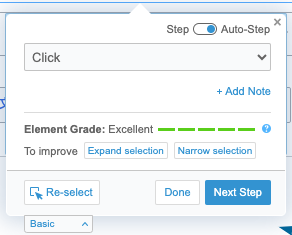
- Once finished capturing the step, click Done or Next Step to return to capture mode
- After you finish adding your steps, click Save
- The auto-steps will appear in your Smart Walk-Thru with an orange auto play icon

Automatic Actions
Multiple action types are supported for auto-steps. Below are some common examples.
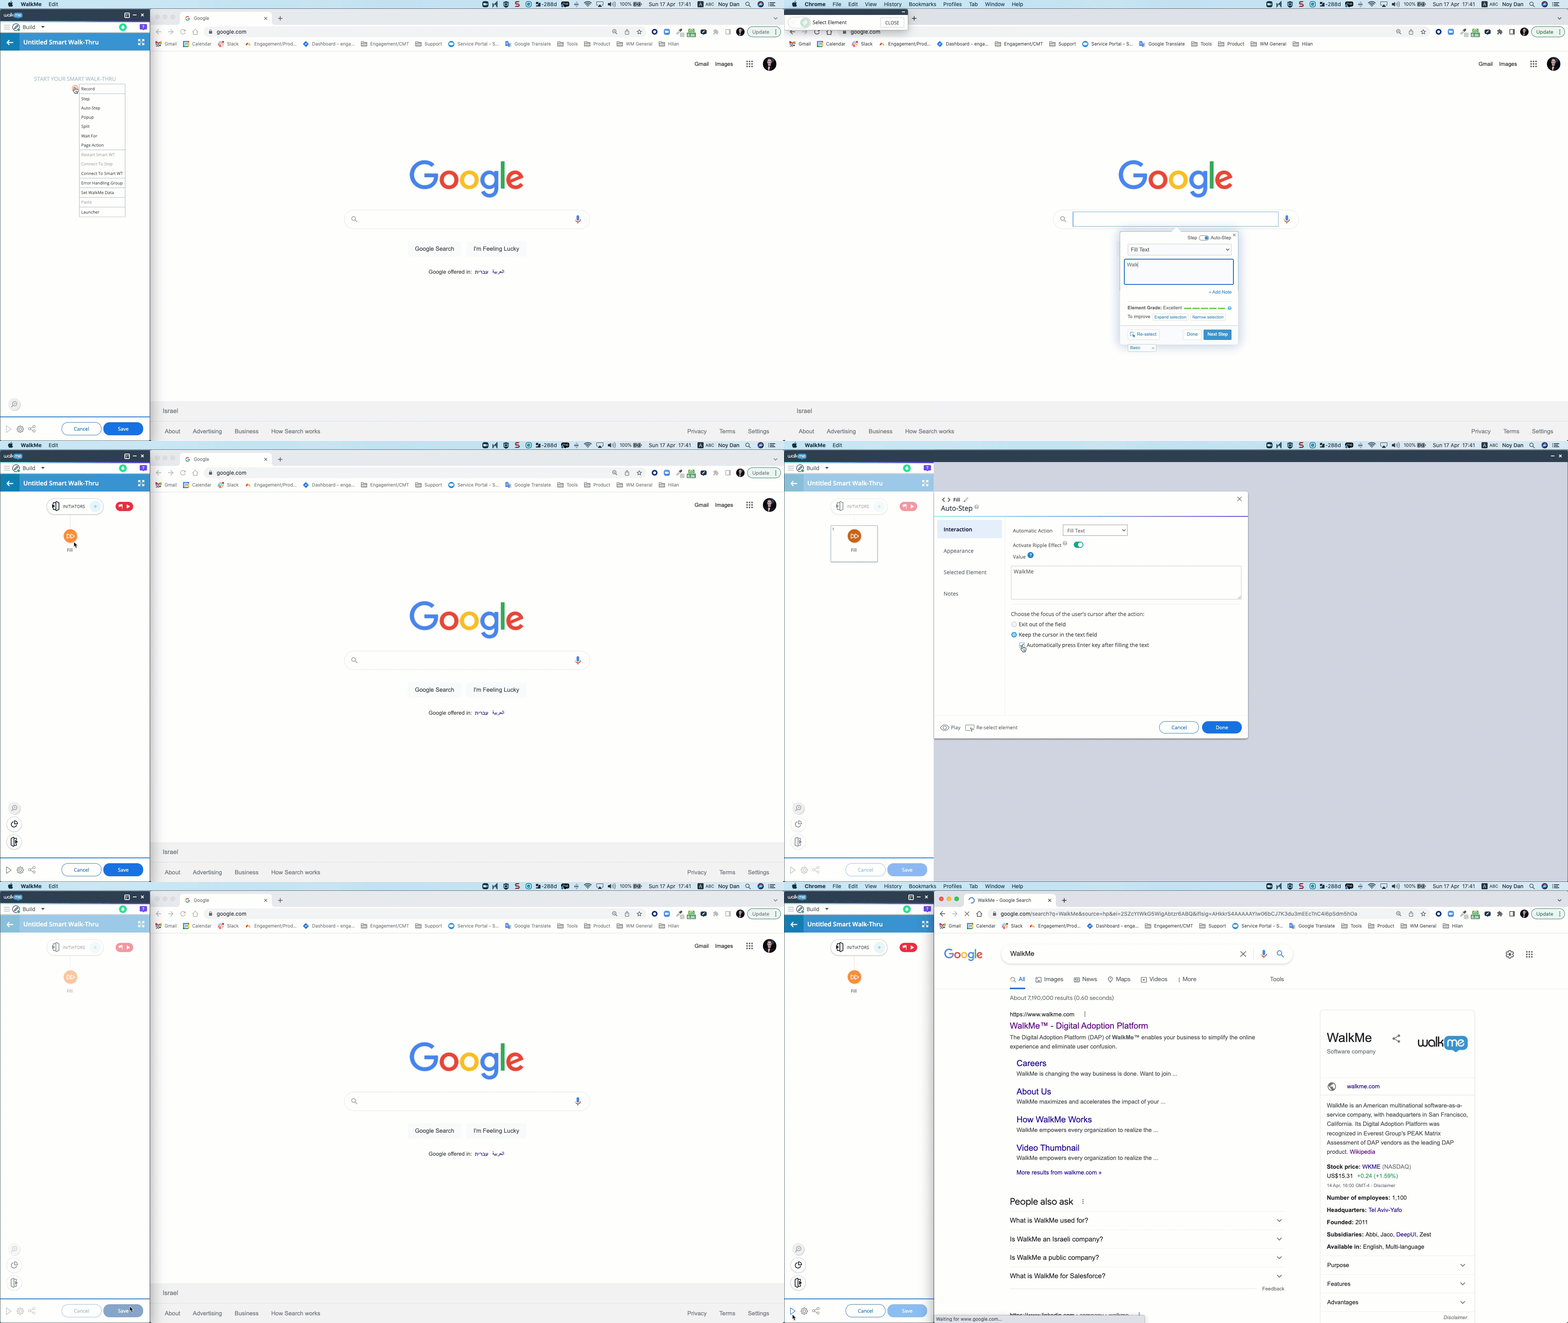
- Have WalkMe hit Enter to complete a search after filling text
- Create a Fill Text auto-step
- Go to the Interaction tab of auto-step settings in the editor
- Select: Keep the cursor in the text field and Automatically press enter after filling the text
Display During Automation
- Add a popup, which will remain on screen and notify users that an automation is in process

Auto Fill Steps
- Add or remove elements using Auto Fill steps
Convert Existing Steps to Auto-Steps
To learn how to convert current steps, please refer to the article below.
Ripple Effect
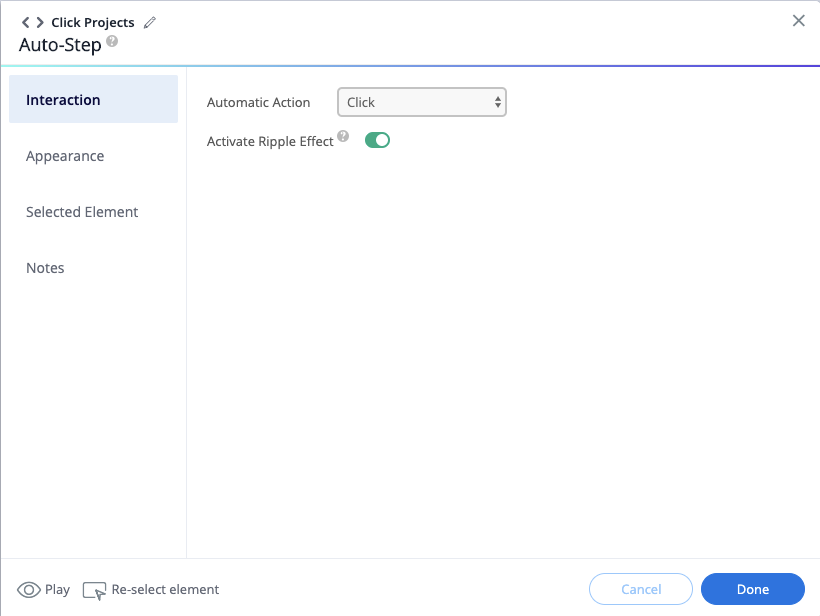
By default, a ripple effect will show when an auto-step has been clicked. The ripple effect will be a blue circle with a thin line, but it can be customized to match your design.
The ripple effect can also be disabled in the Interaction tab of the auto-step settings.
Technical Notes
- Automatic actions will only show available options depending on the element selected
- For example, a button will not have the option of Fill Text
- Using Fill Text auto-steps on non-input type html elements has limited support and may not work on every use case
- When using Fill Text automatic actions, only filling the text of an element is supported, it does not trigger any site functionality that is usually triggered when a user types in an input field
- Text length is limited to 200,000 characters
- Only one Smart Walk-Thru can auto play at any given time
- If you have multiple Smart Walk-Thrus set to auto play, review their engagement rules to ensure they are not able to play at the same time
- Supported HTML input type attributes include numerical/text values
- Meaning, <input type="time"> will be supported by Fill Text Auto Step, but <input type="button"> will not
-
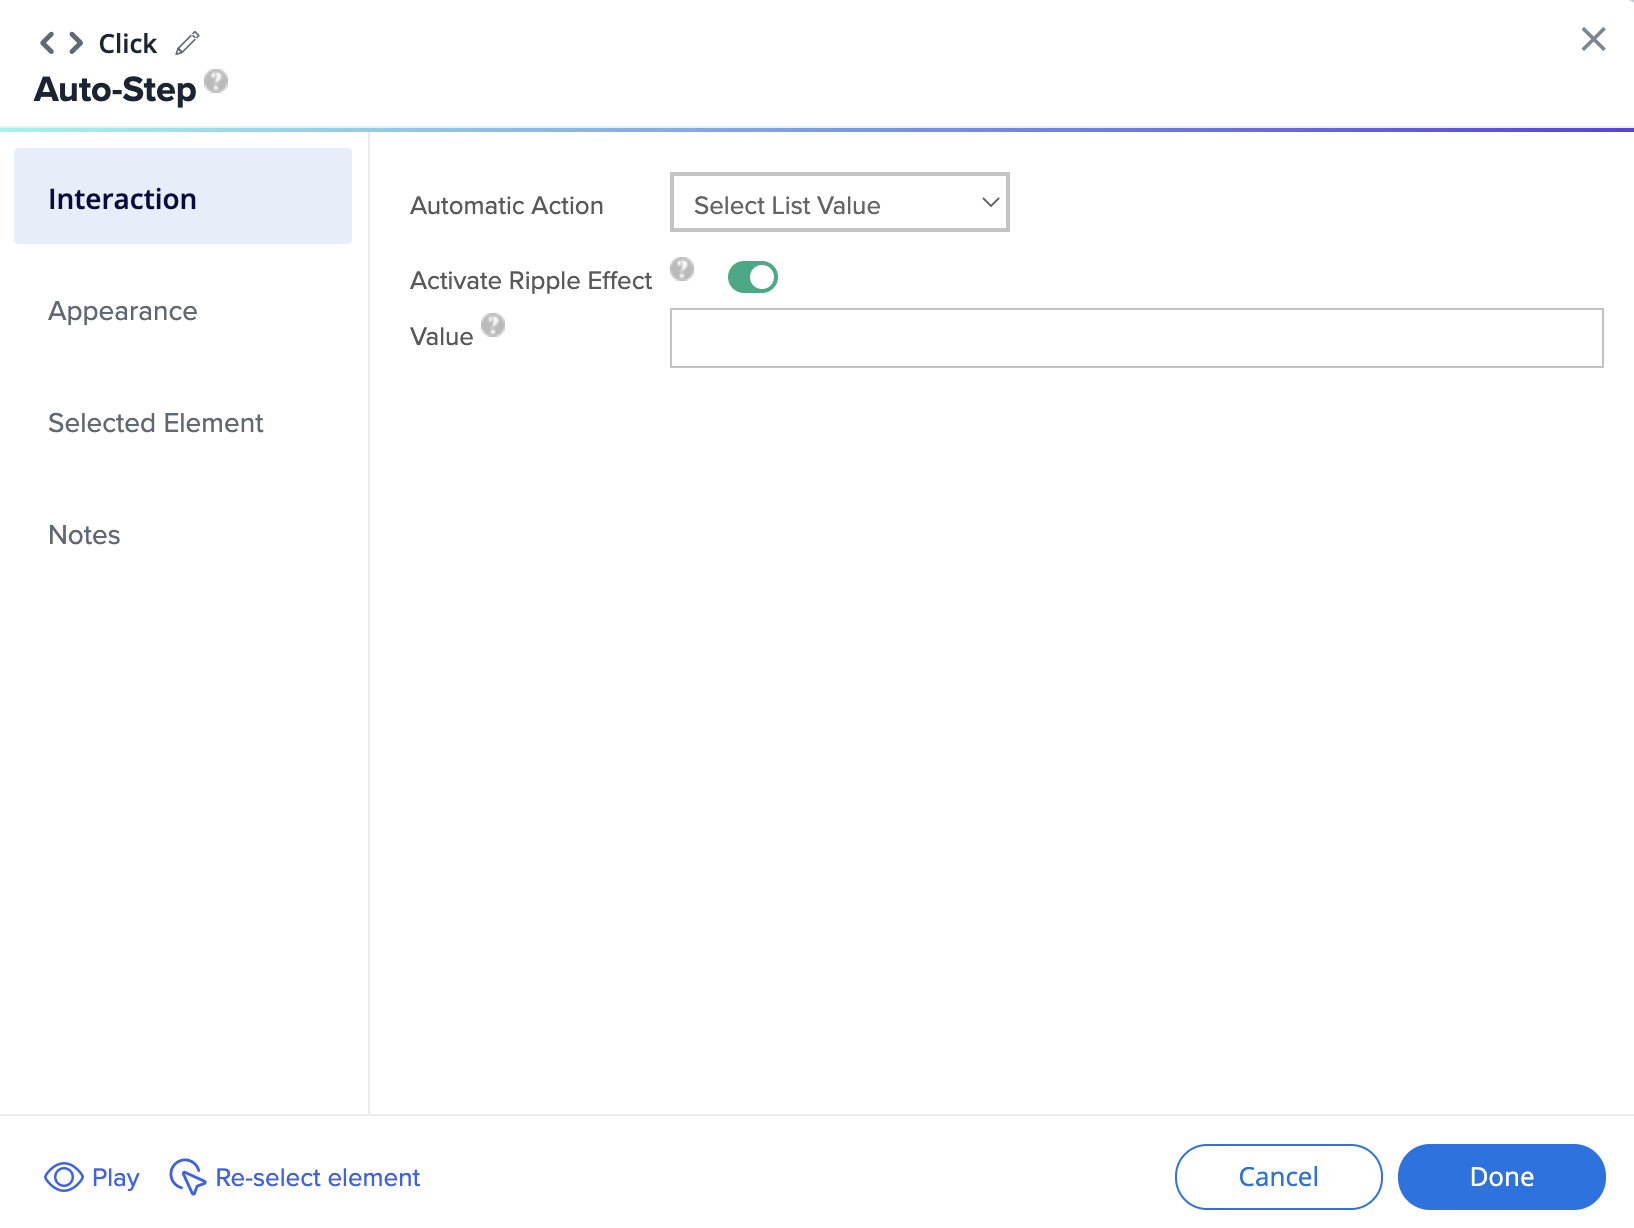
Click automatic actions don't work with “Select element“ type dropdowns
-
The Select List Value automatic action can be used instead
-

