Welcome to the
WalkMe Help Center
Please log in to continue

Please log in to continue

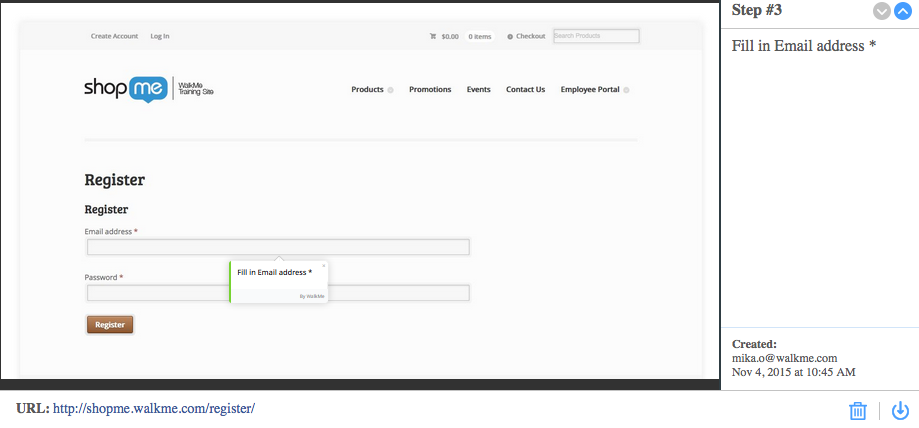
WalkMe takes a screenshot whenever an element is selected. In the screenshot, you will be able to see the URL that the item was created on, the element, and the original configuration of the balloon.

Screenshots enable you to collaborate and review with your colleagues and key stakeholders in an easy and efficient way. Screenshots are especially useful in the QA or review portion of your build, and enable you to communicate effectively with other team members who don't have access to the WalkMe Editor.
Once the feature has been enabled in General Settings, screenshots are taken every time WalkMe captures an element in capture mode for steps, rules built with rule type "On screen element", launchers, and SmartTips.
Common uses for screenshots include:
When an element is captured for a step, rule, SmartTip, or launcher, WalkMe will take a screenshot. The screenshot will include the element highlighted by the element selector. For steps, launchers, or SmartTips, WalkMe will also display the WalkMe item in relation to the element based on its design and appearance settings. The screenshot will also include information on the URL, time it was captured, name of the account it was captured in, and any notes left for the item. After the item is saved, screenshots can be downloaded individually, or for a Smart Walk-Thru, as an entire set.
Screenshots can be enabled in the Admin Center:
Go to the Building Settings tabs
Enable the toggle
Check the box if you want the screenshots to be blurred


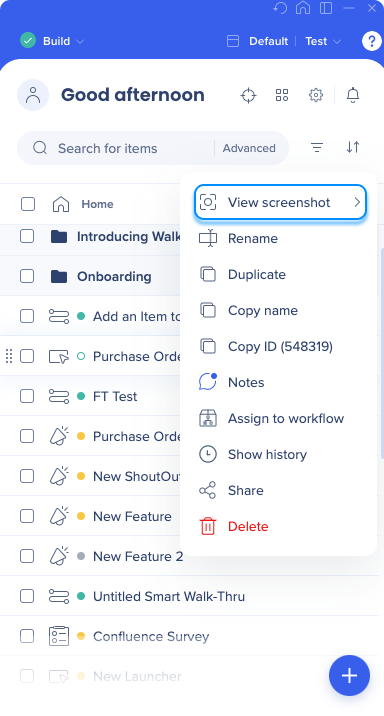
To download a single screenshot in a Smart Walk-Thru step:
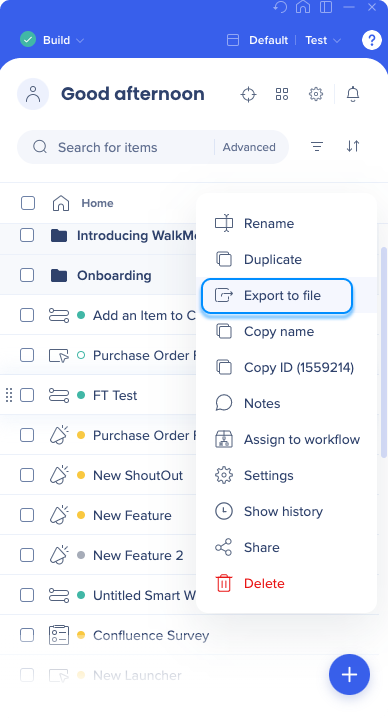
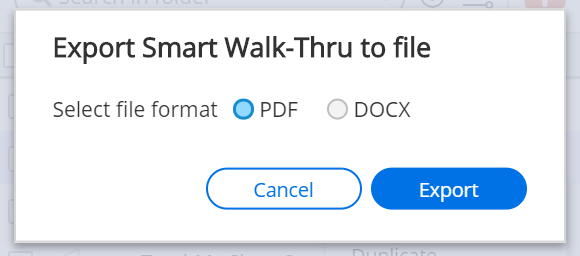
To download all the screenshots in a Smart Walk-Thru:


When you next send a Smart Walk-Thru for approval, try exporting the Smart Walk-Thru as a PDF and submitting the PDF to your boss or colleagues.